
A thick, concentrated raspberry syrup is the essence of summer flavor, capable of turning a simple tea time into a cozy celebration. In the old days, raspberries were valued not only for their sweetness but also for their healing properties, and people tried to preserve the harvest as much as possible in the form of jams and infusions. Prepared correctly, this syrup turns out crystal clear, like a precious ruby, and features the intense taste of ripe berries. You can mix it with sparkling water for a homemade lemonade, use it to soak sponge cakes, or simply add it to hot tea on a cold winter evening. Raspberry syrup is preserved for the winter just like jam: it is fast, simple, and incredibly wholesome.
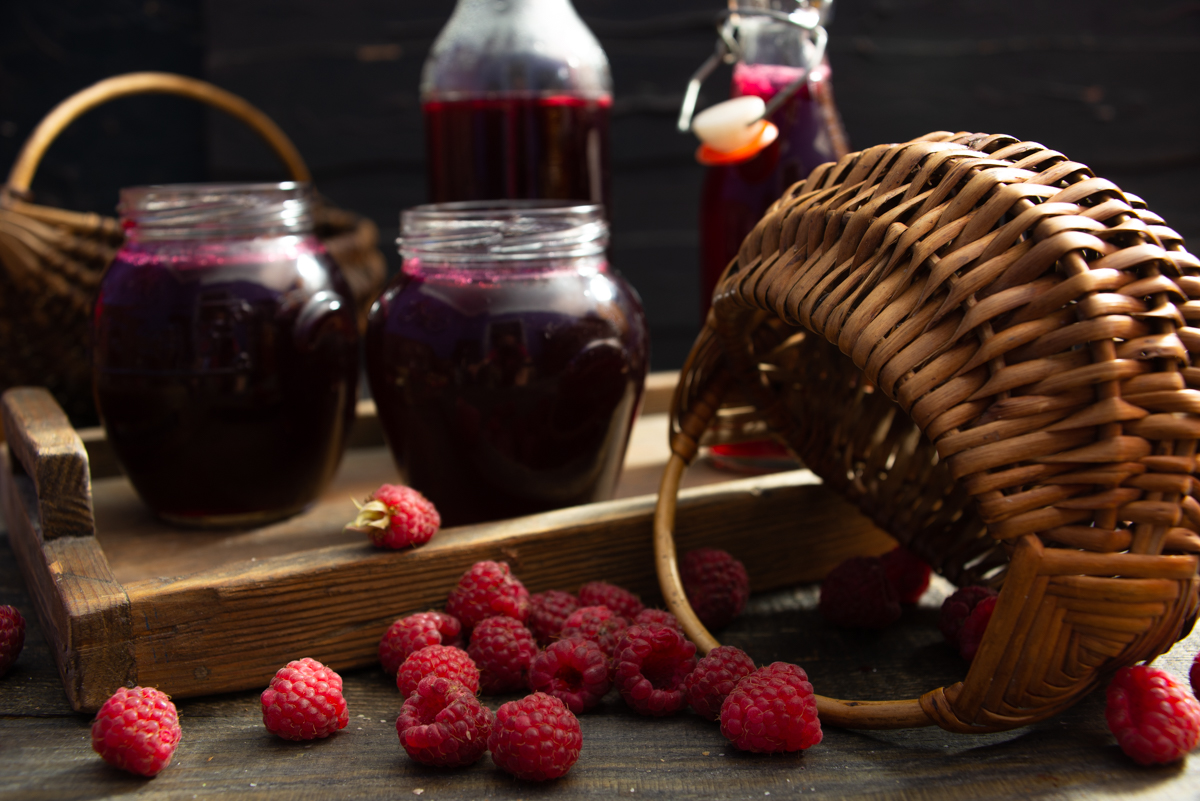
Homemade raspberry syrup is a concentrated taste of summer, perfect for soaking cakes and adding to tea.
Ingredients:
- 1 liter (34 fl oz) raspberry juice
- 1 kg (2.2 lbs) granulated sugar
How to Make Raspberry Syrup
Soak the raspberries in slightly salted cold water to get rid of raspberry beetle larvae or fruit flies. Even lightly salted water helps—the larvae float to the surface and are easy to scoop out with a spoon. Carefully drain the treated raspberries in a sieve and rinse with clean water. Ripe and slightly overripe berries with no visible signs of spoilage are perfect for making syrup.
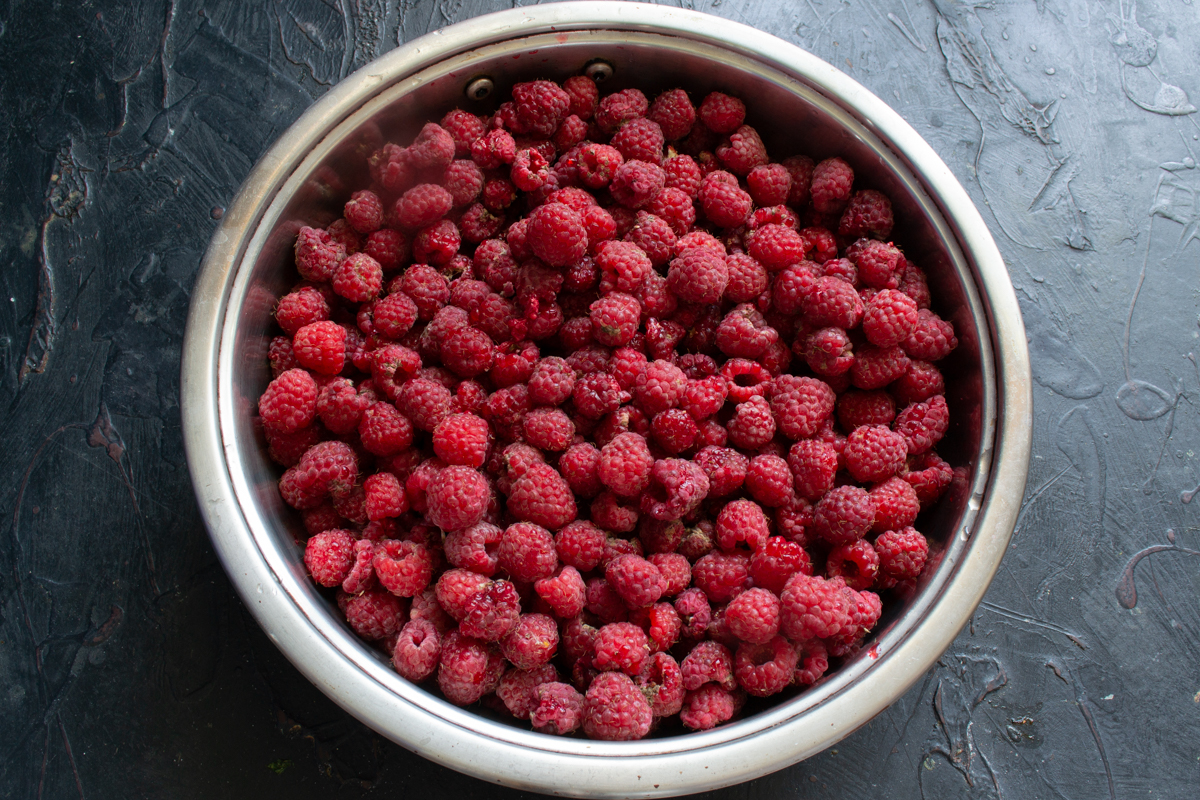
Use only ripe and clean raspberries to make a high-quality syrup.
Place the berries in a large stainless steel pot and mash them into a puree. You can mash them with a potato masher or crush them with a spoon. You don’t need to overdo it; just squeeze out a bit of juice.
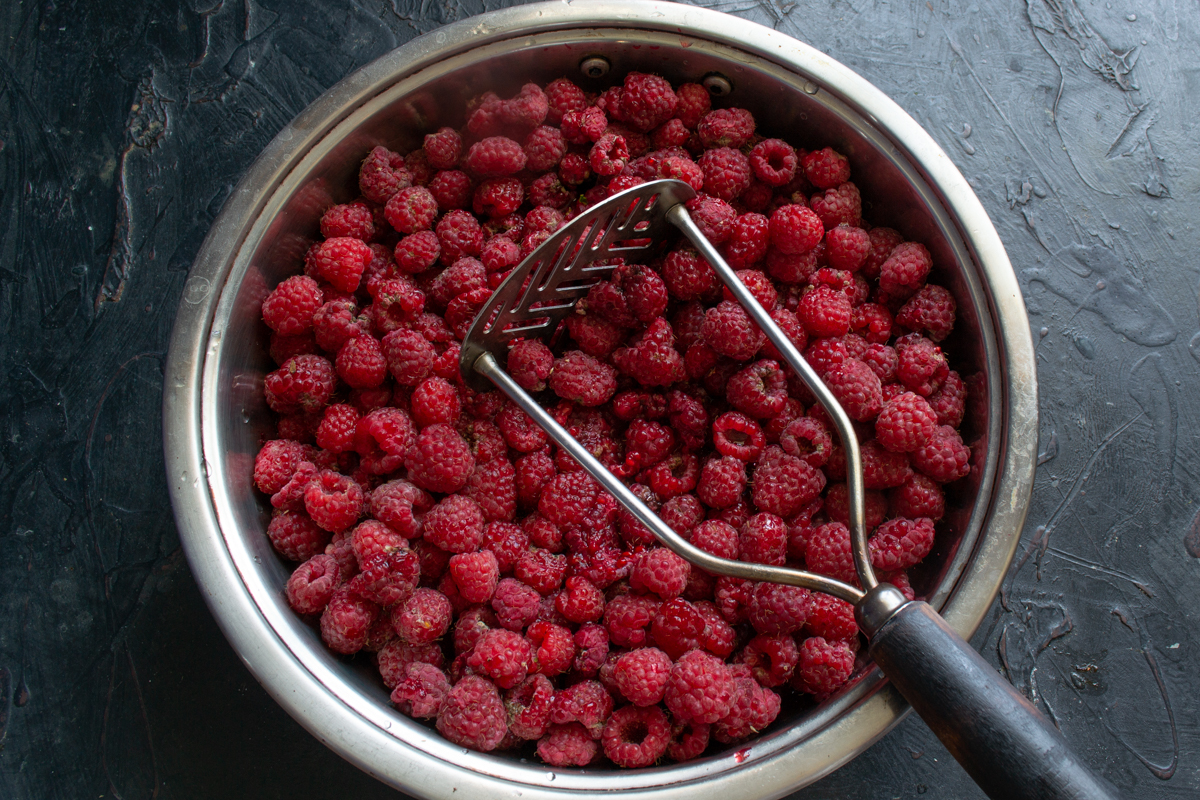
Mash the berries into a puree so they begin to release their aromatic juice.
Cover the pot with a lid and leave the raspberry puree for a few hours.
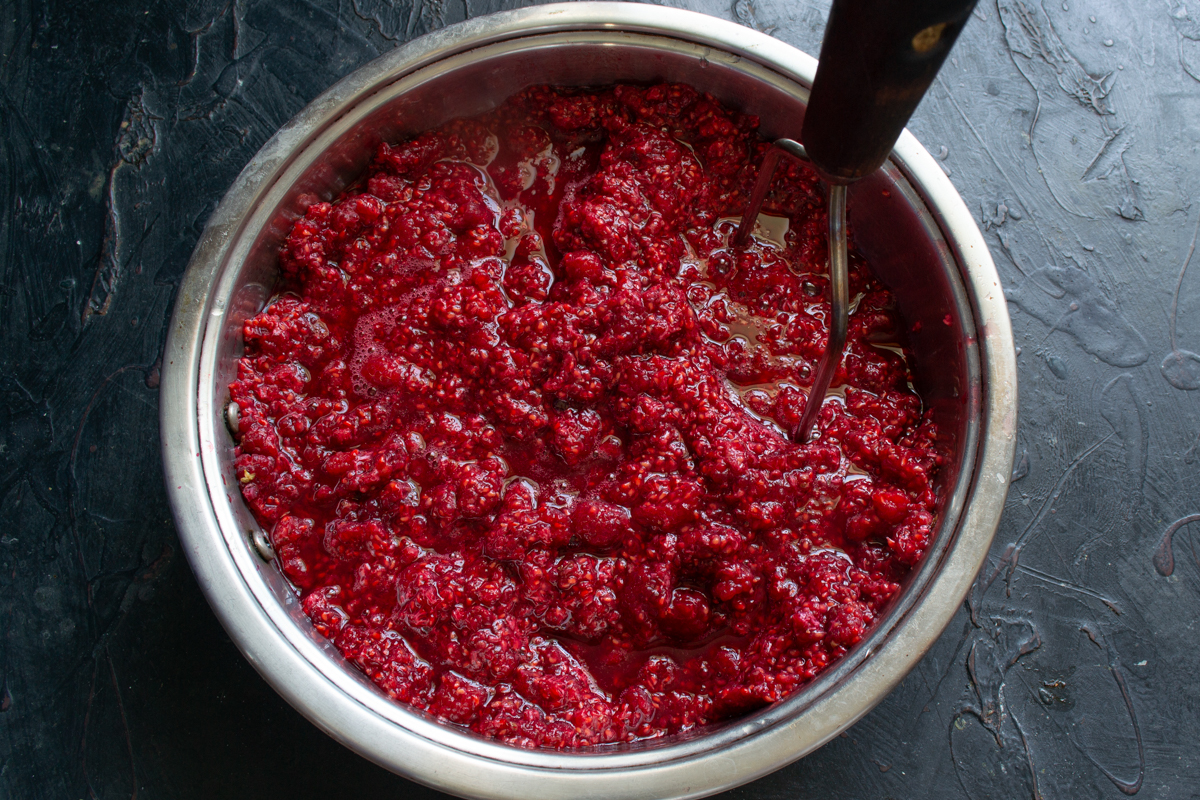
Leave the berry mass for a few hours so the juice separates better from the pulp.
After a few hours, heat the raspberry puree until it boils. Be careful when heating—the puree is thick, and it will puff and splatter as it comes to a boil.
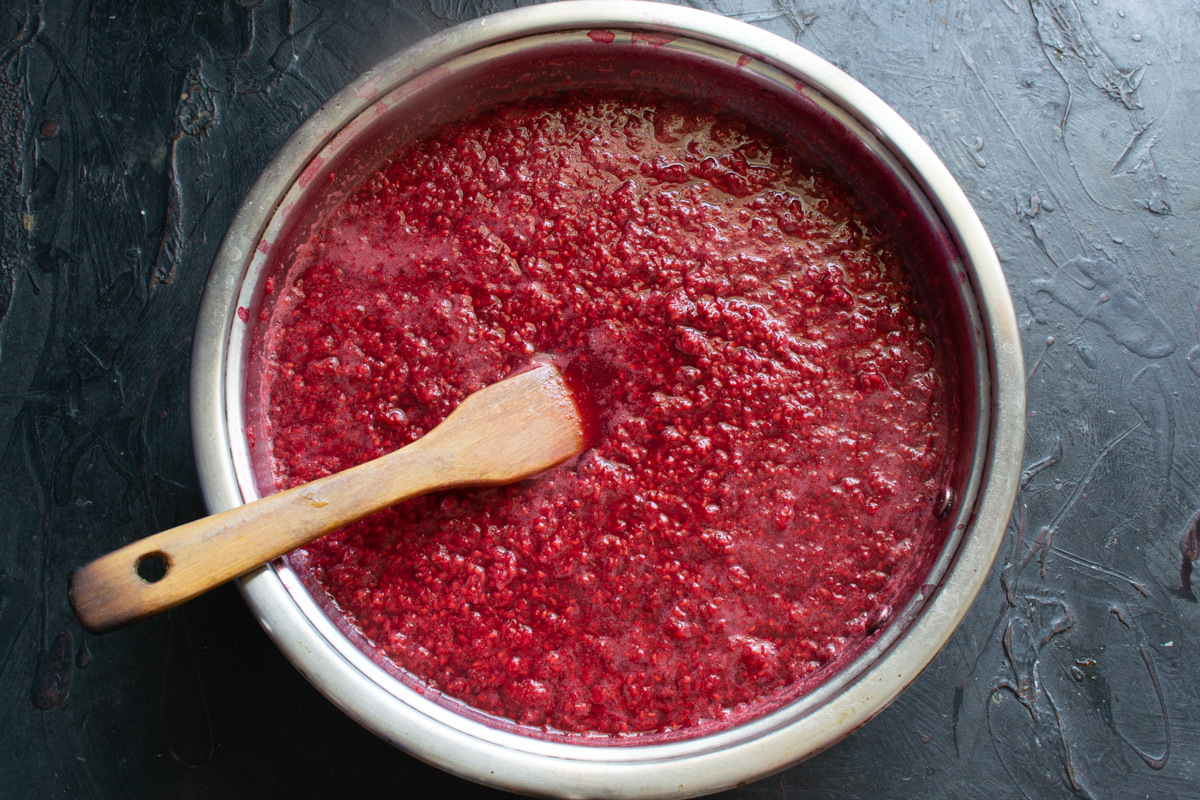
Warm the raspberries to break down the berry structure and make straining easier.
Place a fine mesh sieve or a colander lined with cheesecloth over a pot and pour in the hot raspberry puree.
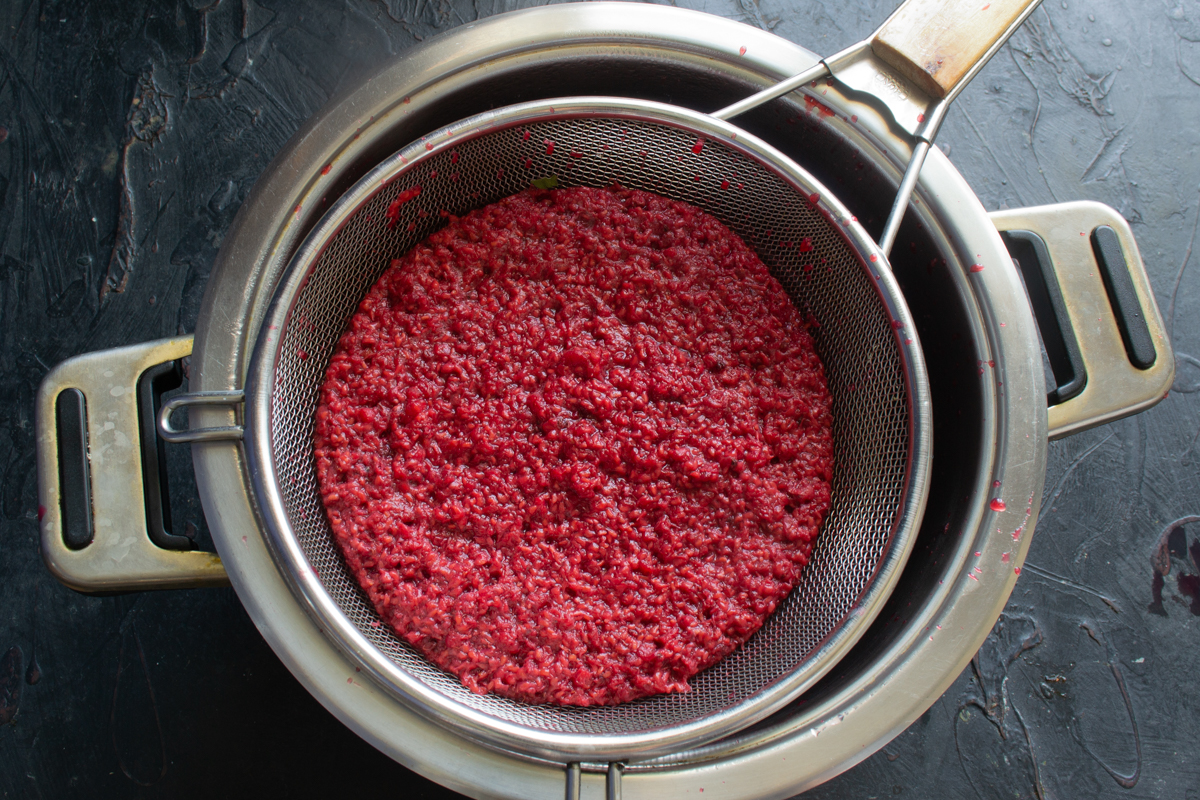
Use a fine mesh sieve to prevent tiny seeds from getting into the future syrup.
Press the puree with a potato masher or a spoon to extract as much raspberry juice as possible. I highly recommend pouring boiling water over the remaining pomace on the mesh and boiling it. Strain it again through the sieve and add sugar to taste. It makes a delicious raspberry mors (a traditional fruit drink), which is incredibly refreshing in the heat.
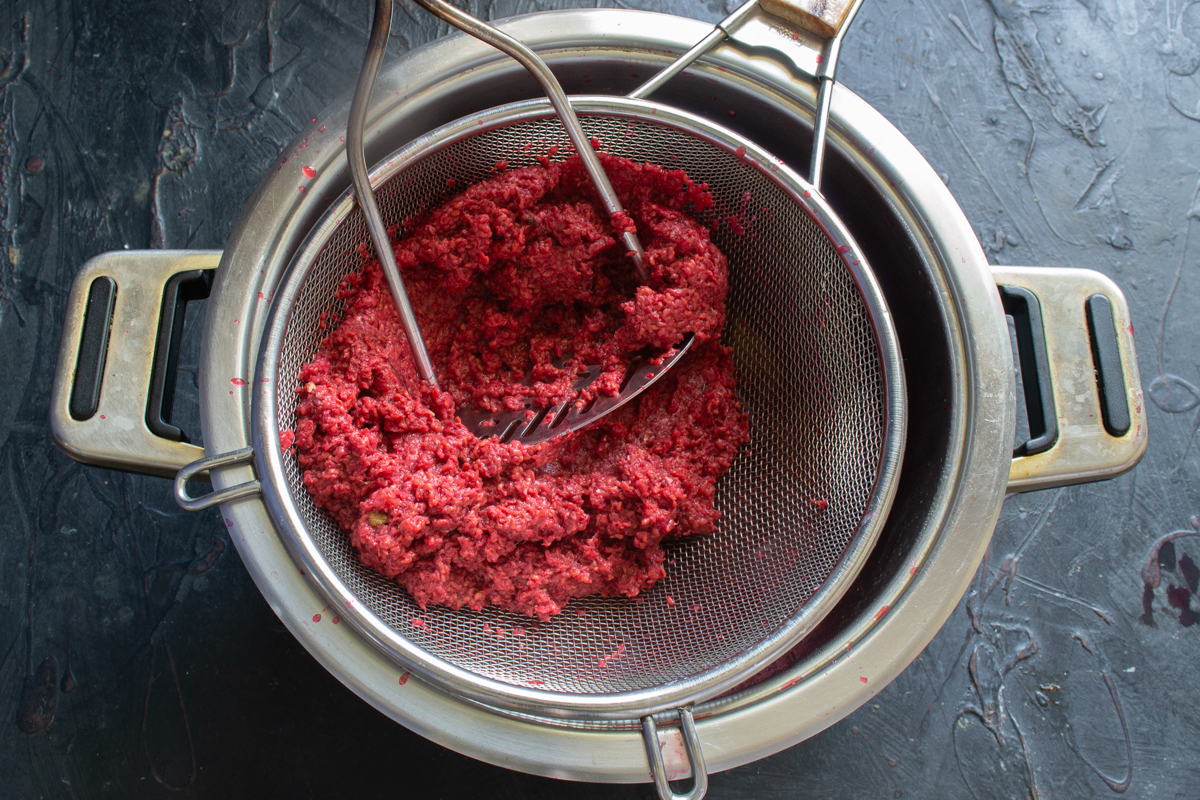
Press the mass thoroughly to extract as much pure juice as possible.
Strain the raspberry juice one more time so the syrup turns out crystal clear.
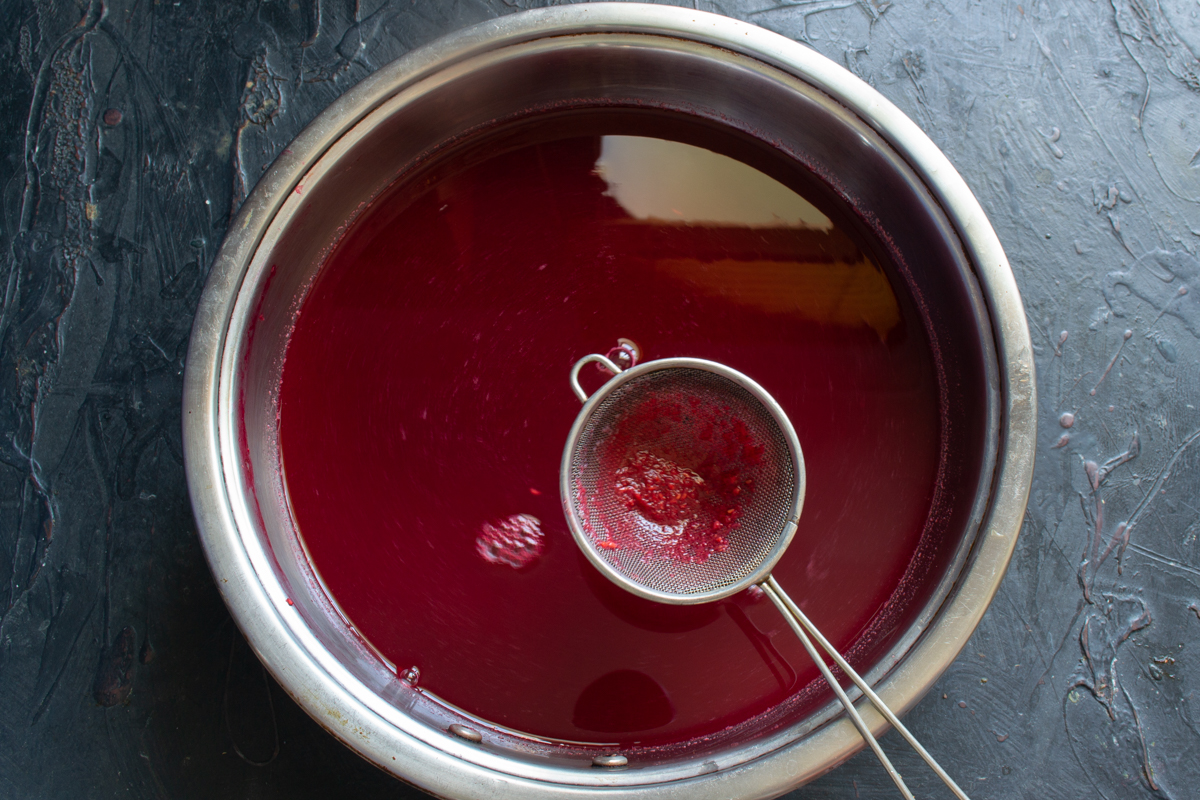
A second straining stage will make your syrup flawlessly clear.
Weigh the extracted juice. Add granulated sugar at a ratio of 1 kg (2.2 lbs) of sugar per 1 kg (2.2 lbs) of juice.
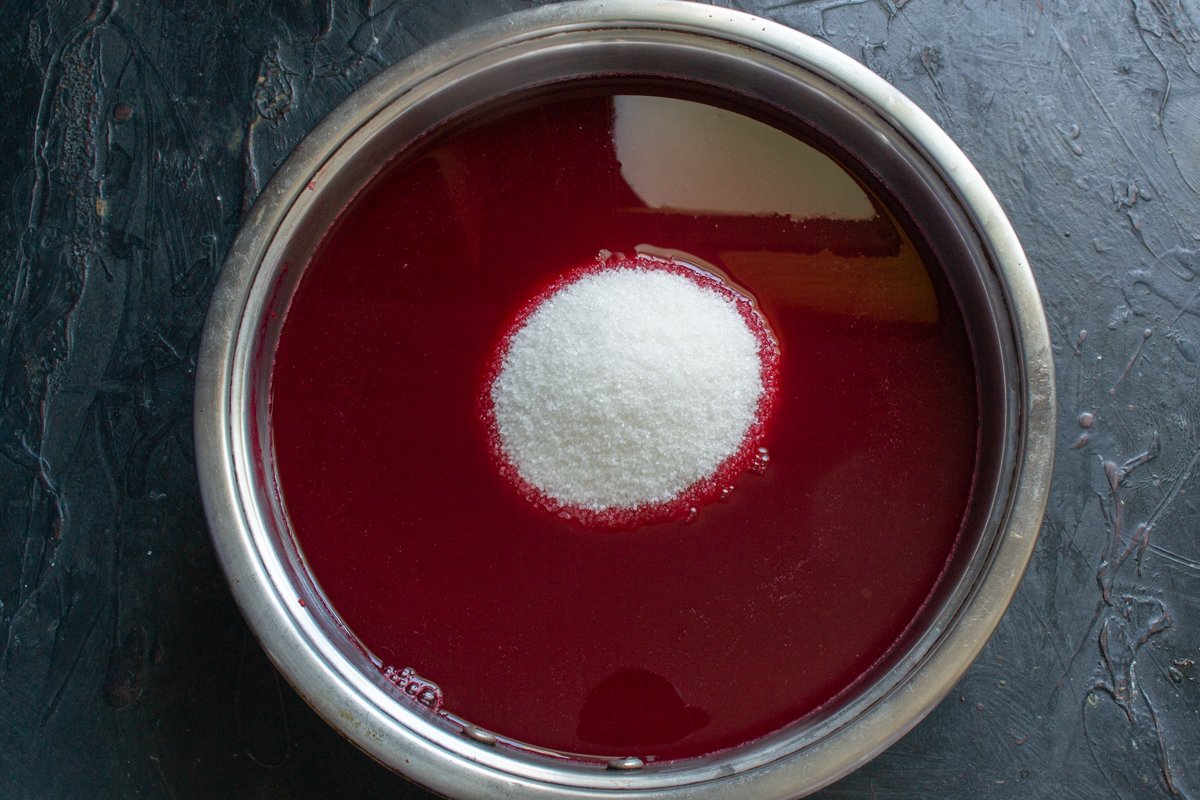
Maintain a one-to-one ratio so the syrup stores well without refrigeration.
Stir the syrup until the sugar completely dissolves. Heat to a boil and boil for 4 minutes. Skim off the foam that forms on the surface; otherwise, it will set and float in flakes. Raspberry skimmings are another wonderful byproduct of making syrup and jam—I have loved them since childhood.
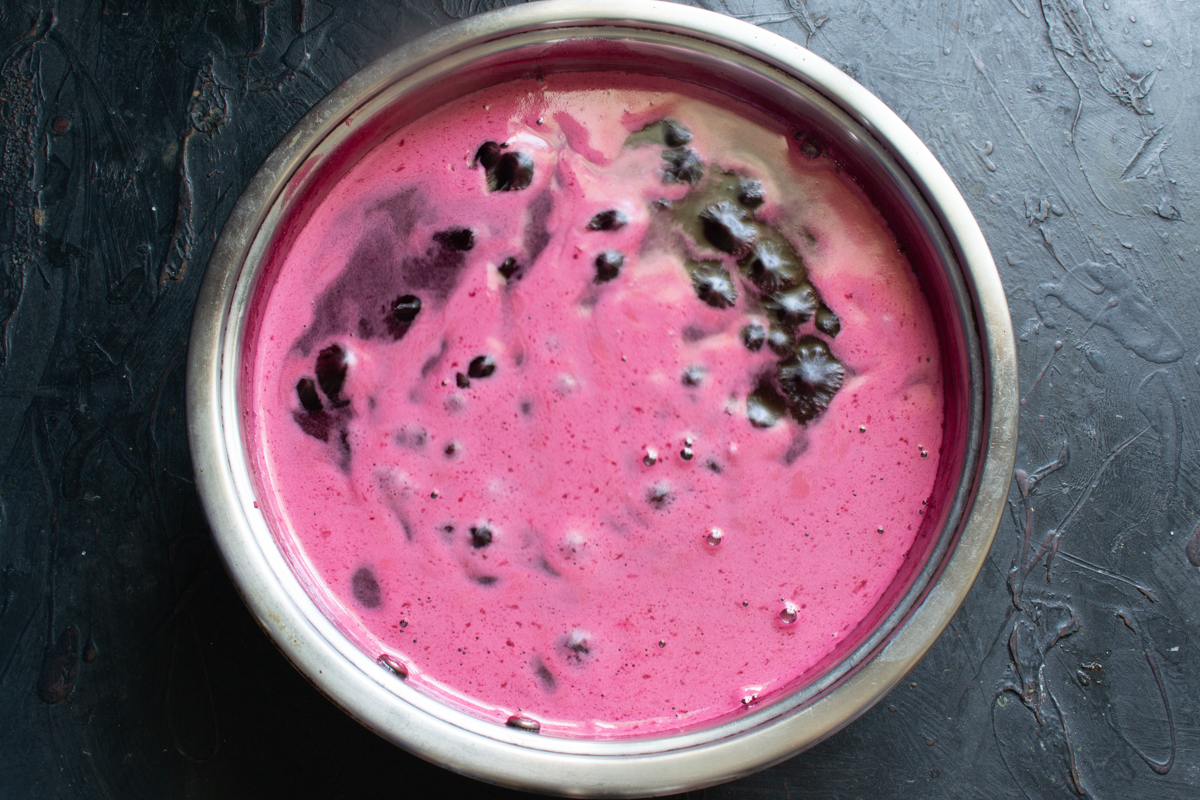
Simmer the syrup over low heat, making sure to skim off the forming foam.
Jars and bottles are suitable for packing the syrup. Wash the containers in a warm baking soda solution or with dish soap, and rinse thoroughly with clean water. Dry the containers in a hot oven for 10 minutes. Boil the lids. Pour the boiling syrup into the prepared containers. Cover the jars with a clean towel and leave at room temperature until completely cool.
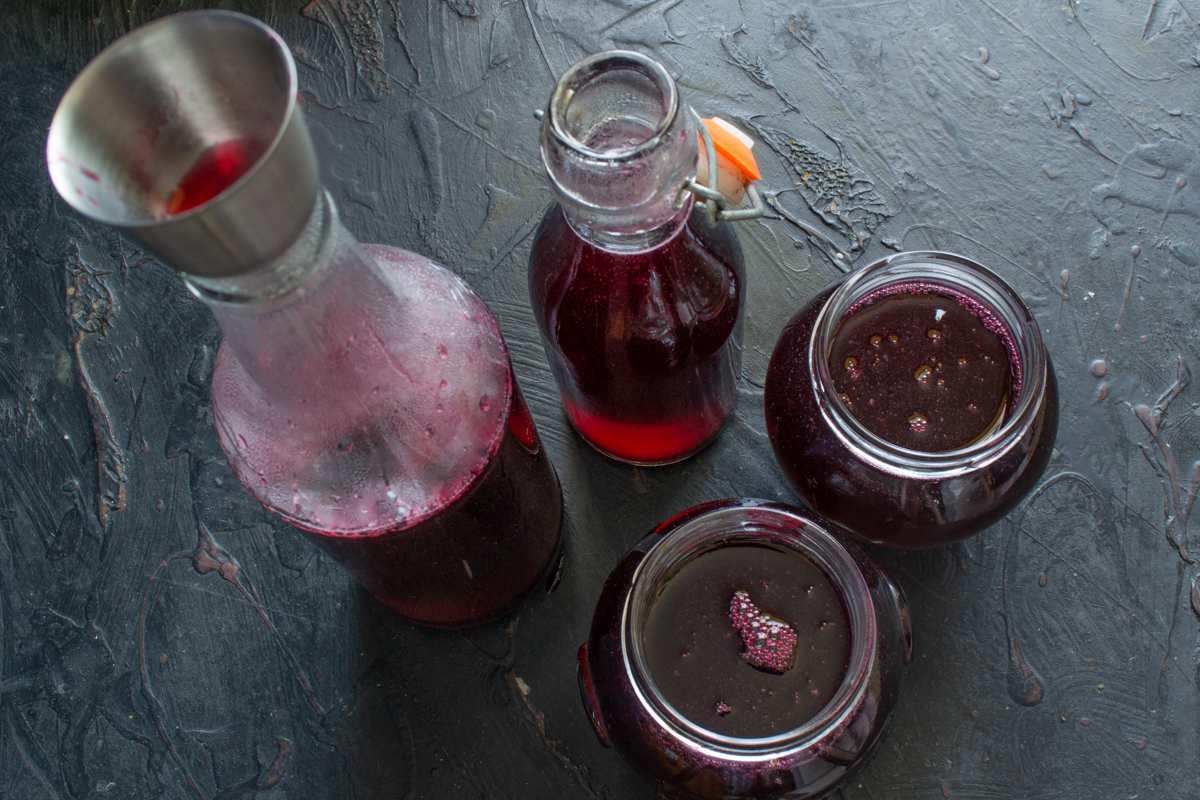
Pour the hot syrup into sterilized bottles or jars for long-term storage.
Once cooled to room temperature, seal the syrup tightly with dry, boiled lids. Store in a dry, dark place. You can also sterilize the raspberry syrup: seal with lids while hot, place in a pot lined with a towel, and pour in hot water so it covers the lids. Once boiling, sterilize 500 ml (1 pint) containers for 15 minutes.
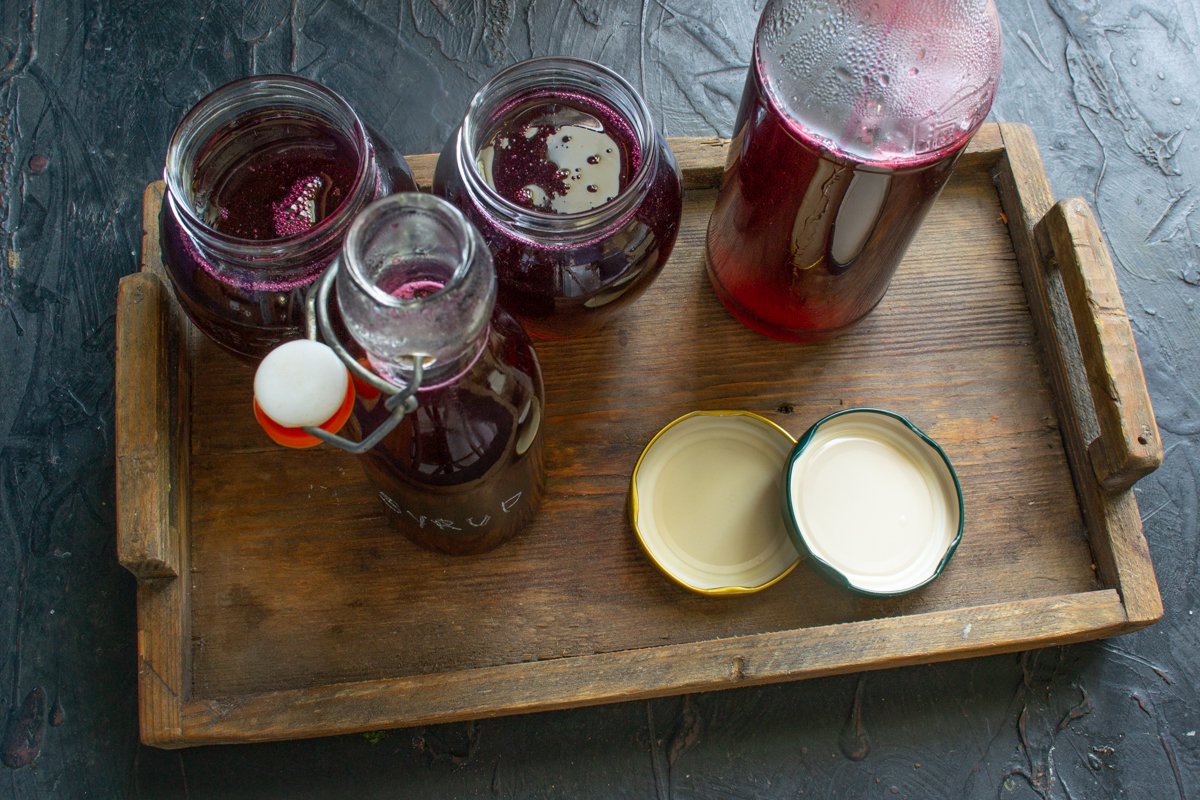
Bright, thick, and highly aromatic syrup is ready for winter!
With the finished syrup, you can make a delicious raspberry smoothie: simply blend one ripe banana, 150 ml (5 fl oz) of milk, 40 g (1.4 oz) of raspberry syrup, and a pinch of ground cinnamon. Besides drinks, this raspberry syrup beautifully complements soft cheeses like ricotta or camembert, creating an exquisite flavor contrast. If you want to give the preserve a more complex aroma, try adding a sprig of fresh basil or a little lemon zest during the boiling stage to highlight the berry freshness. To ensure the raspberry syrup retains its bright color and doesn't crystallize over time, store it in a cool, dark place, protected from direct sunlight. If you don't plan to use the entire bottle at once after opening, it is best to move it to the refrigerator. Remember that perfect clarity is achieved precisely through double straining, so do not skip this step—the result in the form of a radiant, clear product is definitely worth the effort.
0 comments