
A thick, crispy crust, a springy crumb, and the magical aroma of homemade baking—we are making whole wheat bread at home. The use of whole grains in bread-making traces its roots back to ancient times when flour wasn't sifted as meticulously, retaining all the valuable vitamins and the bran of the grain. This approach not only makes the bread healthier but also imparts a distinct nutty flavor. The cold-proofing method we use allows the yeast to work slowly, developing a complex flavor profile that simply can't be achieved with a quick bake. By breakfast, you'll have fresh bread that makes you feel as if you just stepped into a cozy French bakery on the corner.
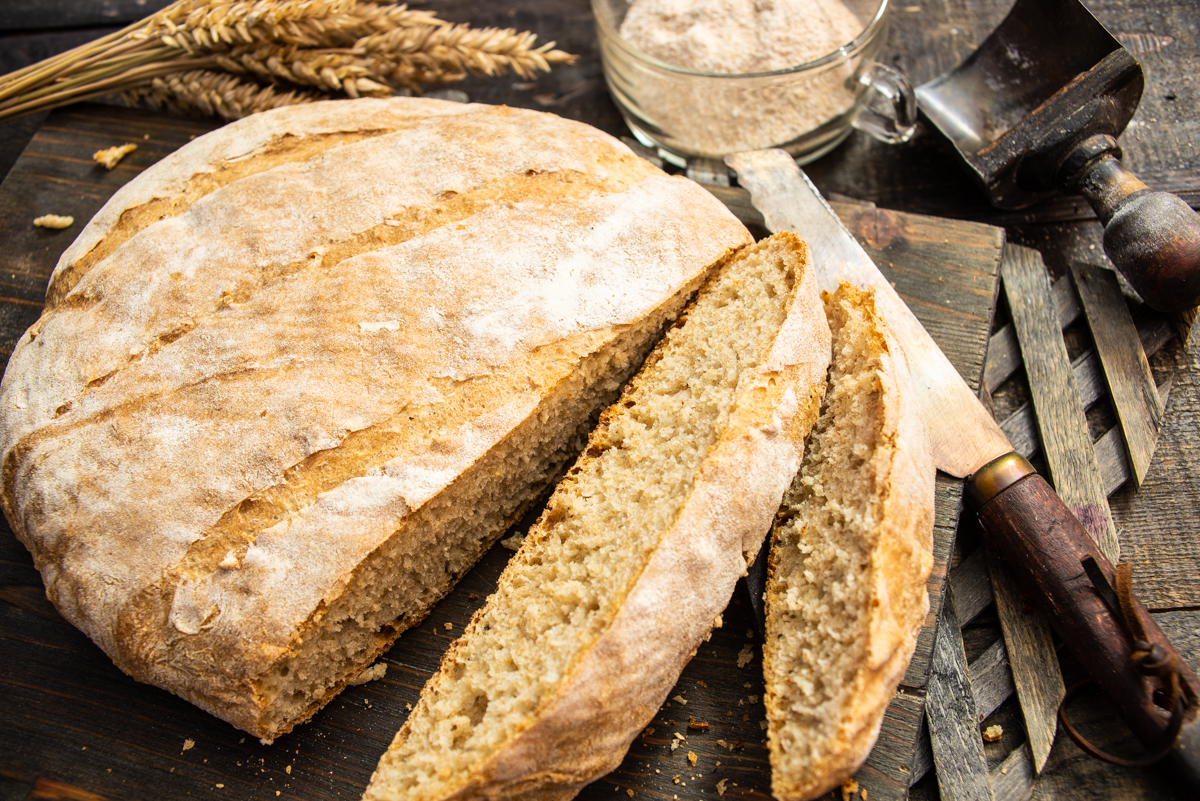
The finished bread features an airy crumb structure and an incredible aroma. Serve it alongside soups or use it as a base for wholesome breakfasts.
Ingredients
- 100 g whole wheat flour
- 300 g bread flour
- 3/4 teaspoon dry yeast (instant yeast)
- 15 g canola oil
- 280 g filtered water
- 4 g table salt
- 10 g granulated sugar
- oil for the bowl, flour for dusting
How to Make Whole Wheat Bread
You can knead bread dough by hand or in a stand mixer using a dough hook. Do whatever feels comfortable to you. Add the bread flour, whole wheat flour, sugar, and salt into the bowl. Always use more regular bread flour than whole wheat flour.
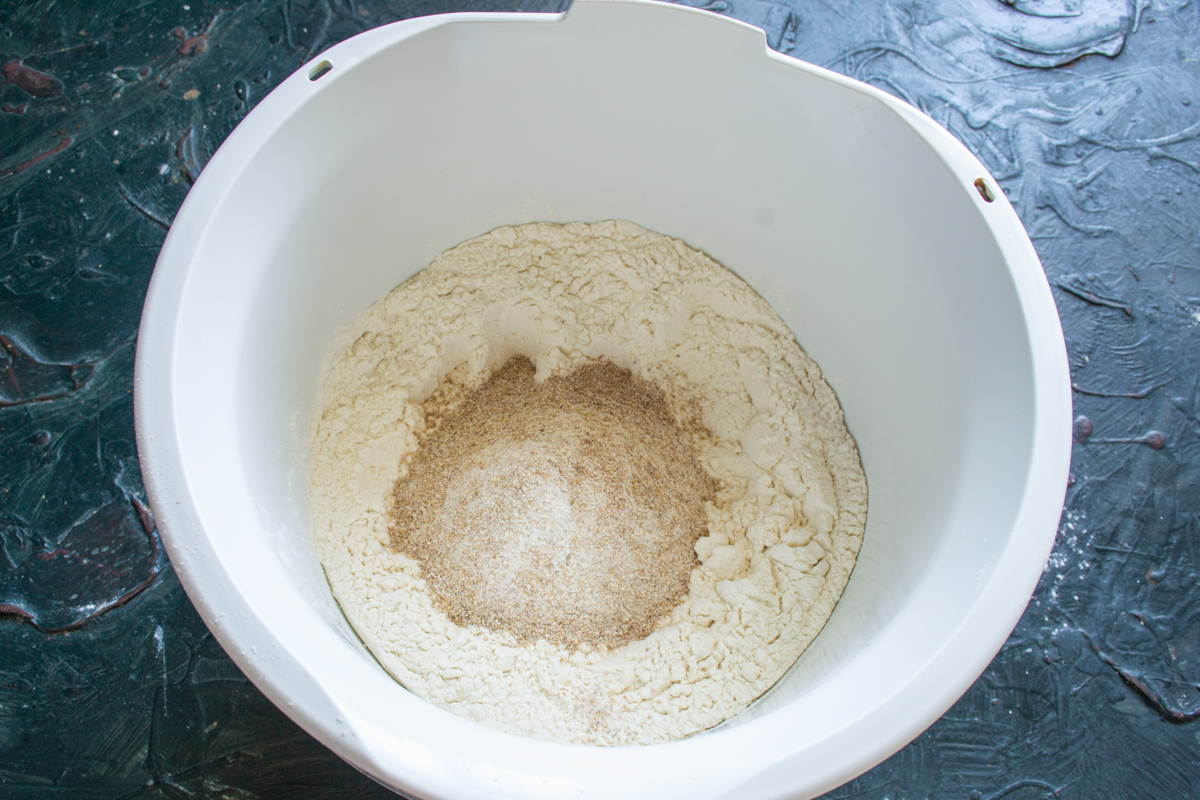
In the mixing bowl, combine bread flour and whole wheat flour—the foundation of our wholesome homemade bread.
Add the instant yeast to the flour. This is dry yeast that doesn’t need to be activated. It is added straight to the dry ingredients. Active dry yeast must be dissolved in slightly warm water and left for 20 minutes at room temperature, then added to the dough with the liquid ingredients—in this recipe, with the water. The amount of dry yeast needed does not depend on the type.
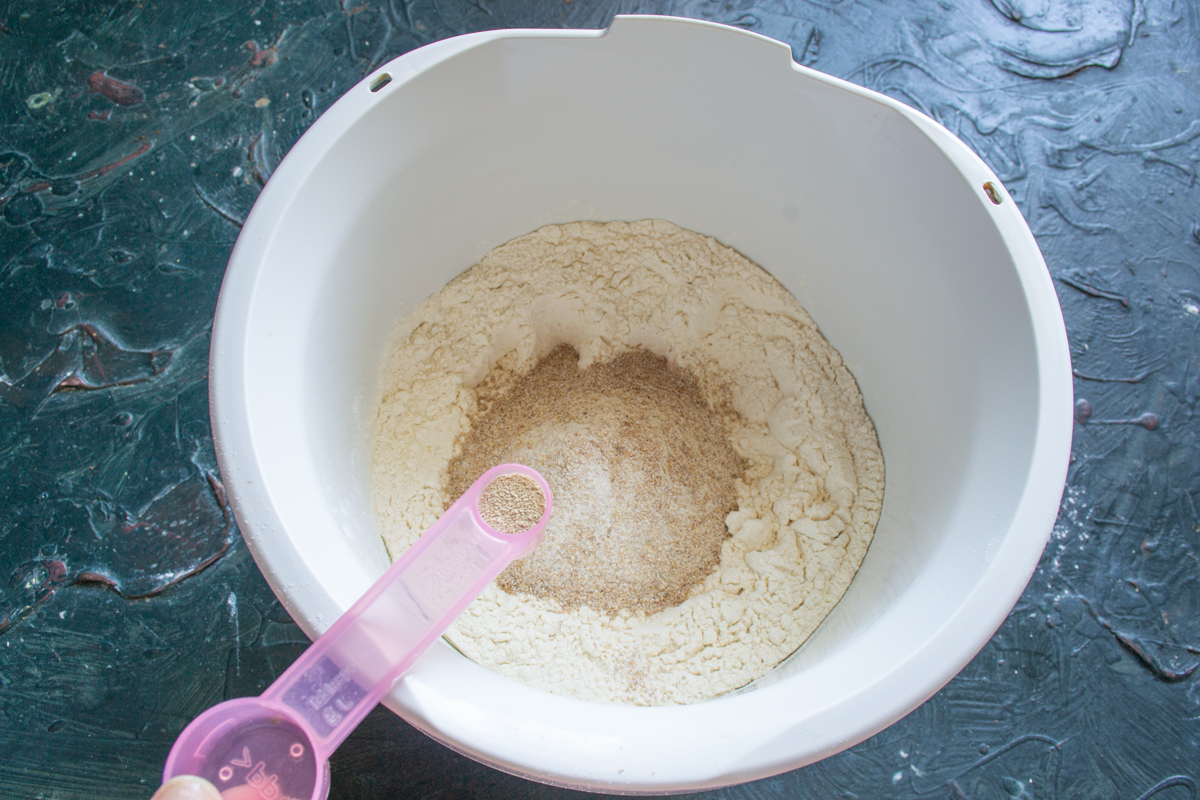
Instant yeast requires no pre-activation and can be added directly to your dry components.
Mix the dry ingredients. Pour in the water and canola oil. Feel free to substitute canola oil with olive oil or any refined vegetable oil.
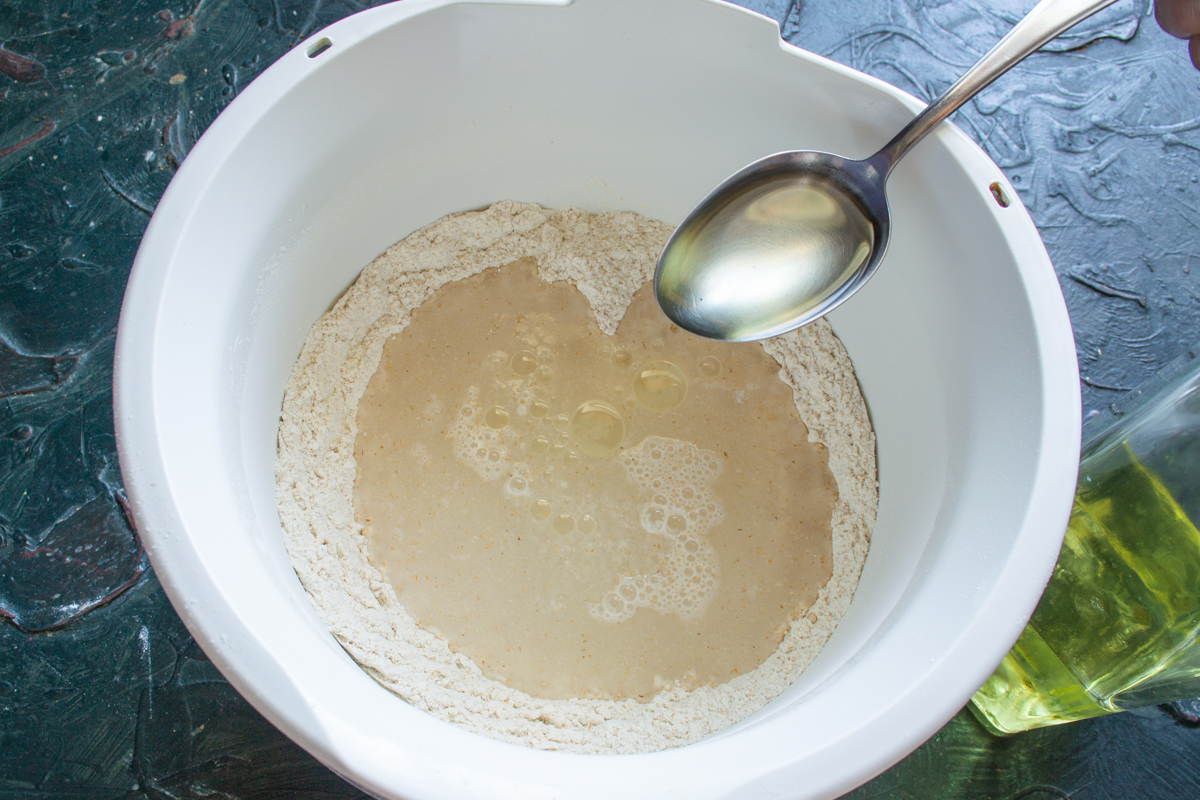
Pour in the water and canola oil. Olive oil or any other refined vegetable oil works perfectly instead of canola oil.
Attach the dough hook. Knead the dough on low speed for 12–15 minutes. Once it stops sticking to the sides of the bowl and gathers around the hook, you can stop the mixer.
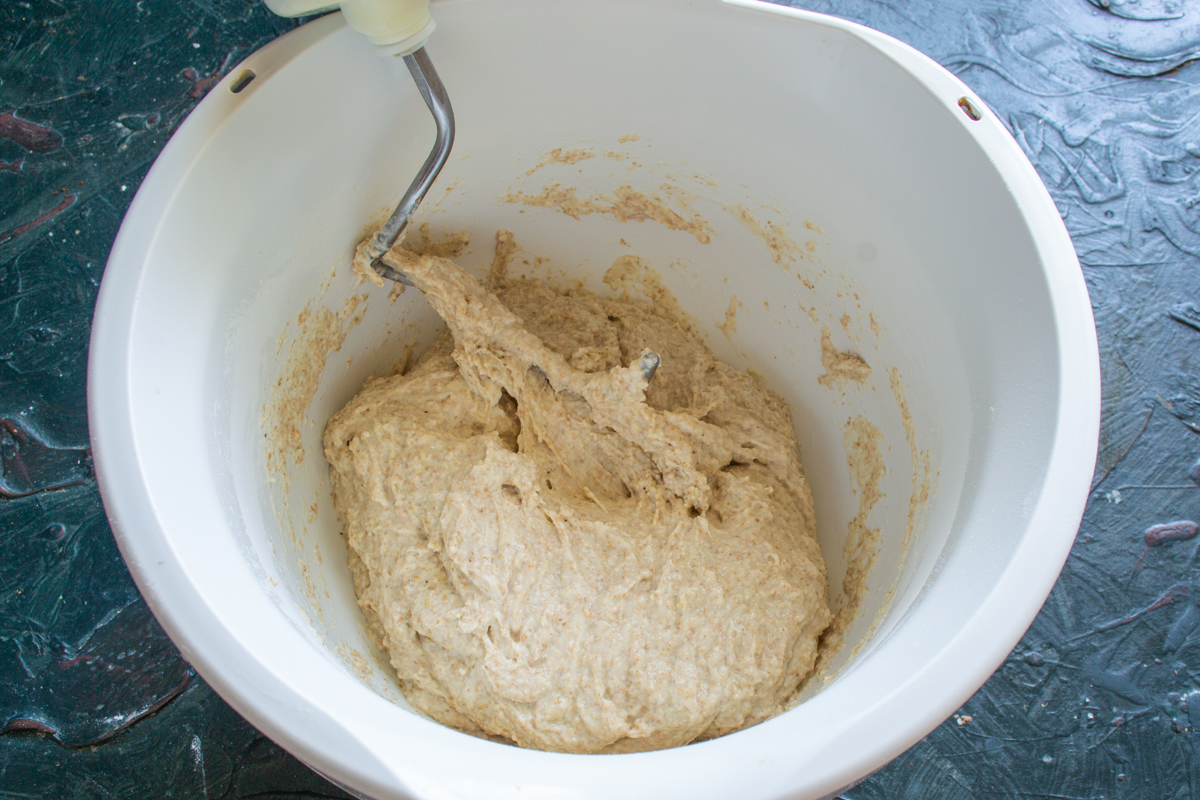
Knead the dough on low speed until it no longer sticks to the sides of the bowl and cleanly wraps around the dough hook.
Grease a large, deep bowl with vegetable oil. Transfer the dough into the bowl.
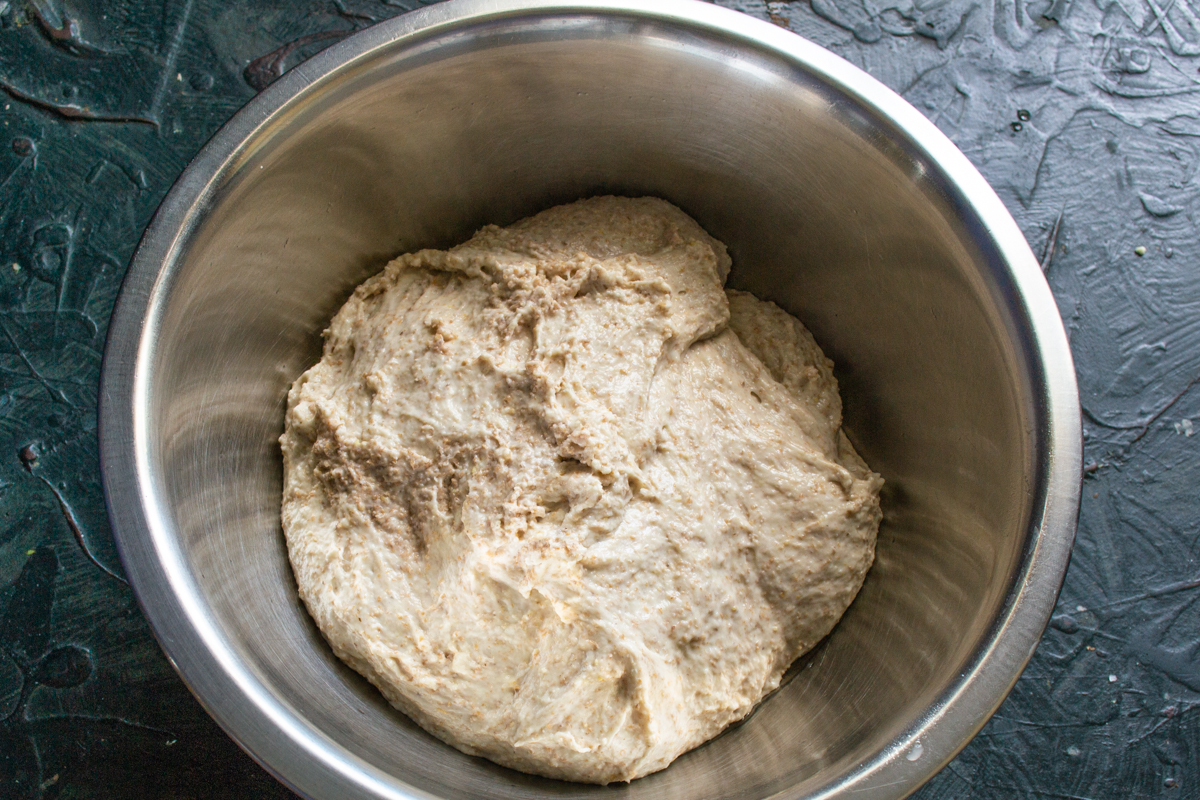
Transfer the smooth, elastic dough into an oiled bowl for its first rise.
Cover the bowl tightly with plastic wrap. Place the bread dough in a warm spot for 2 hours.
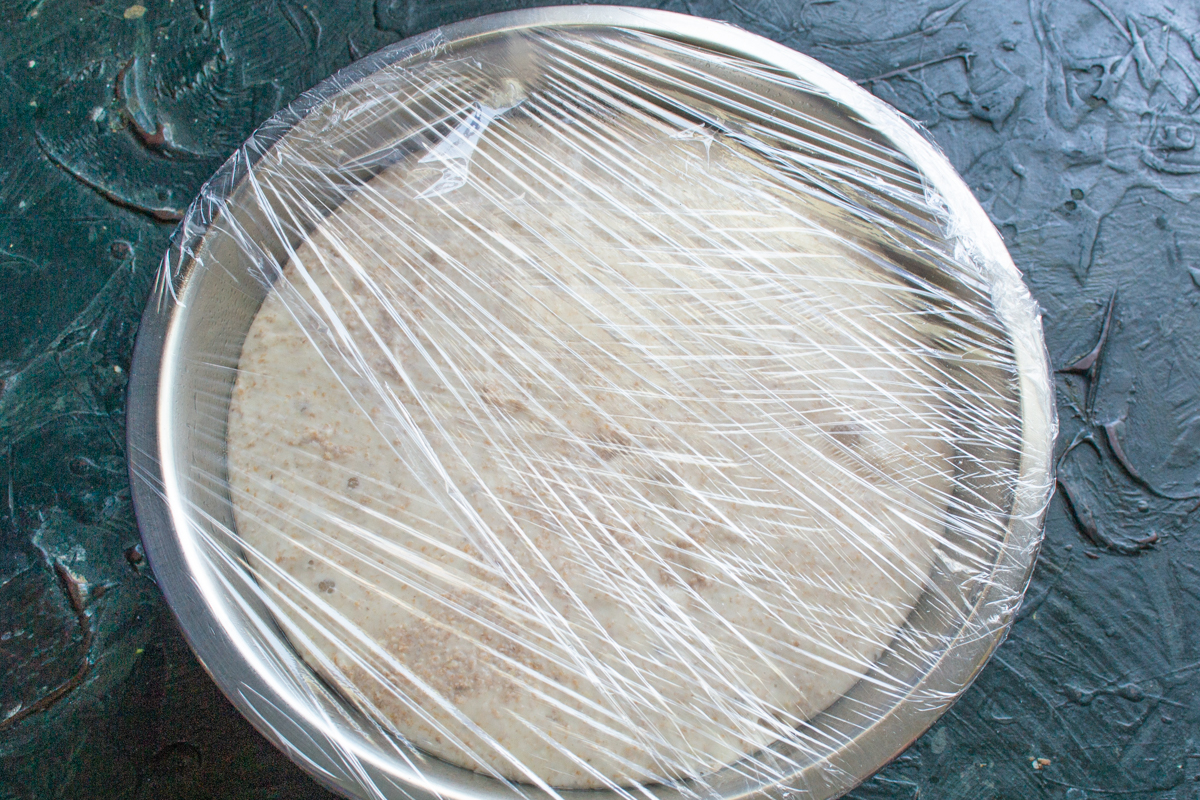
Plastic wrap prevents the dough from drying out and forming a skin. Leave it in a warm place for 2 hours.
After two hours, punch down the dough to release the air.
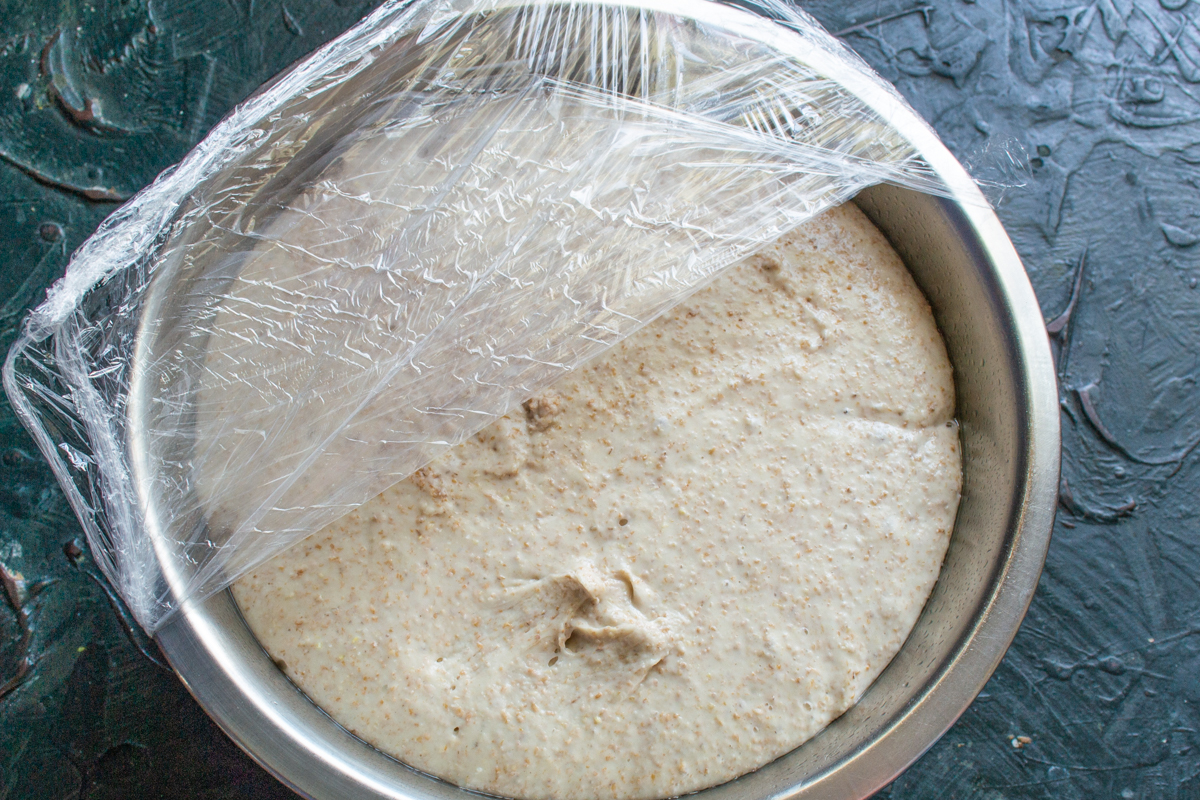
The dough should have significantly increased in volume. Now, gently punch it down to release the excess air.
Line a proofing basket with a linen cloth and dust it generously with flour.
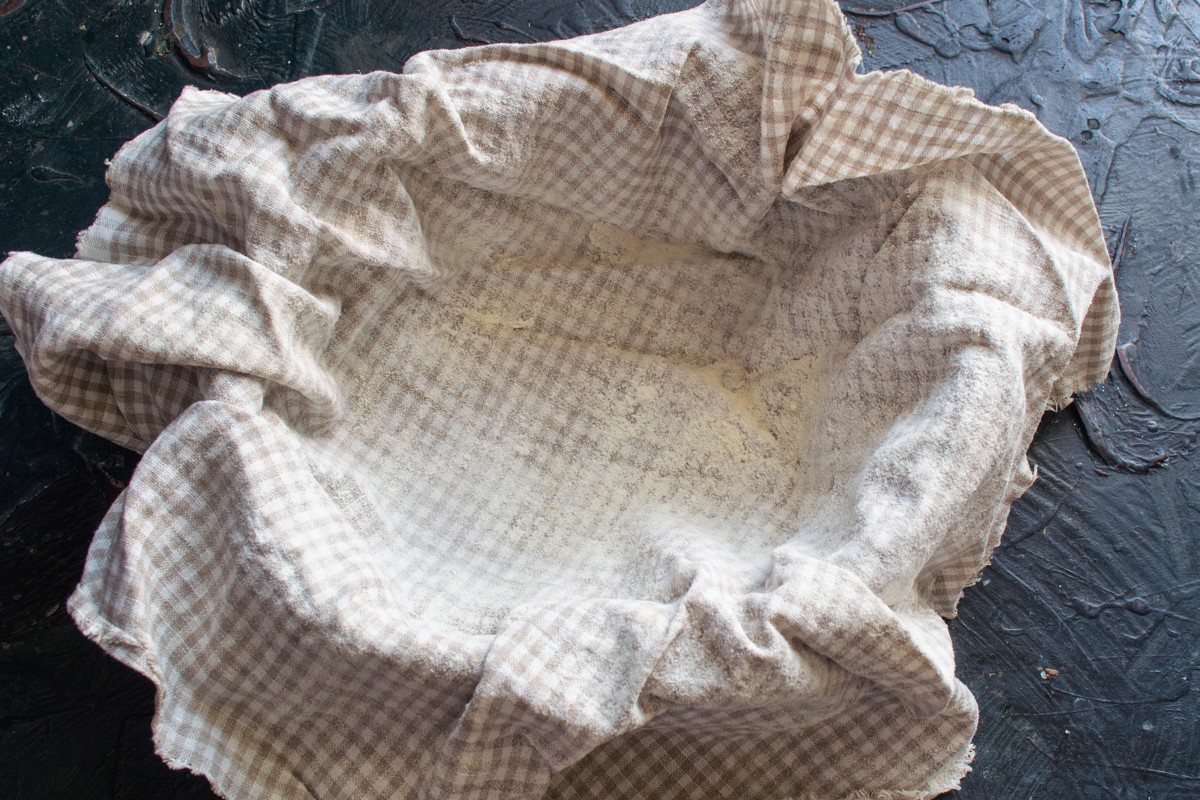
A linen cloth dusted with flour will help create a beautiful crust pattern and keep the dough from sticking.
Turn the dough out onto a lightly floured work surface. Shape it into a round loaf.
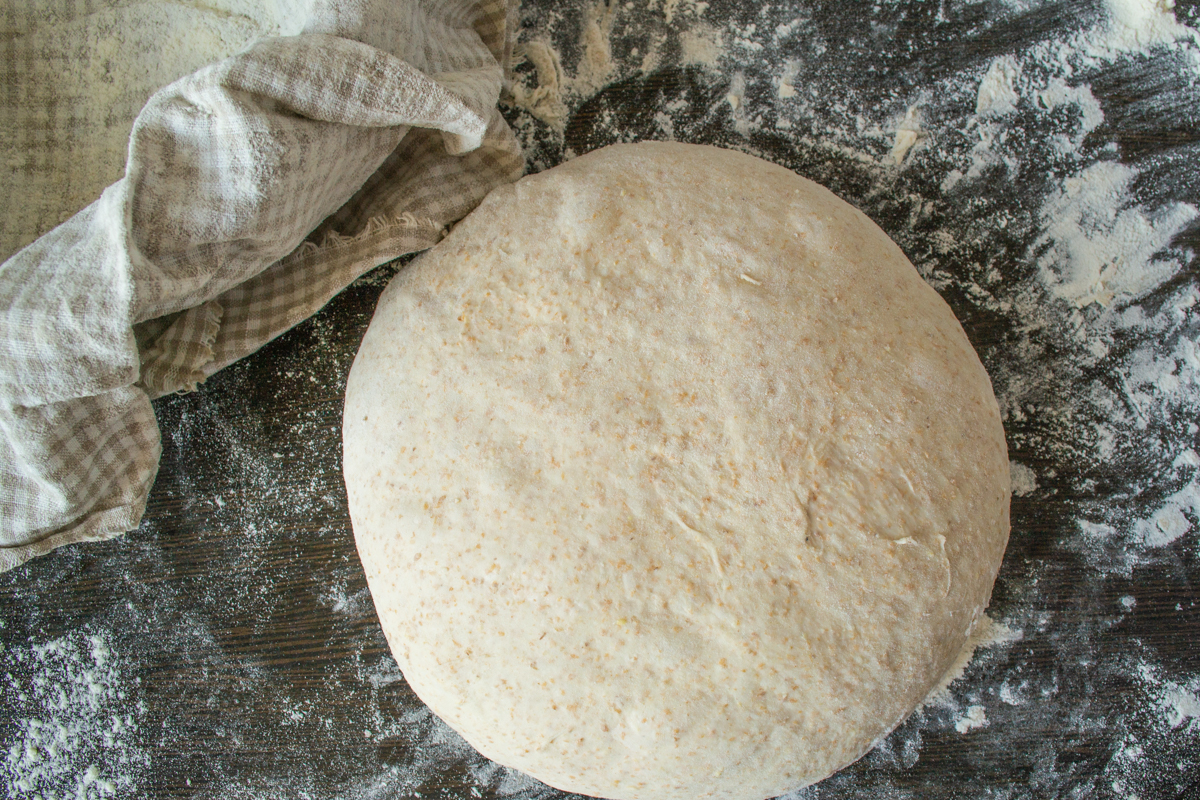
Gently shape the dough into a round loaf, taking care not to completely deflate its internal structure.
Place the loaf seam-side up into the prepared proofing basket.
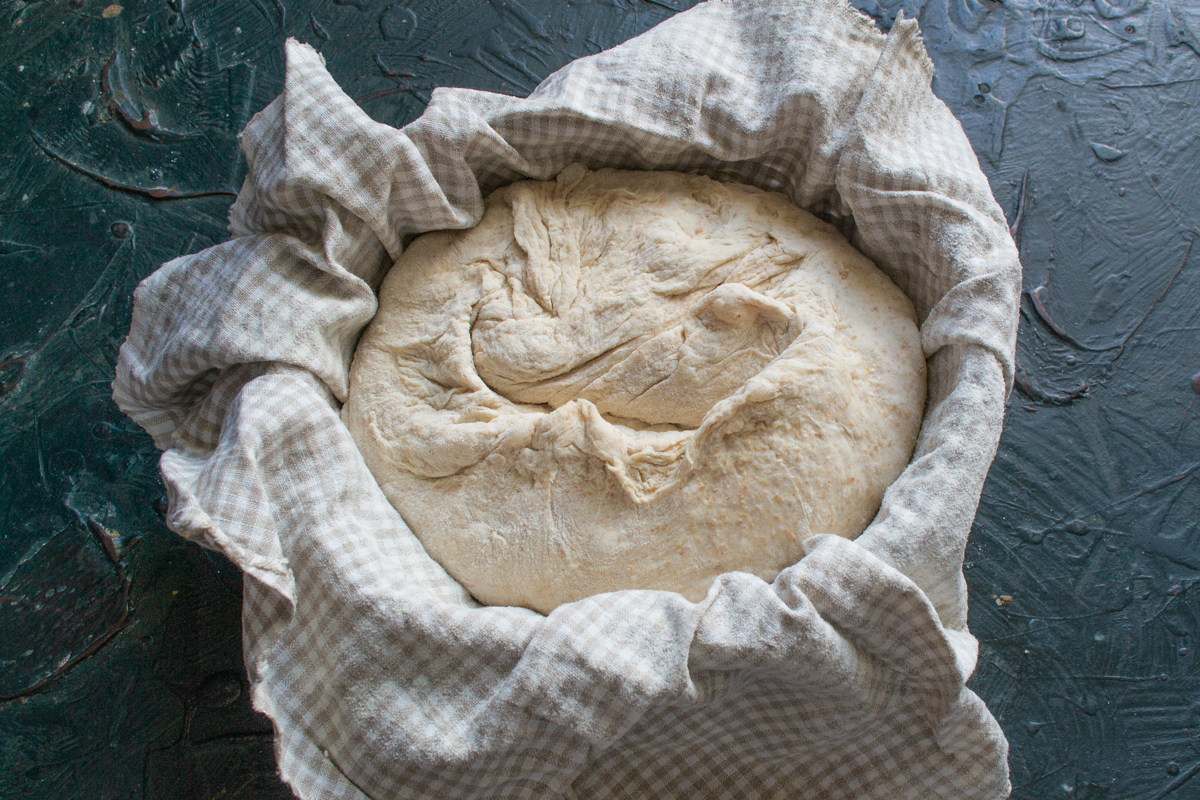
Place the shaped bread seam-side up in the basket so that when inverted onto the baking sheet, the smooth side is on top.
Cover the bread loosely with a cloth. Place it on the bottom shelf of the refrigerator. Leave the bread in the fridge to cold-proof for 10 hours.
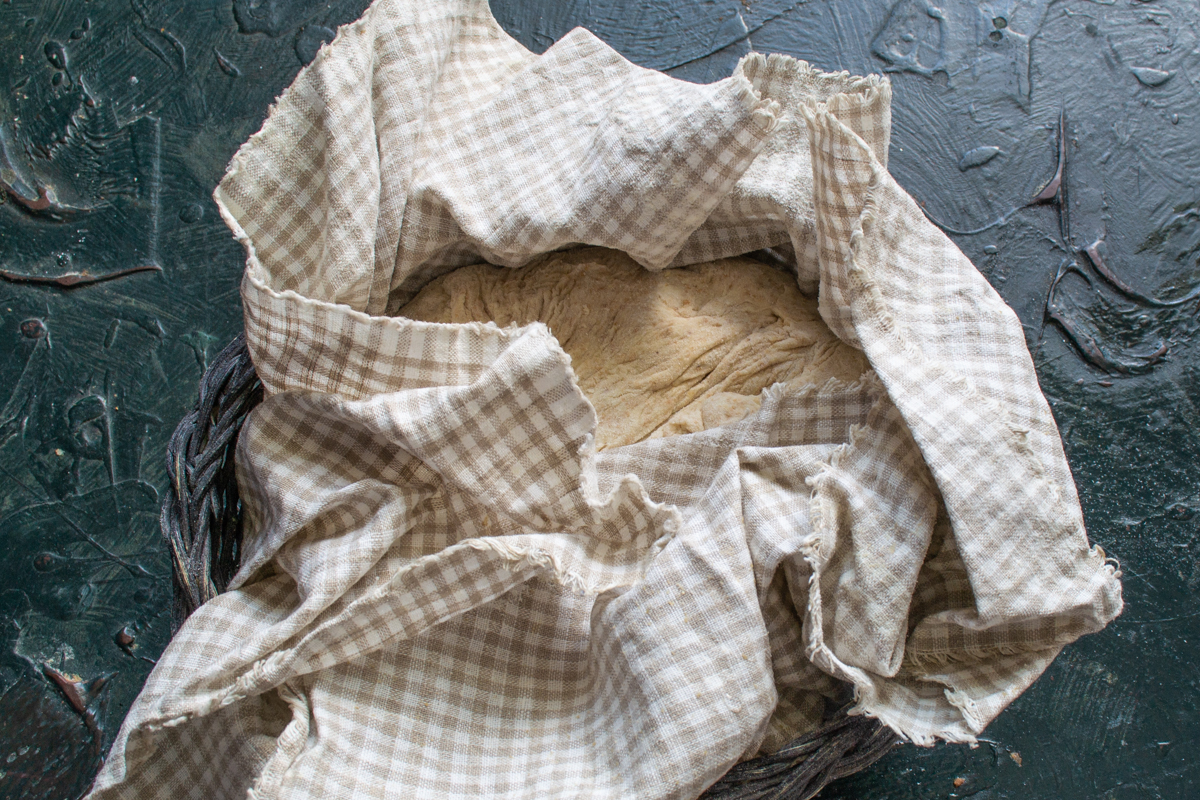
A prolonged cold proof in the refrigerator for 10 hours gives the bread an extraordinary depth of flavor and aroma.
After 10–12 hours, remove the bread from the refrigerator. Let it rest at room temperature for 30 minutes. Meanwhile, preheat the oven to 200°C (400°F).
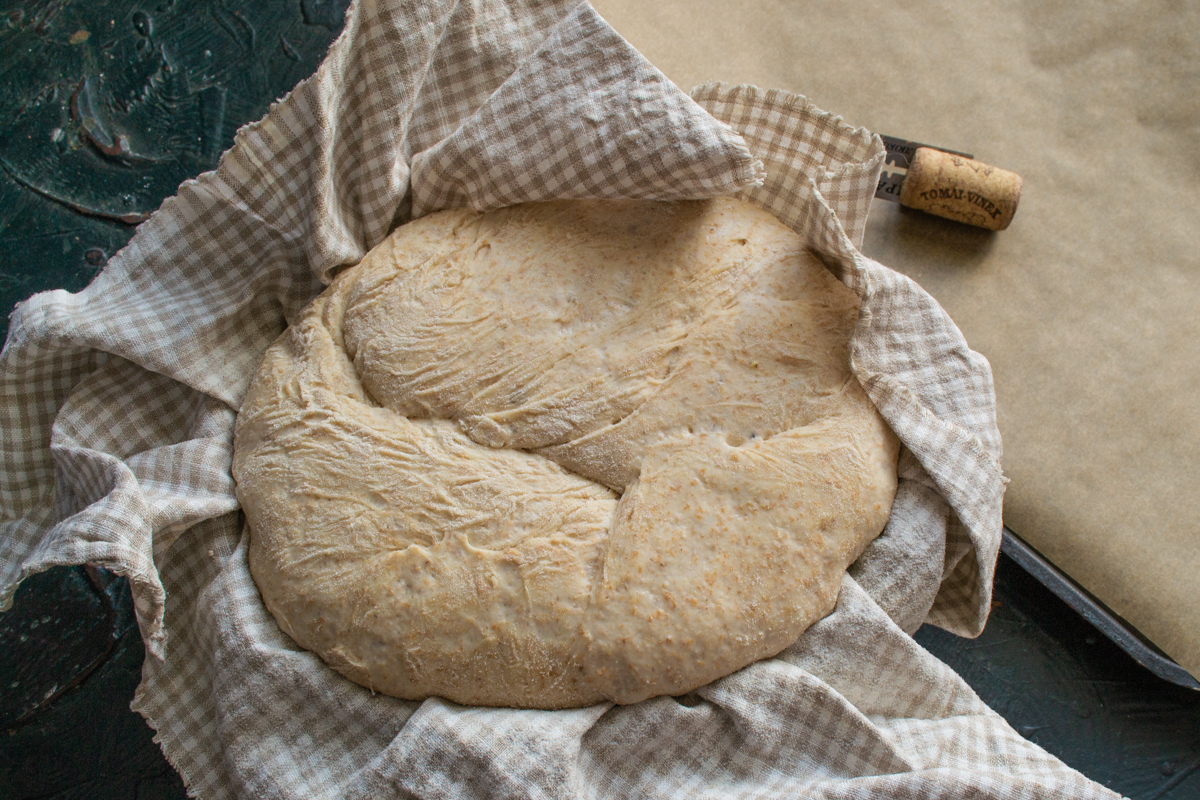
After taking it out of the fridge, let the dough warm up slightly at room temperature before sending it into the hot oven.
Line a baking sheet with parchment paper. Turn the proofing basket upside down over the sheet and carefully lift the basket away. Score the top of the bread with diagonal slashes using a lame or a sharp razor blade. To avoid cutting yourself, carefully insert the blade into a wine cork.
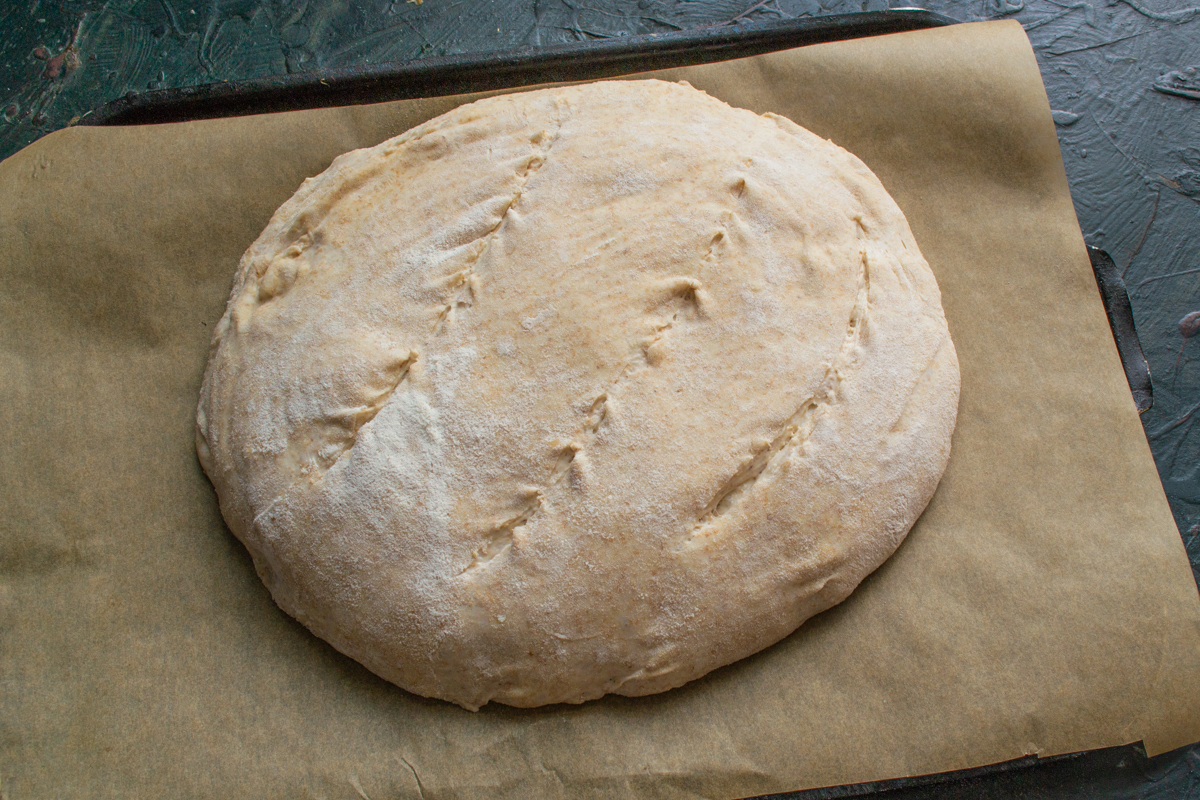
Scoring the top with diagonal cuts using a blade helps the bread expand properly in the oven and prevents it from tearing randomly.
Place the baking sheet with the bread into the preheated oven. Bake the bread for about 45–50 minutes. Periodically spray the walls of the oven with water to create steam, which results in a thick, crusty exterior.
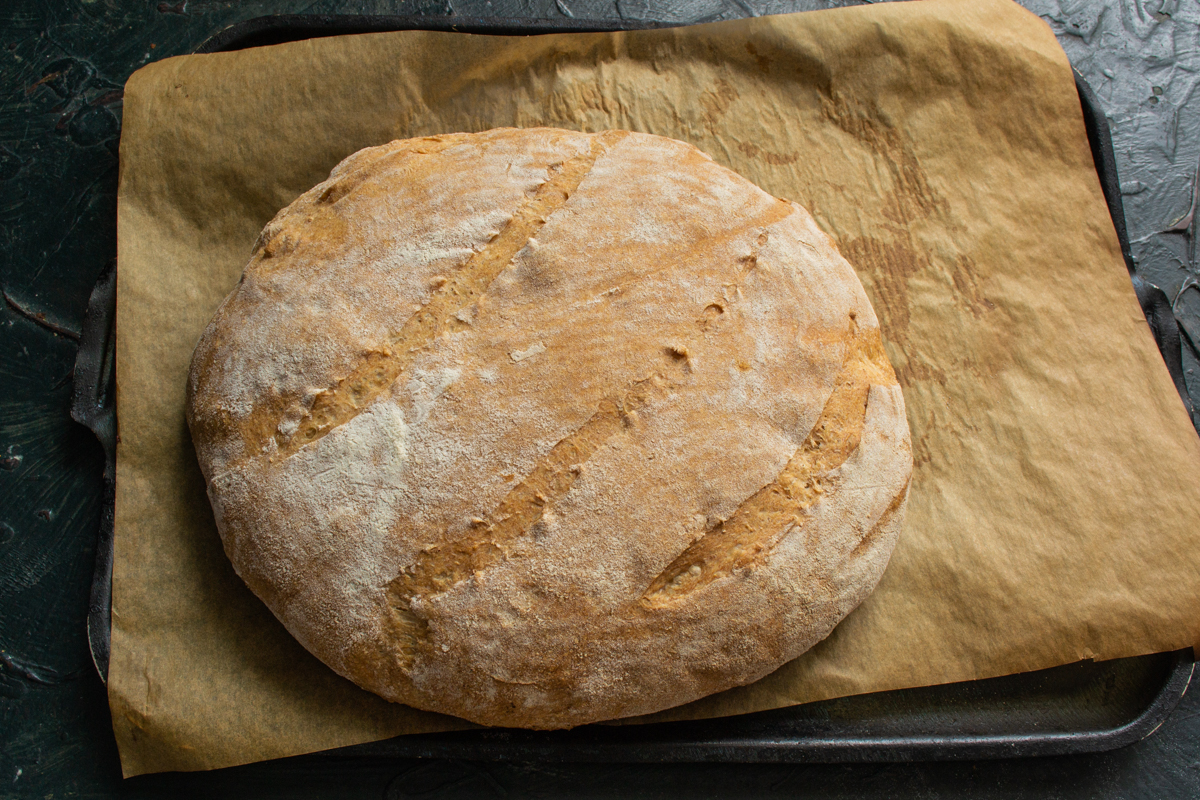
Bake until you achieve a beautiful golden crust. Using steam at the beginning of the bake will make the crust especially crispy.
Once baked, transfer the whole wheat bread to a wire rack to cool completely. Store it in a linen bag or paper sack.
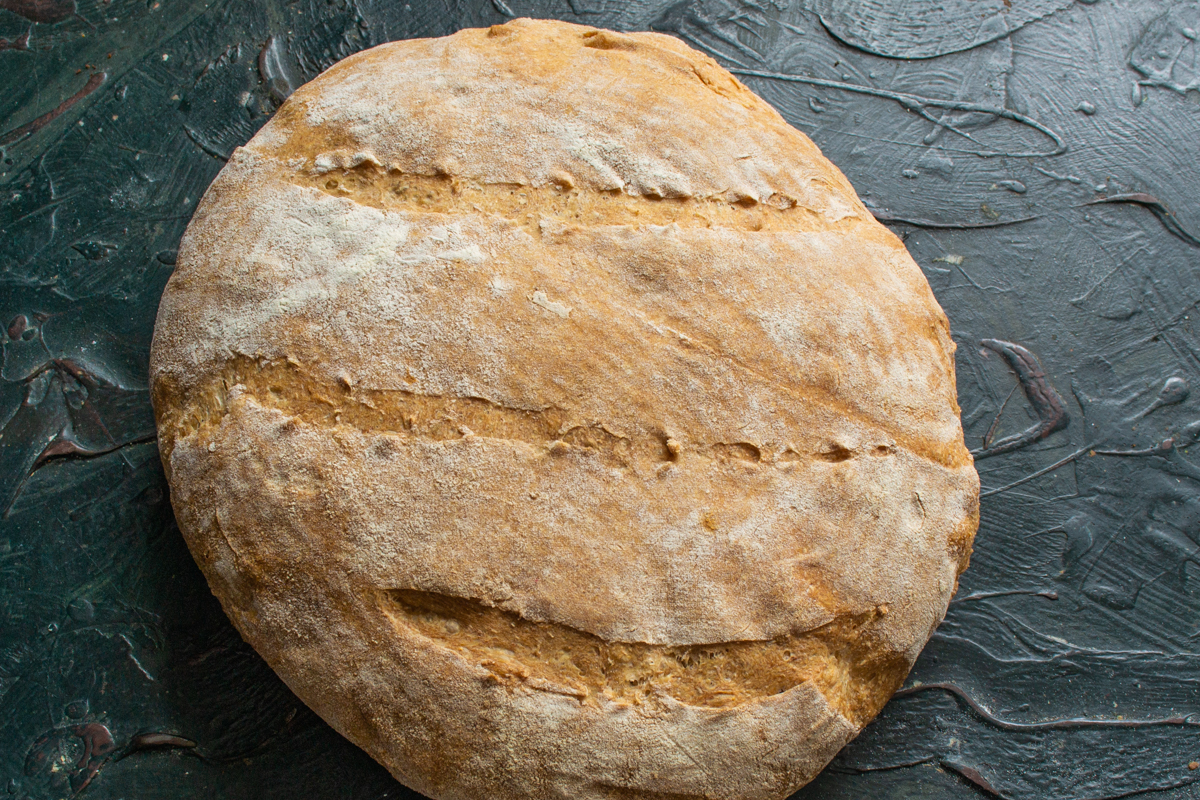
Allow the bread to cool completely on a wire rack before slicing so the crumb can fully stabilize.
To keep your whole wheat bread fresh longer, store it in a linen towel or a dedicated paper bag—this allows the crust to "breathe" and prevents the crumb from becoming soggy. If the loaf does dry out a bit, don't rush to get upset: slices of this bread are absolutely perfect for making crispy avocado toast or classic tomato and basil bruschetta.
For the ultimate result, don't forget to create steam in the oven during the first 10–15 minutes of baking. It is the humid environment that allows the dough to achieve maximum oven spring before the crust sets. If you want to experiment, try folding a handful of sunflower, flax, or pumpkin seeds into the dough—it will enrich the texture and add even more nutritional value to your bake.
0 comments