
Welcome to the heart of Eastern European comfort food with this classic recipe for Vareniki with Potatoes! These delightful half-moon dumplings, filled with creamy mashed potatoes and savory fried onions, are a beloved staple in many households. Making vareniki is more than just cooking; it's a cherished tradition, often bringing families together in the kitchen to chat while shaping these little pockets of joy. Whether you're new to vareniki or reliving fond memories, this recipe will guide you to creating perfectly tender dough and a flavorful filling that tastes like a warm hug in a bowl.
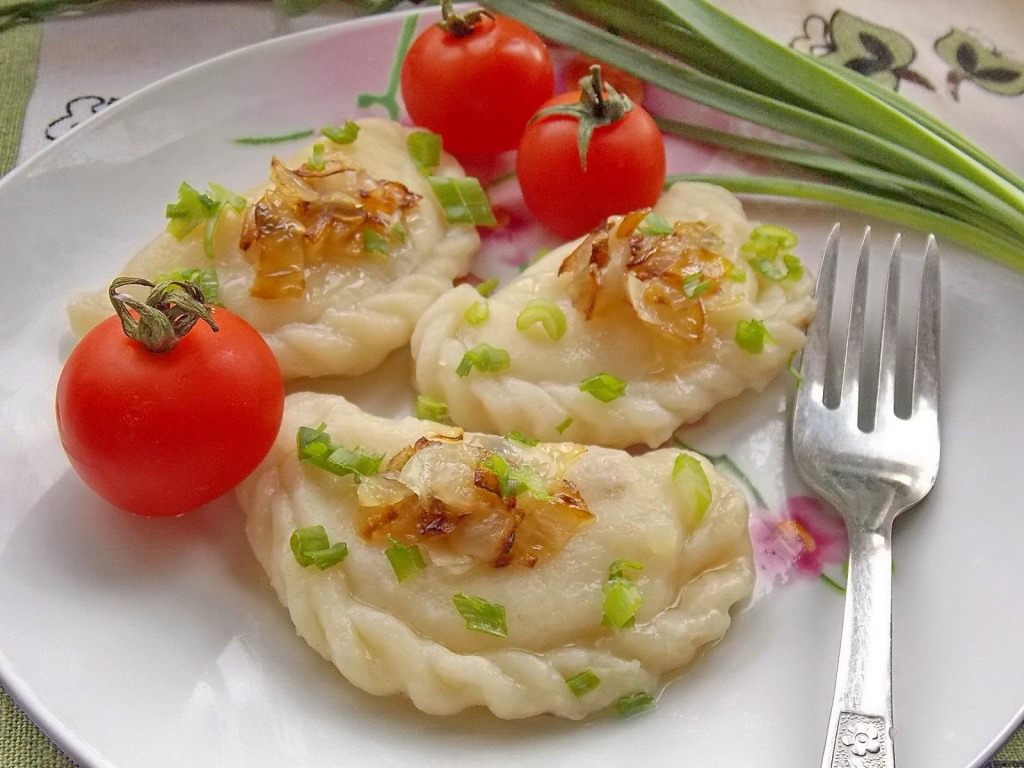
Vareniki with potatoes
Ingredients for the dough
- 2 cups of flour
- 1 cup of boiling water
- ¼ tsp salt
Ingredients for the filling
- 4-5 medium potatoes
- 1 onion
- sunflower oil
- salt, pepper
How to Make Vareniki with Potatoes
First, let’s make the potato filling
If you have leftover mashed potatoes from yesterday — great! This simplifies the filling preparation by half, and the puree gets a new life, just like with kartofelnye zrazy (potato cutlets). If you don’t have leftover mash, peel and wash 5-6 potatoes, chop them into pieces, and boil until tender.
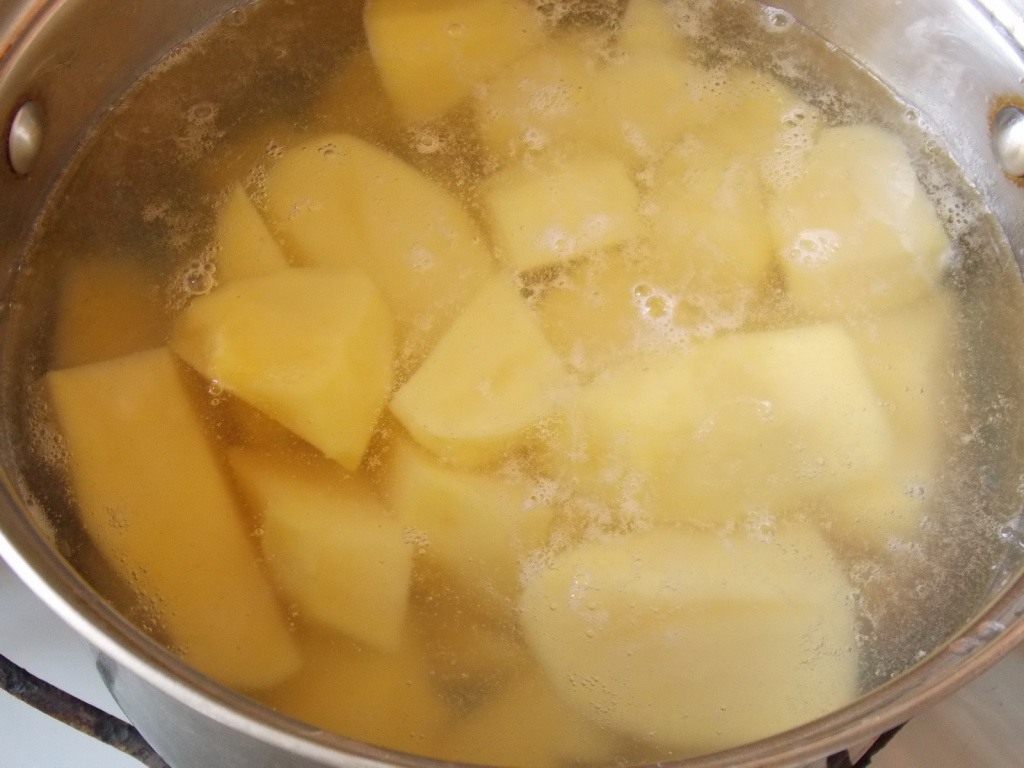
Boil the potatoes
While the potatoes are boiling, finely chop the onion and add it to a frying pan with heated sunflower oil. The most delicious onion for the filling and topping for vareniki is neither raw nor burnt to a crisp, but a beautiful golden-brown. To achieve this, stay focused and fry the onion over medium-high heat, stirring regularly.
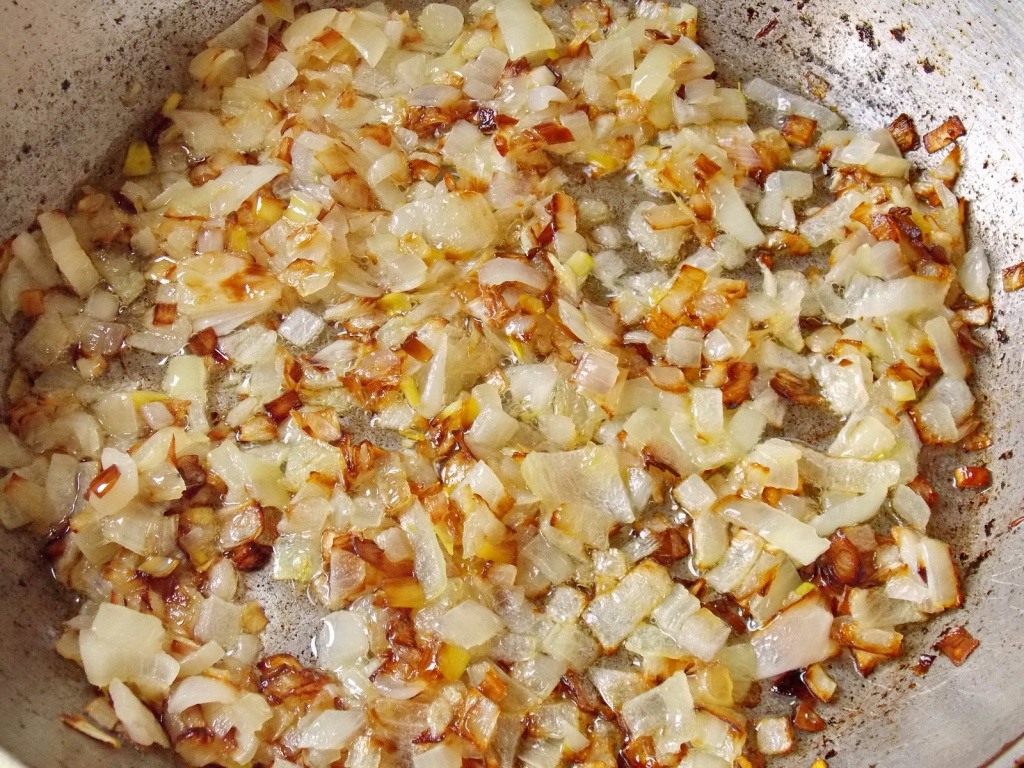
Fry the onion
Meanwhile, the potatoes have become soft. Drain the cooking water into a separate pot and mash the potatoes into a puree. Add a little of the potato water back in to ensure the filling isn’t too dry.
Add half of the fried onions to the potatoes, season with salt and pepper, and mix well. The filling is ready. While it cools, let’s prepare the dough for the vareniki.
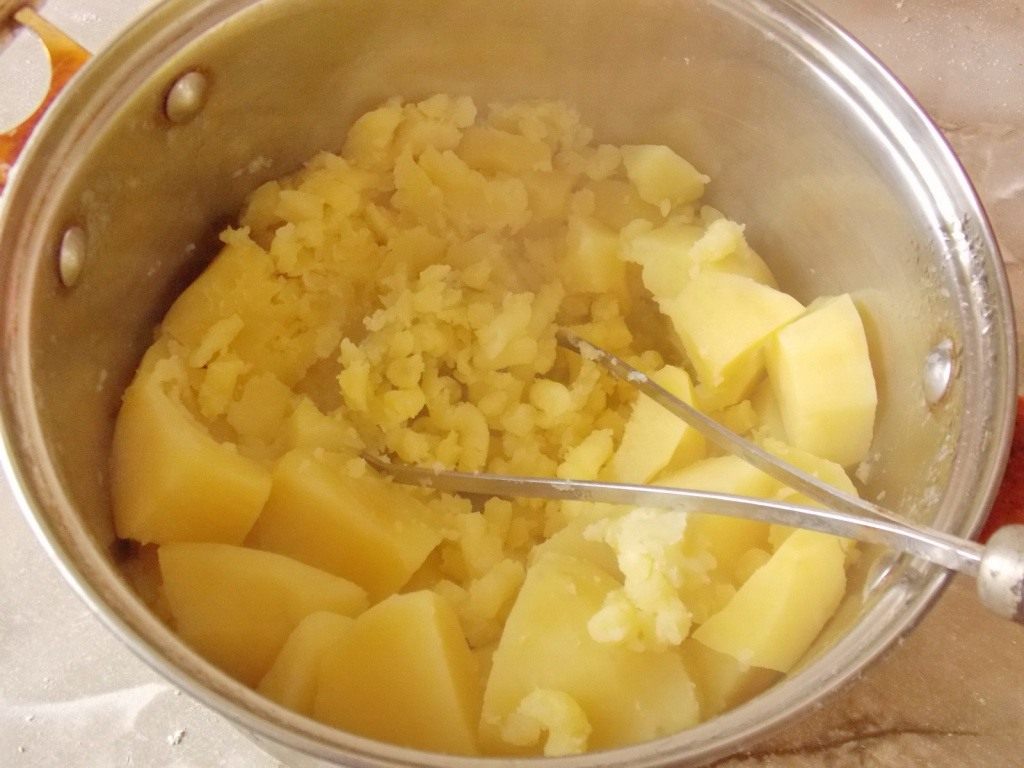
Mash the potatoes
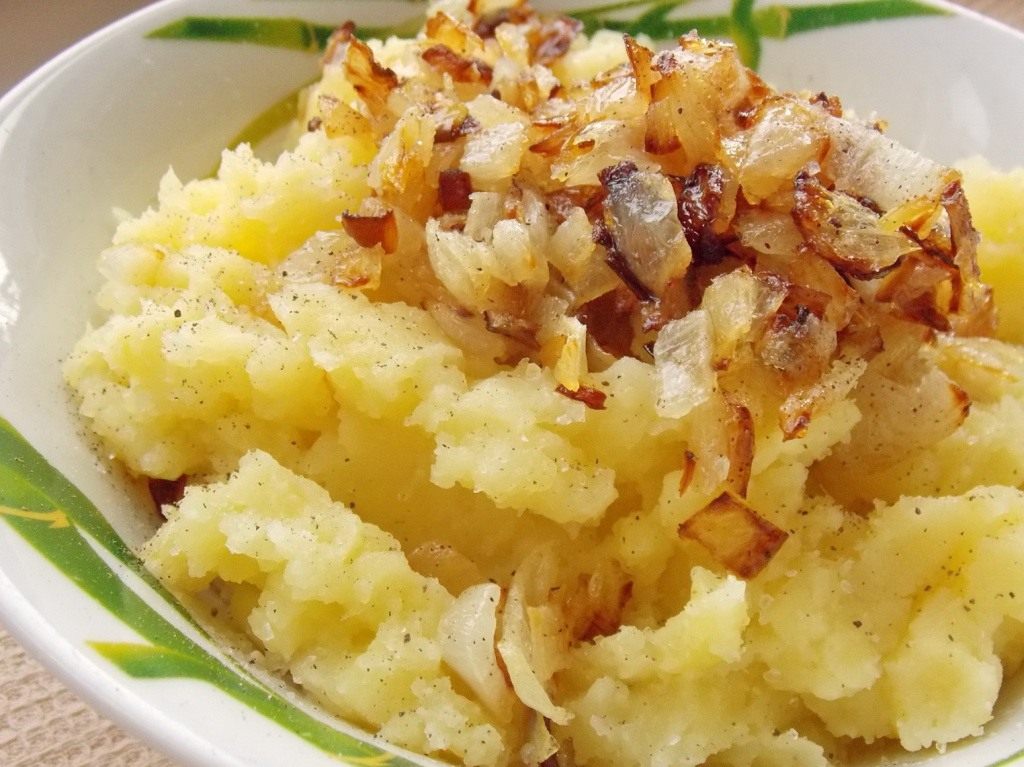
Add the fried onion to the puree
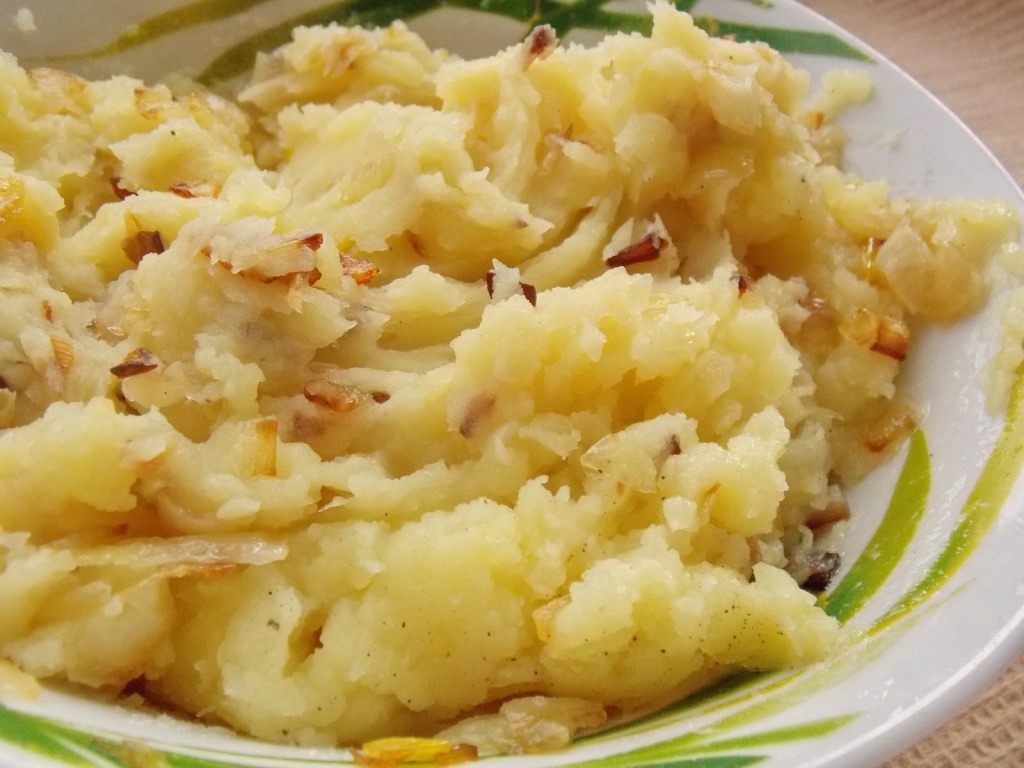
Mix the onion and potatoes
Let’s prepare the dough
I always make a hot water dough for vareniki, just as I do for pelmeni (meat dumplings). It’s very convenient and pleasant to work with: soft, elastic, it rolls out and seals easily, and the vareniki turn out tender and delicious.
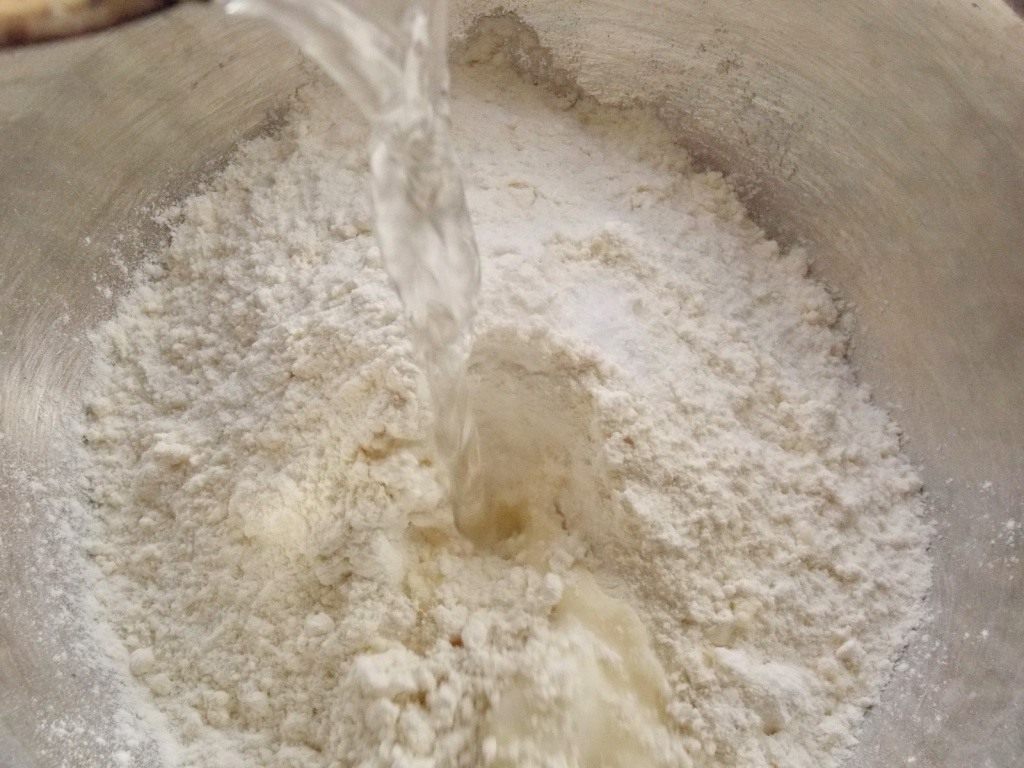
Knead the dough with boiling water
Sift the flour into a bowl, add salt, then pour in a cup of boiling water and quickly mix with a spoon. When the dough is no longer hot, but warm, continue kneading by hand. If the dough is too sticky, you can add a little more flour – but don’t overdo it, or it will become too stiff and difficult to roll out.
The dough should be soft and barely stick to your hands. After kneading it well, place it in a bowl dusted with flour or greased with vegetable oil (to prevent sticking), and cover it with a kitchen towel to keep it from drying out.
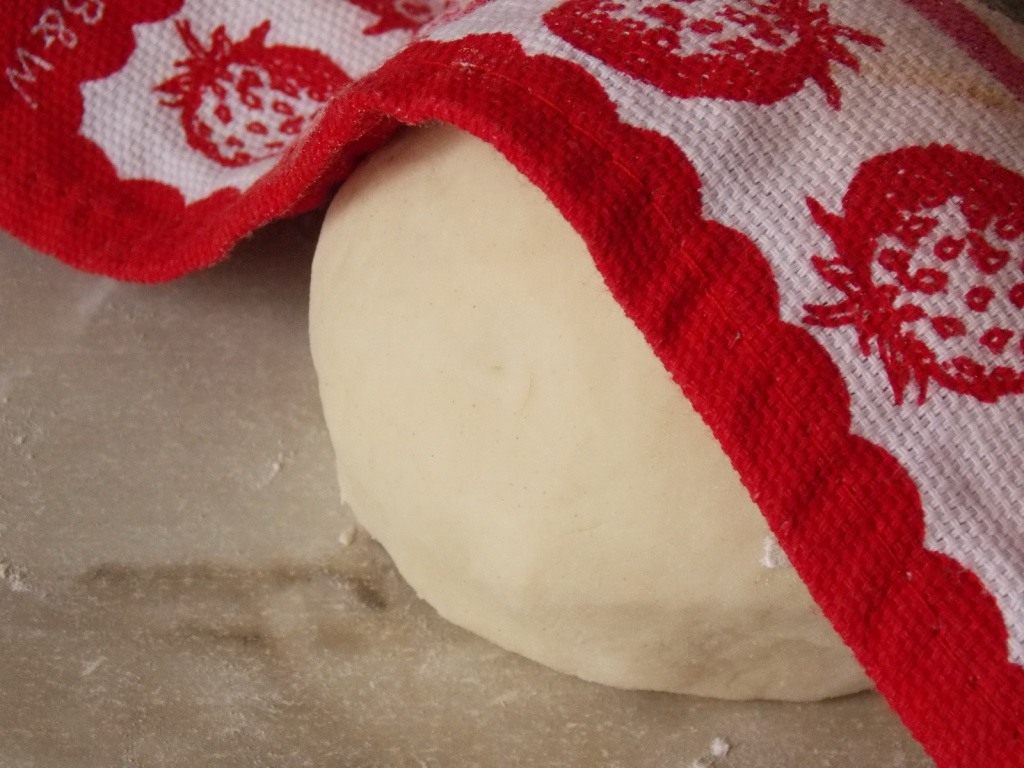
Let the dough rest
Time to shape the vareniki
The filling is no longer hot, just slightly warm — it’s time to shape the vareniki. Dust your work surface with flour, take half of the dough, and roll it into a log. Cut it into pieces about 1.5-2 cm (about 0.6-0.8 inches) wide. Roll each piece into a circle with a rolling pin.
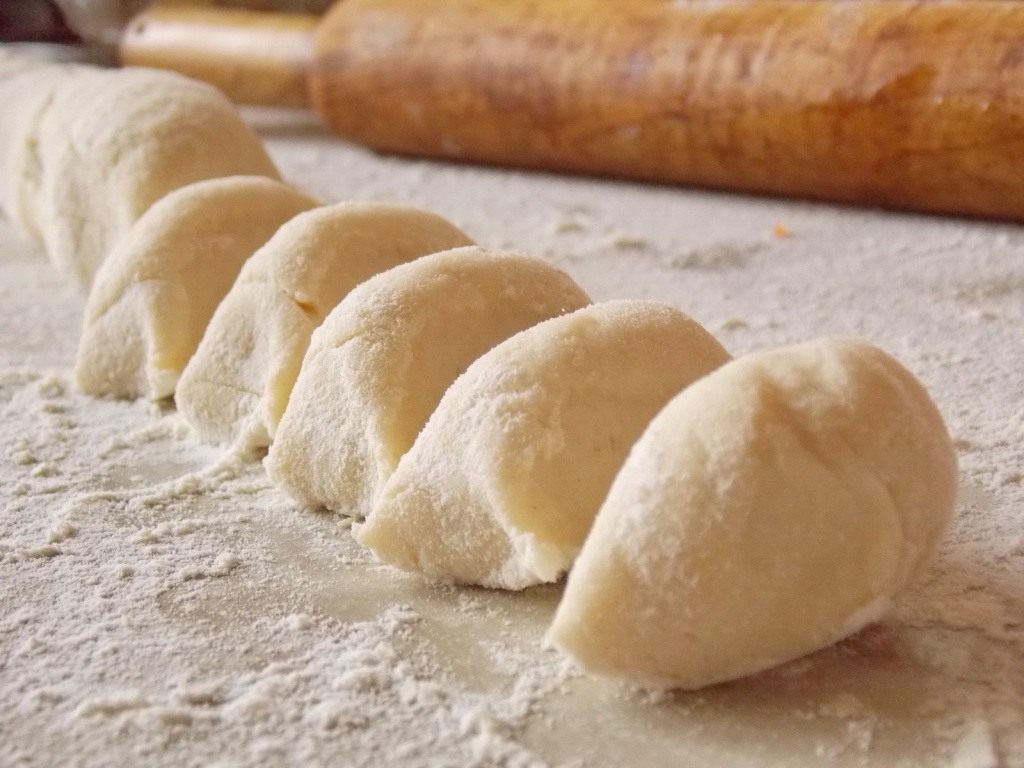
Roll the dough into a log and slice it
Place 1 heaping teaspoon of filling in the center of each circle. The exact amount depends on the size of your vareniki — the larger the circle, the more filling. If you put too little, the vareniki will be “thin,” and if you put too much, they might tear. But you’ll quickly get a feel for how much potato is needed to get a plump, appetizing varenik.
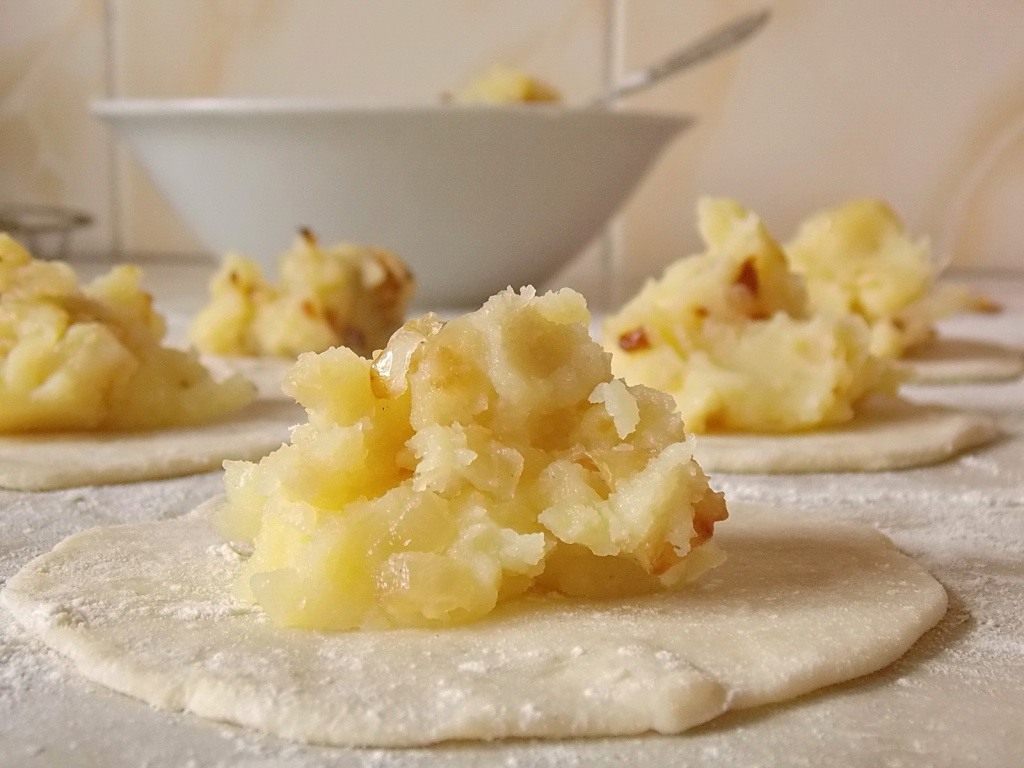
Roll out circles and place the filling in them
Now you need to seal the vareniki well so the filling doesn’t escape during boiling. And you should seal them quickly before the edges of the dough dry out in the air — this is the perfect time to call your family to help with preparing the family dinner! I seal the vareniki twice: the first time is a ‘draft’ seal, just pinching the edges together, and the second is a decorative ‘pigtail’ braid, to make it not only strong but also beautiful.
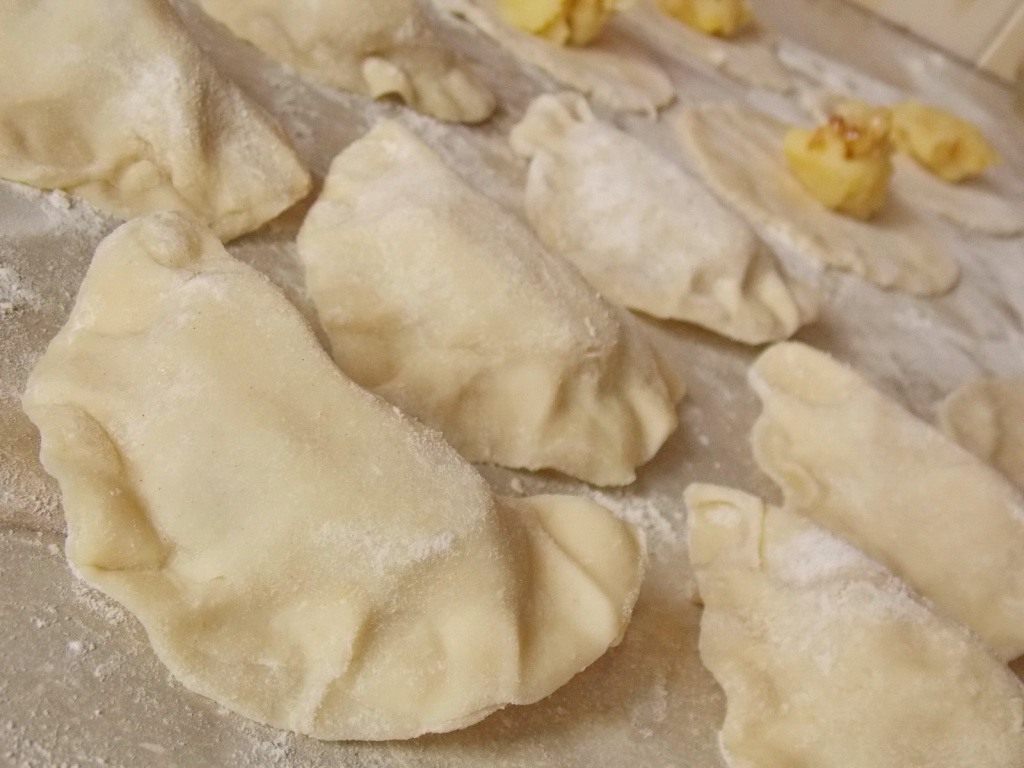
Seal the vareniki with potatoes well
Place the finished vareniki on a board dusted with flour. If you want to freeze them, cover with plastic wrap and place them in the freezer. If you’re planning to eat them right away, put a pot of salted water on the stove (about 1 tbsp of salt per 1.5-2 liters / 6-8 cups of water). When the water boils, drop the vareniki in – just enough so they can float freely without sticking together.
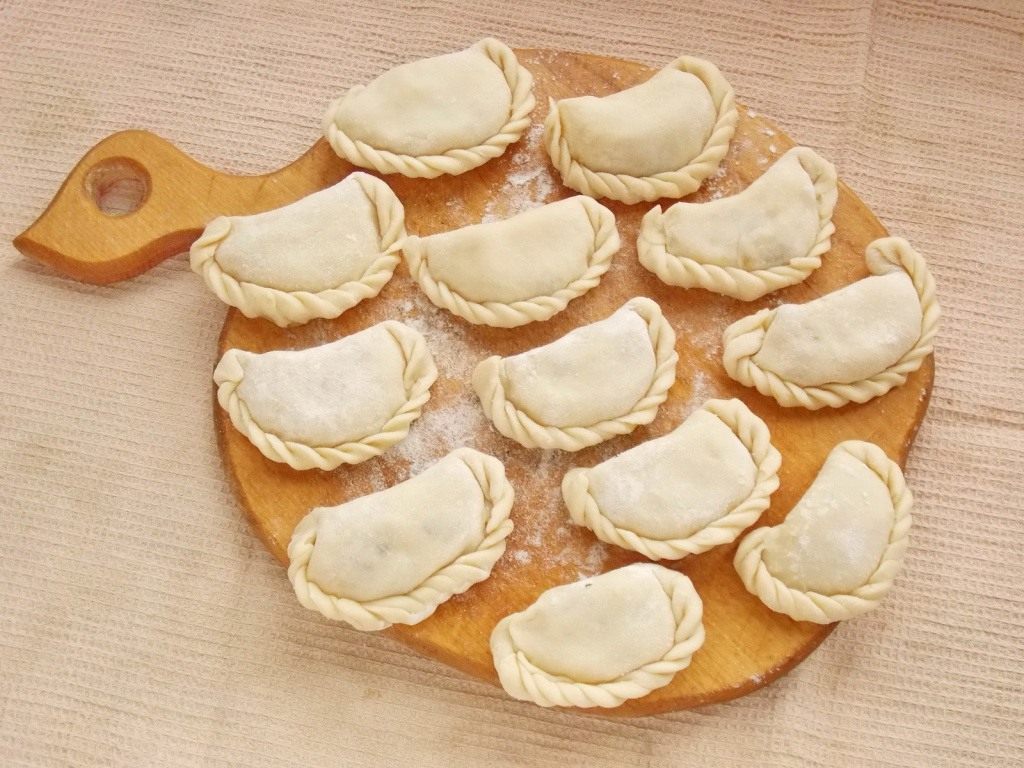
Place the formed vareniki with potatoes on a board and sprinkle with flour
Boil the vareniki with potatoes over medium heat until they float to the surface, and then for another 1-2 minutes. Since the filling is already cooked, they don’t need to be boiled for as long as pelmeni with raw meat filling (and while the first batch is cooking, you can shape the second). Avoid a rolling boil, as they might fall apart.
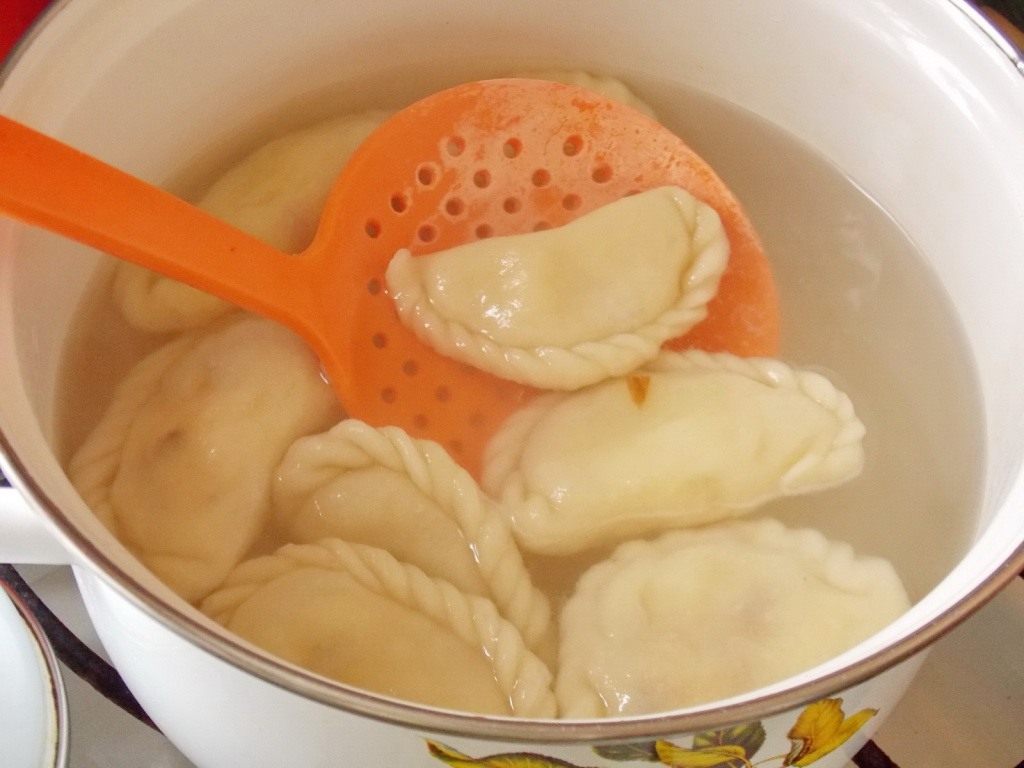
Now the vareniki with potatoes are ready to be boiled
Use a slotted spoon to remove the cooked vareniki and place them in a bowl. Top with the remaining fried onions — remember, we saved half after making the filling. For a touch of color, you can sprinkle with chopped fresh herbs.
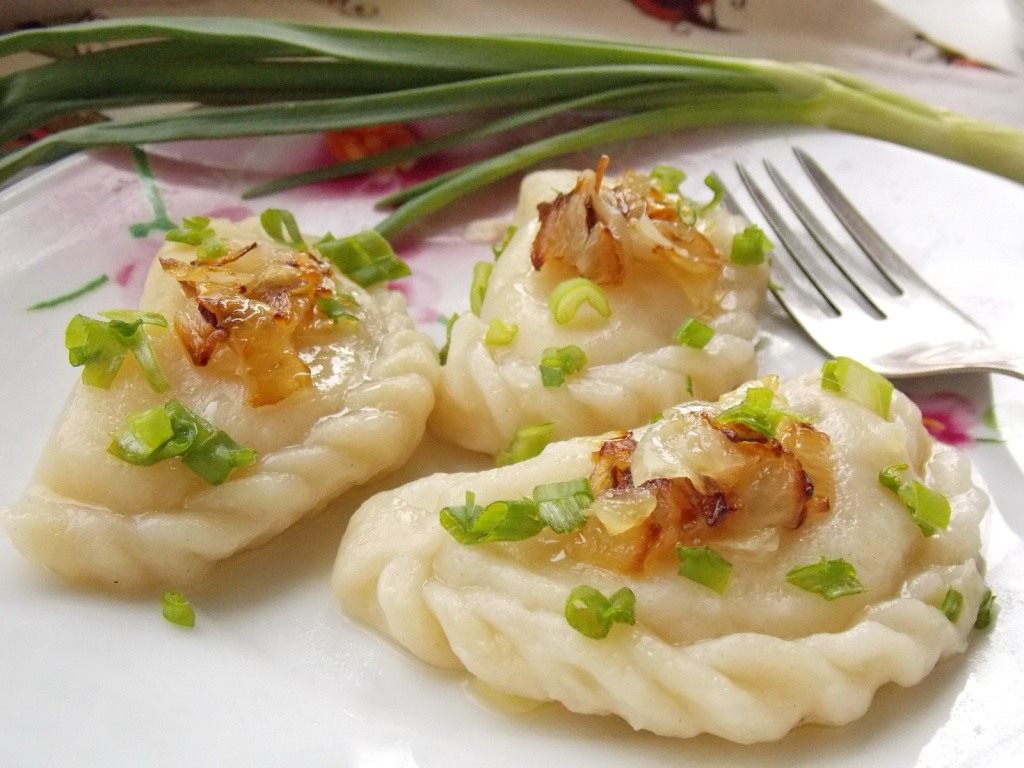
Vareniki with potatoes
Serve the vareniki with potatoes immediately, while they’re warm. The next day, you can pan-fry the leftover vareniki, which is also delicious. But, of course, freshly boiled are much tastier. That’s why I advise you to make a large batch of vareniki in advance and boil them in portions as needed.
And there you have it – a beautiful plate of homemade Vareniki with Potatoes, ready to be enjoyed! Traditionally, they are served hot with a generous dollop of sour cream (smetana), the remaining fried onions, or a sprinkle of fresh dill. Don't hesitate to make a large batch, as they freeze wonderfully. Simply arrange them in a single layer on a floured tray, freeze until solid, and then transfer to a freezer bag. This way, you can have a quick, comforting meal ready in minutes. We hope you enjoy this taste of tradition and make it a new favorite in your home!
0 comments