
This simple pickled cucumber and pepper salad is a fantastic cold appetizer featuring zesty, crisp cucumbers—perfect alongside a main course or layered into homemade sandwiches. At its core, this preserve is similar to an Indian chutney or an American relish, where the vegetables soak up a spiced brine while keeping a pleasant bite. Everything cooks in a single pot, saving plenty of time in the kitchen, while the aroma of garlic and coriander fills the house with warmth. Even if you start with overripe or unevenly shaped cucumbers, a brief simmer transforms them into a vibrant, olive-hued delicacy.
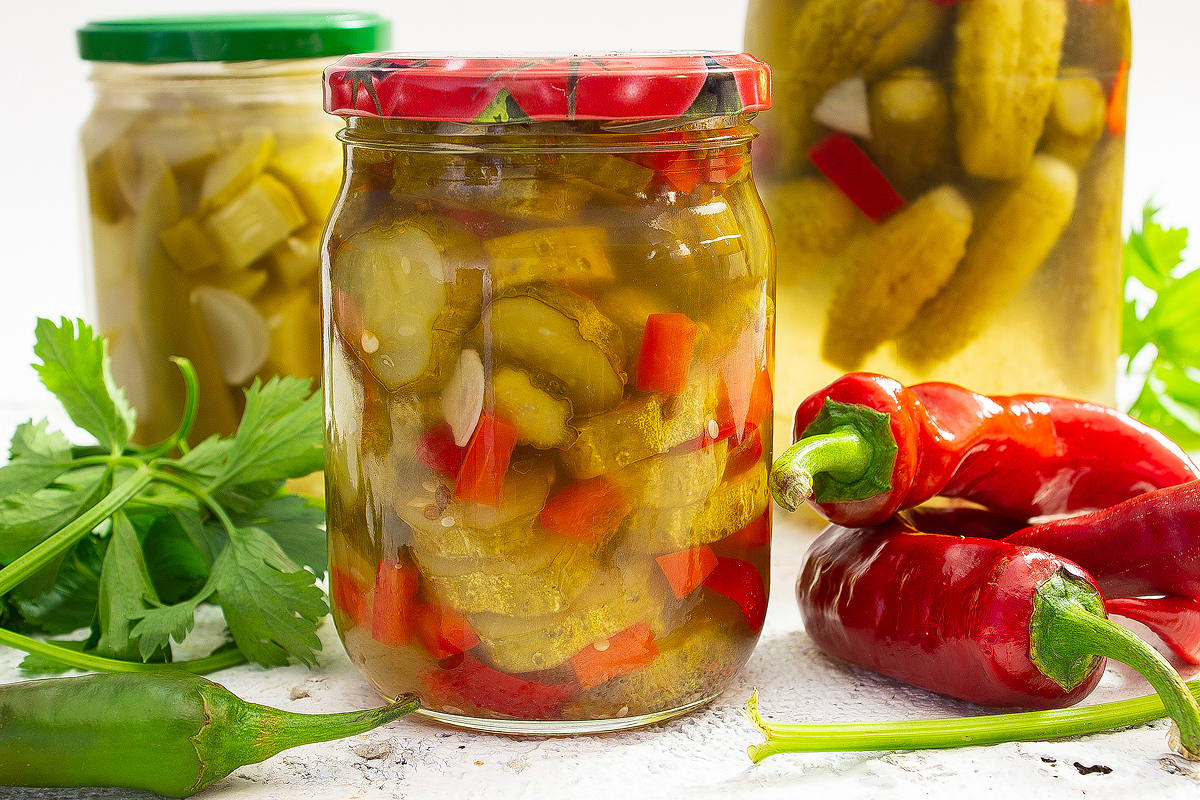
Vibrant and appetizing pickled cucumber and pepper salad—a wonderful winter preserve that brings back the taste of summer.
Ingredients
- 2 kg (4.4 lbs) cucumbers
- 1 kg (2.2 lbs) red bell peppers
- 200 g (7 oz) hot red chili peppers
- 2 heads of garlic
- 2 tsp coriander seeds
- 30 g (about 1.5 tbsp) non-iodized salt
- 40 g (about 3 tbsp) granulated sugar
- 45 ml (3 tbsp) 9% distilled white vinegar (or ~80 ml / 5.5 tbsp of 5% white vinegar, which is standard in the US/UK, to maintain the same acidity for preservation and flavor; reduce added water slightly if using 5%)
- Filtered water
How to Make Pickled Cucumber and Pepper Salad
Prepare this pickled cucumber salad in a single pot, much like making Indian chutney or American relish. Any cucumbers will work here—crooked, thick, thin, or even overripe. For overgrown cucumbers, simply peel the tough skin and scoop out the seeds. If the cucumbers are slightly wilted, soak them in cold water for a few hours to restore their crunch.
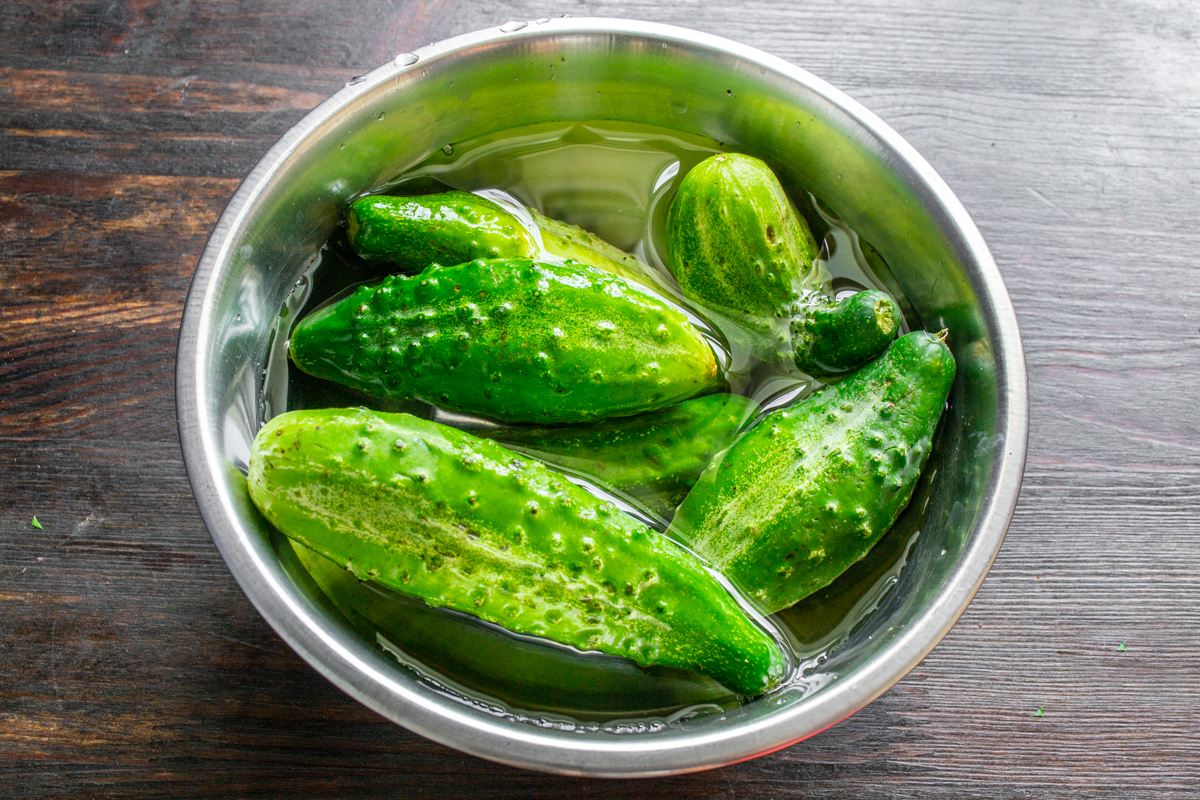
If the cucumbers are slightly wilted, soak them in cold water for a couple of hours to restore their crispness.
Wash the cucumbers thoroughly, slice them into rounds 3–4 mm (about 1/8 inch) thick, and transfer them to a wide, heavy-bottomed pot. The wider the pot, the better, as it allows the salad to come to a boil much faster.
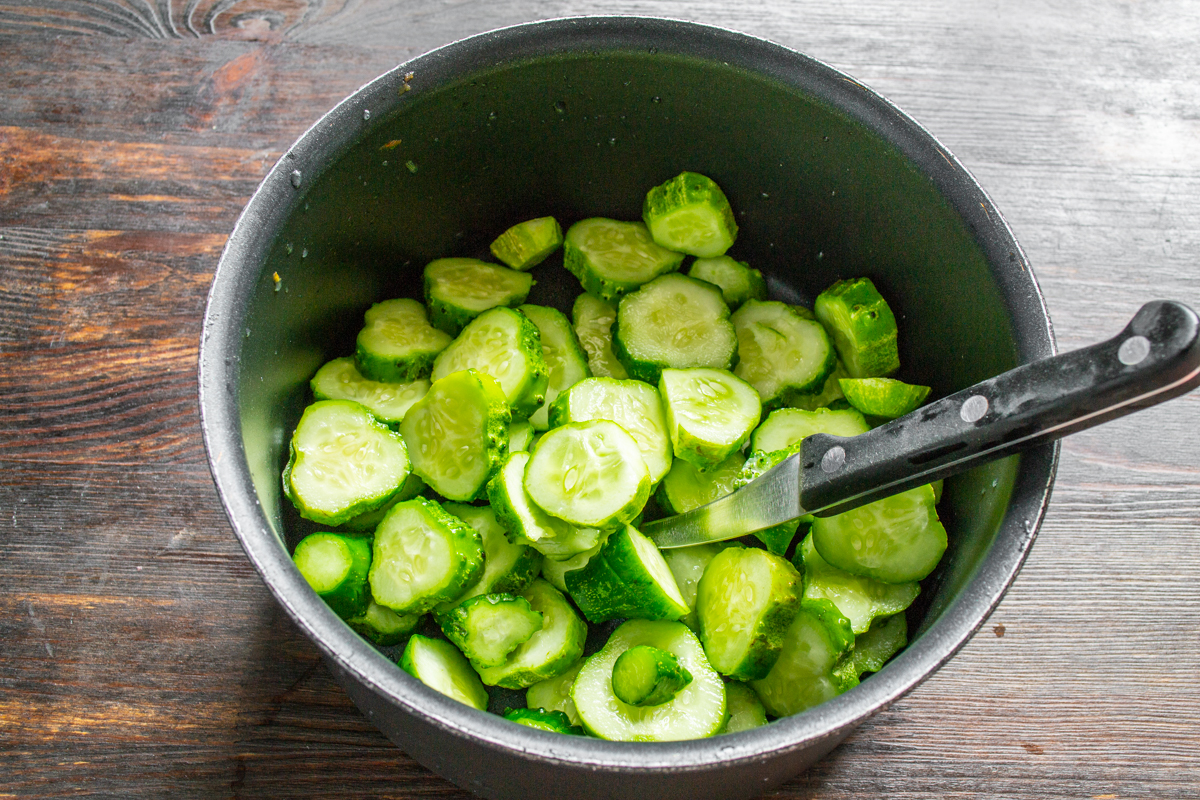
Slice the cucumbers into medium rounds and place them in a wide pot for even heating.
Core and seed the red bell peppers, then dice the flesh and add it to the pot with the cucumbers.
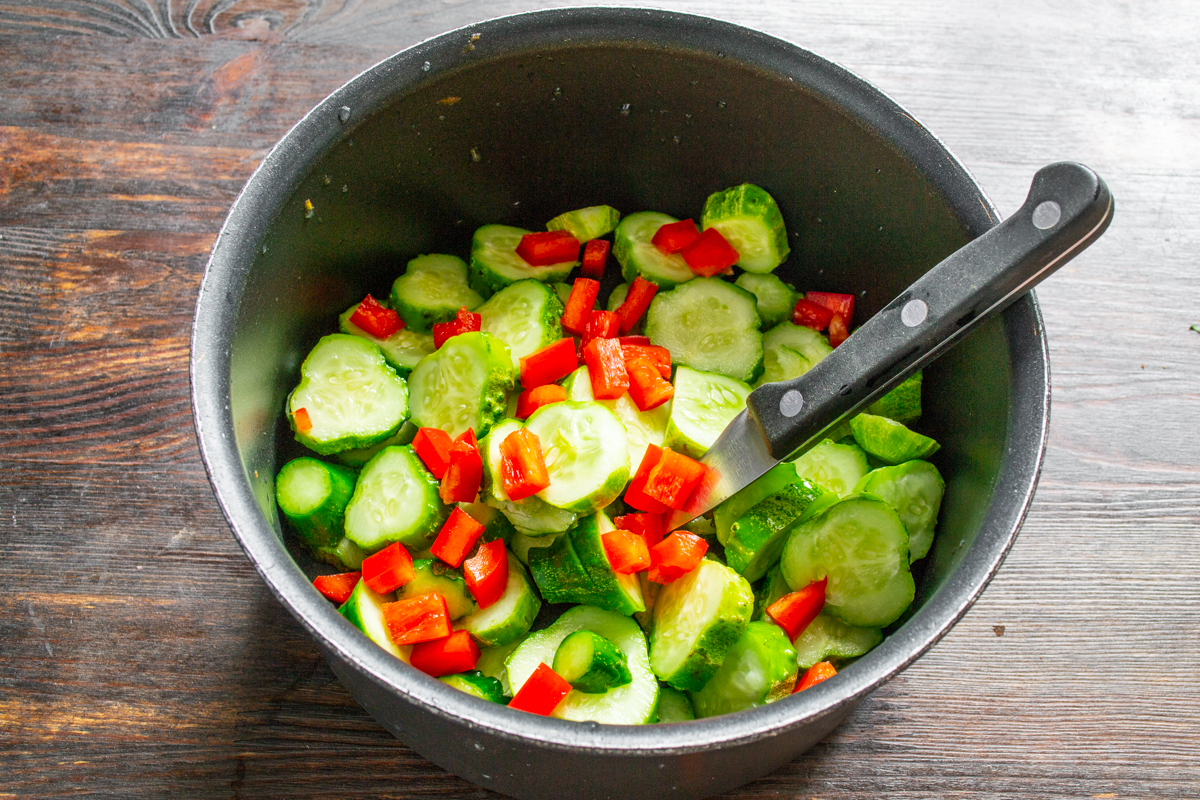
Diced red bell peppers bring both natural sweetness and vibrant color to the salad.
Roll the hot red chili peppers between your palms to loosen the insides, trim off the stems and tips, and shake out the seeds. Slice the chilies into thin rings and add them to the vegetables.
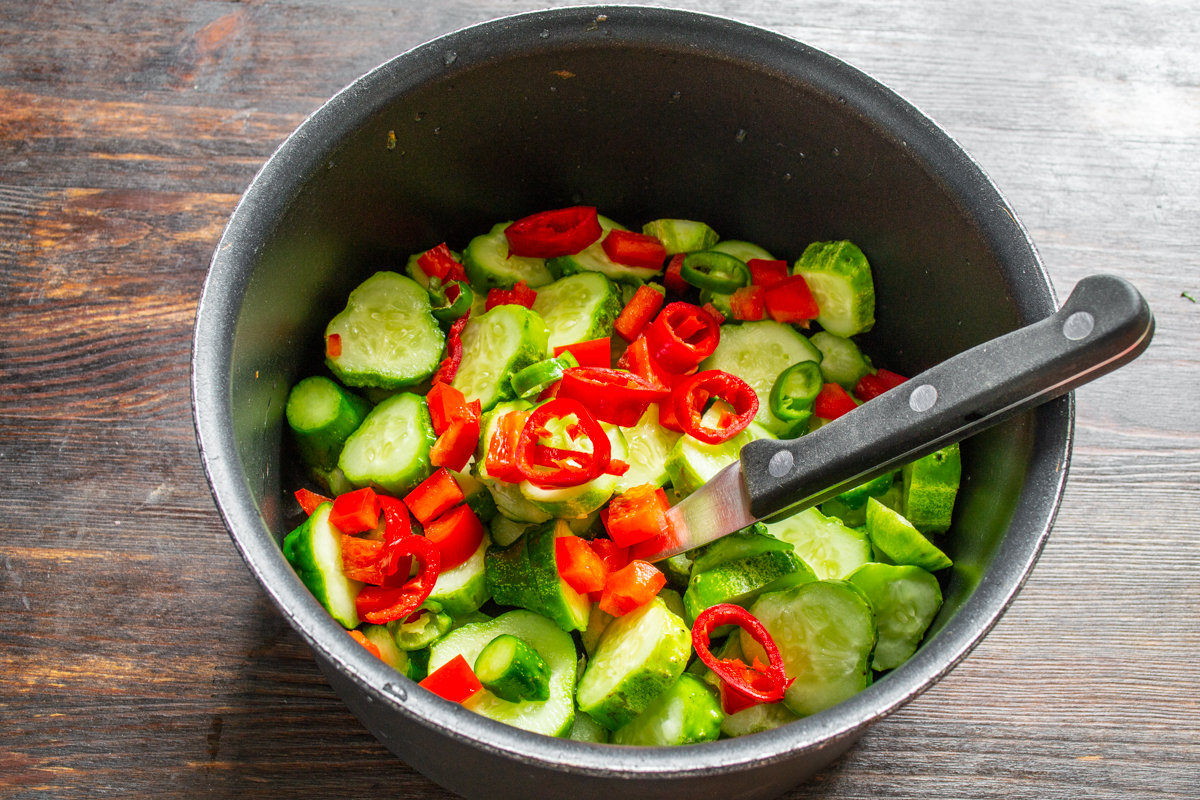
Hot chili peppers give the preserve a lively kick. Adjust the amount to suit your heat preference.
Sprinkle the granulated sugar and salt over the vegetables. Use pickling, kosher, or sea salt—anything except iodized salt, which can affect the brine and texture.
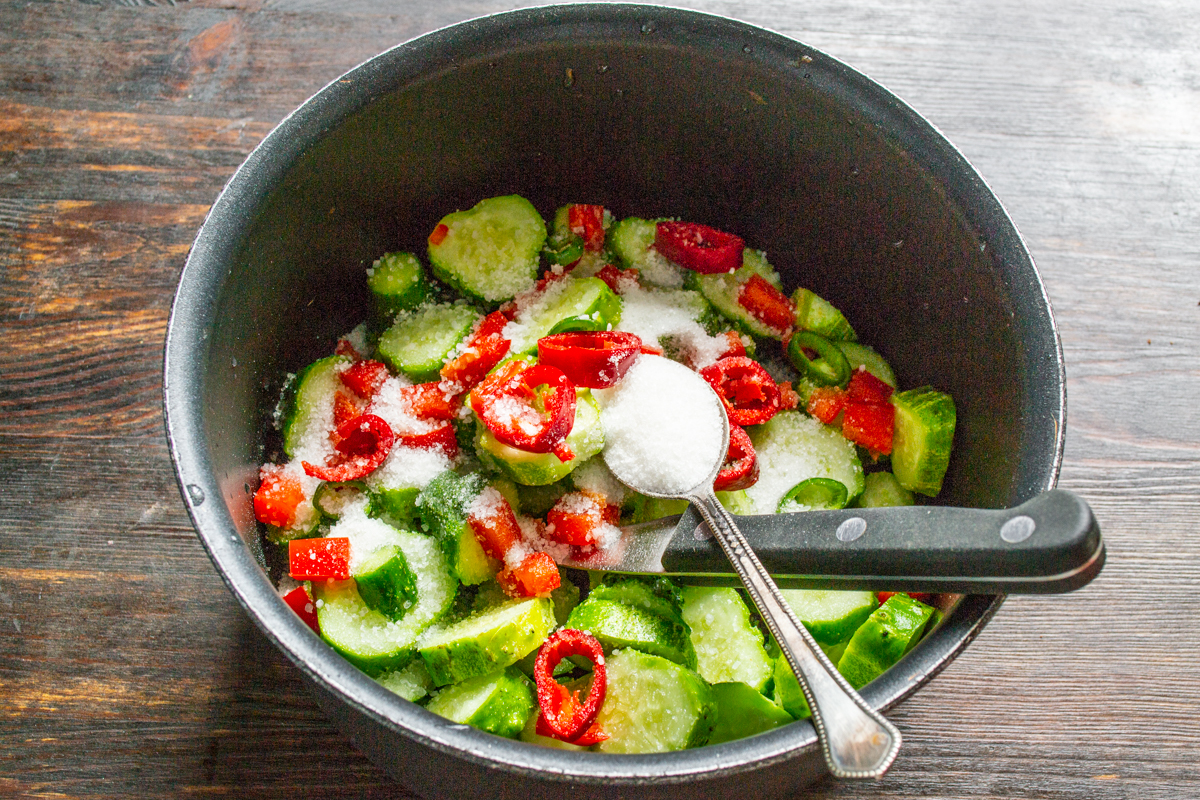
Sprinkle the vegetables with salt and sugar. Use plain non-iodized salt for the best preservation results.
Peel the large heads of garlic and thinly slice the cloves. Add the sliced garlic and coriander seeds to the pot, then toss the vegetables well to distribute the seasonings.
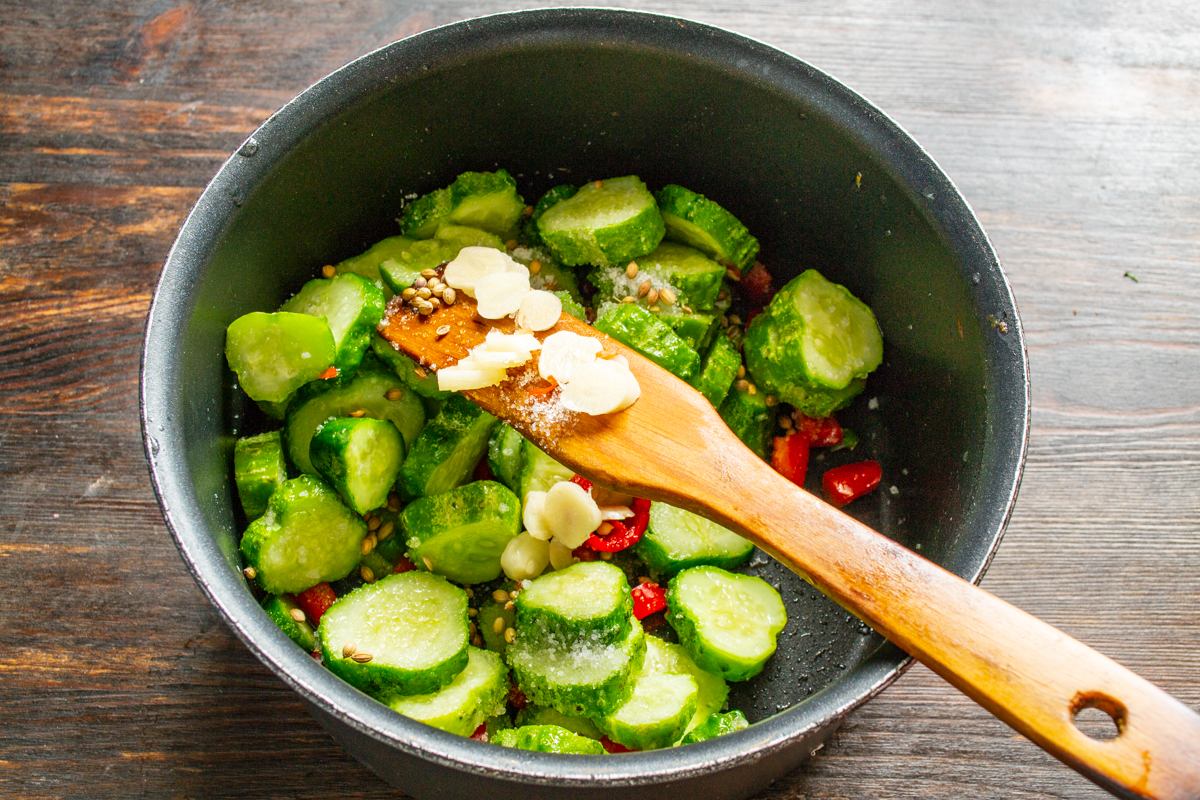
Thinly sliced garlic and aromatic coriander seeds make the brine wonderfully fragrant and bold.
Pour in the 9% vinegar (standard Eastern European pickling vinegar; if using 5% distilled white vinegar, use about 80 ml to keep the same acidity). Boil the water and pour it directly over the vegetables until they are almost completely submerged. This is the easiest way to build the brine without precise liquid measurements. As a general rule, use 8–10 g of salt per kilogram of vegetables, adjust the vinegar and sugar to taste, and eyeball the water.
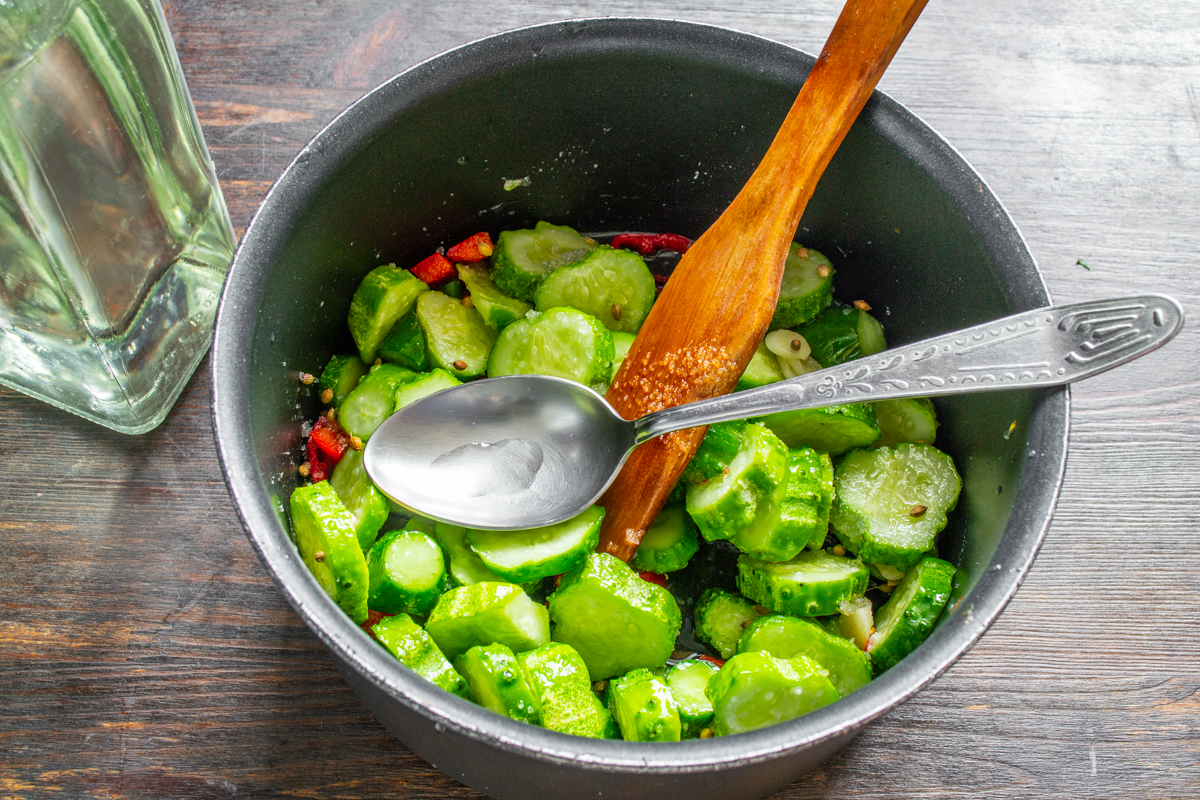
Pour in the vinegar and cover the vegetables with boiling water—a fast, foolproof way to make the brine.
Bring the vegetables to a boil. Simmer for 2–3 minutes after boiling begins, or just until the cucumbers shift in color from bright green to olive-brown.
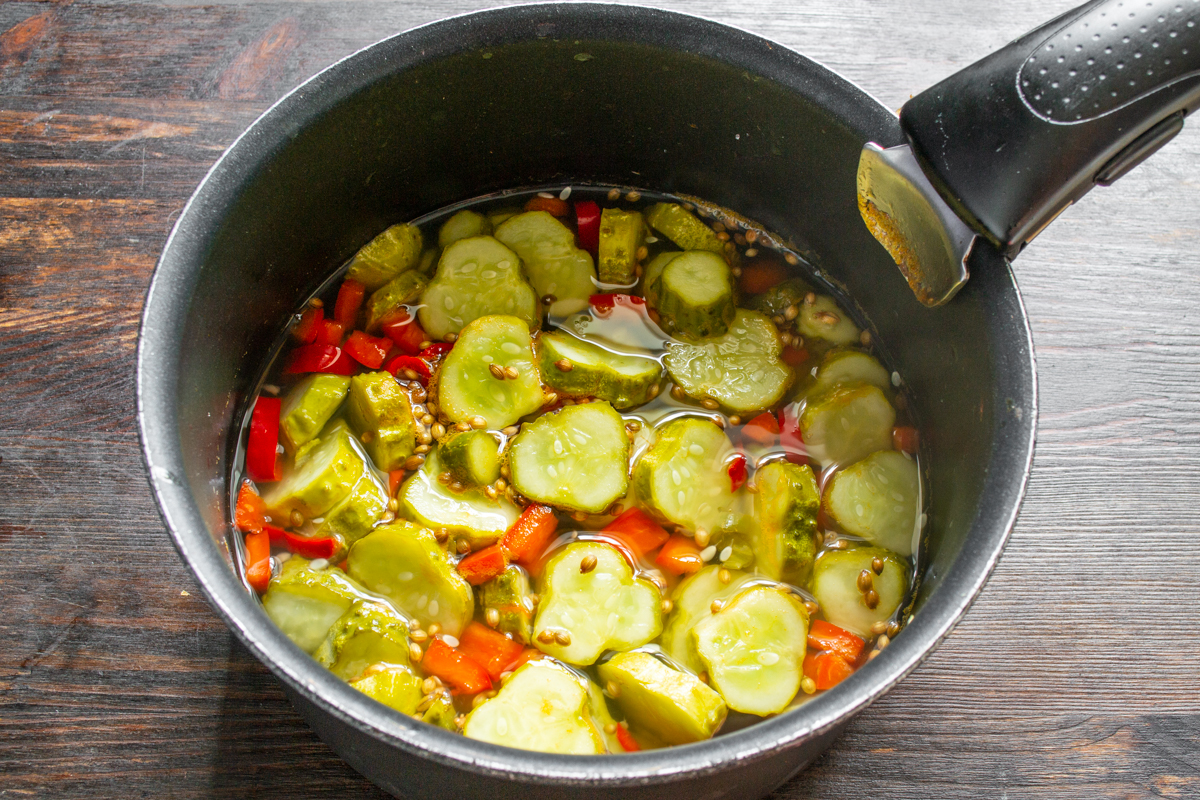
Bring to a boil and simmer for just a couple of minutes until the cucumbers turn an olive-brown hue.
Rinse thoroughly washed half-liter (1-pint) glass jars with boiling water and sterilize them over steam. Boil the lids separately. Alternatively, sterilize the jars in the oven at 100°C (212°F) for 10 minutes.
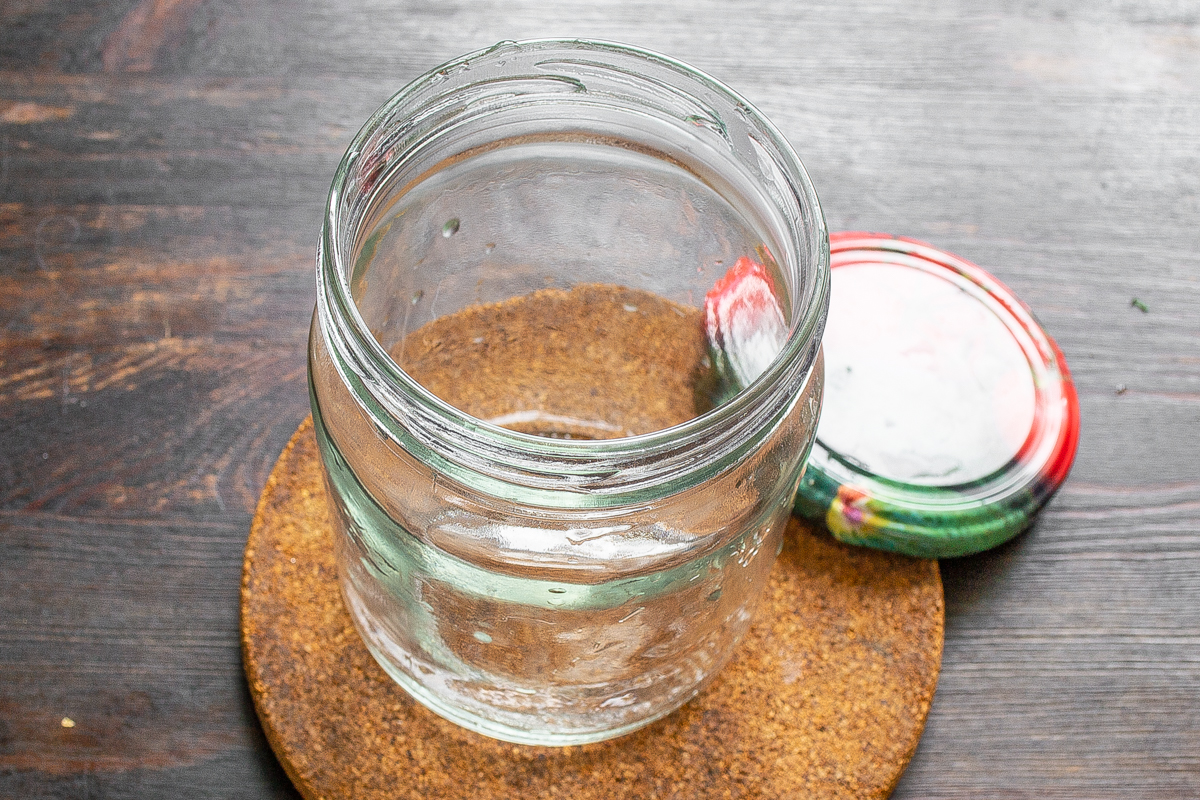
Always sterilize clean jars using your preferred method: over steam or in the oven.
Pack the hot vegetables into the hot jars. Fill them loosely without pressing the vegetables down, then ladle in the hot brine until the vegetables are completely submerged. Screw the lids on tightly to seal.
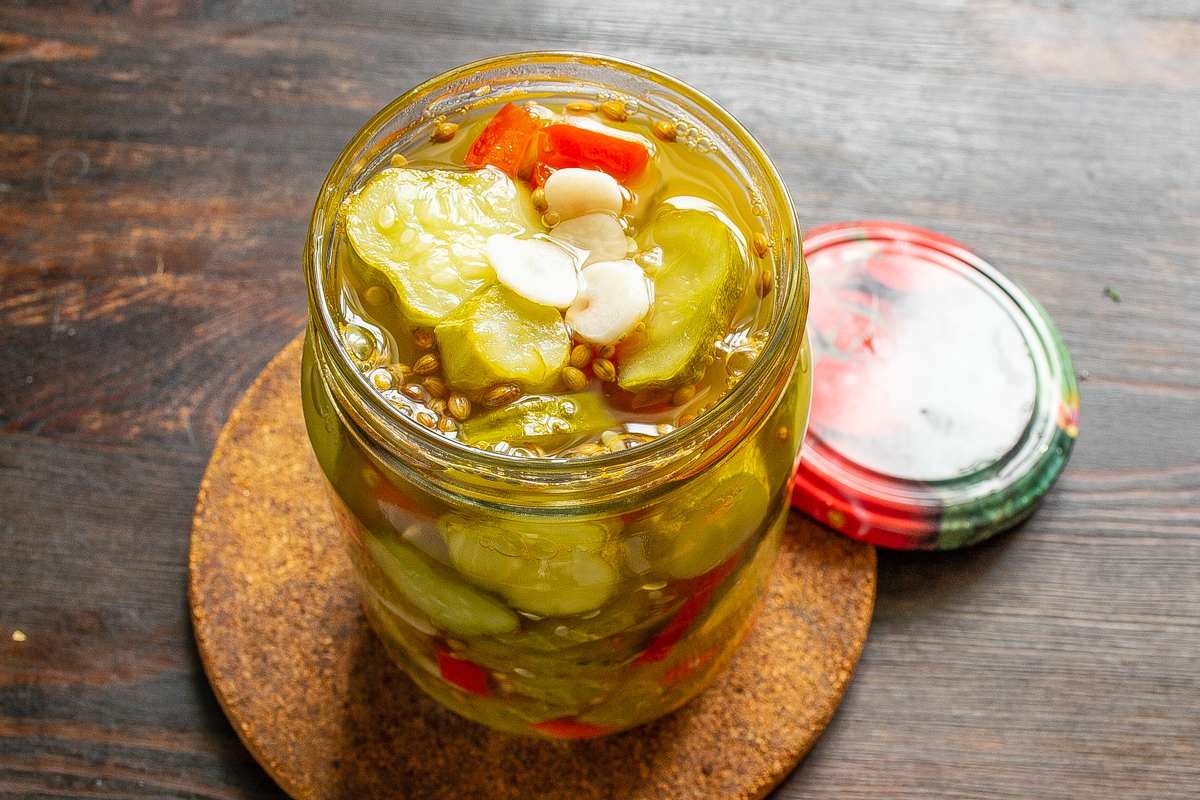
Fill the hot jars with vegetables and pour the hot brine all the way to the top to eliminate air pockets.
Flip the jars upside down; if any lid hasn’t sealed properly, you will spot leaking brine right away. Wrap the inverted jars in a warm blanket (a traditional home-canning method for slow, gentle pasteurization) and leave them until completely cooled.
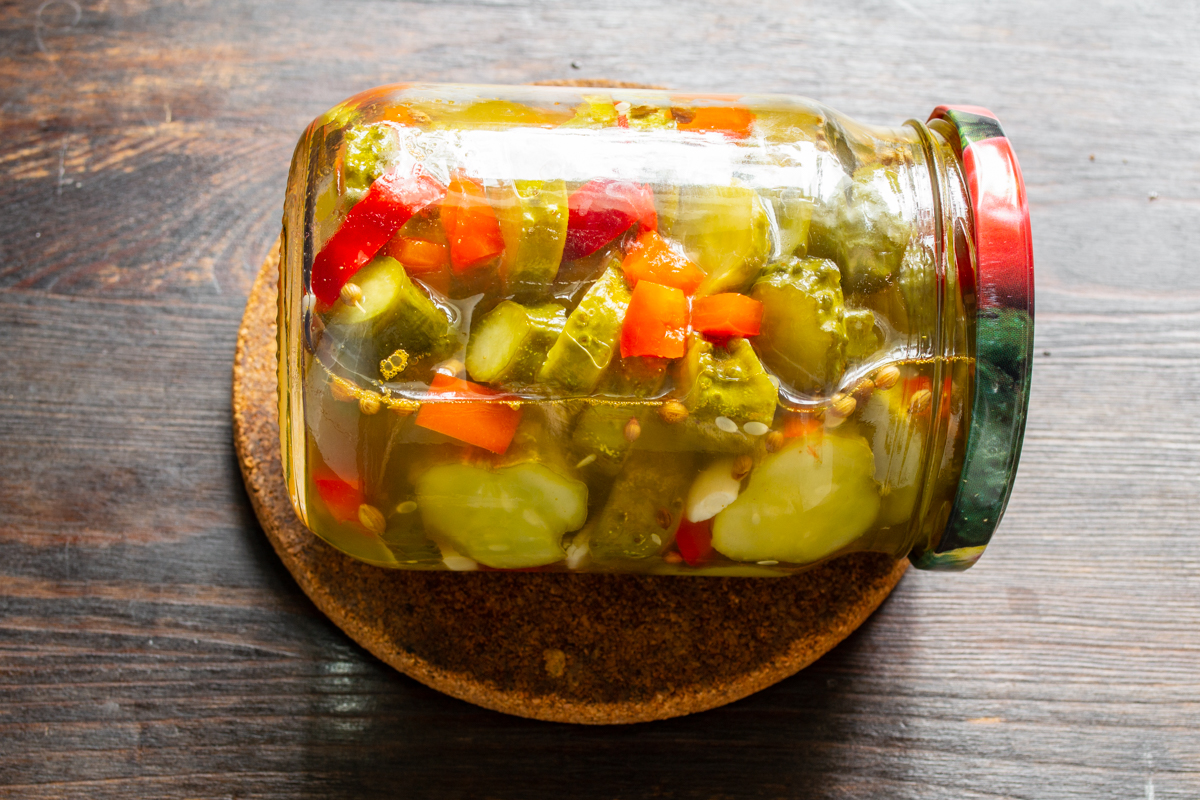
Flip the jars upside down and wrap them in a blanket so pasteurization continues until completely cool.
Pickled cucumber and pepper salad develops its best flavor after maturing in the jars for at least a couple of weeks. Serve it alongside baked potatoes and roasted meats, or spoon it over homemade hot dogs—the fine cut makes it a versatile condiment. The bright dices of red bell pepper not only add natural sweetness but also make every jar a colorful centerpiece on the table.
Store the pickled cucumber salad in a cool, dark, and dry place at +4°C to +8°C (39°F to 46°F, or in a refrigerator). If you enjoy experimenting, try adding fresh dill or mustard seeds to your next batch for a more classic Scandinavian profile. The real secret to success here is an airtight seal and slow cooling under a heavy blanket, which gently completes the pasteurization process.
0 comments