
Dutch-style pickled herring is not just a preservation method, but an exquisite interpretation of Northern culinary traditions, where flavor balance takes center stage. Thanks to the dry curing method, the fish develops an incredibly firm and buttery texture, akin to noble sea fish varieties. The addition of fresh carrots, onions, and paper-thin lemon slices infuses the marinade with a vibrant aroma that permeates every bite of the fillet. This dish is absolutely perfect for those who appreciate natural appetizers free of artificial preservatives and want to recreate the cozy atmosphere of a European port tavern right in their own kitchen.
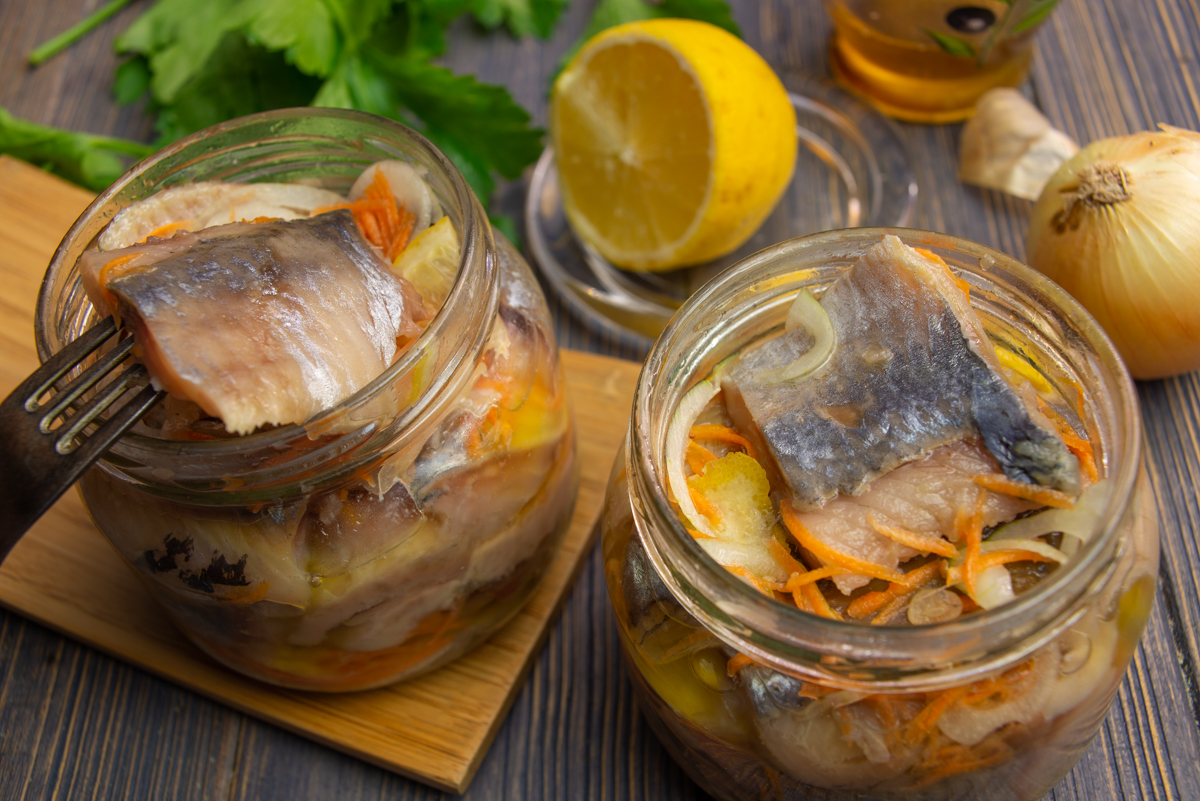
The mouthwatering Dutch-style herring is ready! Serve the tender fillets with dark rye bread or boiled new potatoes.
Ingredients
- 3 medium whole herrings (total weight about 1 kg / 2.2 lbs)
- 3 tablespoons coarse sea salt
- 1 tablespoon sugar
- 1/2 lemon
- 1/2 carrot
- 1 whole onion
- 50 g (1.8 oz) neutral vegetable oil
How to Make Dutch-Style Pickled Herring
Remove the frozen herring from the freezer in advance. Leave the fish on the bottom shelf of the refrigerator for a few hours to thaw gently. When selecting your fish, ensure the skin is free of rust-colored spots and damage.
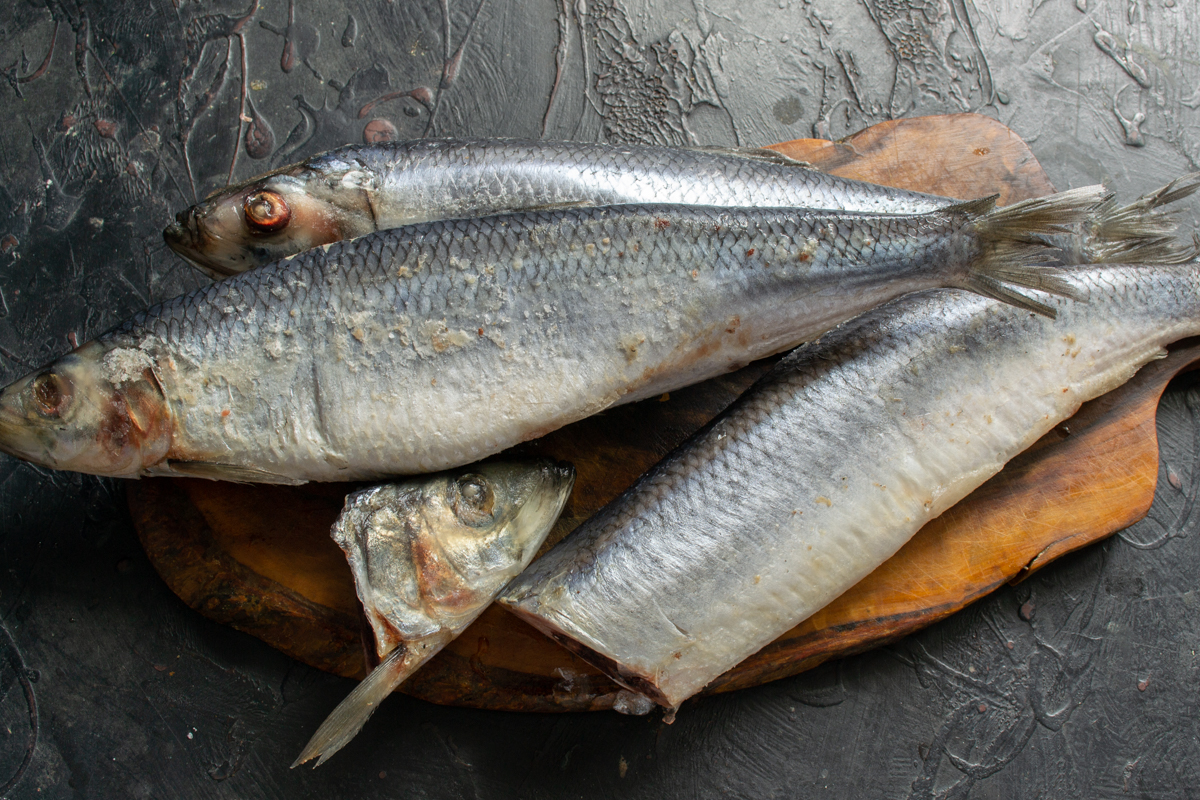
Choose high-quality herring with intact skin for this recipe. Thaw it gradually on the bottom shelf of the refrigerator.
Cut off the heads and tails. Slice open the belly and remove the innards. I highly recommend keeping the roe and milt. Wash the cleaned fish thoroughly under cold running water.
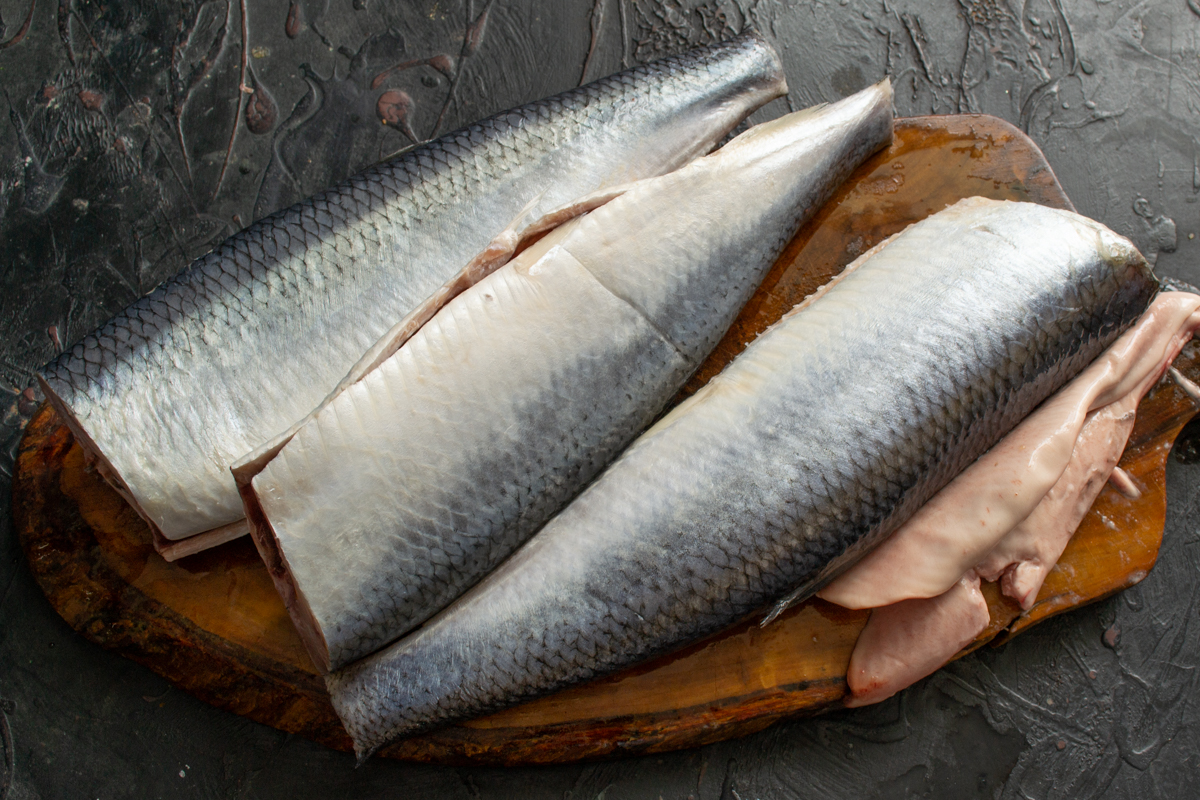
Remove the heads, tails, and innards. Thoroughly wash the cleaned fish under cold running water.
Mix the coarse sea salt with the granulated sugar. Cut the fish in half and cover them generously with the salt and sugar mixture.
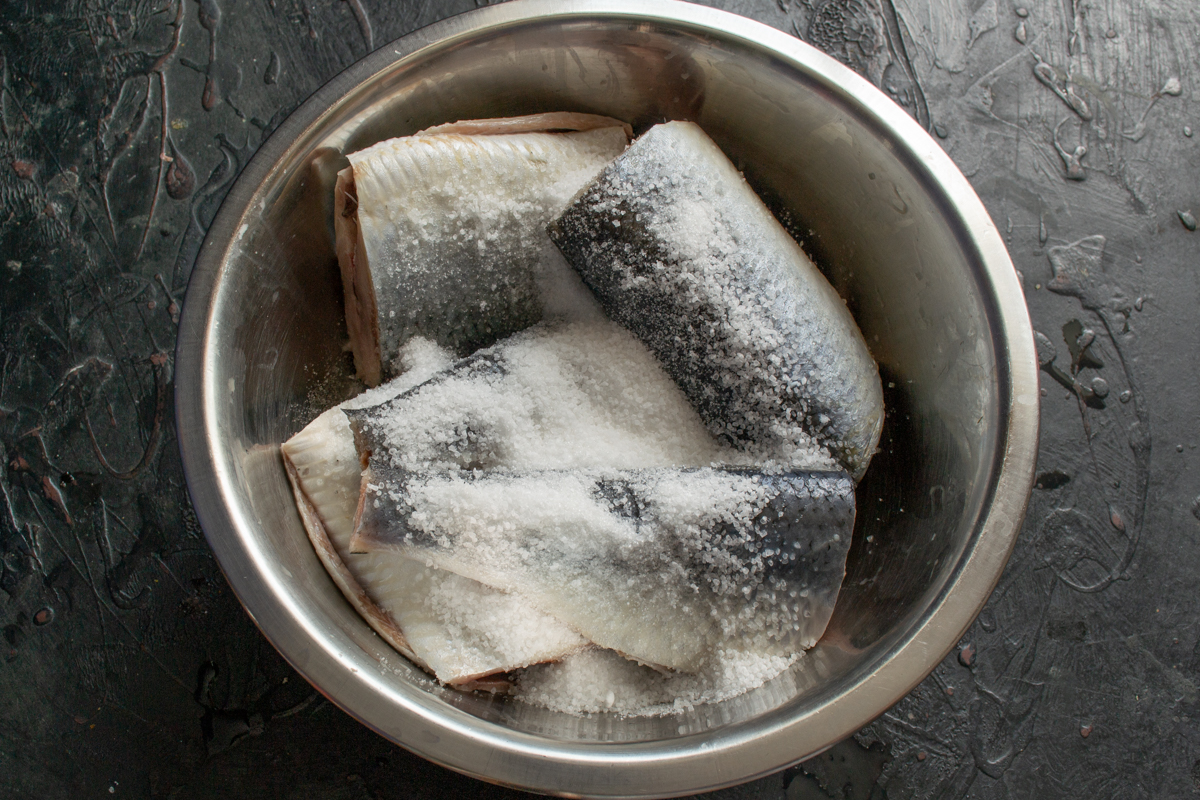
Mix coarse sea salt with sugar and generously coat the fish. This is the classic dry curing method.
Rub the salt mixture into the herring and pack the fish into a wide-mouth glass jar or container. I am using a dry curing method here, but you can also use a brine—dissolve 50 g (1.7 oz) of salt and 20 g (0.7 oz) of sugar in 1 liter (4 cups) of water, cool it, and pour over the fish. If using brine, you do not even need to clean the fish first.
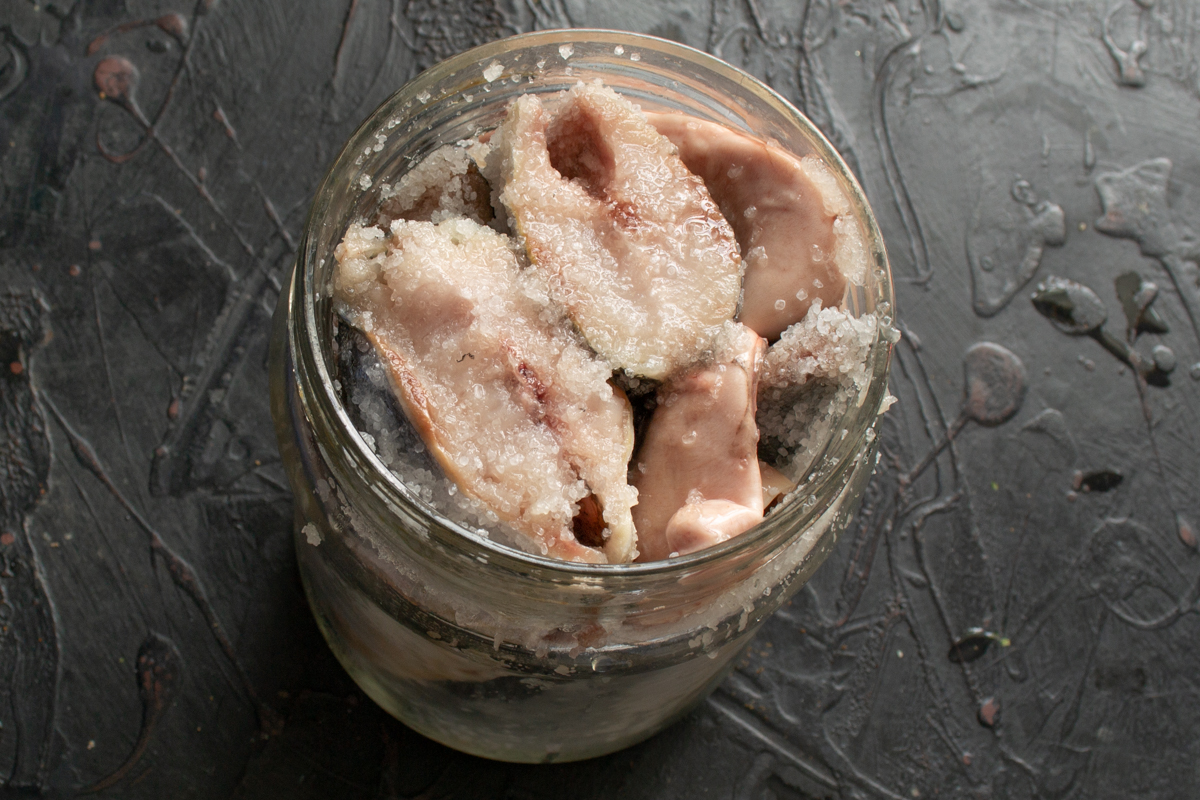
Pack the fish tightly into a jar. The dry method makes the fillet firmer and more textured, similar to mackerel.
Cover the jar with a lid and leave it in the refrigerator for 3 to 4 days. Shake the jar once a day; this is optional but highly recommended.
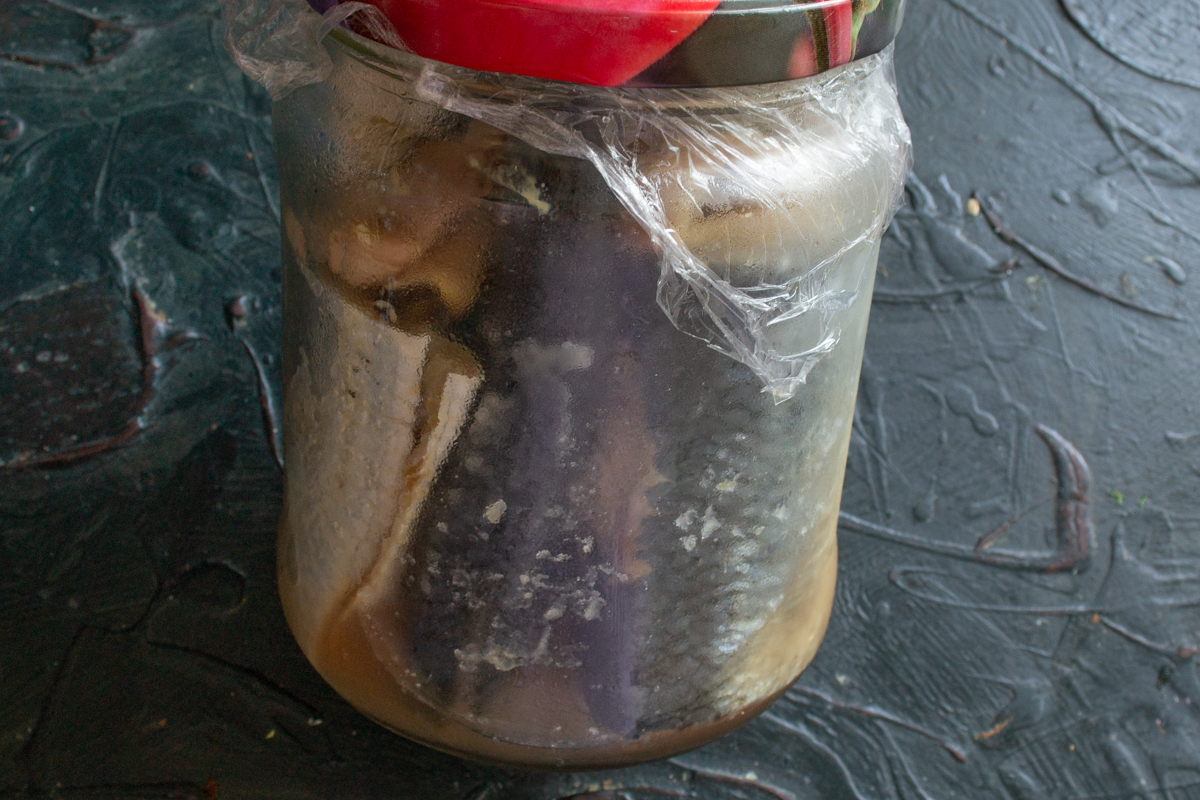
Leave the herring in the refrigerator for 3 to 4 days. It is recommended to shake the jar daily for even curing.
After four days, place the salted herring in a bowl of cold boiled or filtered water and leave for a few minutes. Pat dry, score the skin along the spine, and peel it off. Remove the fillets from the bone, picking out any small pin bones. Dry-cured herring fillets turn out quite firm, similar in texture to mackerel fillets.
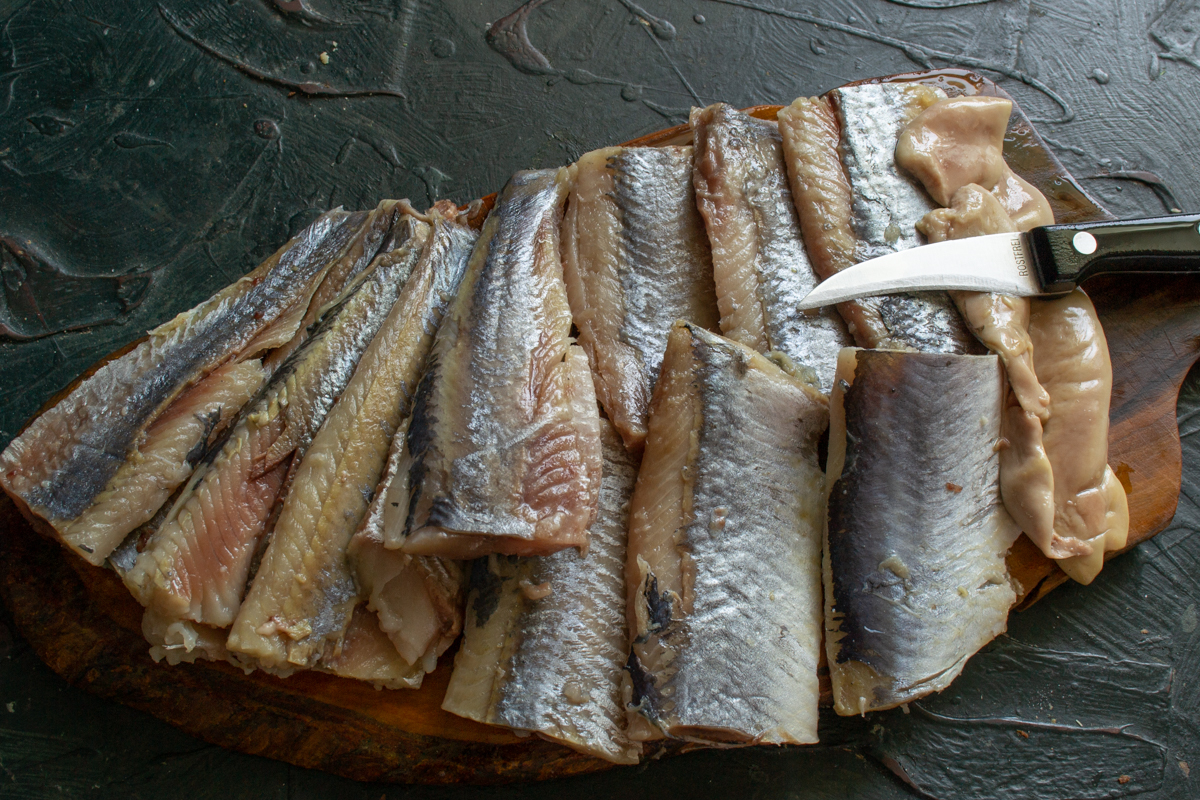
After curing, rinse the fish, remove the skin, and take out the spine and pin bones. Chop the resulting fillets into large pieces.
Chop the cleaned herring fillets into large pieces. Wash your jars thoroughly and dry them in the oven for a few minutes. The amount of herring and spices listed here fits perfectly into two 450 g (16 oz) jars. To start assembling, place a few pieces of herring at the bottom of the jar.
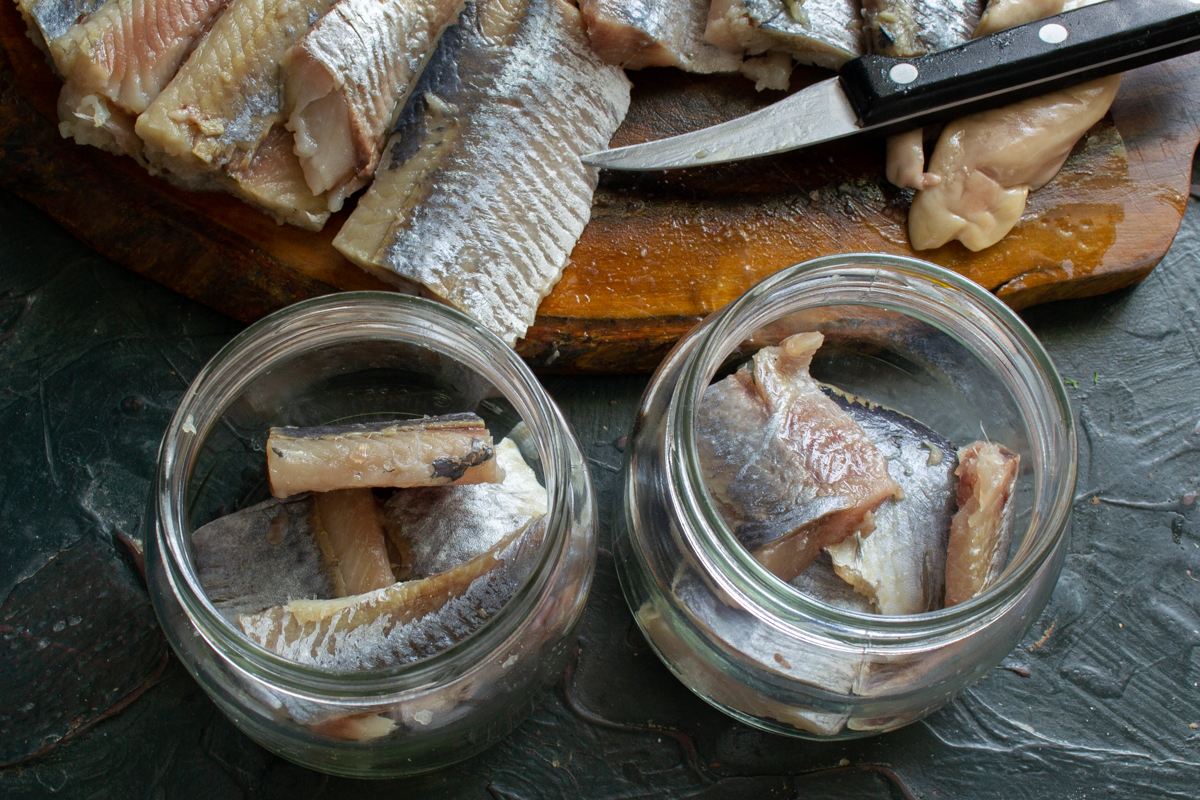
Begin assembling the appetizer in clean, dry jars. Place pieces of the prepped fillet as the first layer at the bottom.
Slice the onion into thin half-moons. Grate the raw carrot on a fine grater. Place a little onion and a pinch of grated carrot over the layer of fish.
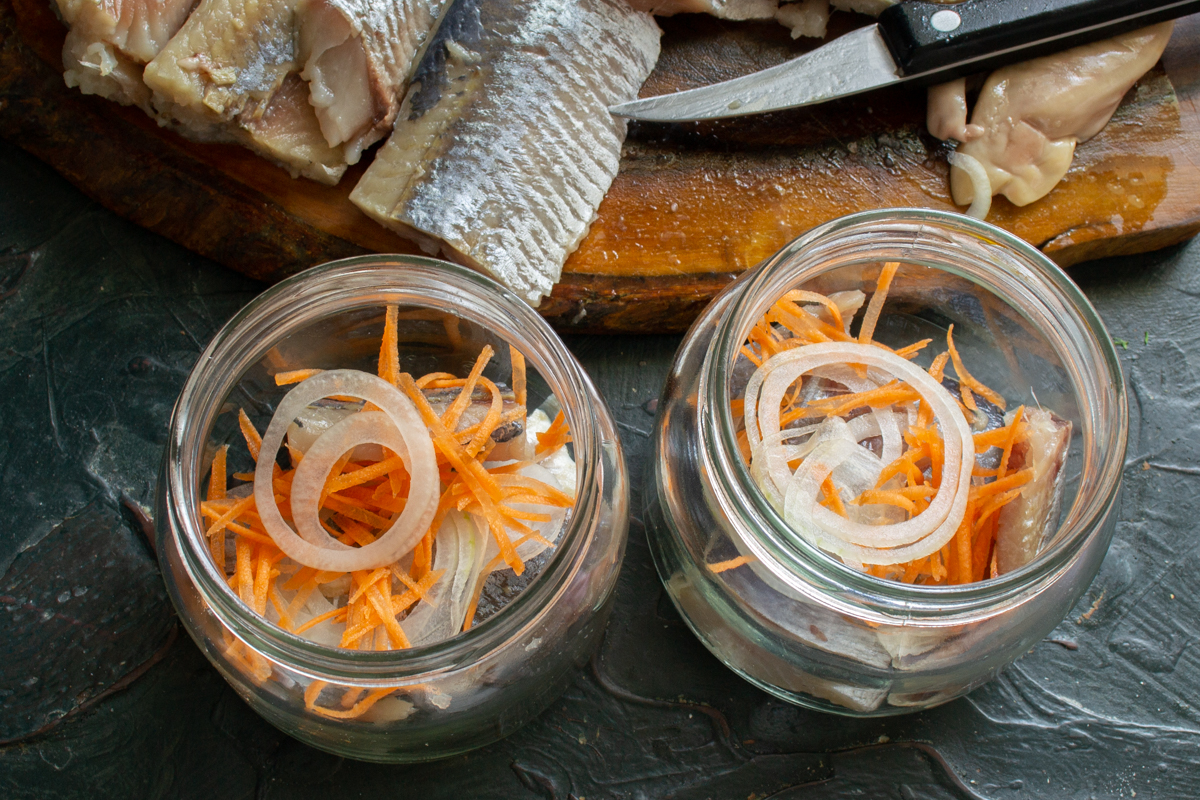
Top the fish with thin onion half-moons and a pinch of grated carrot to give the appetizer brightness and flavor.
Slice the lemon as thinly as possible. Add one lemon slice into each jar.
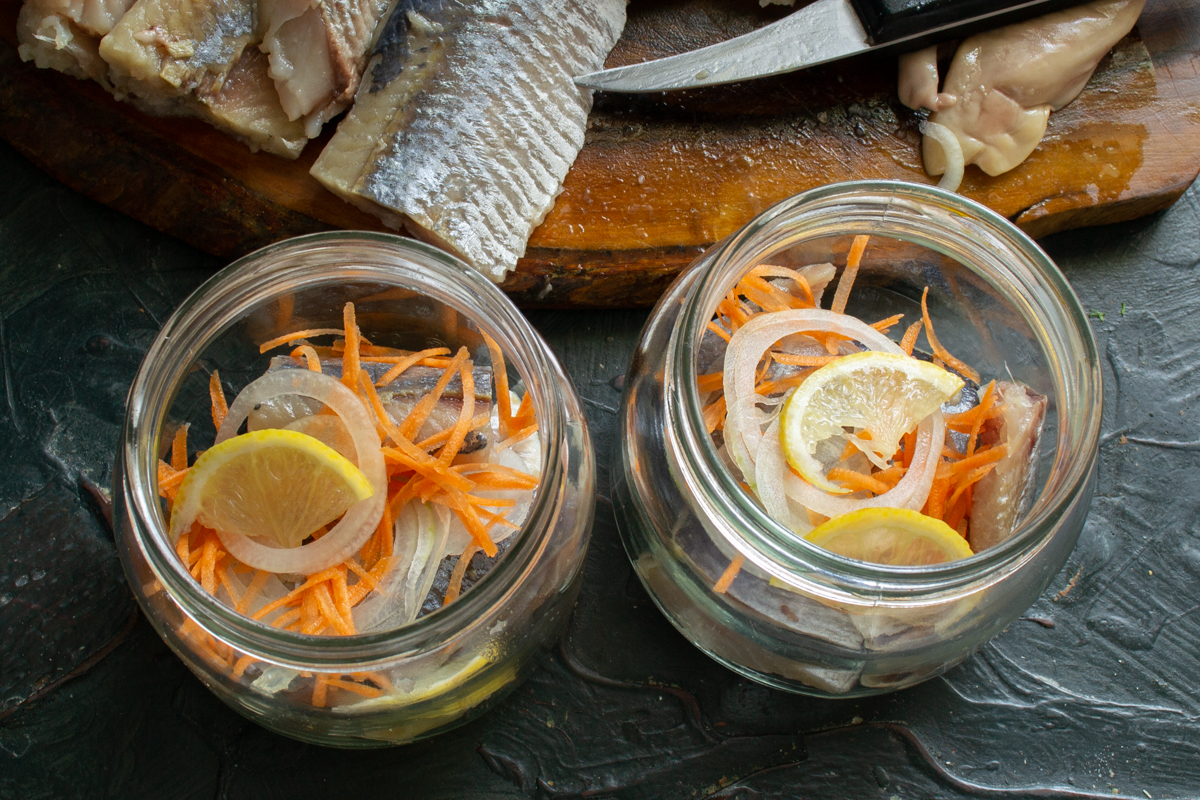
A thin slice of lemon will add a pleasant tartness and a fresh citrus aroma to the marinade.
Pour in a tablespoon of vegetable oil. Any neutral, odorless oil works beautifully here.
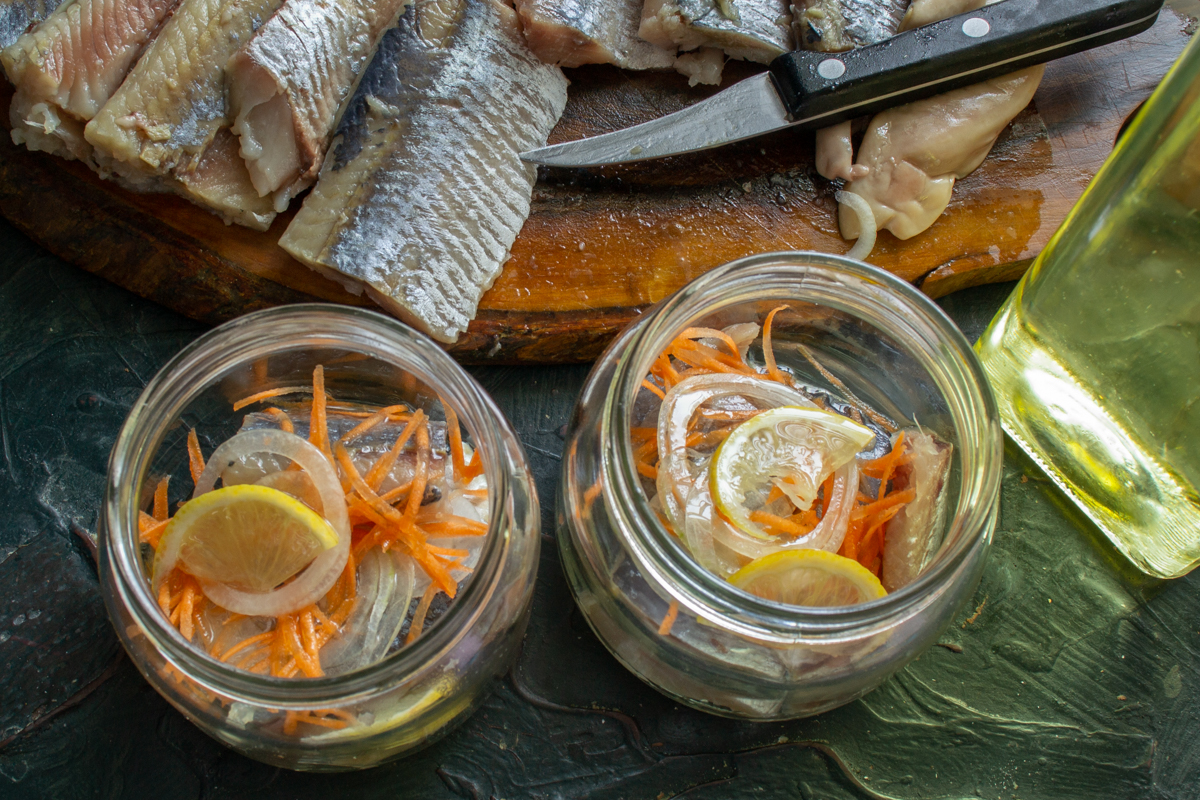
Pour in a tablespoon of neutral vegetable oil. This helps the ingredients marinate and meld together perfectly.
Continue filling the jars to the very top in this manner, alternating the herring with onion, carrot, lemon, and drizzling with oil. You need enough oil to completely cover the contents of the jar.
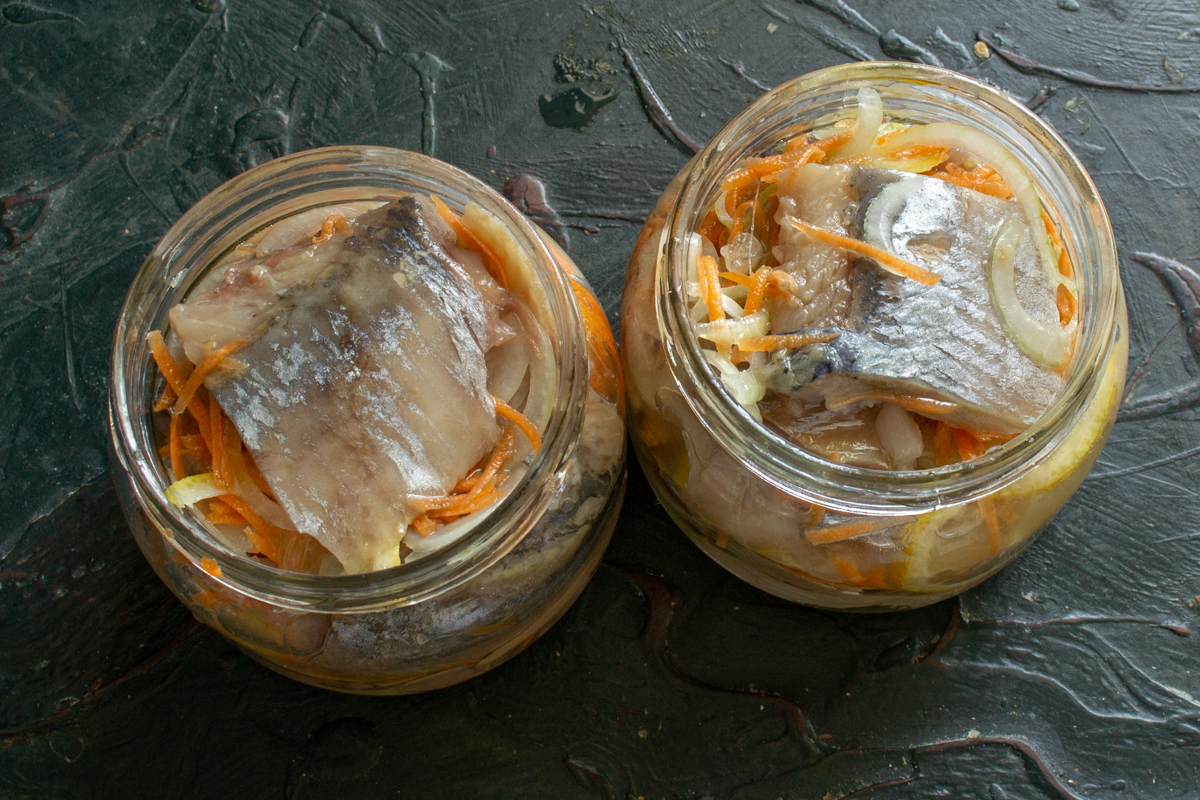
Alternate layers of fish, vegetables, and lemon all the way to the top. Make sure the oil completely covers the jar contents.
Seal the jars with lids and store them in the refrigerator. After 24 hours, your Dutch-style pickled herring is ready to be served.
The ultimate pairing for Dutch-style pickled herring is hot boiled potatoes tossed with butter and fresh dill, alongside a sturdy slice of dense rye bread. For a festive presentation, try serving pieces of the fish on small toasts, garnished with a slice of the marinated lemon from the jar. The oil the fish steeped in becomes wonderfully fragrant, making it a brilliant dressing for vinaigrette or other vegetable salads featuring herring. To preserve its flawless taste, store the finished appetizer strictly in the refrigerator in glass containers. Ensure the vegetable oil completely covers all layers of fish and vegetables—this prevents drying and keeps the fillets succulent for up to ten days. If you want to introduce new flavor notes next time, toss a couple of juniper berries or mustard seeds into the jar for a deeper, more piquant character.
0 comments