
Welcome to a recipe that's more than just food; it's a piece of my family's history. Today, I'm sharing my grandfather's method for making salo, a beloved staple in many Eastern European homes. Salo is essentially cured pork fatback, a delicacy that transforms a simple ingredient into something incredibly flavorful and satisfying. This dry-curing process is straightforward and results in tender, aromatic salo, perfect for slicing thin and enjoying on a piece of dark rye bread. Let's dive into this time-honored tradition together!
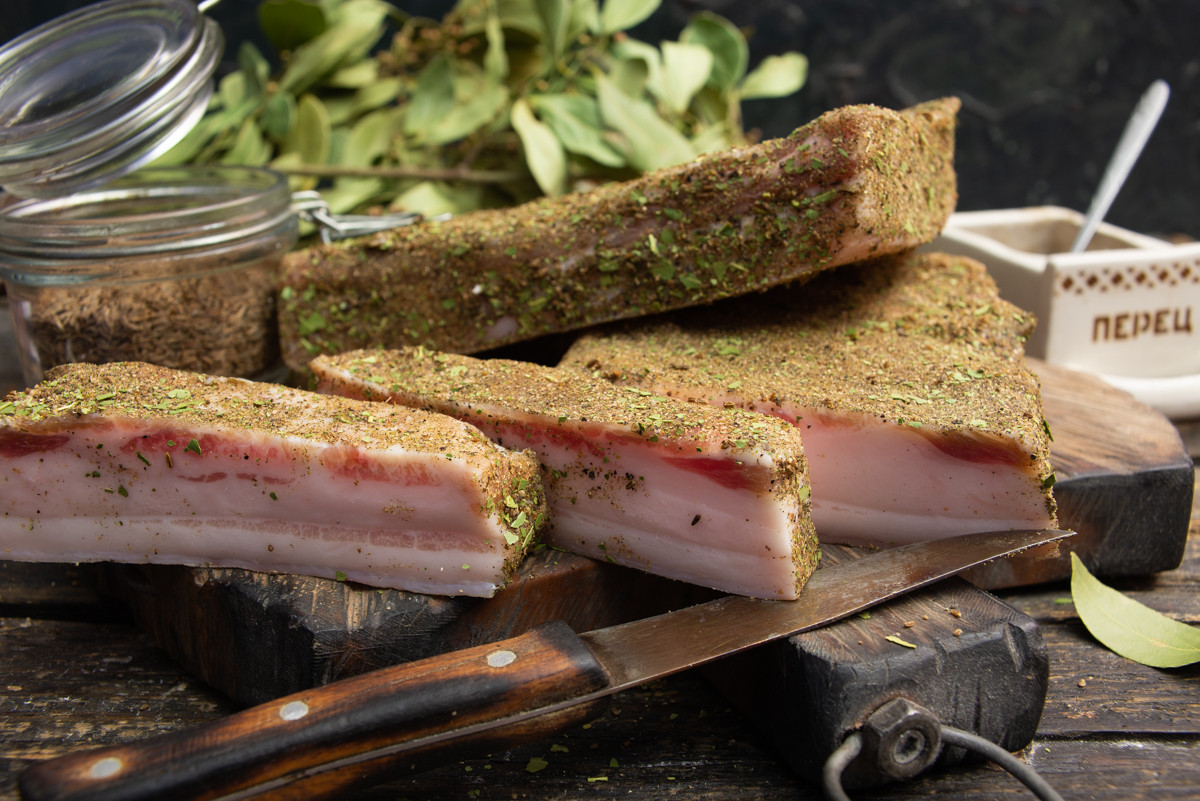
Dry-curing salo using my grandfather's recipe
Ingredients for Grandfather's Salo Recipe
- 1.2 kg salo (pork fatback)
- 120 g salt
- 50 g sugar
- bay leaf
- caraway seeds
- ground black pepper
How to Make Salo Using My Grandfather's Recipe
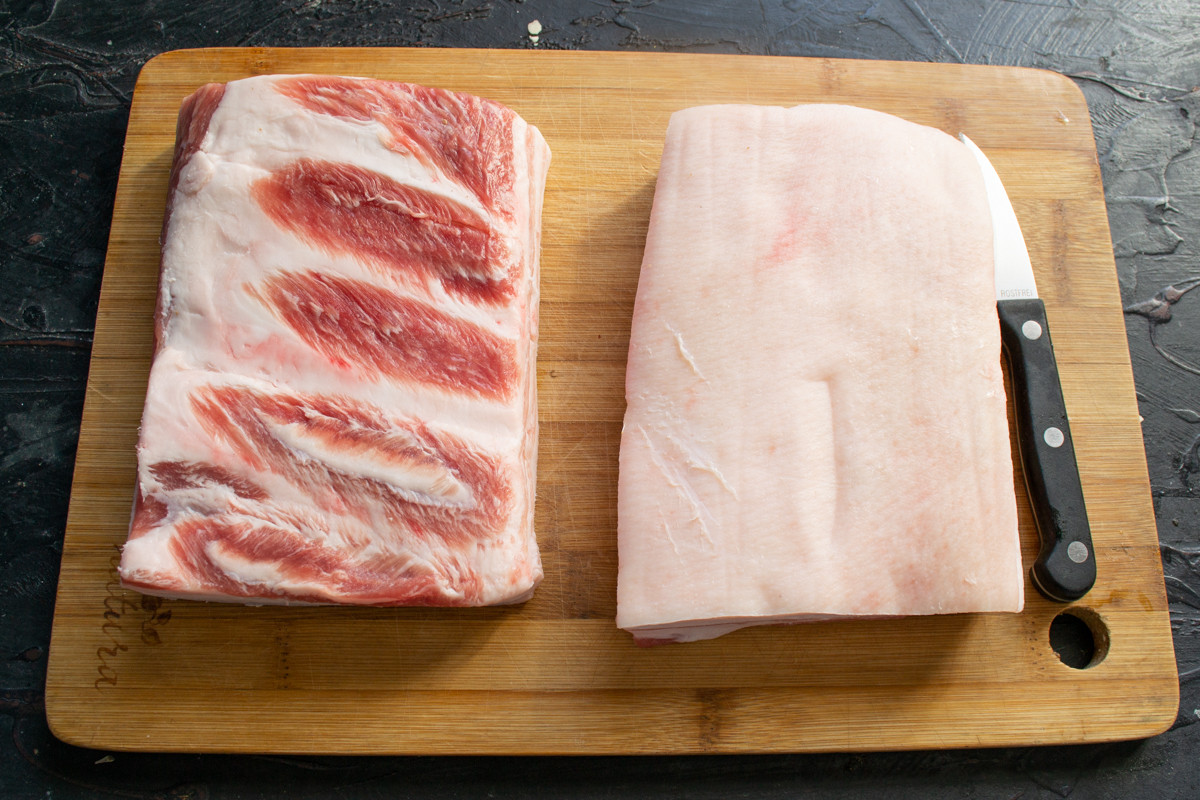
For curing, I recommend thick salo, with pieces at least 3 centimeters thick.
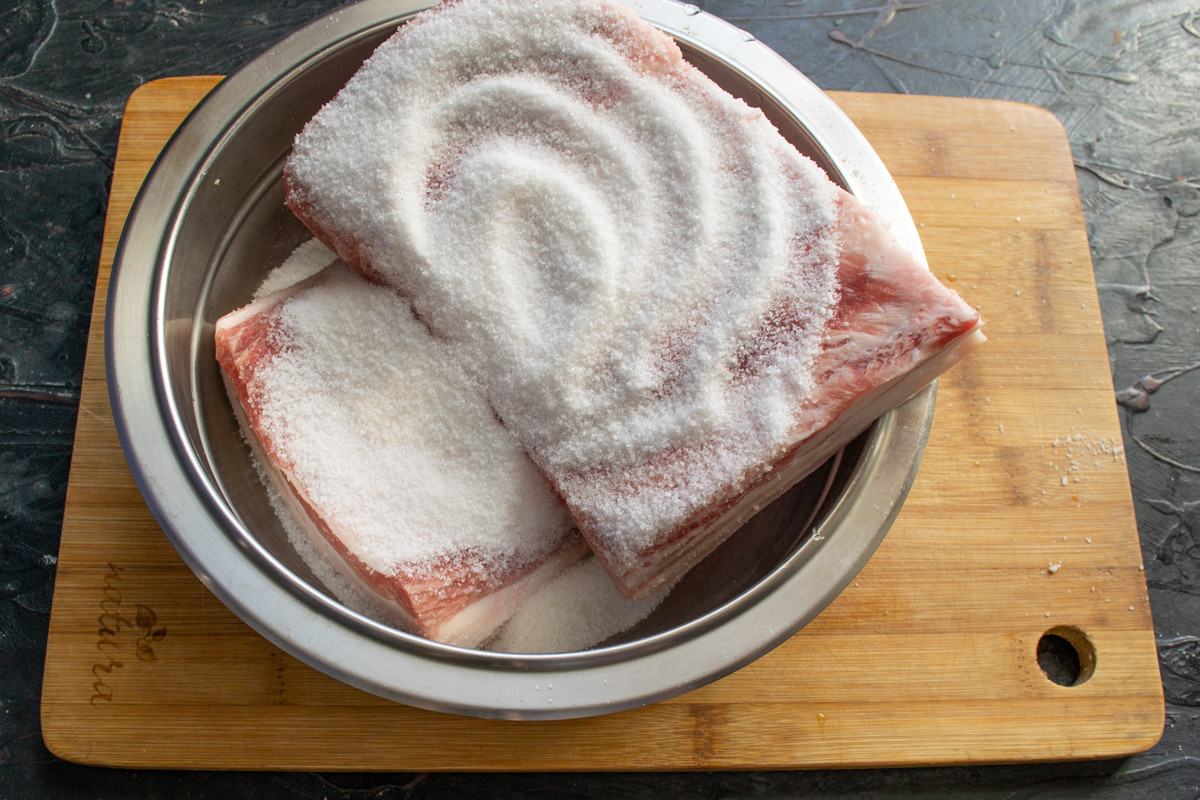
Mix salt and sugar, and sprinkle generously over the salo.
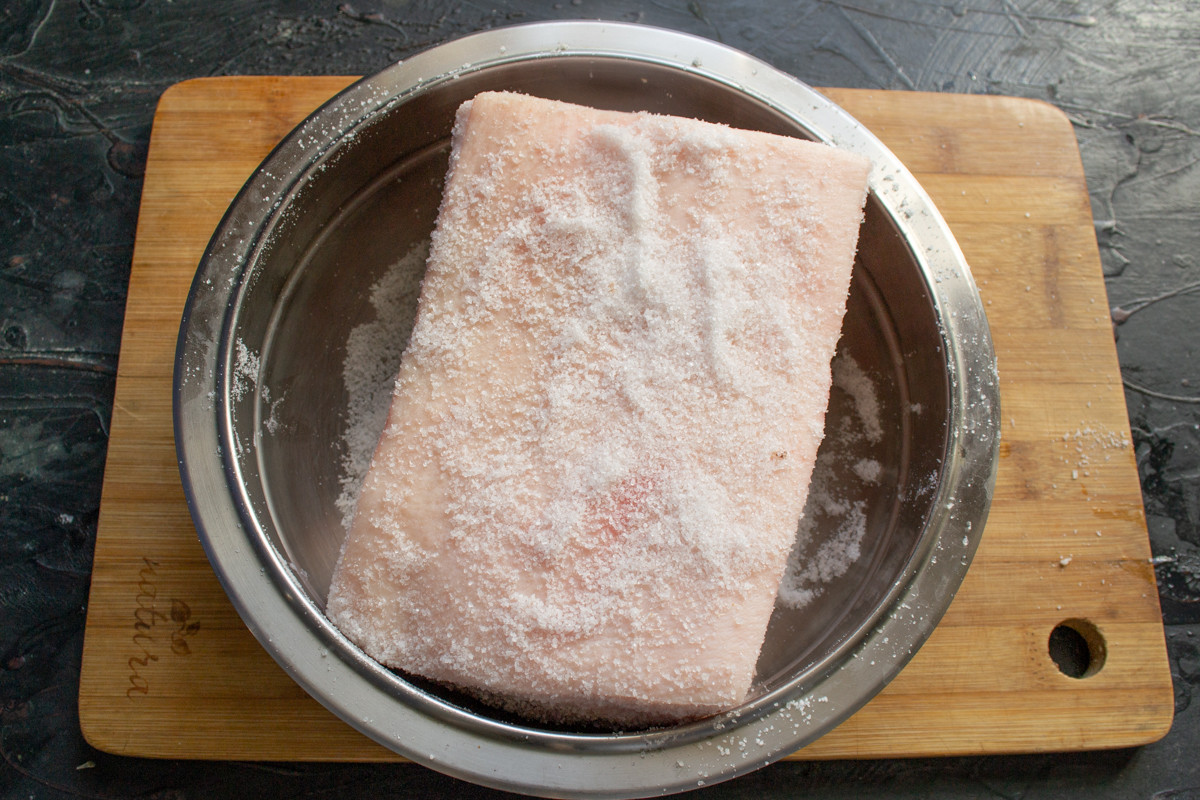
Stack the pieces on top of each other, skin-side out.
For curing, I recommend using thick salo (cured pork fatback), with pieces at least 3 centimeters thick. The skin should be singed; I also scrape it further with a knife. Afterward, I rinse it thoroughly with cold water and dry it with paper towels.
Mix the salt and sugar, and sprinkle it generously over the salo. Try to distribute the mixture so that as little as possible remains at the bottom of the bowl. The main focus should be on the exposed surfaces of the salo pieces.
Stack the pieces on top of each other, skin-side out. Press them tightly together.
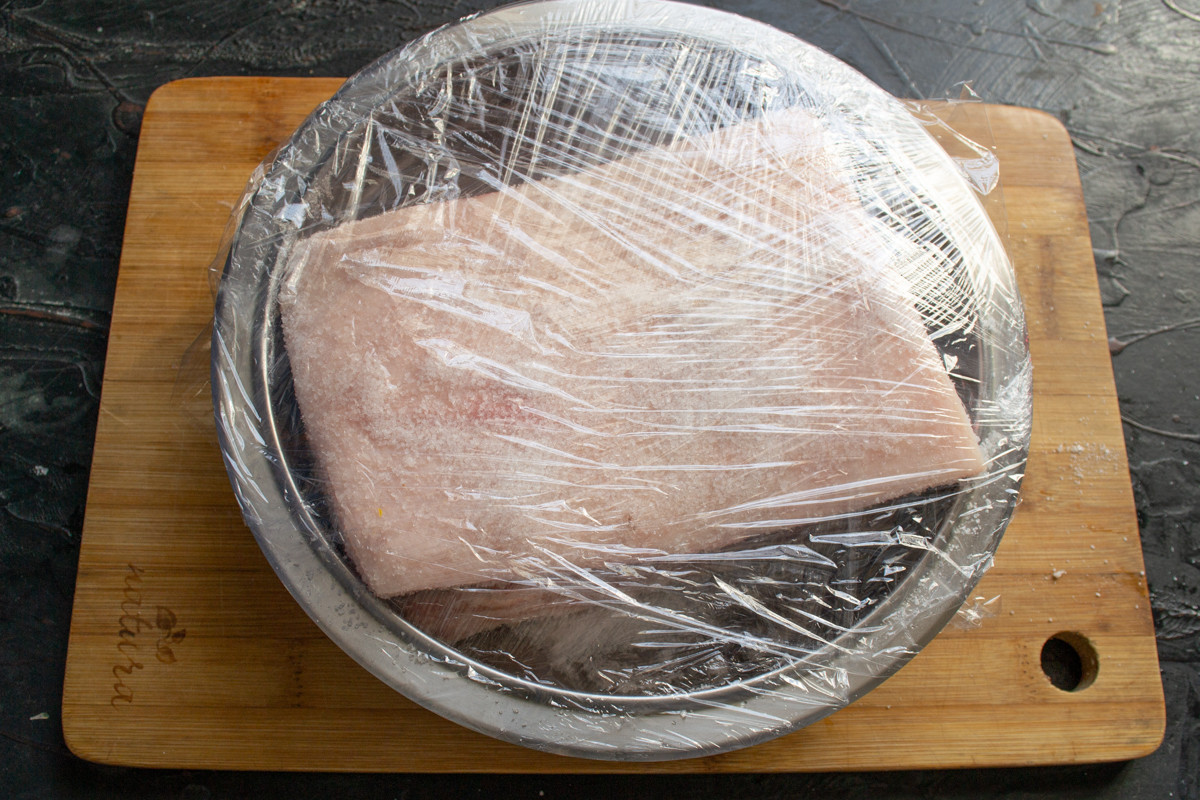
I recommend covering the bowl with plastic wrap.
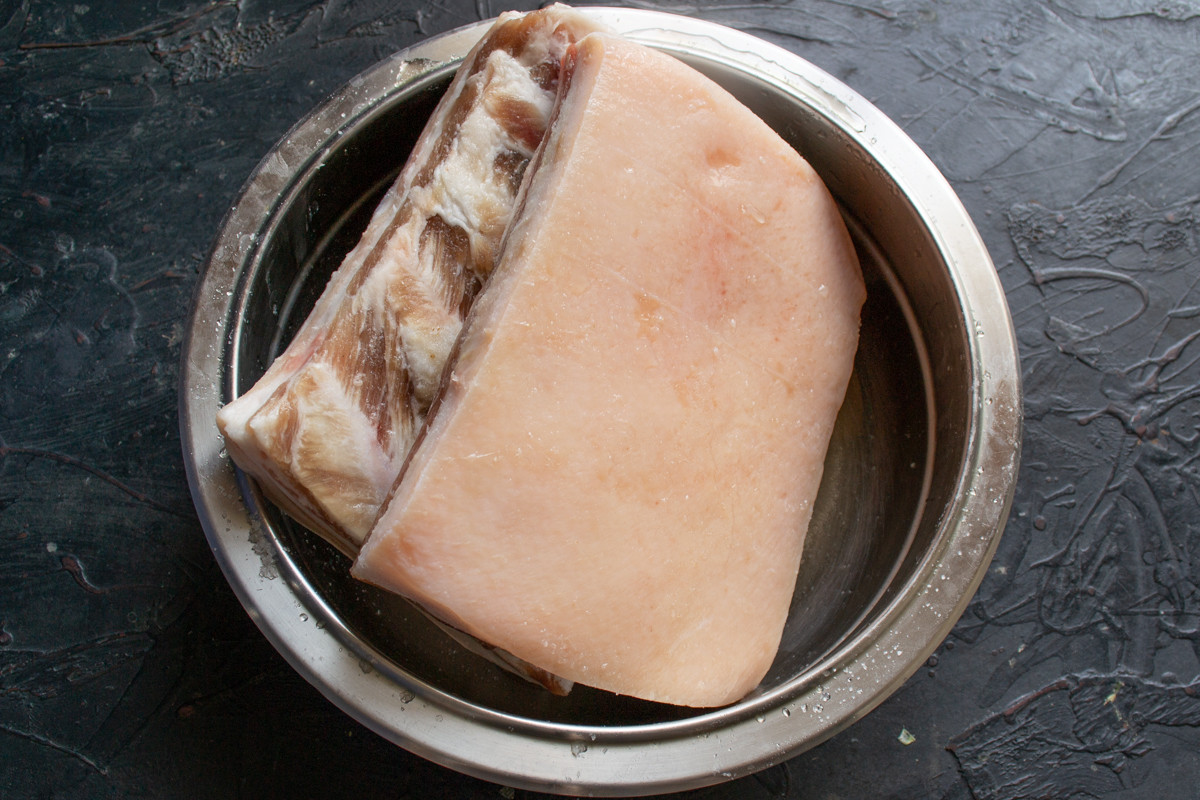
Over 3 days, the salt and sugar will draw moisture out of the salo.
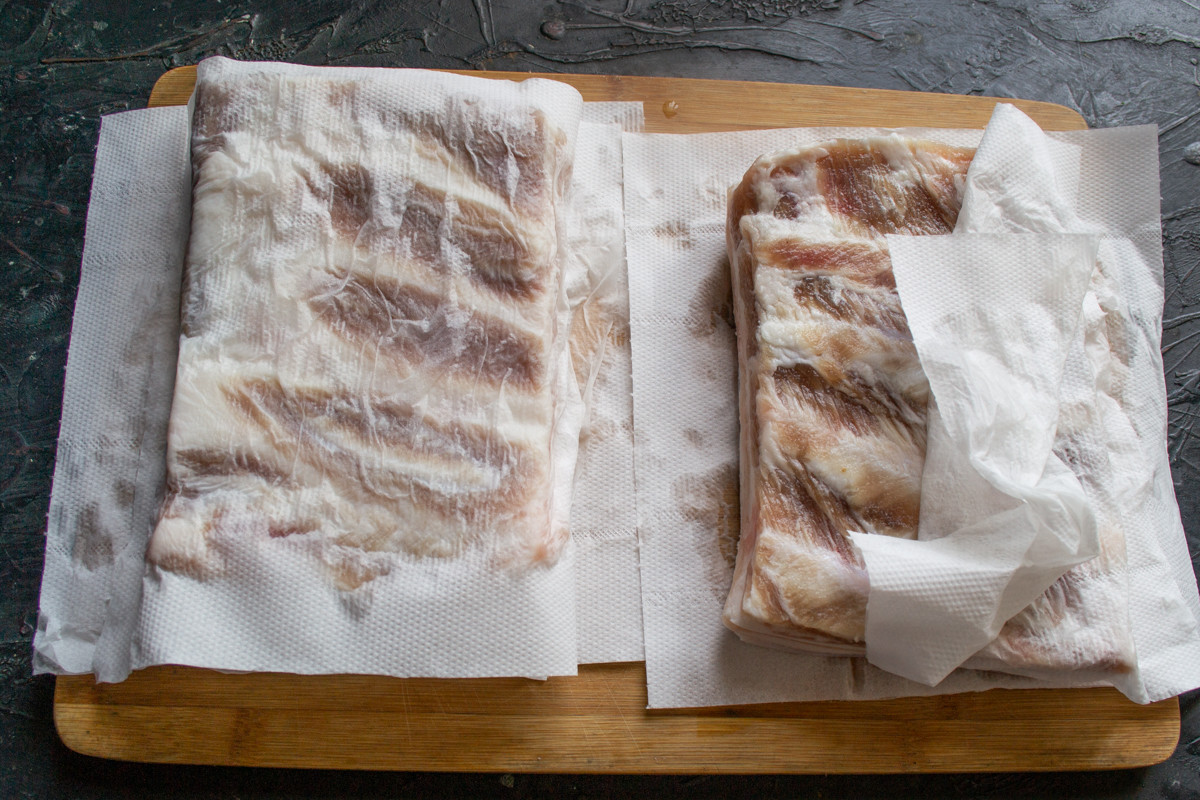
Dry the pieces thoroughly with paper towels.
If you’re curing it in a pot, simply covering it with a lid is sufficient. For a bowl, I recommend covering it with plastic wrap. Leave it at room temperature for 10-12 hours, then move it to the refrigerator for 72 hours.
Over these 3 days, the salt and sugar will draw moisture out of the salo. I lost about 150g of weight. Drain the resulting brine and rinse the pieces with ice-cold water to wash off any remaining salt crystals.
Dry the pieces completely with paper towels.
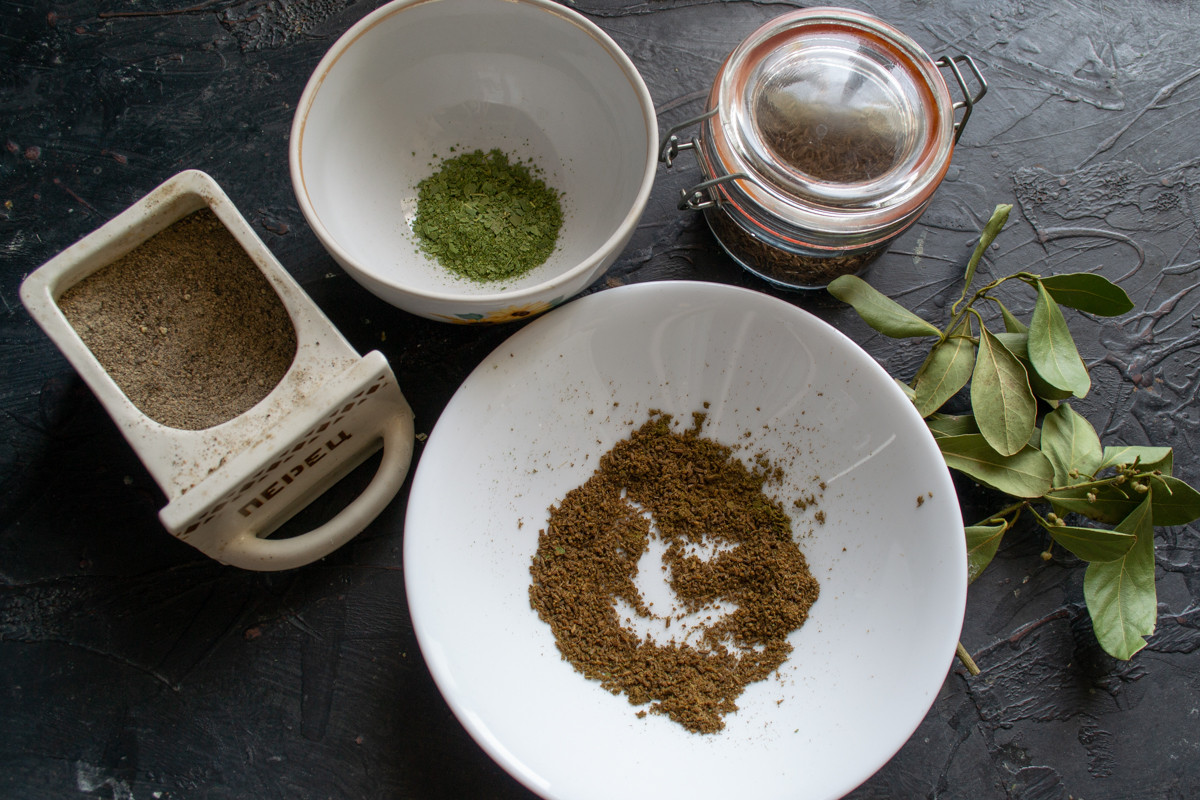
I grind the bay leaves and caraway seeds into a powder in a coffee grinder.
Now, let’s prepare the spices. You’ll need a spice mill or a coffee grinder to grind them. Ground black pepper doesn’t need any further processing. I grind the bay leaves and caraway seeds into a fine powder in a coffee grinder. For 1 kg of salo, you’ll need 8-10 bay leaves and a tablespoon of caraway seeds.
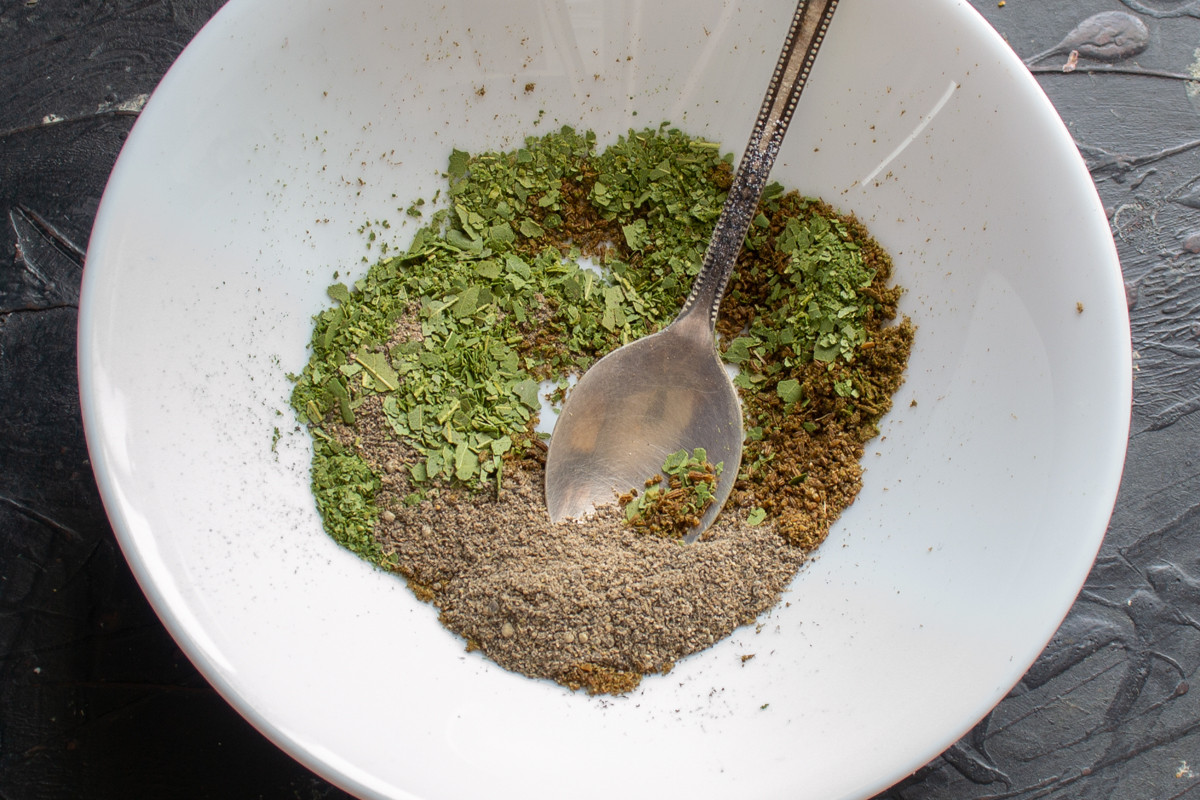
Mix the ground caraway and bay leaves with two teaspoons of black pepper.
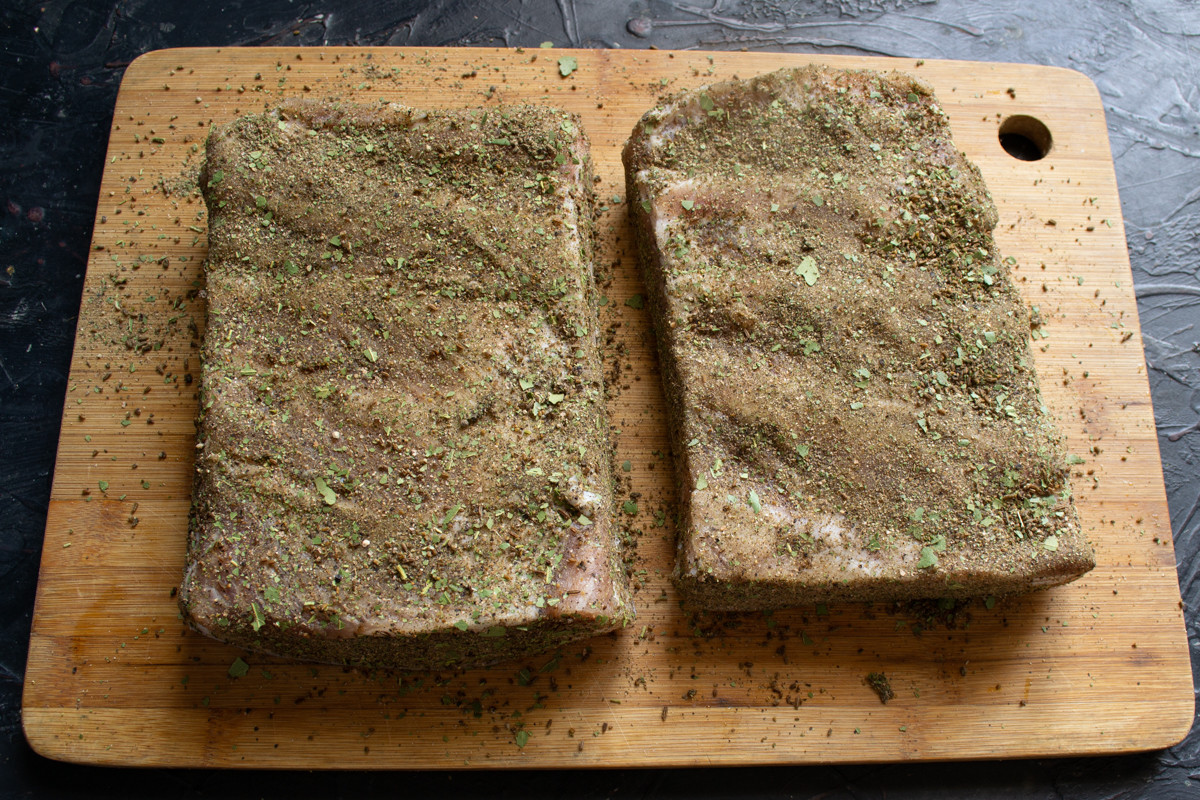
Generously sprinkle the dried salo with the spice mix, rubbing it into all sides.
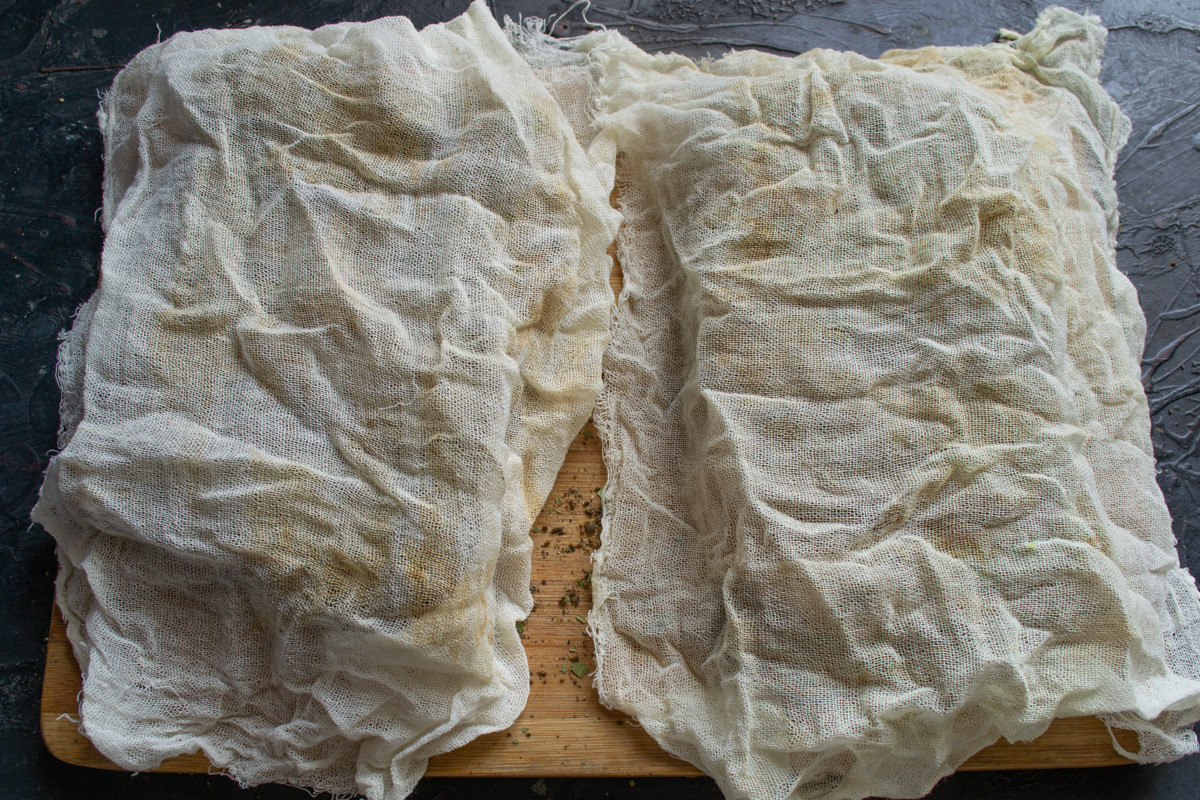
Wrap the salo tightly in several layers of cheesecloth.
Mix the ground caraway and bay leaves with two teaspoons of black pepper. My grandfather, by the way, used to grind his spices in a meat grinder. Every year before Easter, he would prepare a large jar of it and then treat the whole family, handing out a small jar of the spice mix with the date of preparation written in beautiful calligraphic handwriting.
Generously sprinkle the dried salo with the spice mix, rubbing it into all sides of the pieces. You don’t need to be as thorough on the skin side, as the spices aren’t necessary there if the skin is tough.
Wrap the salo tightly in several layers of cheesecloth. Stack the pieces on top of each other and place them back in the refrigerator for another 72 hours, or up to 5 days, depending on your fridge’s temperature. During this time, the salo matures and absorbs the aromas of the spices.
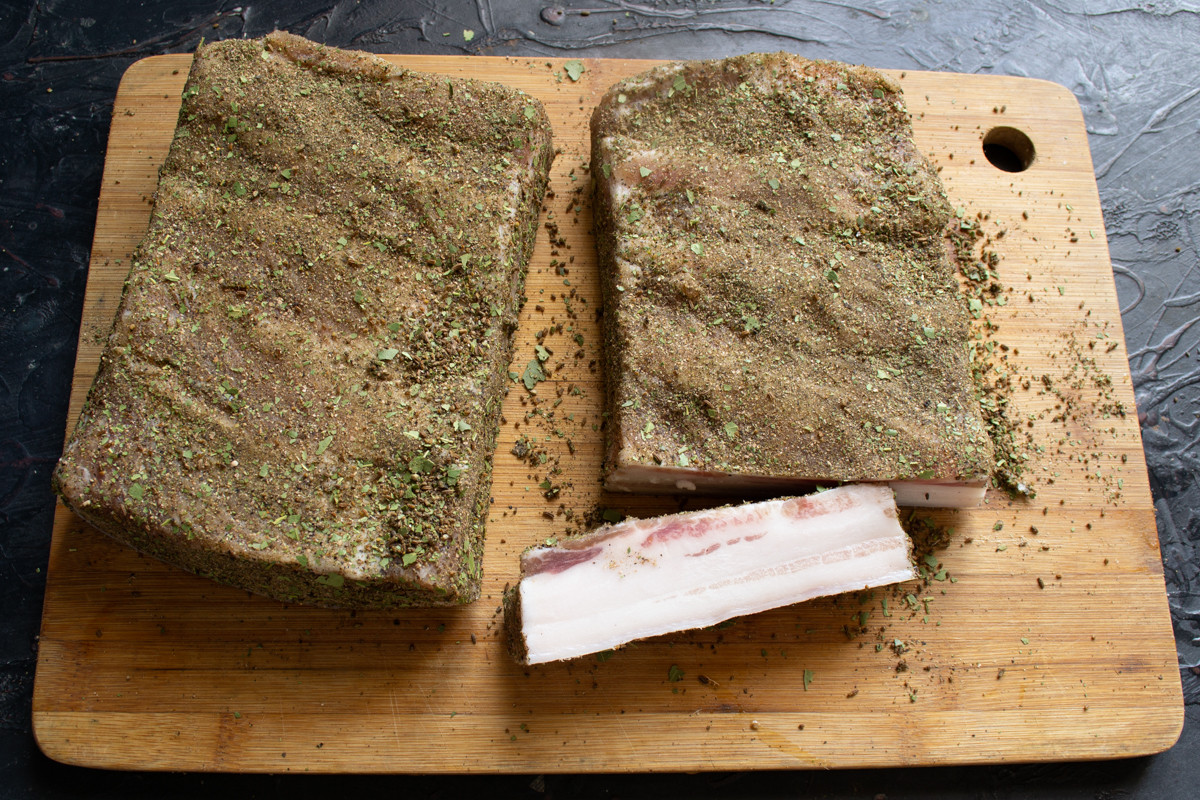
Can be stored in the freezer for up to one year. Enjoy your meal!
Next, remove the cheesecloth, wrap the salo in plastic wrap or a bag, and place it in the freezer. It can be stored in the freezer for up to one year.
And there you have it—your very own homemade salo, cured to perfection using a recipe filled with love and tradition. The aging process in the fridge allows the spices to deeply penetrate the fat, creating an unforgettable aroma and taste. The best way to enjoy it is sliced paper-thin, served on hearty rye bread, perhaps with a slice of raw onion or a clove of garlic. Stored in the freezer, it will last for months, always ready for a quick, savory snack. I hope you enjoy this taste of my heritage!
0 comments