
A Chocolate Raspberry Cake is an exquisite pairing of rich cocoa and bright berry tartness that turns an ordinary tea time into a true celebration. The moist sponge, soaked in fragrant liqueur, pairs harmoniously with a delicate custard and crunchy walnuts. This dessert embodies the best traditions of home baking, where every ingredient highlights the depth of the others. Raspberries not only garnish the dish but infuse it with a fresh aroma, creating a magnificent contrast with the velvety texture of dark chocolate.
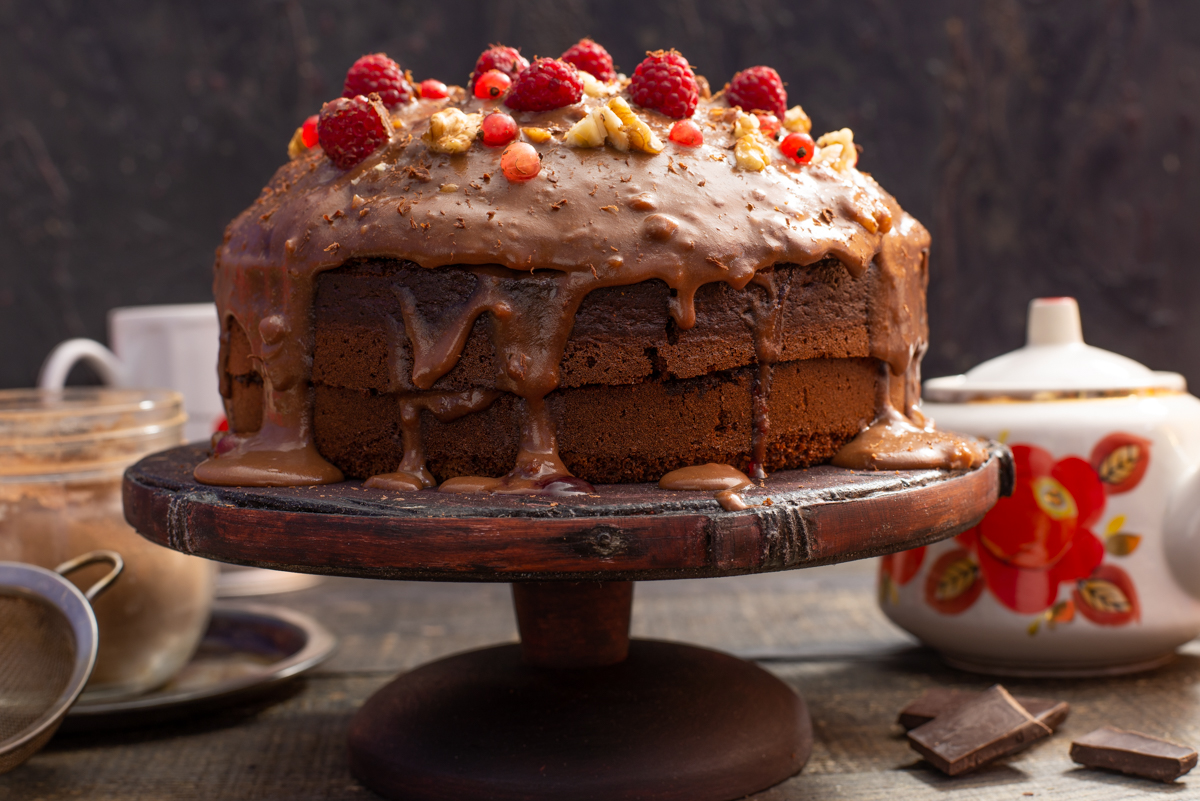
This magnificent chocolate cake with delicate custard and fresh berries will be the centerpiece of any festive table.
Batter Ingredients
- 240 g (8.5 oz) cake flour
- 30 g (1 oz) cocoa powder
- 240 g (8.5 oz) granulated sugar
- 2 large eggs
- 70 g (2.5 oz) butter
- 260 ml (8.8 fl oz) milk
- 1 teaspoon baking soda
- 1 tablespoon 6% white or apple cider vinegar
- vanilla to taste
Cream Ingredients
- 1 egg
- 60 g (2 oz) granulated sugar
- 25 g (0.9 oz) potato starch (or cornstarch)
- 250 ml (8.5 fl oz) milk
- 100 g (3.5 oz) dark chocolate
- 50 g (1.8 oz) butter
- 80 g (2.8 oz) walnuts
- 50 g (1.7 fl oz) chocolate liqueur
Soak and Garnish Ingredients
- 100 g (3.4 fl oz) chocolate liqueur
- 100 g (3.4 fl oz) raspberry syrup
- fresh raspberries, currants, and walnuts for garnish
How to Make Chocolate Raspberry Cake
Prepare the batter. Add the cake flour, granulated sugar, and cocoa powder to the bowl of a stand mixer. Sift in the baking soda to remove any lumps.
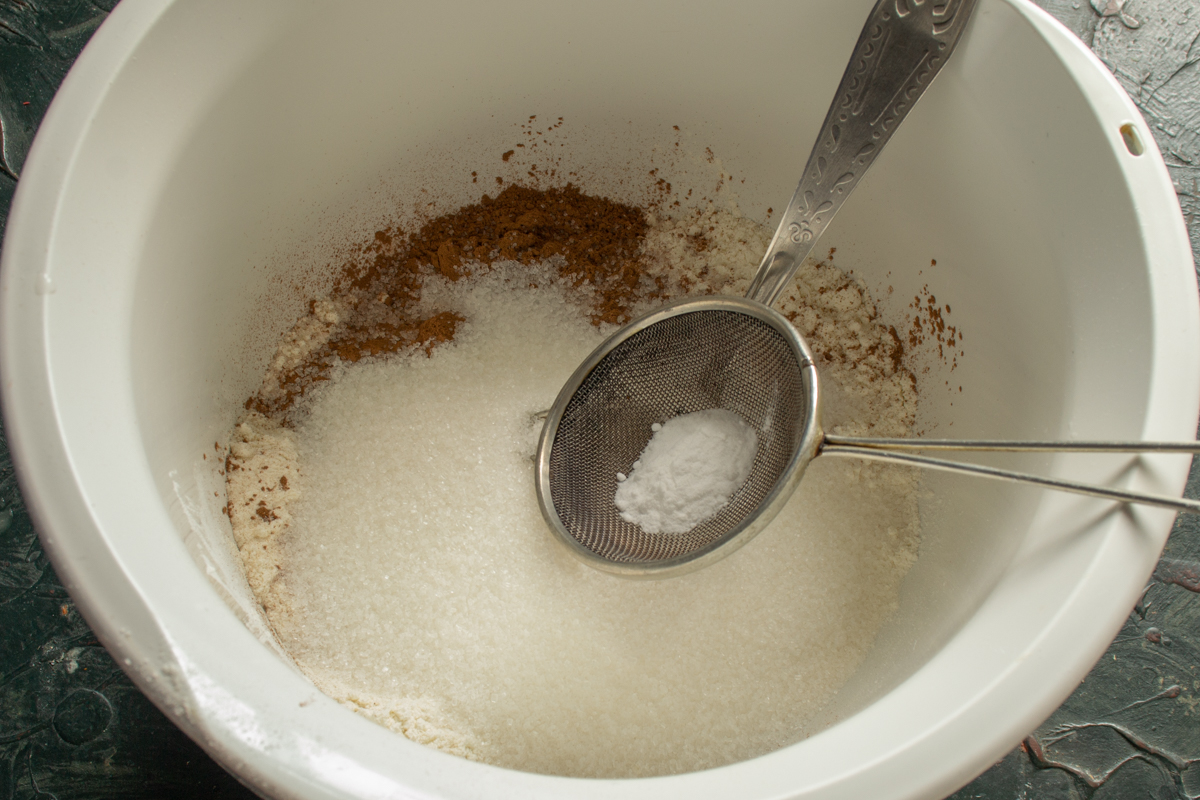
Sift the baking soda and cocoa into the flour and sugar to prevent lumps in the batter.
Stir the dry ingredients thoroughly with a spoon, then crack in the large eggs.
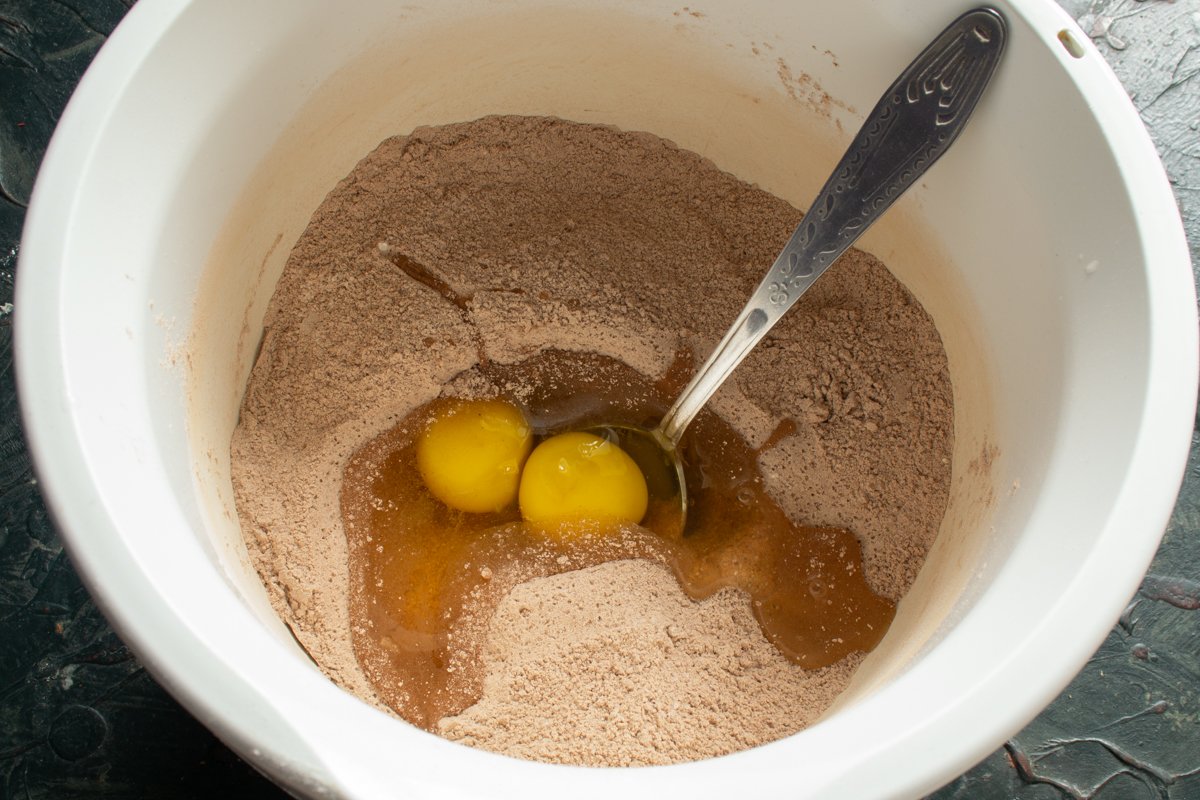
Add large eggs to the dry ingredients to bind the batter together.
Pour in the cold milk and add vanilla to taste.
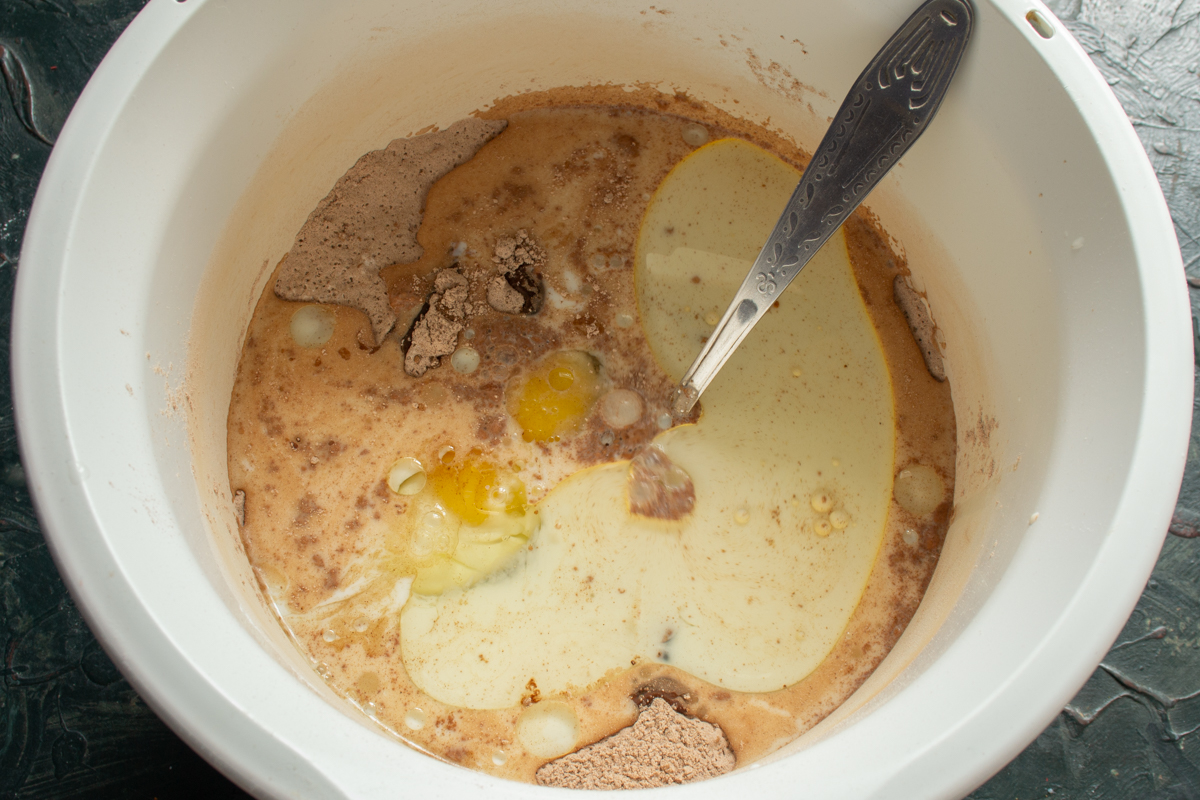
Pour in cold milk and add a touch of vanilla to give the batter a lovely aroma.
Mix the ingredients using a paddle attachment or whisk for a few minutes. Melt the butter and let it cool slightly. Pour the melted butter into the bowl, mix well, and at the very end of mixing, fold in the 6% white or apple cider vinegar.
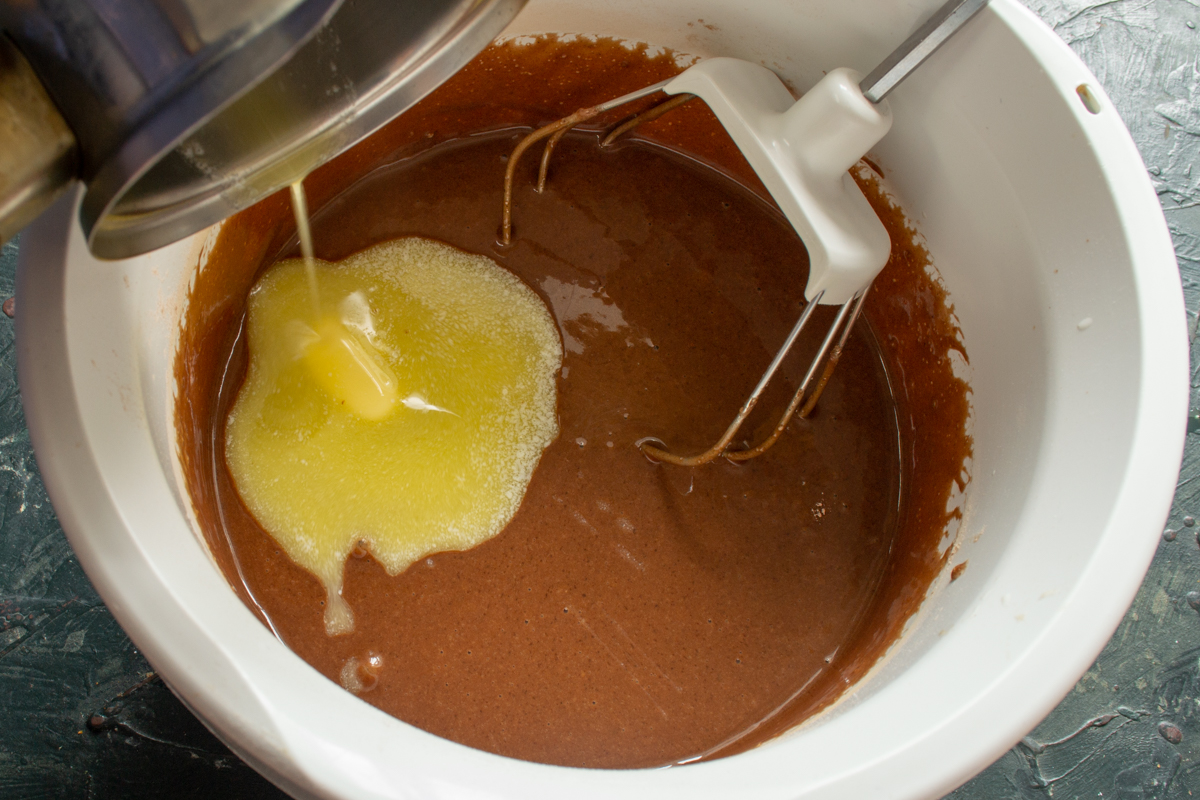
Pour in the melted butter and fold in a splash of vinegar at the very end of mixing.
Line the bottom of an 8-inch (20 cm) baking pan with greased parchment paper. Pour the batter into the prepared pan.
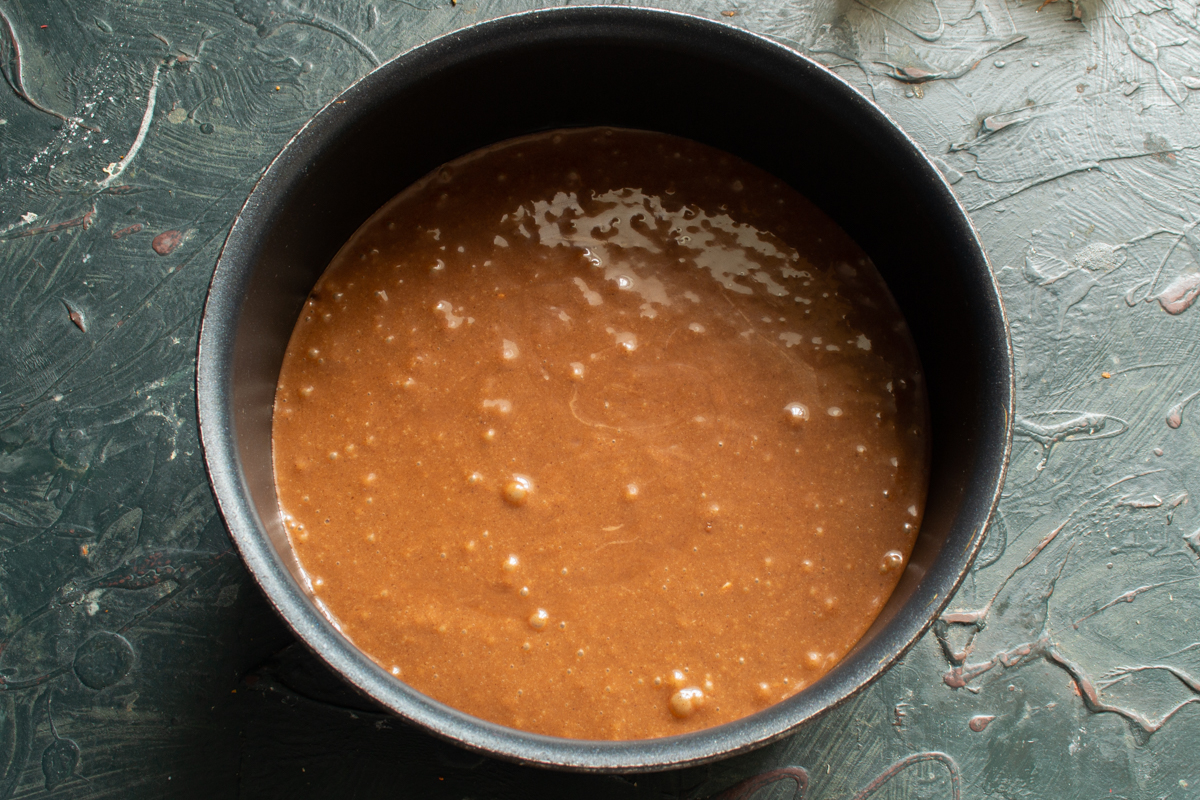
Pour the smooth, finished batter into a baking pan lined with parchment paper.
Bake for 1 hour at 310-320°F (155-160°C). Check for doneness by inserting a wooden skewer—if it comes out dry, the cake is baked through. Baking time may vary slightly depending on your oven and pan. Let the finished chocolate sponge cool on a wire rack.
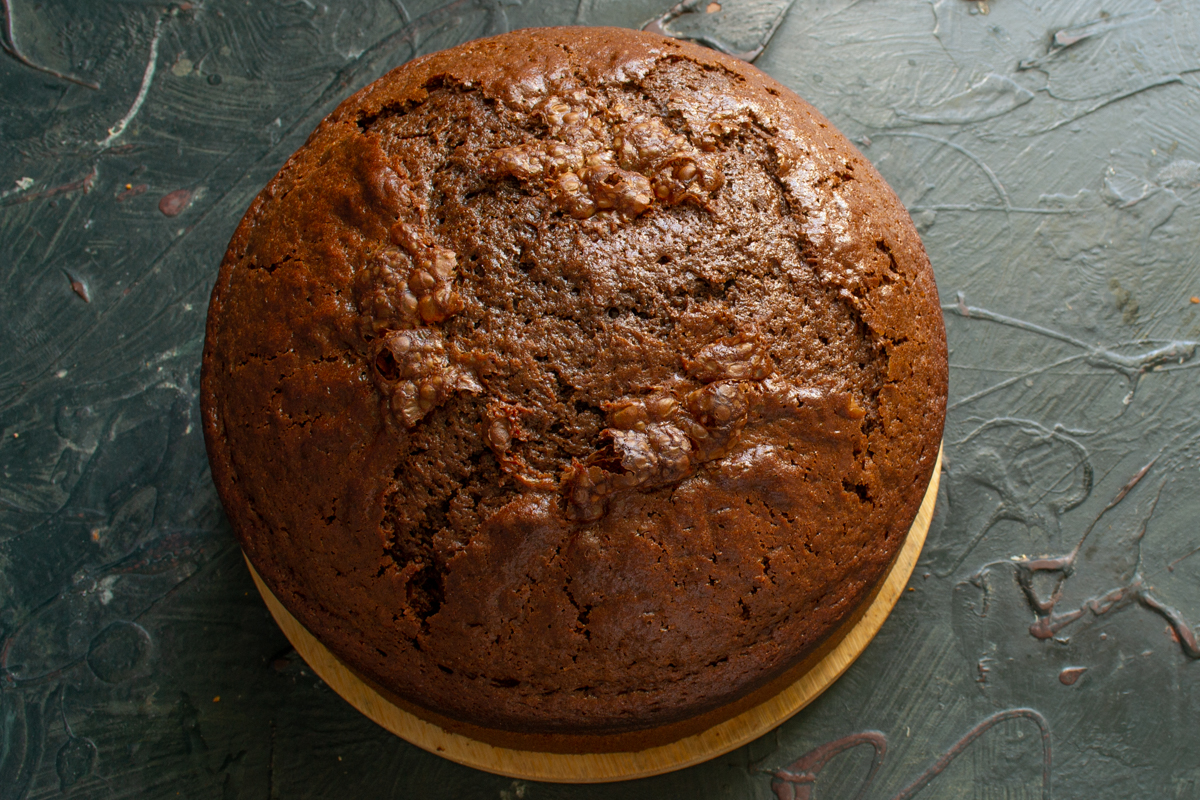
Check the sponge's doneness with a wooden skewer and let it cool on a wire rack.
Carefully cut the cooled sponge into three layers of even thickness.
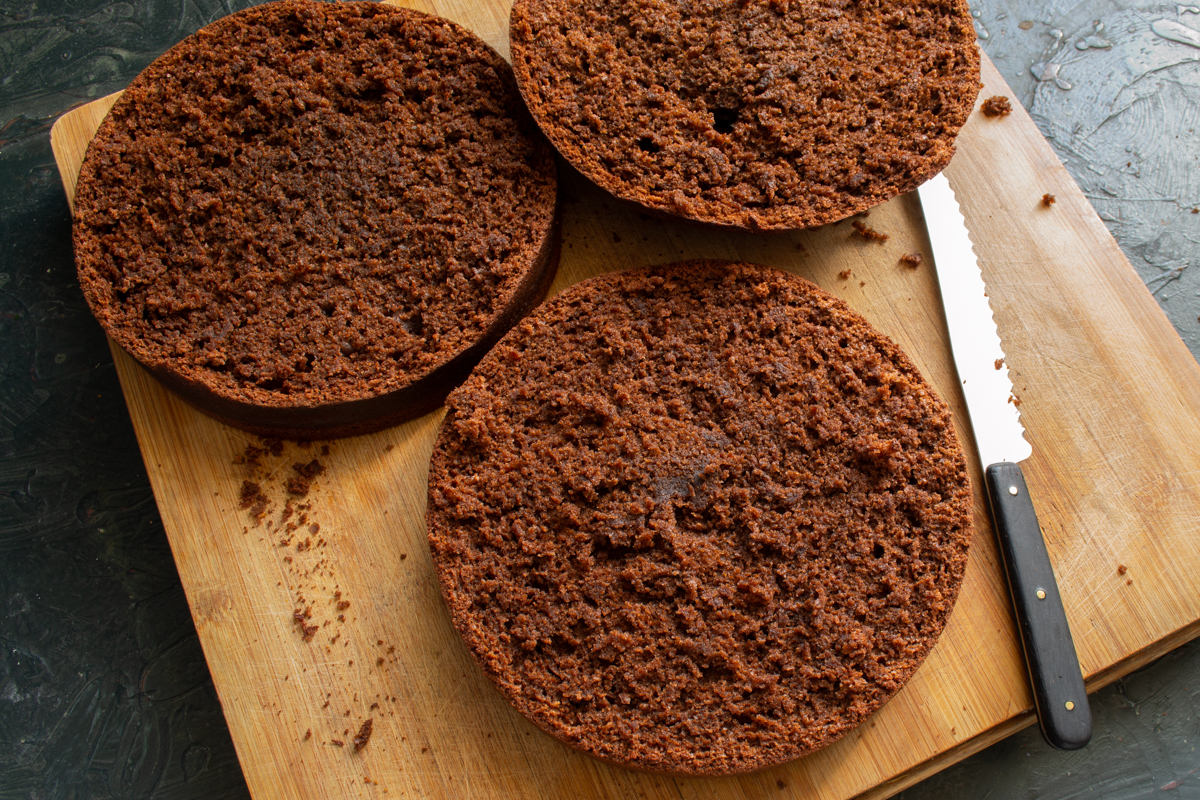
Carefully cut the cooled sponge horizontally into three layers of even thickness.
Prepare the cream. Crack the egg into a saucepan and add the granulated sugar.
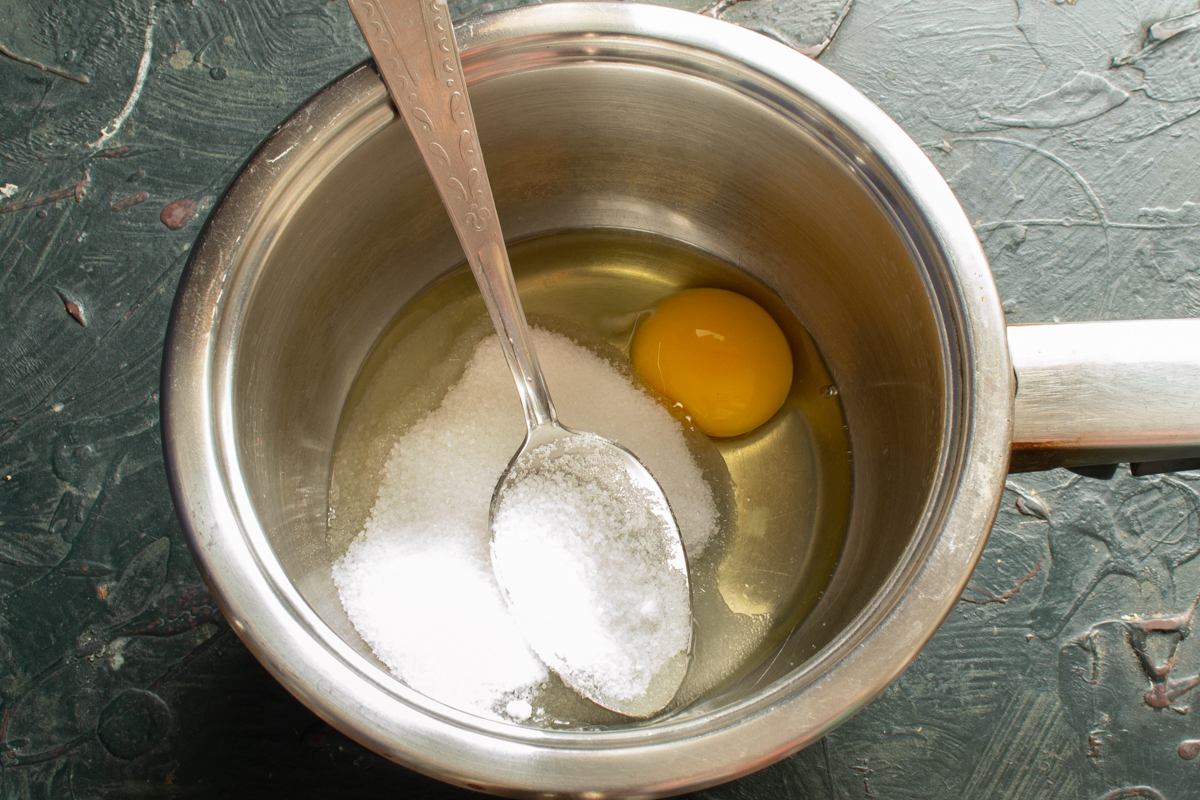
Begin making the cream by whisking together the egg and granulated sugar in a saucepan.
Whisk the egg and sugar together, then pour in the milk. Beat the wet ingredients with a whisk, sprinkle in the potato starch, and mix well.
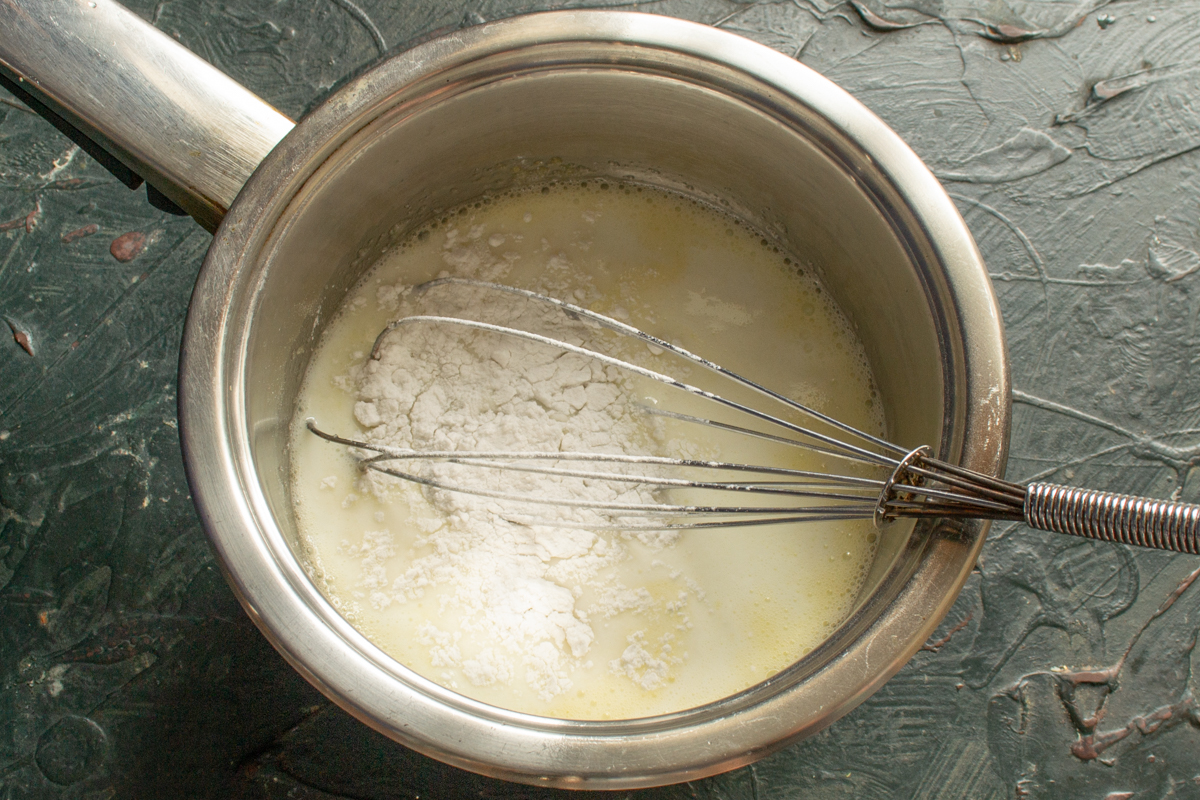
Pour in the milk and whisk in the potato starch until thoroughly combined.
Slowly heat the custard until thickened. As soon as the first bubbles appear, remove from the heat. Whisk continuously so it doesn’t burn. Fold the butter and dark chocolate into the hot custard.
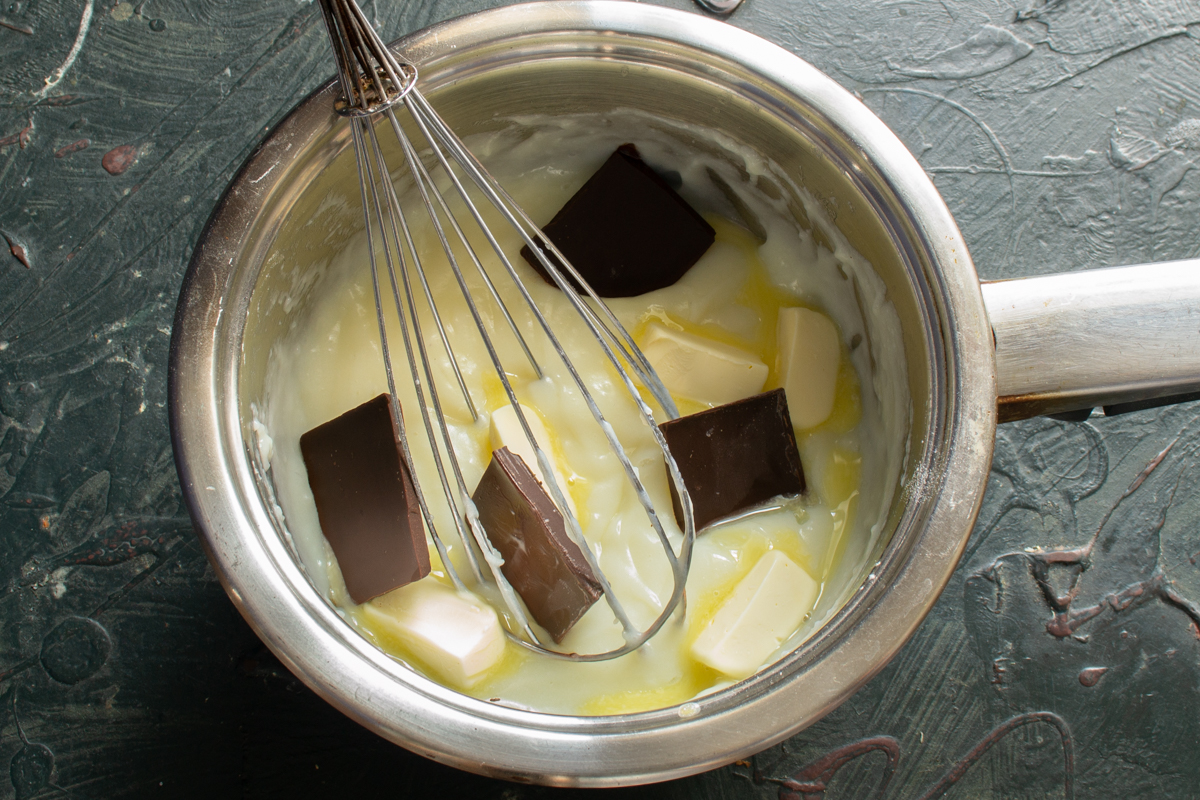
Stir pieces of dark chocolate and butter into the hot, thickened cream.
Whisk the chocolate cream until smooth, then pour in the chocolate liqueur.
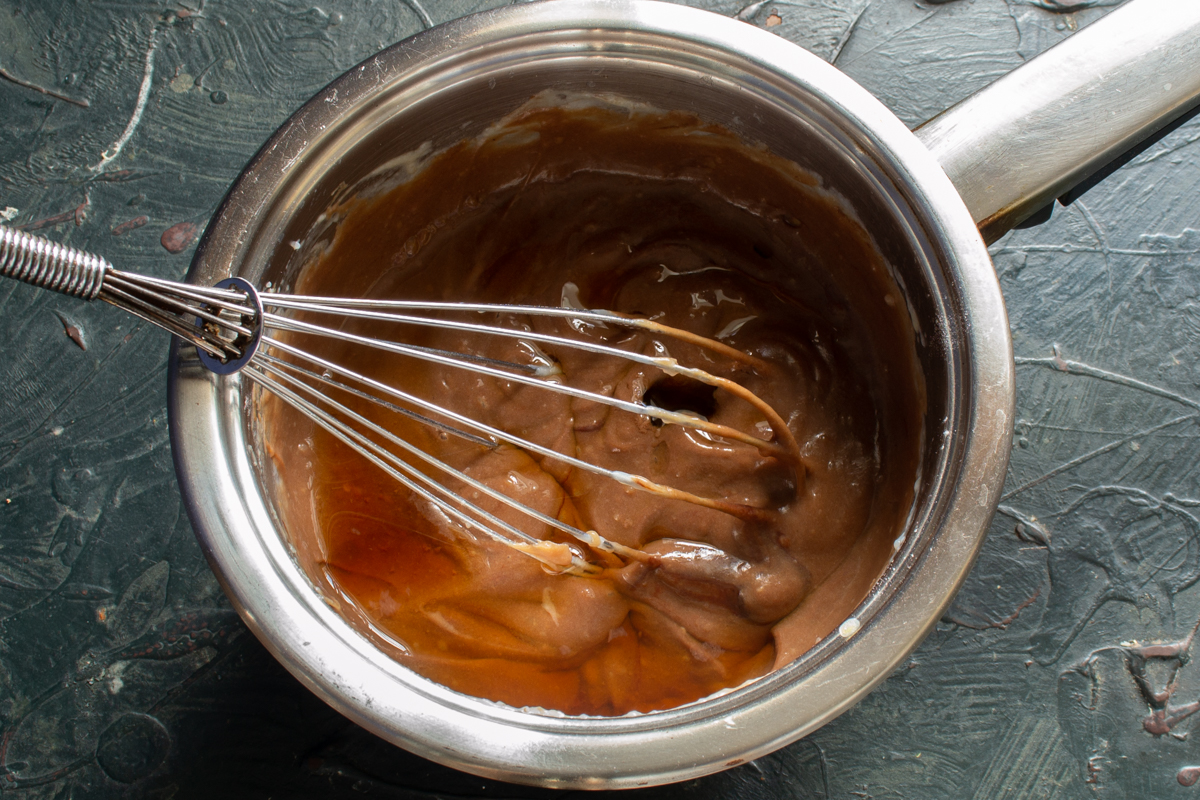
For a more refined flavor, add a splash of chocolate liqueur to the finished cream.
Finely chop the walnuts or crush them in a mortar. Fold the crushed nuts into the cream.
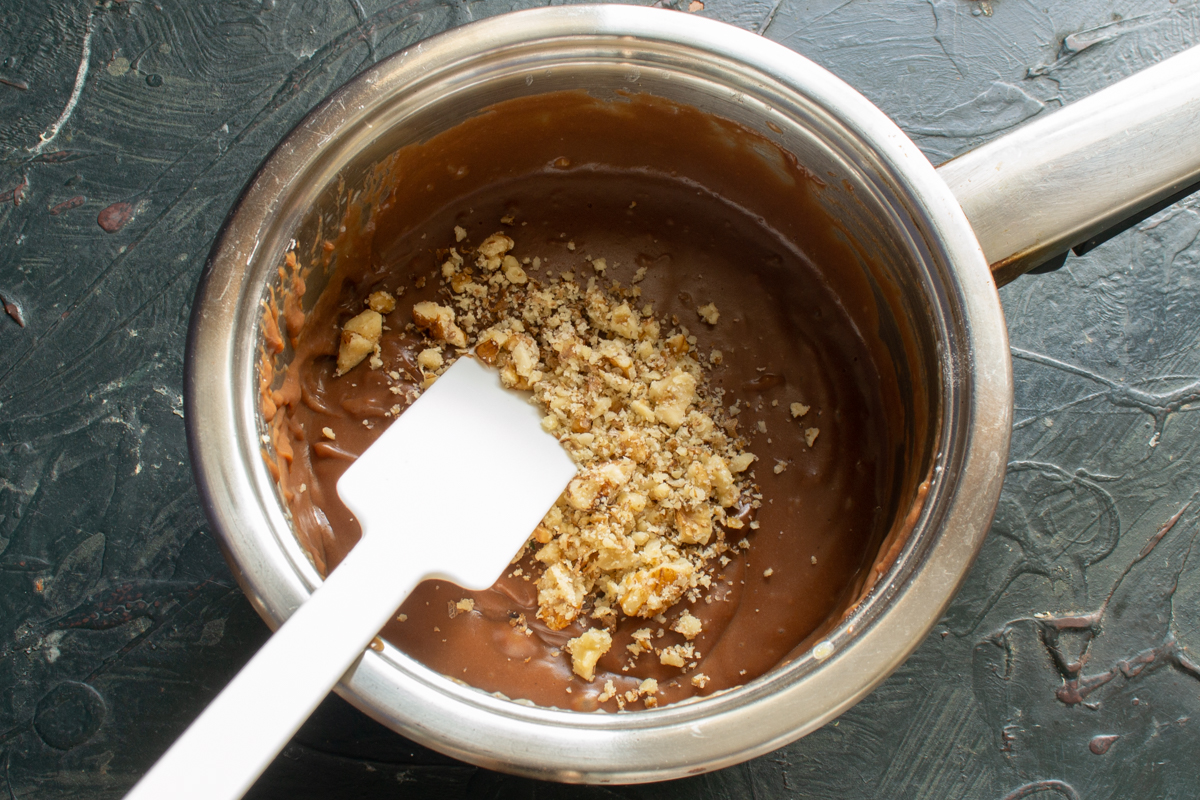
Fold finely chopped walnuts into the cream and mix thoroughly.
Soak the sponge layers first with chocolate liqueur, then with a thick raspberry syrup.
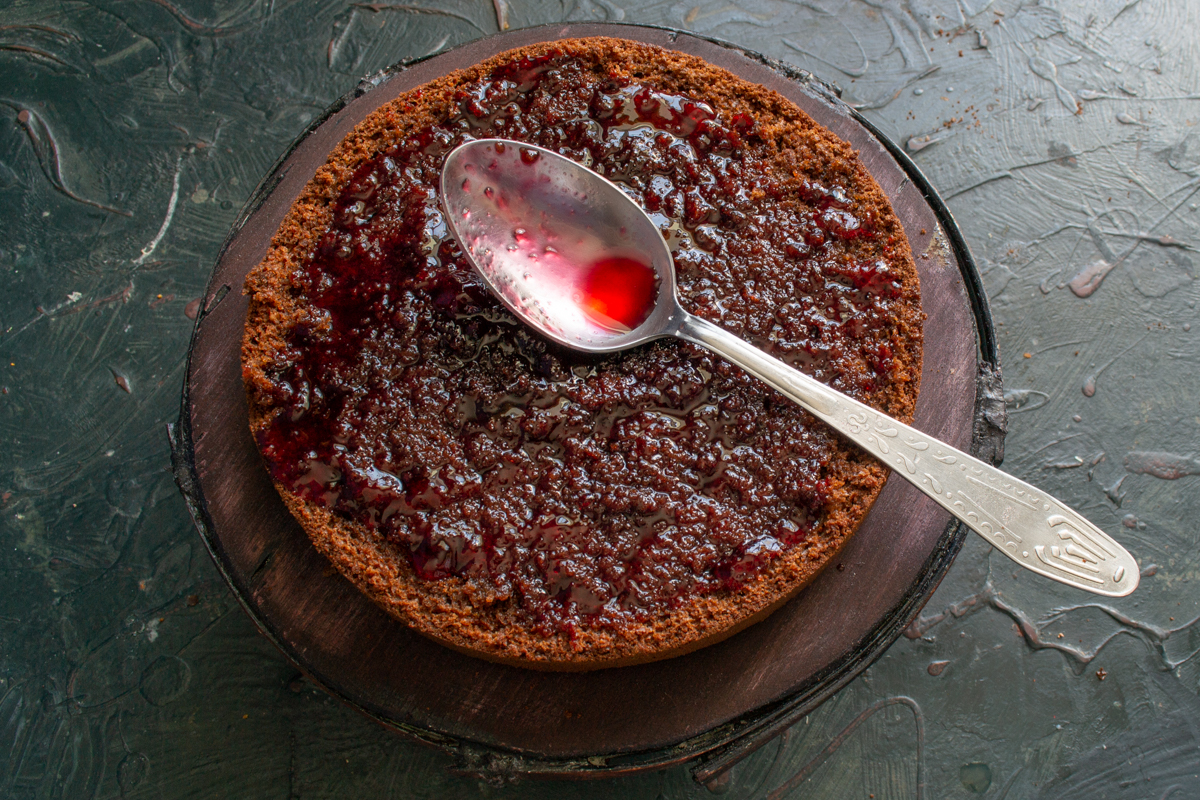
Soak each sponge layer with liqueur and thick raspberry syrup for maximum moisture.
Spoon a portion of the cream onto the cake and spread it evenly across the layer.
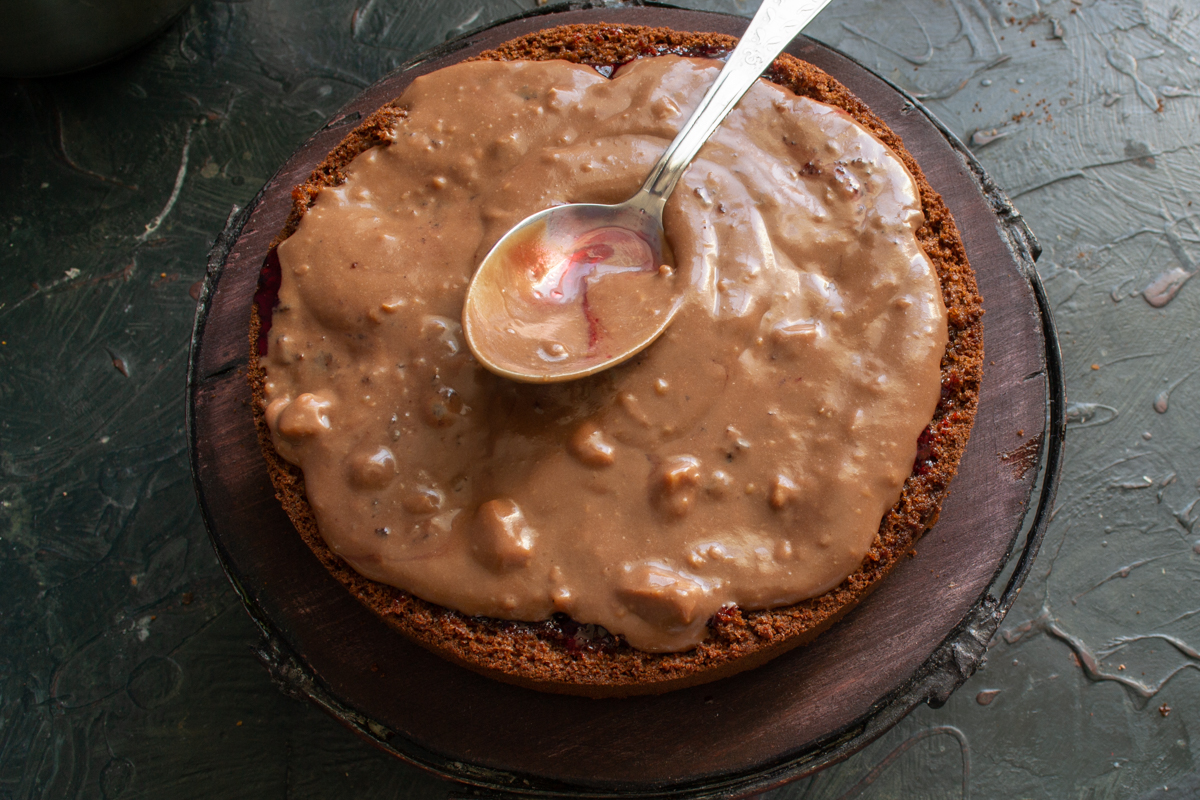
Evenly spread a layer of chocolate walnut cream across the sponge.
Assemble the cake: stack the cream-covered sponge layers on top of each other. Cover the top of the cake with the remaining cream. Decorate with fresh raspberries and currants. Sprinkle with finely chopped walnuts and grated chocolate.
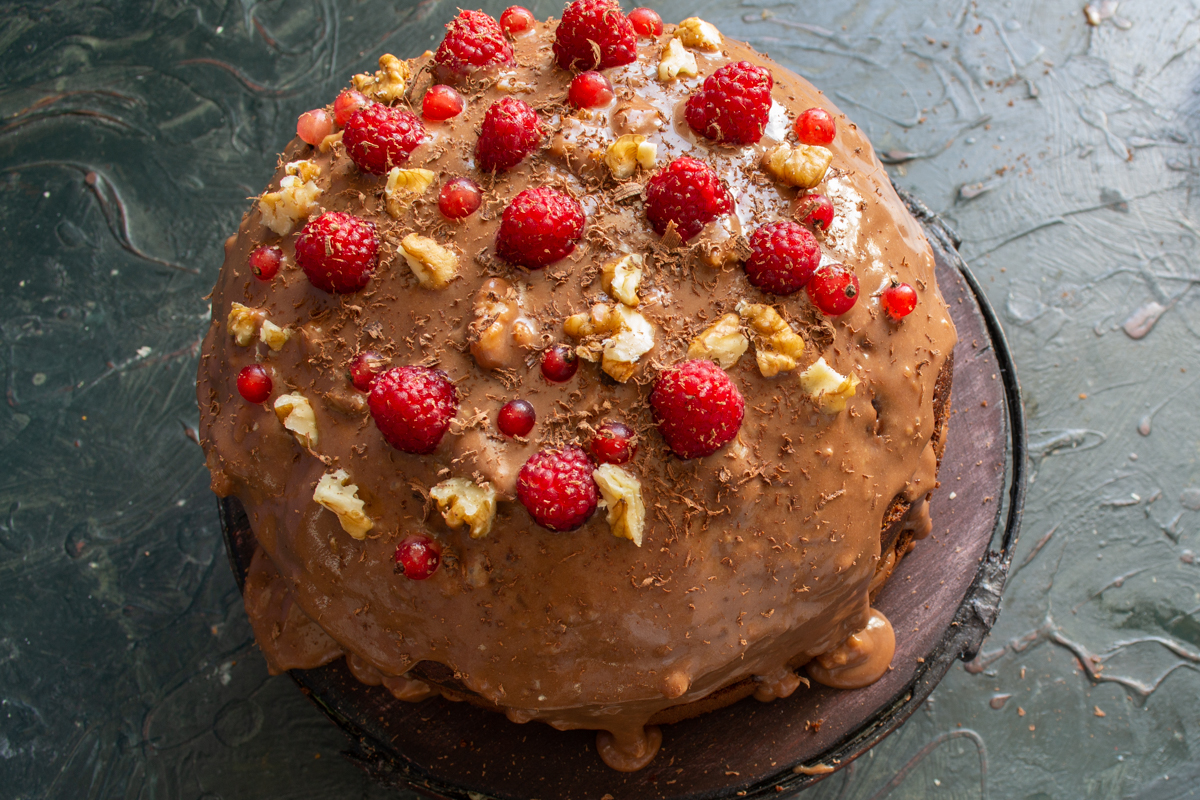
Garnish the top of the cake with fresh raspberries, currants, and a sprinkle of grated chocolate.
To let the Chocolate Raspberry Cake fully reveal its bouquet of flavors, be sure to let it chill in the refrigerator for at least 10–12 hours. During this time, the layers will absorb the syrup and liqueur, becoming incredibly tender and moist. Serve the dessert chilled, slicing it with a sharp knife dipped in hot water—this ensures a clean cut without damaging the fresh berry garnish.
You can experiment with the filling by substituting walnuts with hazelnuts or sliced almonds for a more delicate aroma. If you are baking for children, replace the liqueur soak with an extra portion of raspberry syrup or weak sweet tea. To create a more sophisticated 'adult' flavor, use chocolate with at least 70% cocoa, and add a pinch of sea salt to the cream—it wonderfully enhances the chocolate notes.
0 comments