
Chocolate genoise sponge cake represents the pinnacle of French pastry technique, where the airy lightness of whipped eggs meets the deep richness of natural cocoa butter. Unlike a classic sponge, this variation boasts a more buttery and flexible texture, making it a favorite among professionals for building layered cakes. Beating the egg mixture for a full twelve minutes creates a stable framework of millions of micro-bubbles that can support the heavy melted chocolate. As the pan bakes in the oven, a profound aroma of dark cocoa with subtle hints of cinnamon fills the kitchen, heralding the arrival of the perfect pastry canvas for your culinary creations.
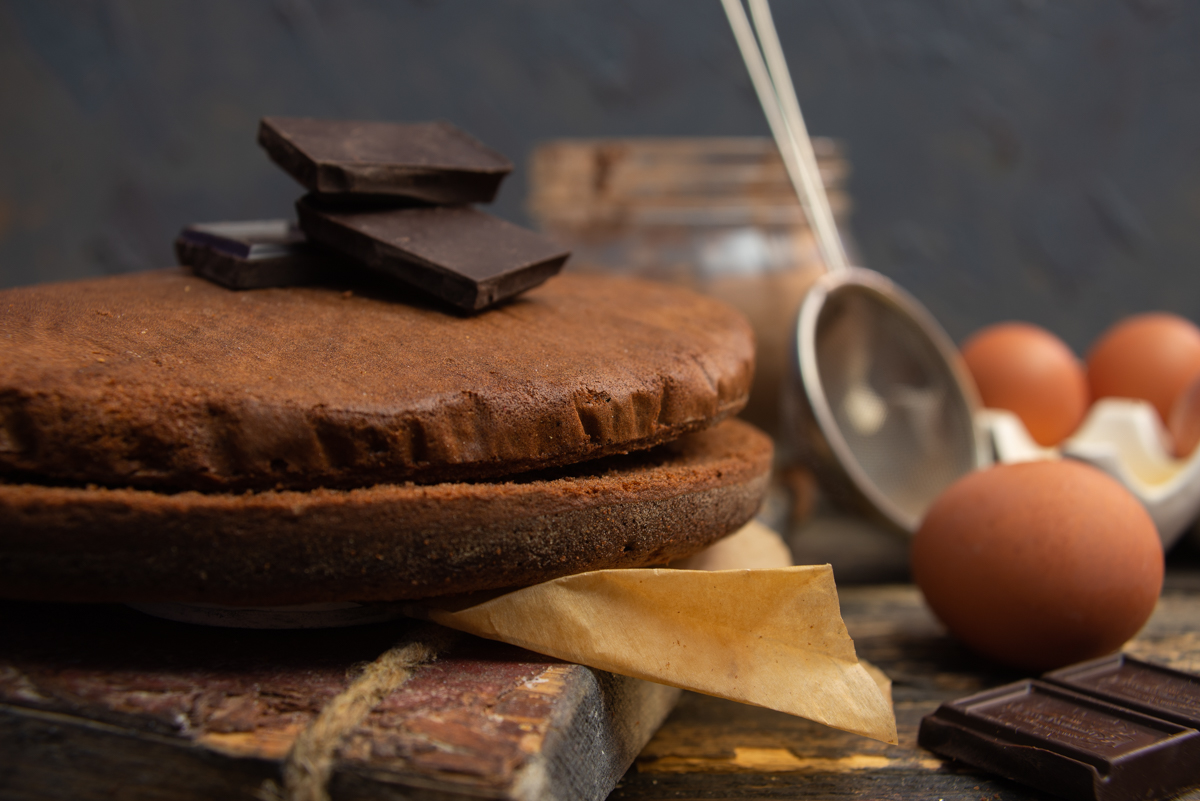
A perfectly baked chocolate genoise sponge cake with a rich flavor and a subtle aroma of cinnamon.
Ingredients
- 3 large eggs
- 75 g (1/3 cup) granulated sugar
- 60 g (1/2 cup) all-purpose flour
- 20 g (3 tbsp) cocoa powder
- 40 g (1.4 oz) dark chocolate
- Vanilla extract (or powder) and ground cinnamon to taste
How to Make a Chocolate Genoise Sponge Cake
First, prepare all the components. Whisk the dry ingredients together: all-purpose flour, cocoa powder, half a teaspoon of ground cinnamon, and half a teaspoon of vanilla powder (or reserve vanilla extract to add to the eggs). Preheat the oven to 170°C (340°F).
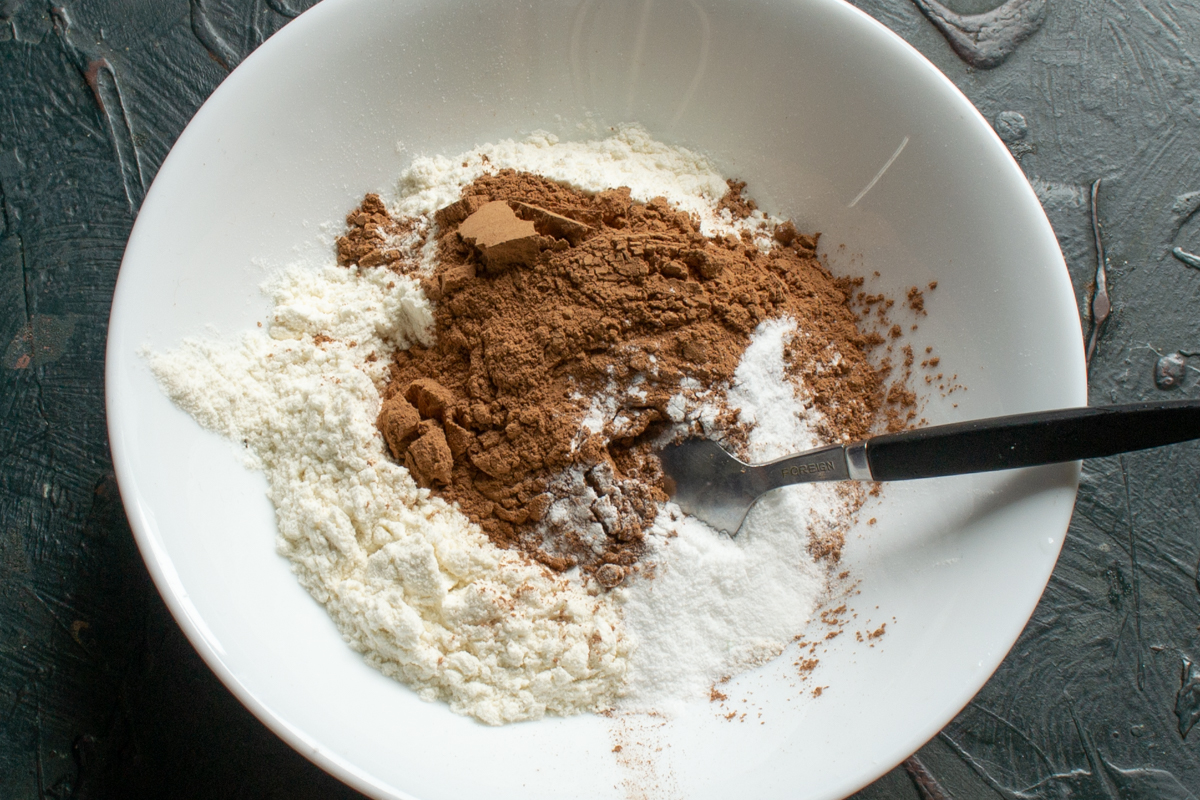
Thoroughly whisk the flour, cocoa, and spices so they distribute evenly throughout the batter.
Melt the dark chocolate over a double boiler or in the microwave.
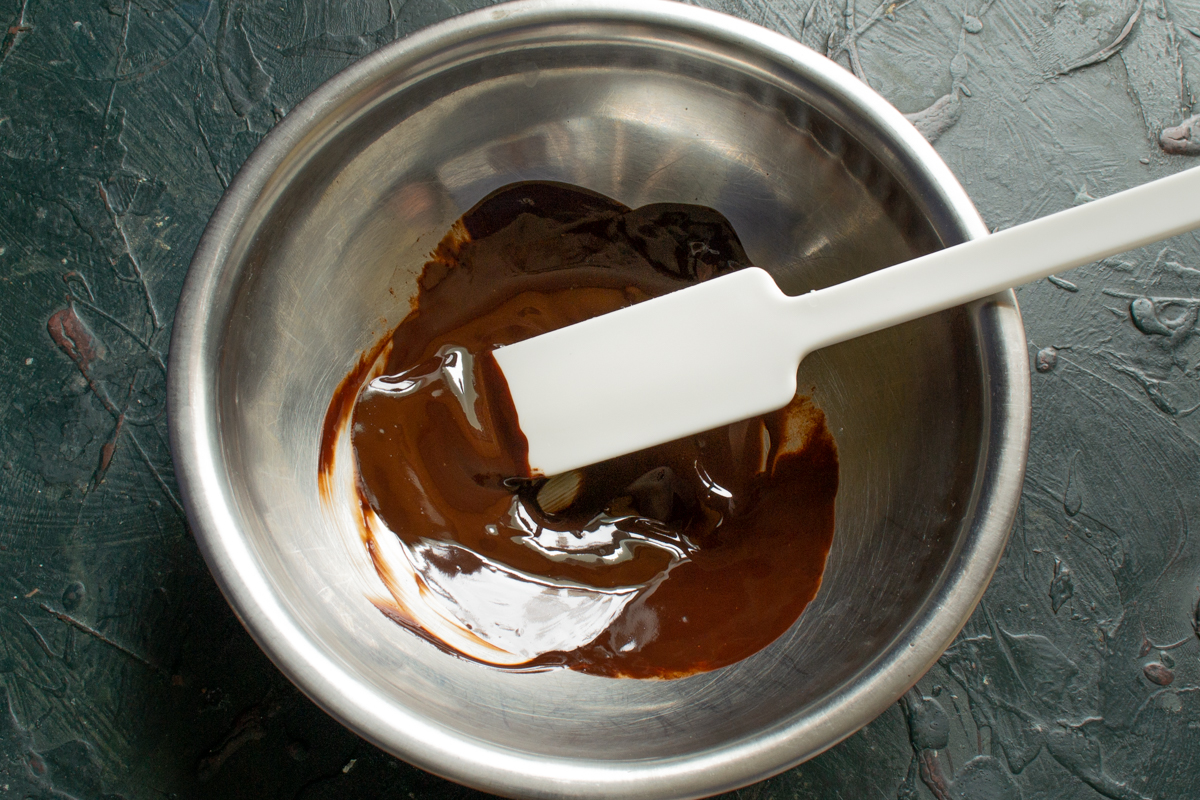
Melt the dark chocolate until smooth and glossy using a double boiler or microwave.
Crack large eggs into a mixer bowl. Add the granulated sugar. Mix just until the sugar crystals begin to dissolve. You should also prep your baking pan in advance—grease the sides with butter, dust with flour, and line the bottom with parchment paper. We are using a 20 cm (8-inch) pan for this recipe.
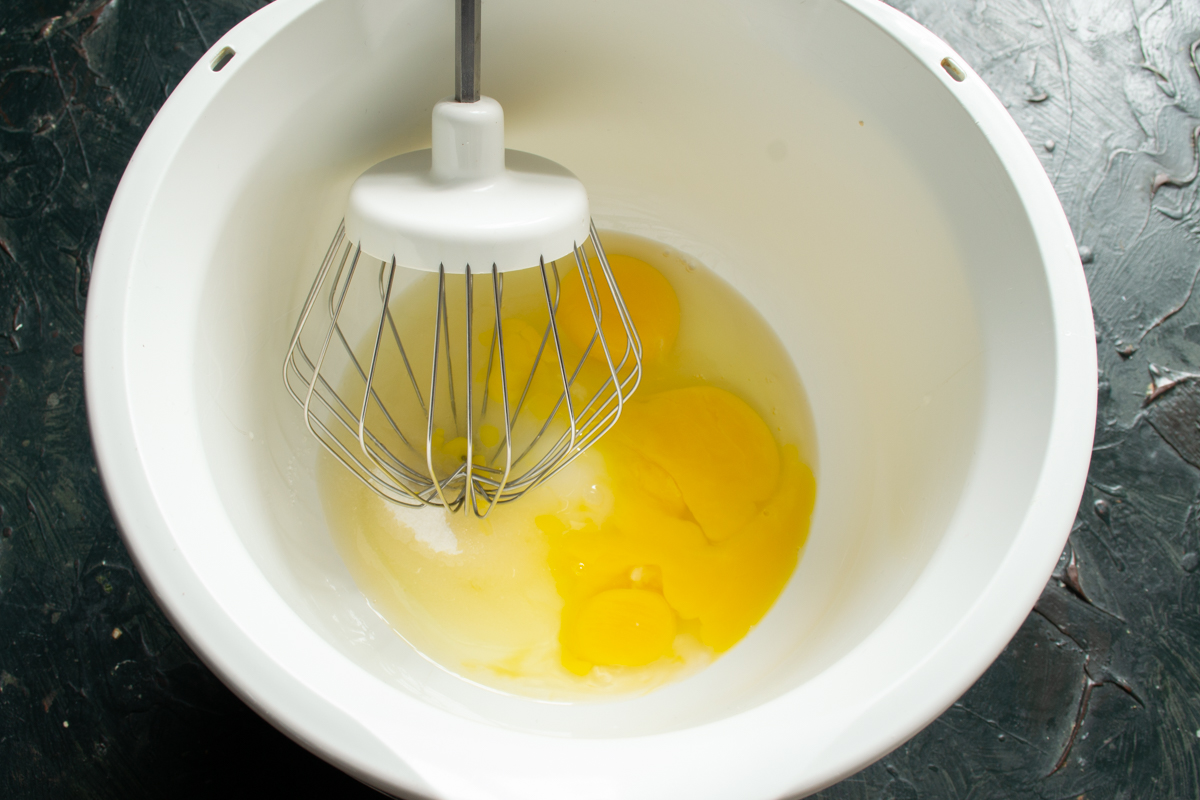
For the best results, use large eggs and start whisking on a slow speed.
Whisk the eggs and sugar on low speed for a few minutes, then gradually increase to the highest setting. Beat on high for about 12 minutes. The mixture should become as fluffy as whipped cream and completely smooth, with no sugar crystals left to the touch.
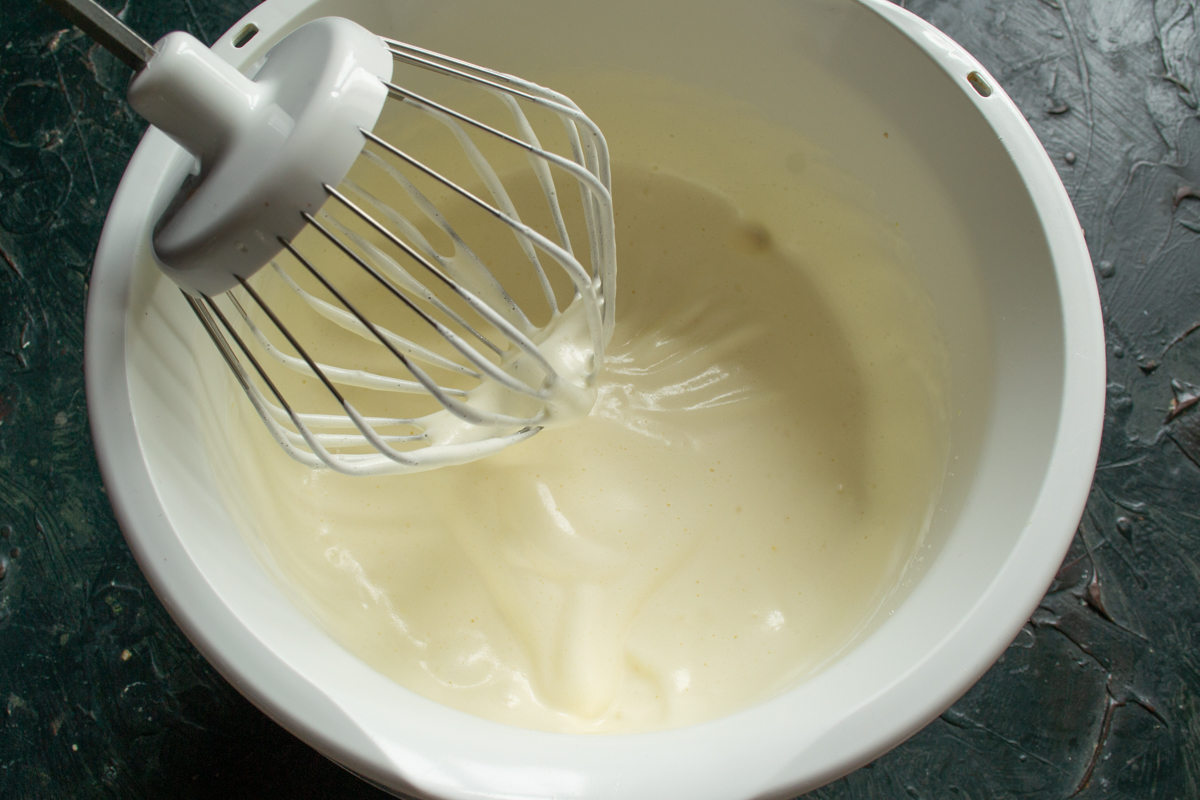
Beat the mixture for about 12 minutes until it becomes as thick and airy as whipped cream.
Sift the dry ingredients in small batches over the whipped eggs. At this stage, it is best to use a spatula or a large spoon. Gently fold the flour mixture in using uniform circular motions to preserve the volume.
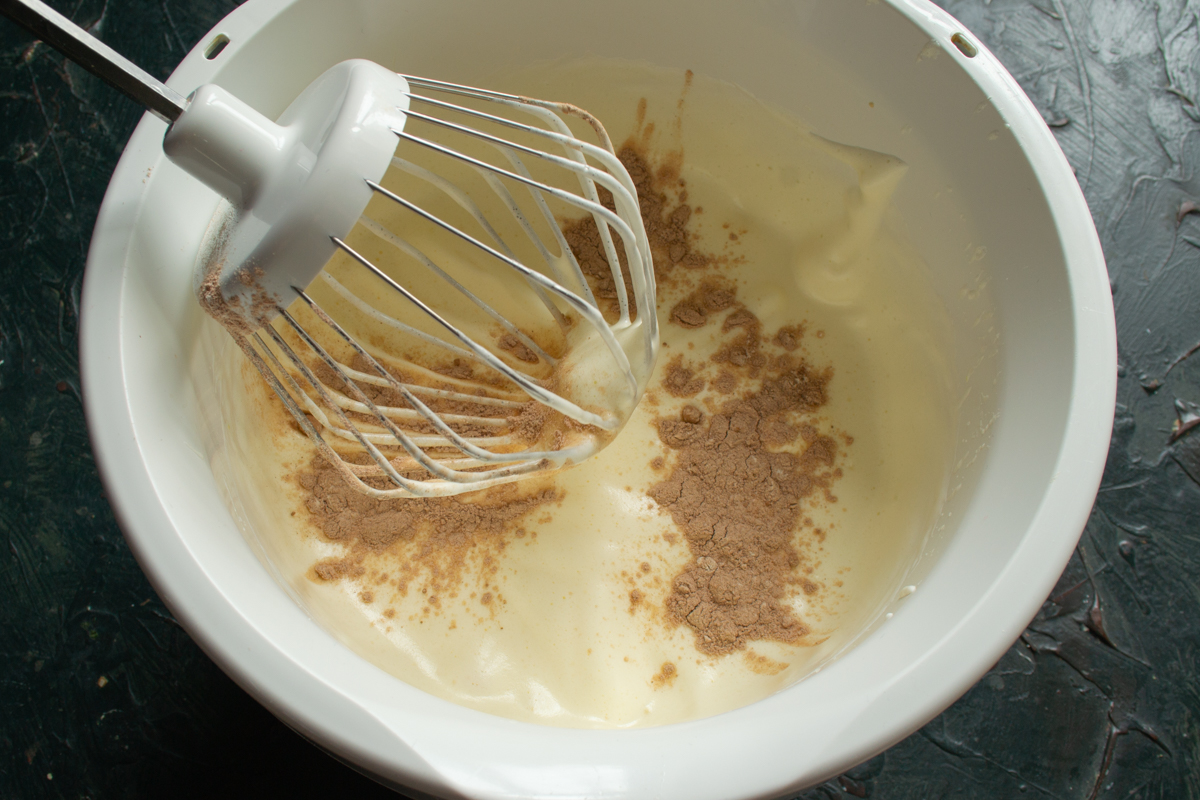
Sift the flour mixture in small batches and gently fold it in with a spatula to maintain the volume.
Finally, gently fold in the melted dark chocolate. The batter will deflate slightly at this point—this is normal.
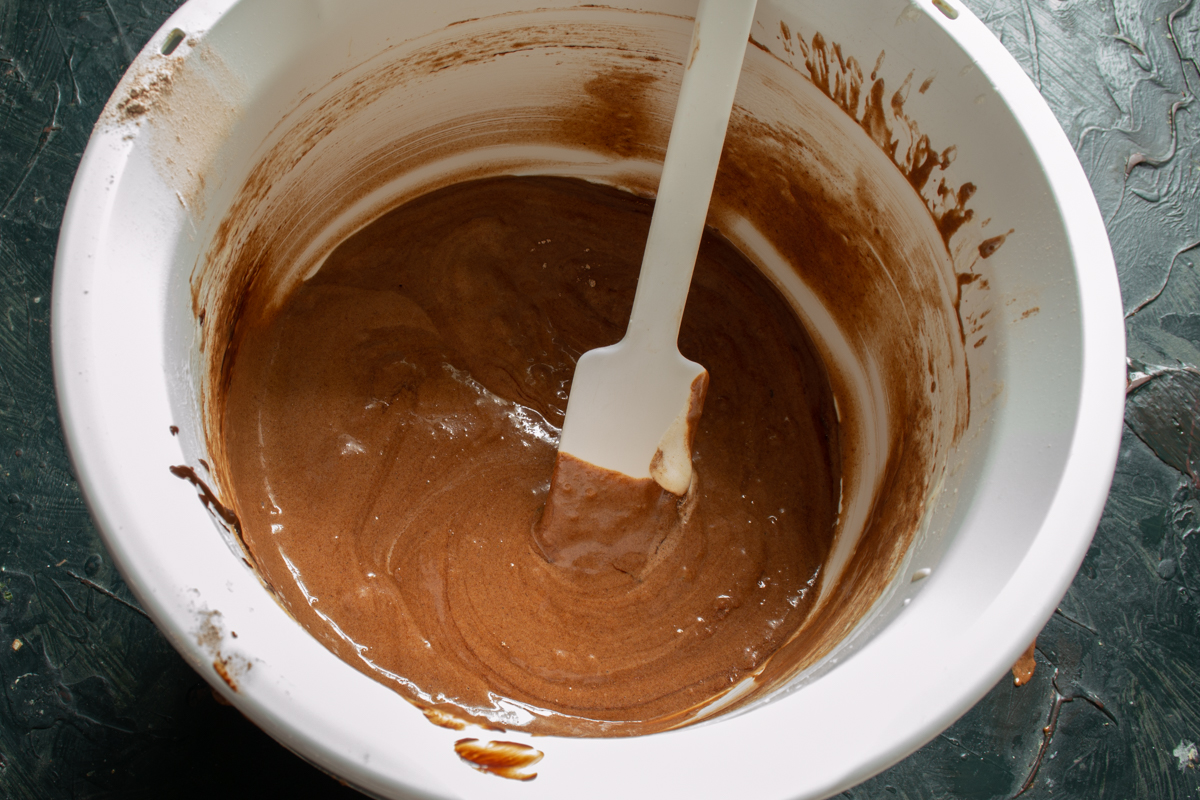
After folding in the melted chocolate, the batter will deflate slightly, so mix with extreme care.
Pour the prepared batter into the pan. Smooth it out with a spatula to create an even layer. You can make a slight indentation in the center so the sponge bakes flat without a dome.
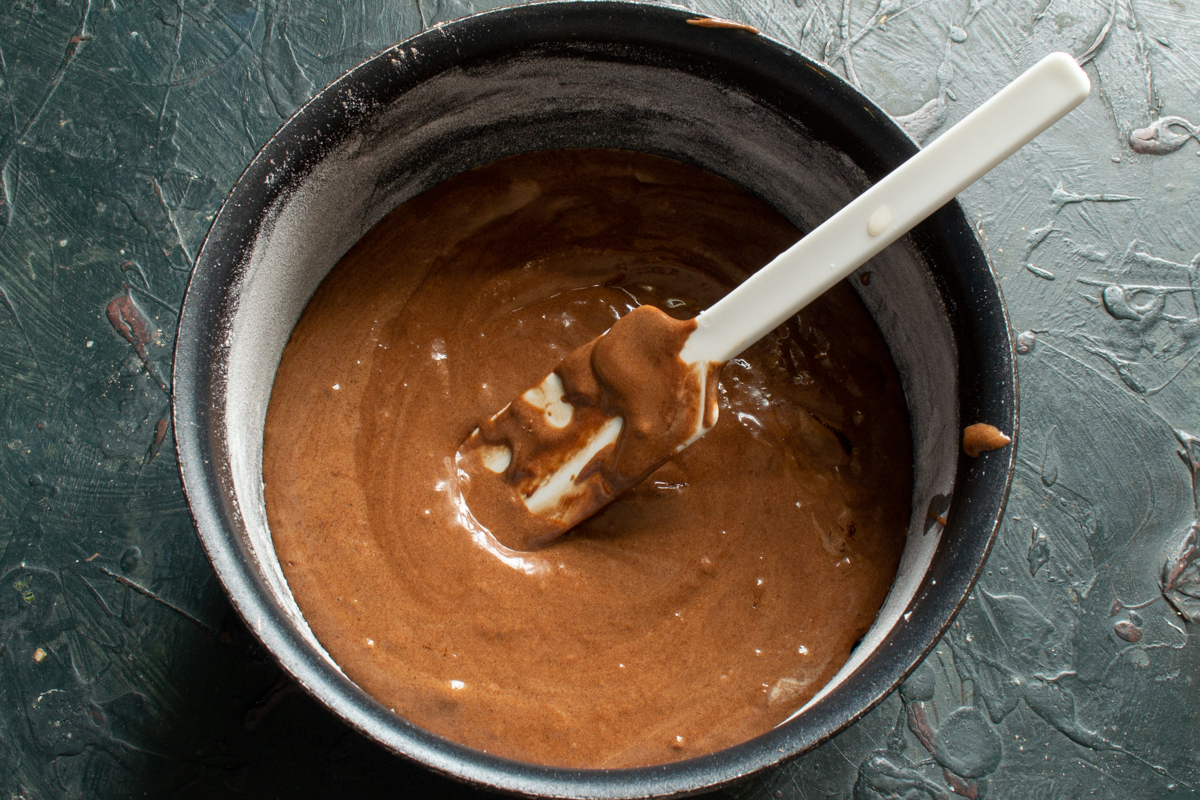
Level the surface of the batter and make a slight indentation in the center to ensure an even bake.
Place the pan in the preheated oven. Bake for 25 minutes. Test for doneness using a wooden skewer—it should come out clean with no batter attached. Alternatively, press gently on the center; if it springs back, it is fully baked. Do not open the oven door during baking, and avoid changing the temperature, as this can cause the sponge to collapse.
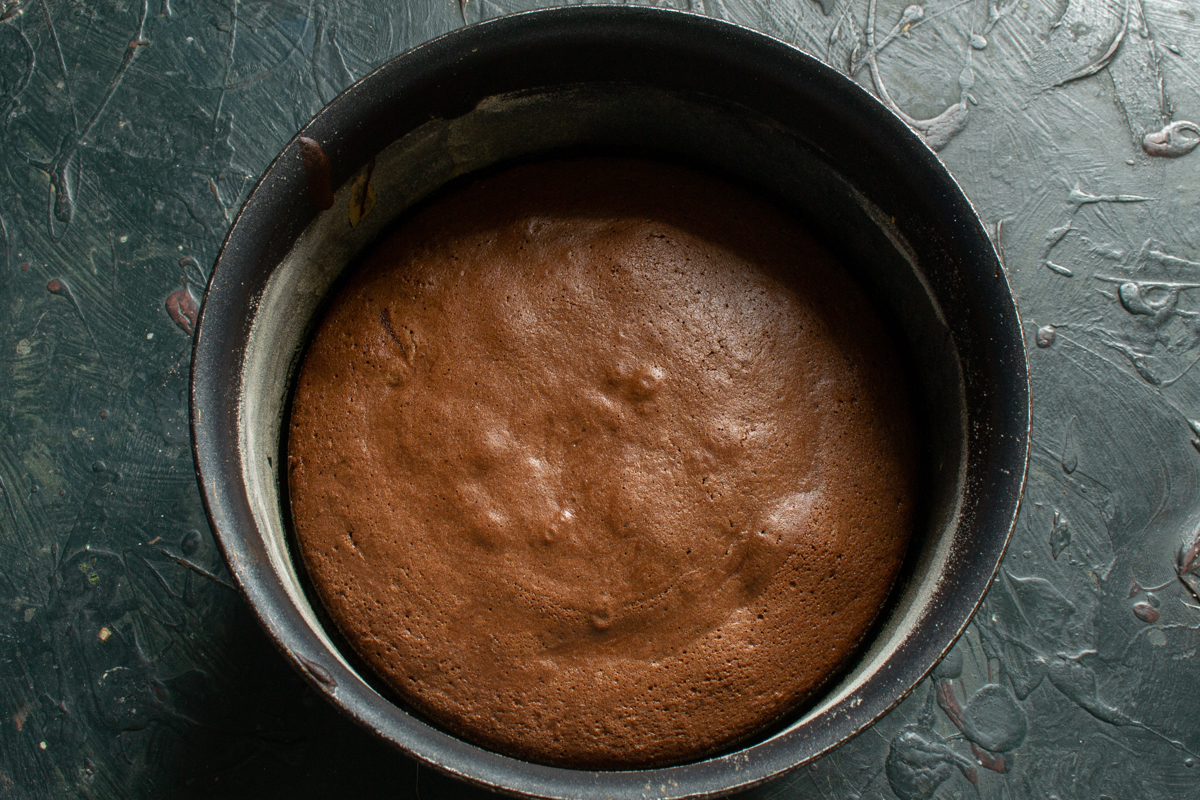
Test for doneness with a skewer and avoid opening the oven door during baking to prevent the sponge from collapsing.
Let the baked genoise cool in the pan for 5 to 6 minutes. Then, invert it onto a wire rack to cool completely to room temperature.
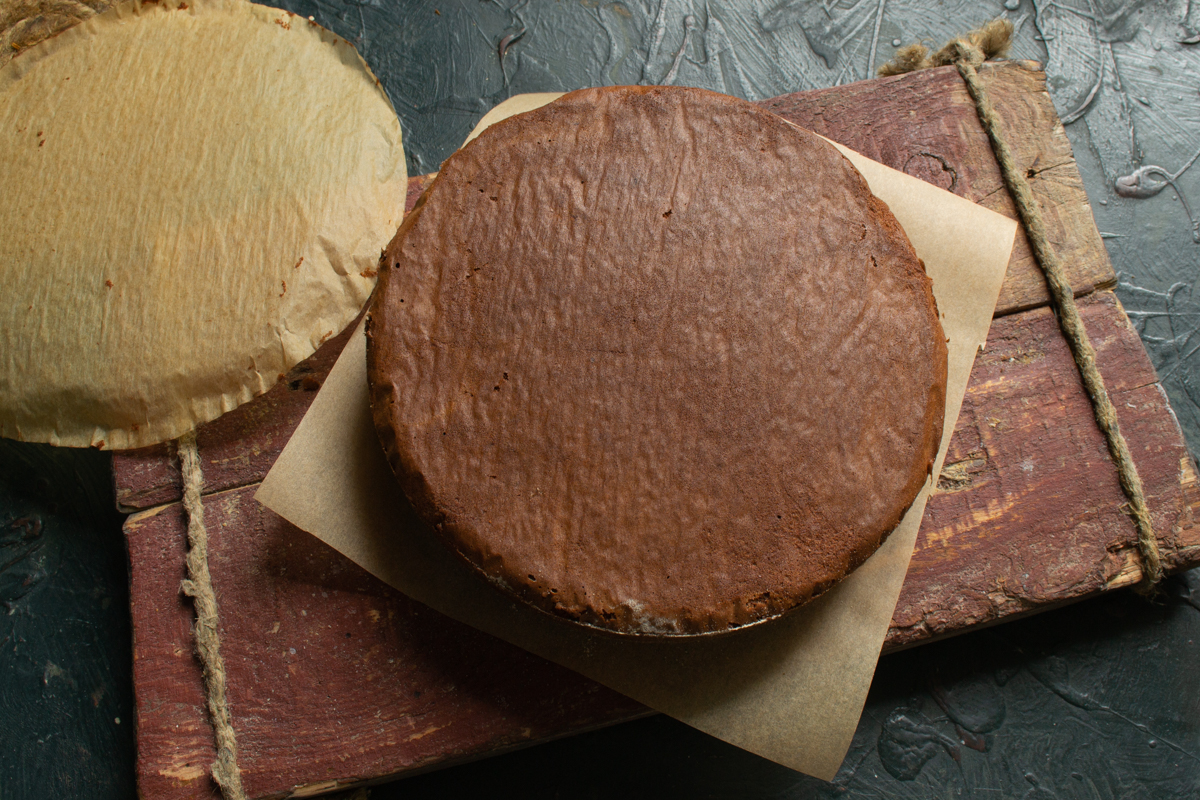
Let the sponge cool slightly in the pan, then invert it onto a wire rack until completely cool.
Wrap the cooled chocolate genoise tightly in plastic wrap and store it in the refrigerator. It will keep well this way for 2 to 3 days. You can also slice the sponge into layers, wrap them individually, and freeze for later use.
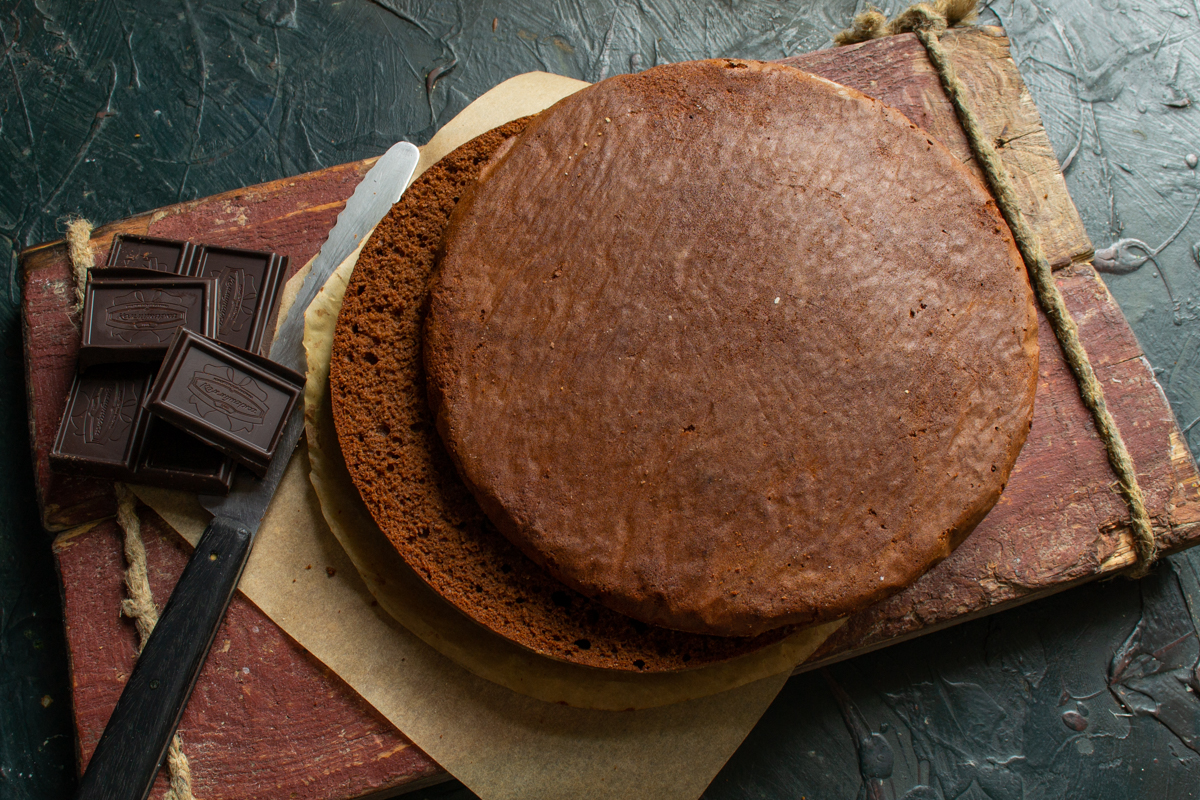
Look at this wonderfully porous crumb—this sponge makes an excellent foundation for any layered cake.
To ensure your chocolate genoise is perfectly pliable and moist, you must give it time to "mature." A freshly baked sponge is too fragile to slice, so once it has cooled completely on a wire rack, wrap it tightly in plastic wrap and place it in the refrigerator. Over 12 to 24 hours, the internal moisture redistributes and the structure stabilizes, allowing you to effortlessly cut it into neat, razor-thin layers that will not crumble under the knife.
If you are planning to use this sponge for a festive cake, experiment with soaking syrups: a rum syrup or coffee liqueur will beautifully highlight the noble bitterness of the chocolate. A light buttercream mousse or a classic ganache makes an ideal filling. Remember that this base freezes exceptionally well, so you can bake it weeks ahead of your celebration while preserving all the freshness and aroma of homemade pastry.
0 comments