
Shortbread cookies with a chocolate filling are a true home-baking classic that consistently delights both kids and adults alike. The thin, crispy dough, prepared with care, perfectly complements the velvety texture of the chocolate ganache, creating a harmonious duet of flavors. The history of these sandwich cookies is rooted in European traditions, where little sweet "kisses" were served alongside afternoon coffee. The aroma of vanilla and melting chocolate filling the kitchen as you bake creates an atmosphere of comfort and warmth, turning an ordinary day into a small celebration.
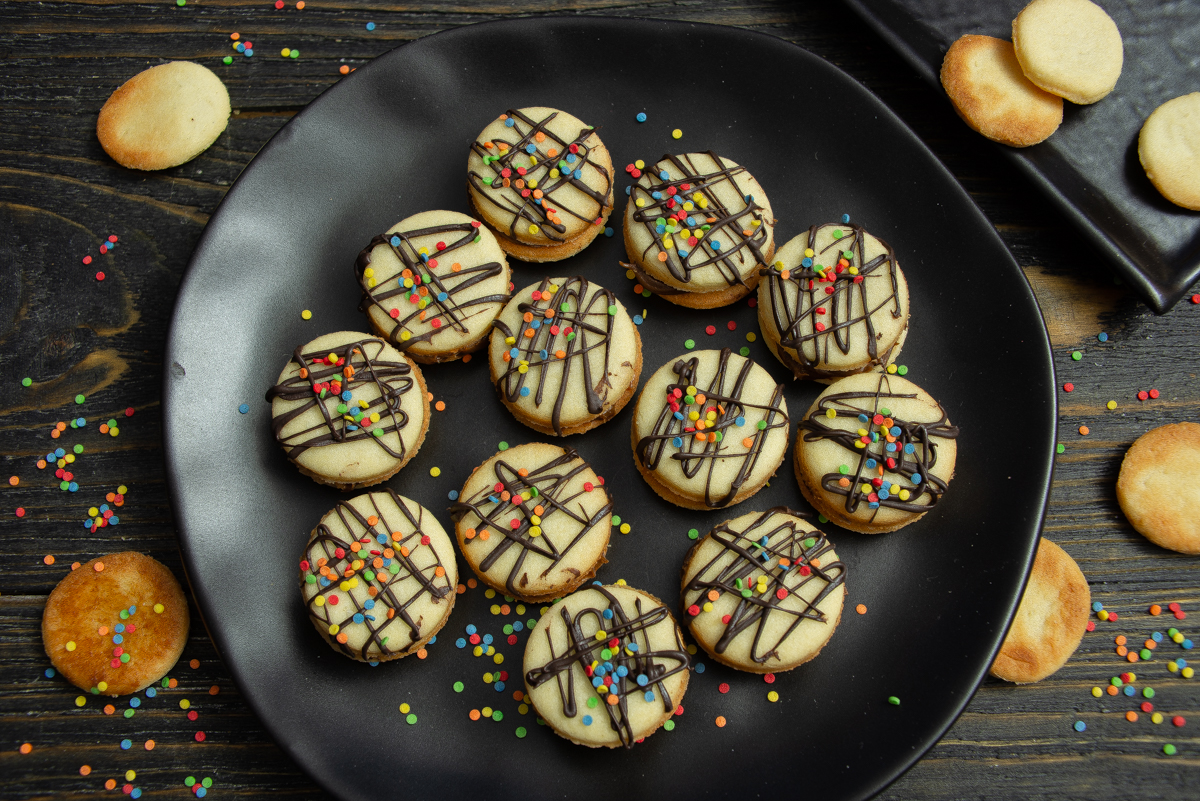
The finished cookies look festive thanks to the delicate chocolate drizzles and bright candy sprinkles.
Ingredients for the Dough:
- 180 g (1 1/2 cups) all-purpose flour
- 40 g (1/3 cup) powdered sugar
- A pinch of vanilla powder (or a splash of vanilla extract)
- 90 g (6 1/2 tbsp) unsalted butter, cold
- 1 egg yolk
- 2 tbsp cold milk
Ingredients for the Filling and Decoration:
- 60 g (2 oz) milk chocolate
- 15 g (1 tbsp) unsalted butter
- 30 g (1 oz) dark chocolate
- 15 ml (1 tbsp) heavy cream (33% fat or higher)
- Candy sprinkles for decoration
How to Make Chocolate-Filled Cookies
Whisk the powdered sugar and vanilla into the flour until the dry ingredients are thoroughly combined. You can prepare this dough by hand or use a stand mixer or food processor—whichever you prefer.
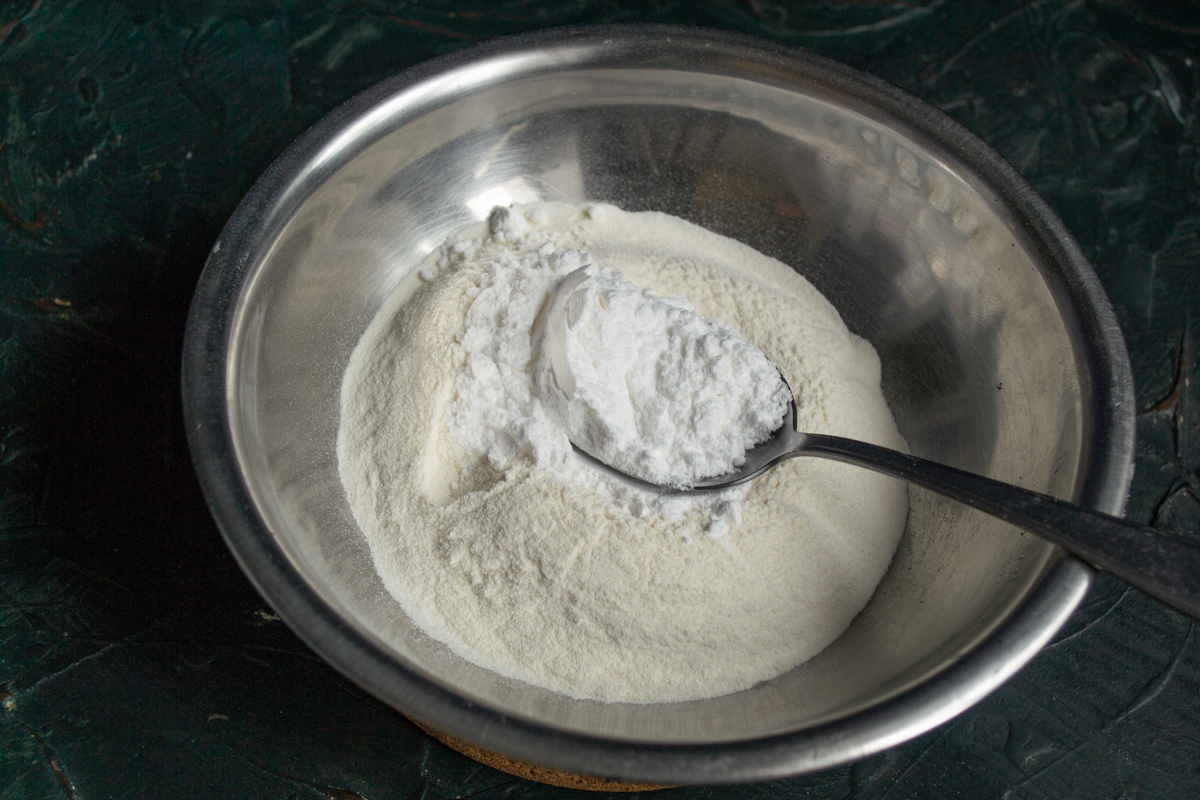
Thoroughly whisk together the flour, powdered sugar, and vanilla to ensure an even dough texture.
Add the cold, cubed butter to the flour mixture. Work the butter into the flour until the mixture resembles coarse crumbs.
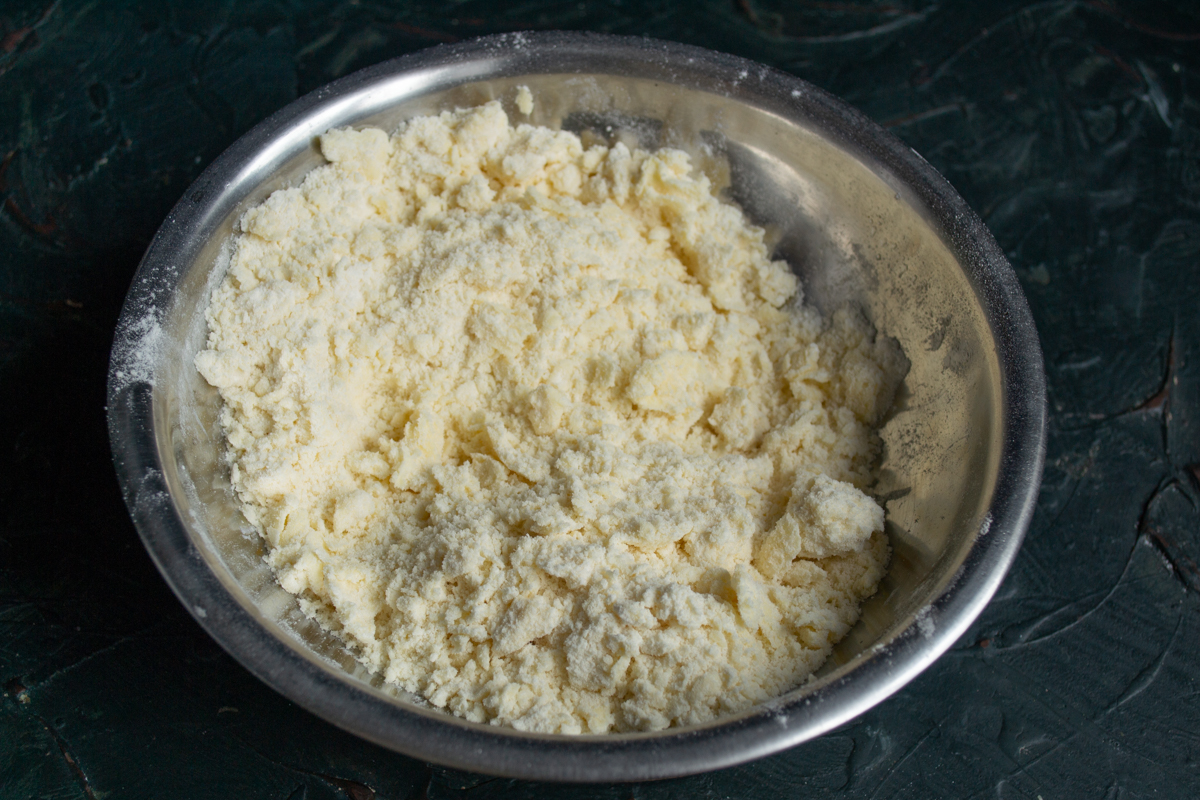
Add cold butter and rub it into a crumb-like texture—this is the secret to a tender shortbread.
Crack the egg and separate the yolk from the white. Add the egg yolk and cold milk to the dough.
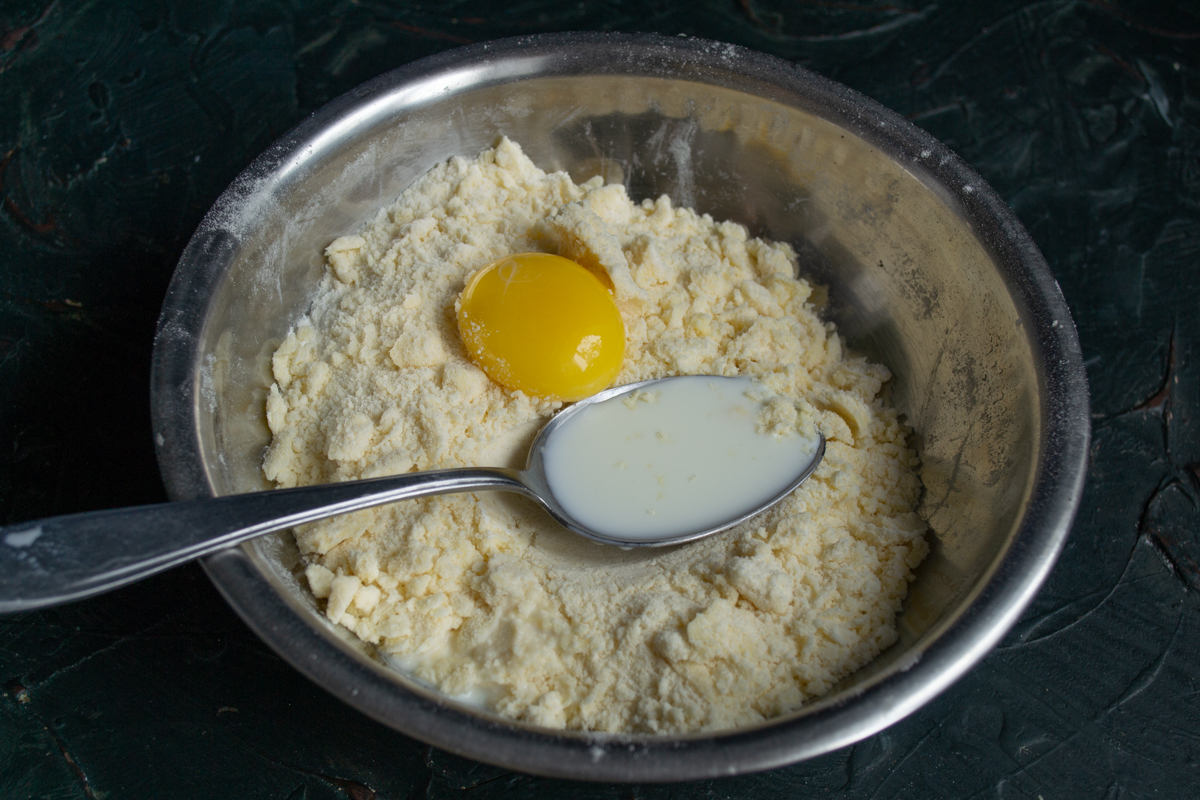
The egg yolk and cold milk help bind the dough together, making it pliable.
Quickly knead everything together until a dough forms. Wrap the dough in plastic wrap and chill it in the refrigerator for 30 minutes.
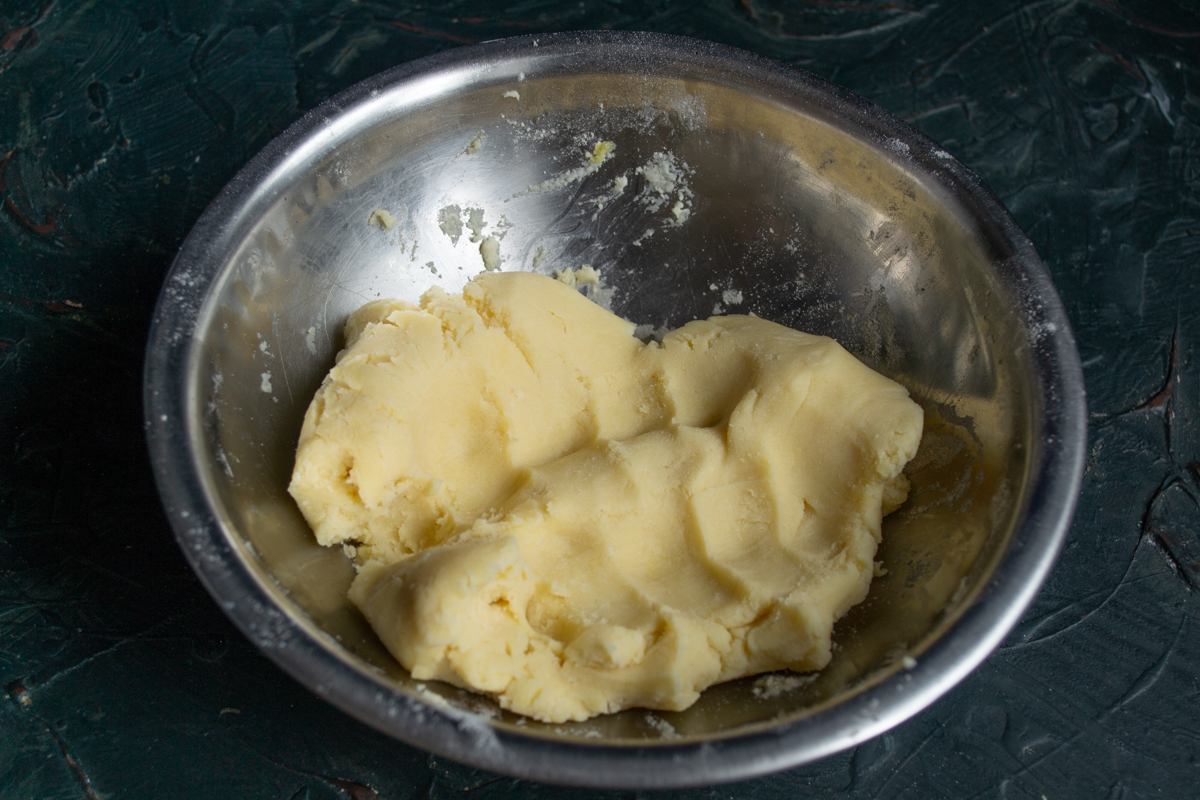
The finished dough should be soft and not stick to your hands before chilling.
Place a sheet of non-stick parchment paper on your work surface. Place the chilled dough on the paper and roll it out to a thickness of 2-3 millimeters (about 1/8 inch). To get an even layer, you can place pastry sticks of the same thickness on either side of the dough and roll the pin over them.
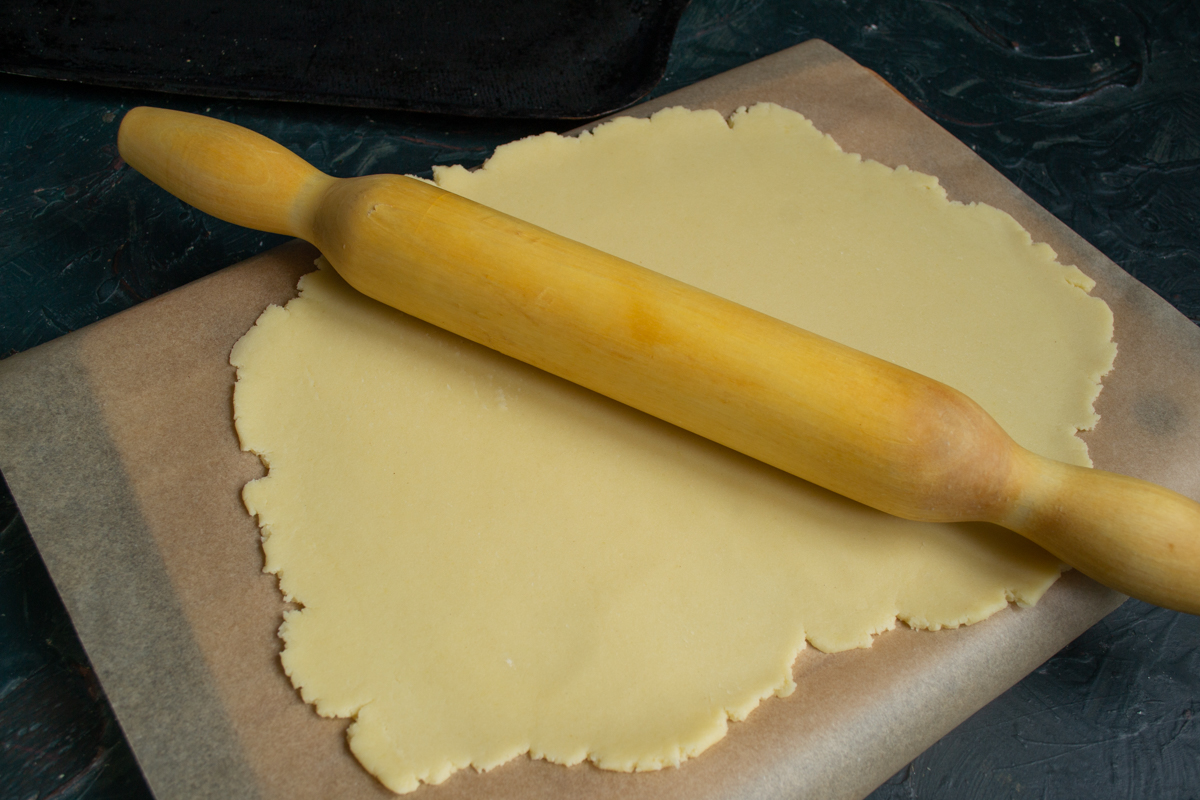
Roll the dough out to a thickness of 2-3 mm directly on a sheet of parchment paper.
Use a thin-rimmed shot glass or a small cookie cutter to punch out little circles. Gather the scraps, re-roll them on a fresh piece of parchment, and cut out more circles.
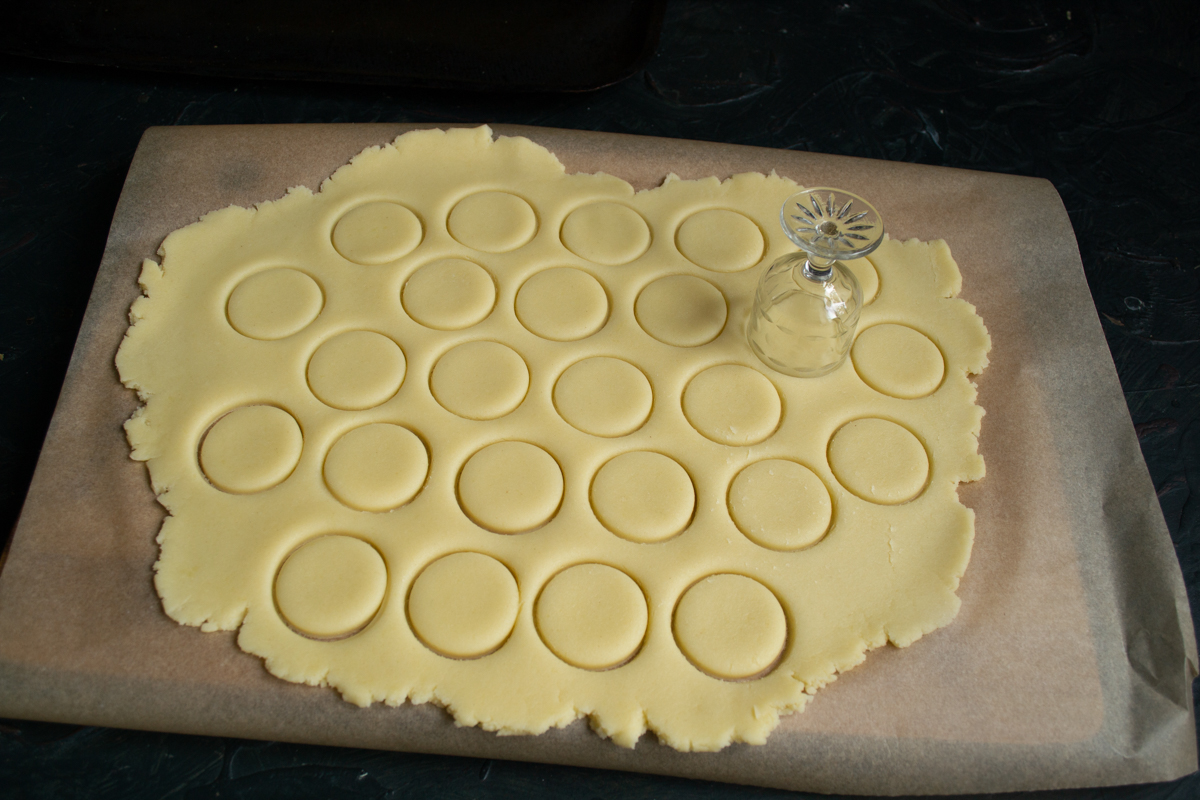
Use a small shot glass or cookie cutter to stamp out neat, uniform pieces.
Preheat your oven to 180°C (350°F). Carefully transfer the parchment paper with the cut-out cookies onto a baking sheet. Place the baking sheet on the middle rack of your preheated oven.
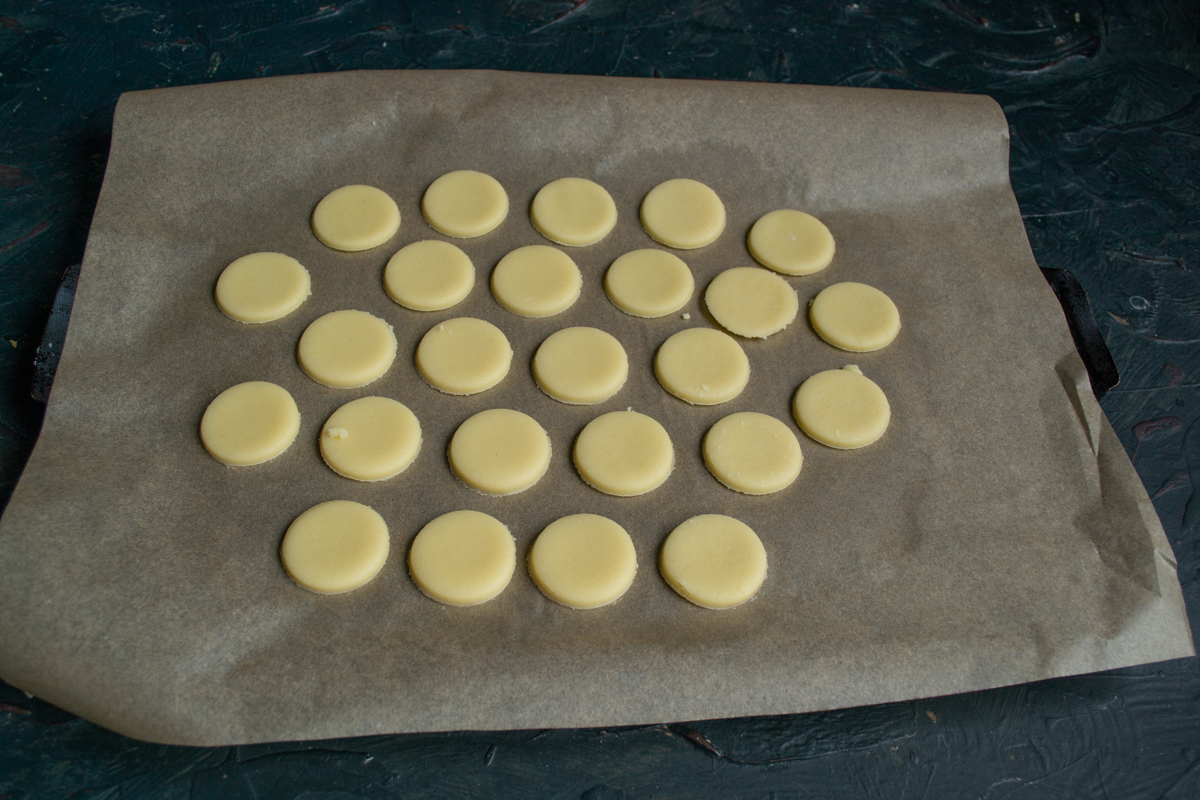
Arrange the cut-out circles on a baking sheet, leaving a little space between them.
Bake for 8-9 minutes until golden. If you are baking two trays at once, swap their positions halfway through, at the 4-minute mark.
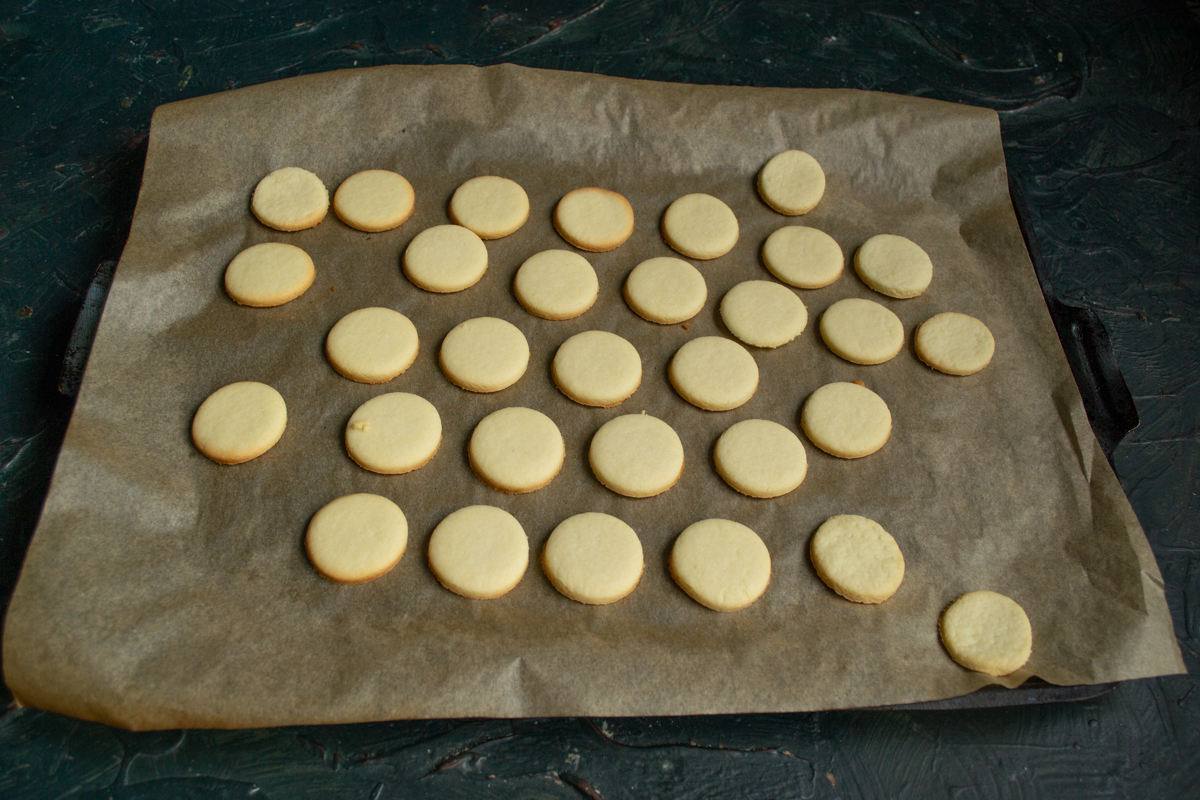
Bake until lightly golden, being careful not to overbake these delicate cookies.
Carefully remove the warm cookies from the parchment paper and transfer them to a wire rack or wooden board to cool completely for a few minutes. Flip half of the cookies upside down and arrange them in pairs.
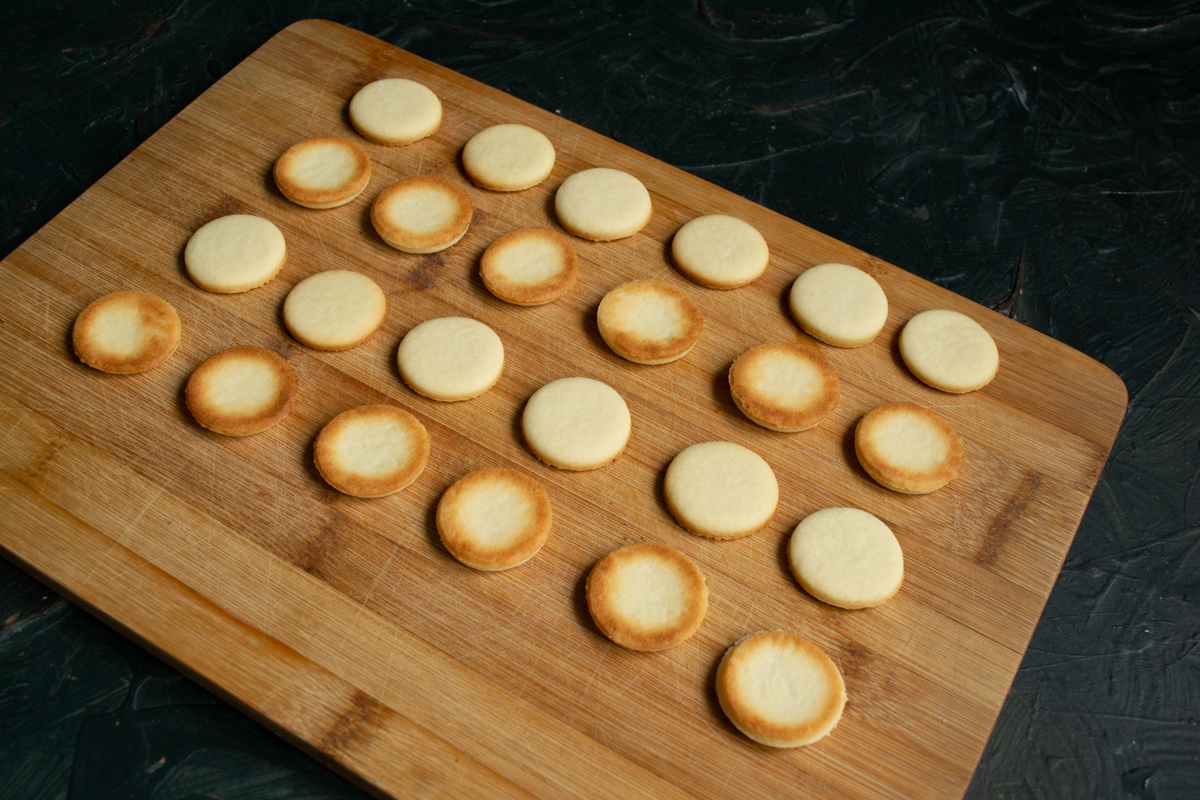
Pair up the cooled cookies to make it easier to apply the filling later.
Melt the dark chocolate in a double boiler (bain-marie) and transfer it to a piping bag. Decorate the tops of the right-side-up cookies by drizzling the melted dark chocolate over them.
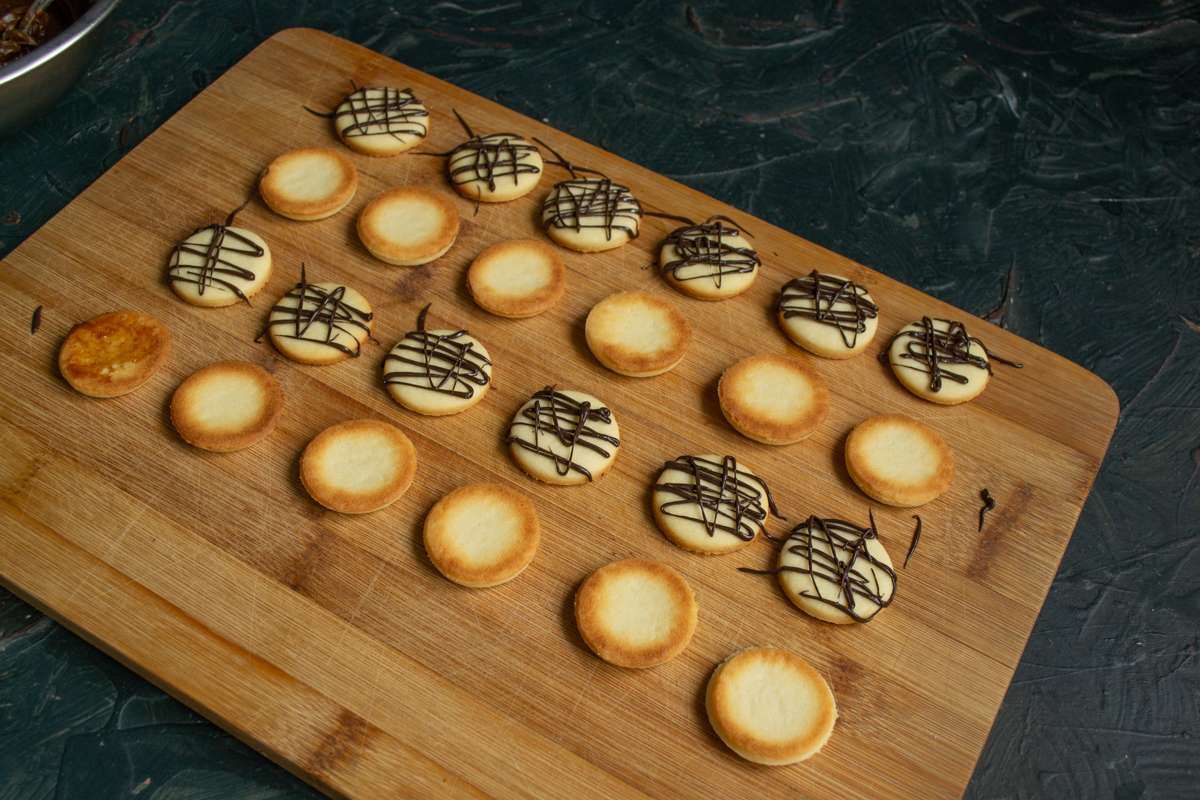
Pipe thin, decorative lines of melted dark chocolate over the tops using a pastry bag.
While the chocolate is still wet, sprinkle with colorful candy sprinkles—they will stick perfectly to the melted chocolate.
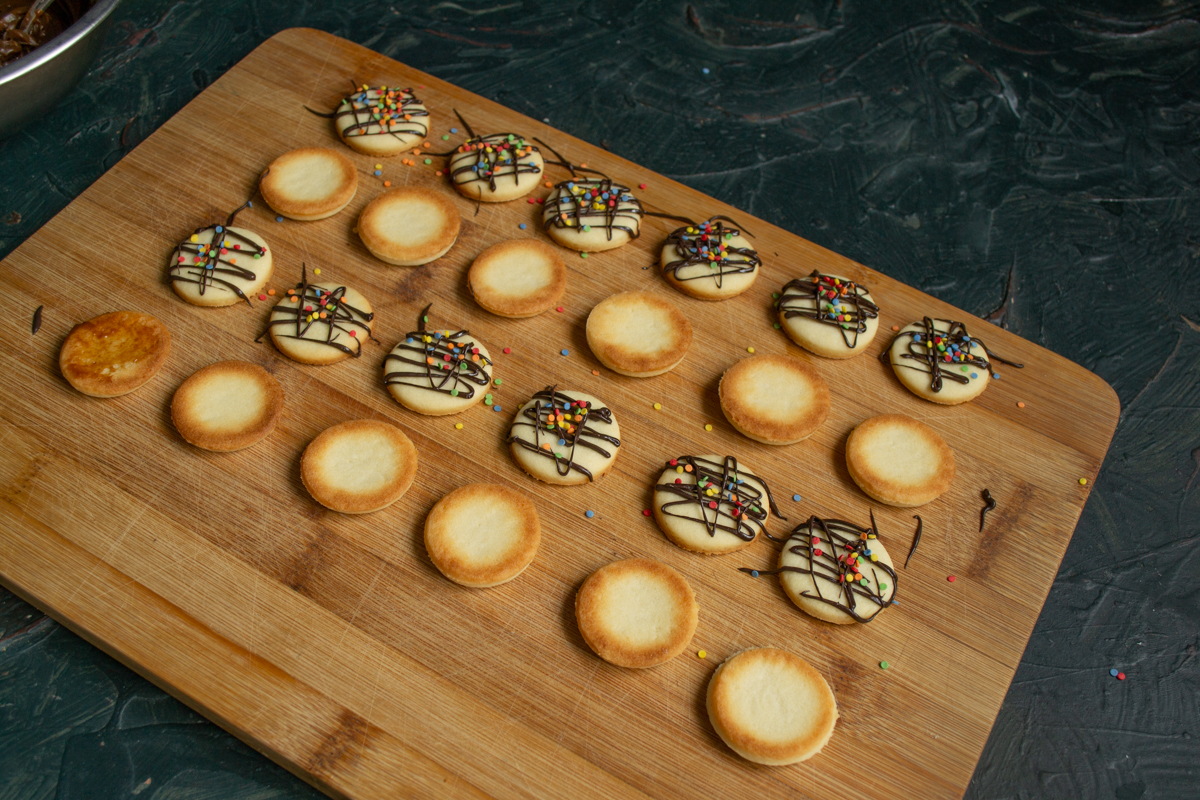
While the chocolate is still wet, add bright sprinkles for a festive look.
Prepare the chocolate filling. Melt the milk chocolate and butter in a double boiler, stir in the warm heavy cream, and mix thoroughly. Place the ganache in the freezer for a few minutes to firm up. Spread the chilled ganache onto the flat, bottom side of the upside-down cookies. Any leftover ganache can be frozen and softened in the microwave before using again.
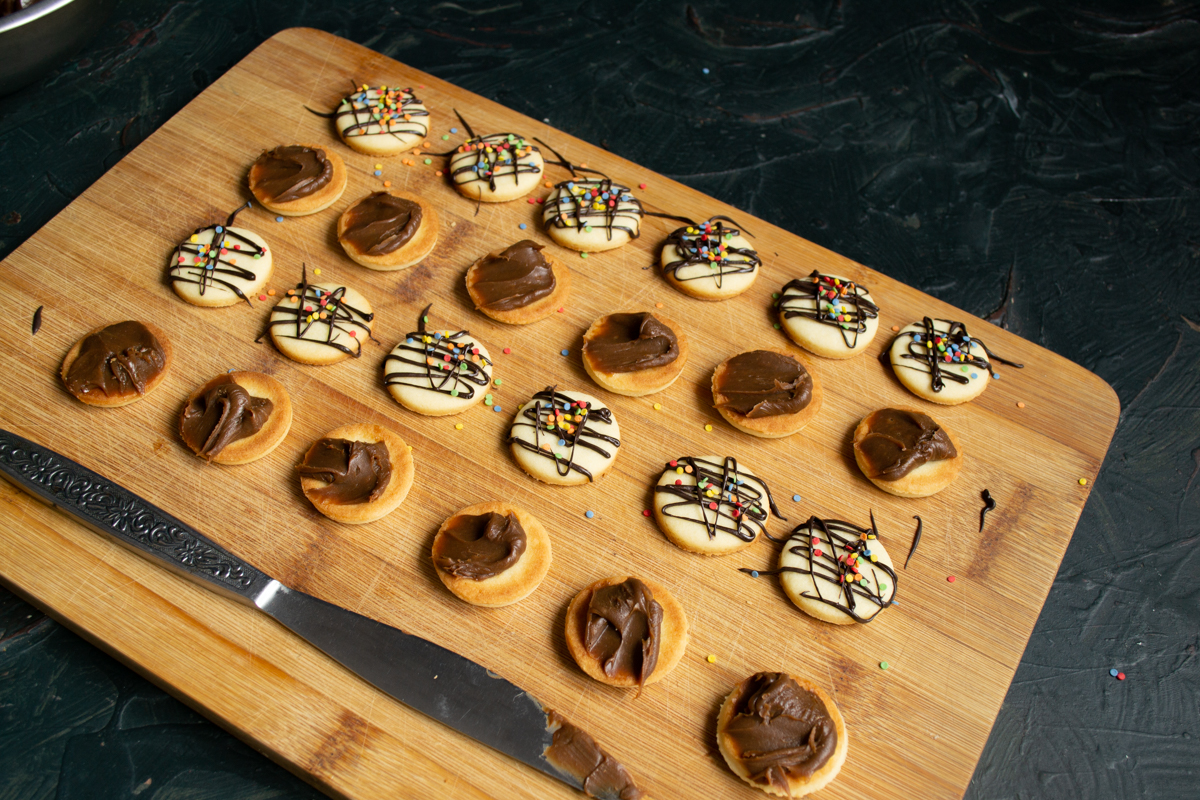
Spread or pipe the thick chocolate ganache onto the bottom (flat) side of the cookies.
Sandwich the two halves together, and you’re done! These chocolate-filled cookies are absolutely delicious with a cup of tea or coffee.
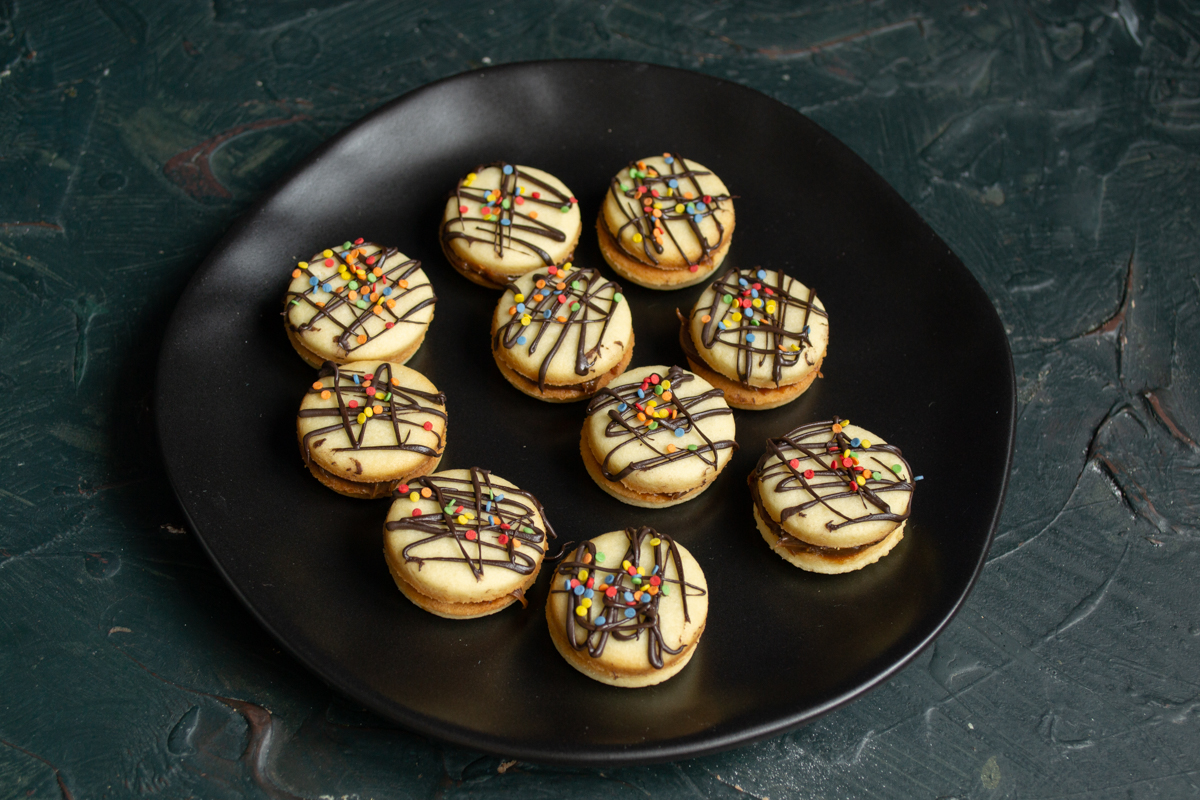
Sandwich the halves together to create a delicious homemade treat.
To make your chocolate-filled cookies look like they came straight from an upscale bakery, serve them on a beautiful wooden tray or in a vintage tin box. They pair perfectly with cold milk, aromatic Earl Grey tea, or a strong espresso. If you want to experiment, try adding a pinch of sea salt or orange zest to the ganache—this will give the dessert refined, savory notes and reveal the chocolate's flavor from a new perspective.
It's best to store the finished chocolate-filled cookies in an airtight container in a cool place, so the shortbread base remains crispy and the filling doesn't lose its delicate texture. If you're preparing this treat in advance, remember that on the second day, the flavors meld even better, making the dessert more aromatic. This is a wonderful option for a sweet gift: simply tie a ribbon around a little box, and your culinary masterpiece is ready to delight your loved ones.
0 comments