
This chocolate cake with whipped cream and strawberries is a harmonious blend of rich cocoa, delicate cream, and vibrant berry freshness. The secret to its incredibly moist texture lies in the use of buttermilk and a special soaking technique: the still-warm sponge eagerly absorbs an orange syrup spiked with chocolate liqueur, resulting in a melt-in-your-mouth crumb. Orange zest adds elegant citrus notes to the batter, perfectly highlighting the depth of the chocolate, while a honey glaze makes the strawberries shine beautifully atop a snow-white cloud of whipped cream.
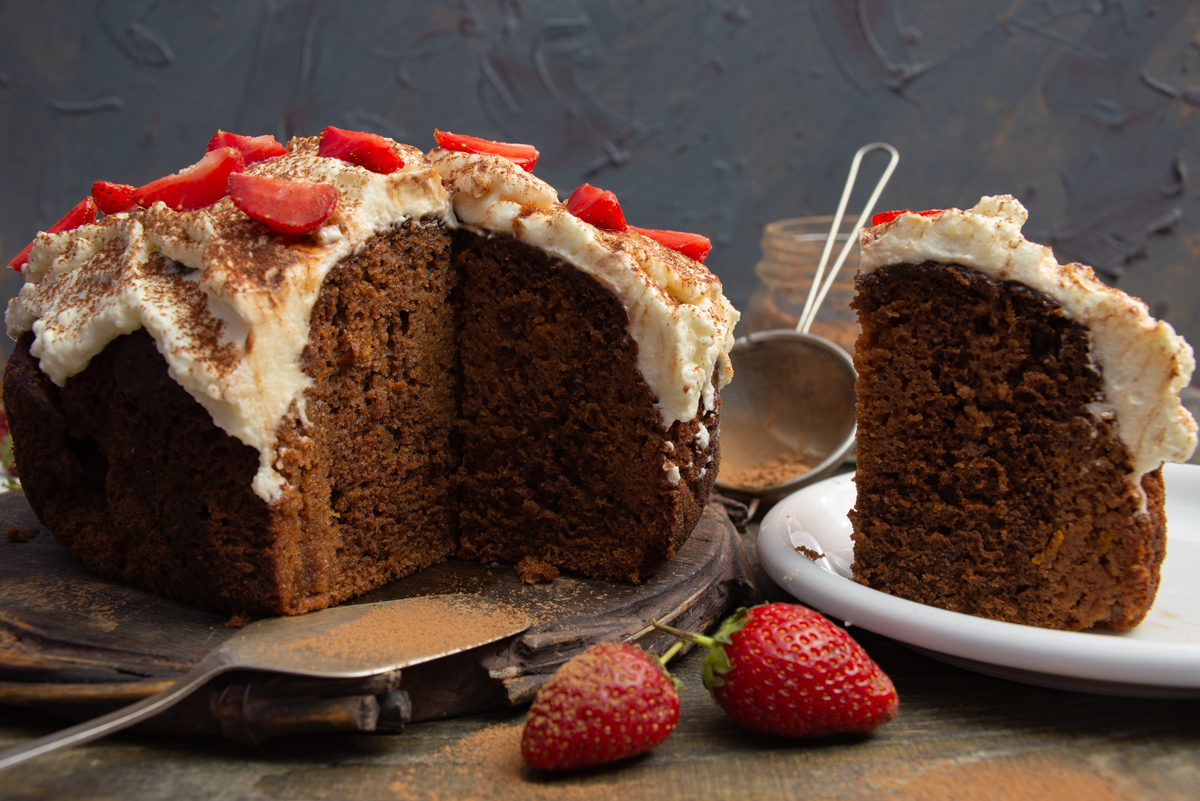
Finished chocolate cake: an airy sponge with orange syrup, delicate whipped cream, and fresh glazed strawberries.
Batter ingredients
- 2 eggs
- 150 g (5.3 oz) buttermilk or whey
- 200 g (7 oz) granulated sugar
- 120 g (4.2 oz) canola oil
- 240 g (8.5 oz) all-purpose flour
- 30 g (1 oz) cocoa powder
- zest of 1 orange
- 1 tsp baking powder
Syrup ingredients
- 100 ml (3.4 fl oz) chocolate liqueur
- juice of 1 orange
- 60 g (2.1 oz) granulated sugar
Garnish ingredients
- 250 g (8.8 oz) heavy cream (33% fat)
- 30 g (1 oz) powdered sugar
- 6 g (0.2 oz) cream stabilizer
- 15 g (0.5 oz) honey
- fresh strawberries and cocoa powder
How to make chocolate cake with whipped cream and strawberries
Crack the eggs into a mixing bowl and pour in the buttermilk or whey. You can also use low-fat milk mixed half-and-half with water.
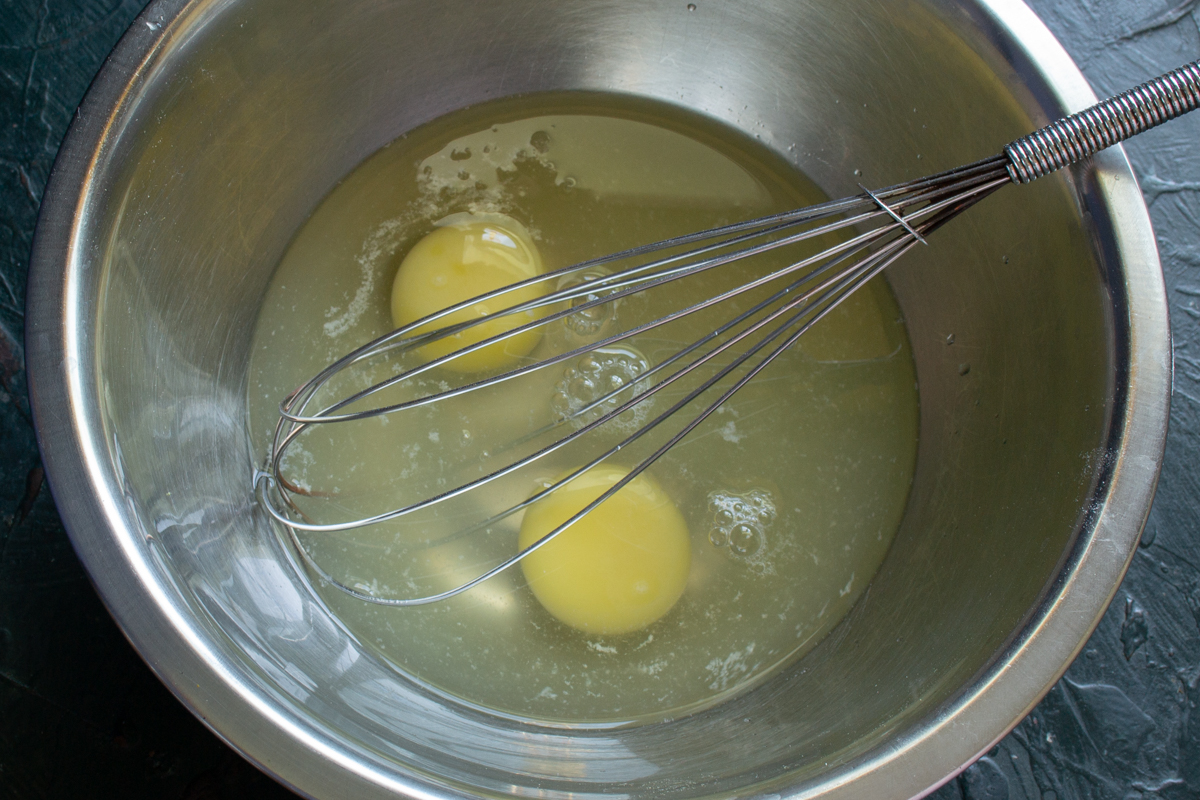
Start by mixing the eggs with buttermilk or whey—this will make the cake's texture much moister and more tender.
Add the fine white sugar. Pour in neutral, odorless canola oil. You can substitute it with any refined vegetable oil, such as light olive, sunflower, or corn oil.
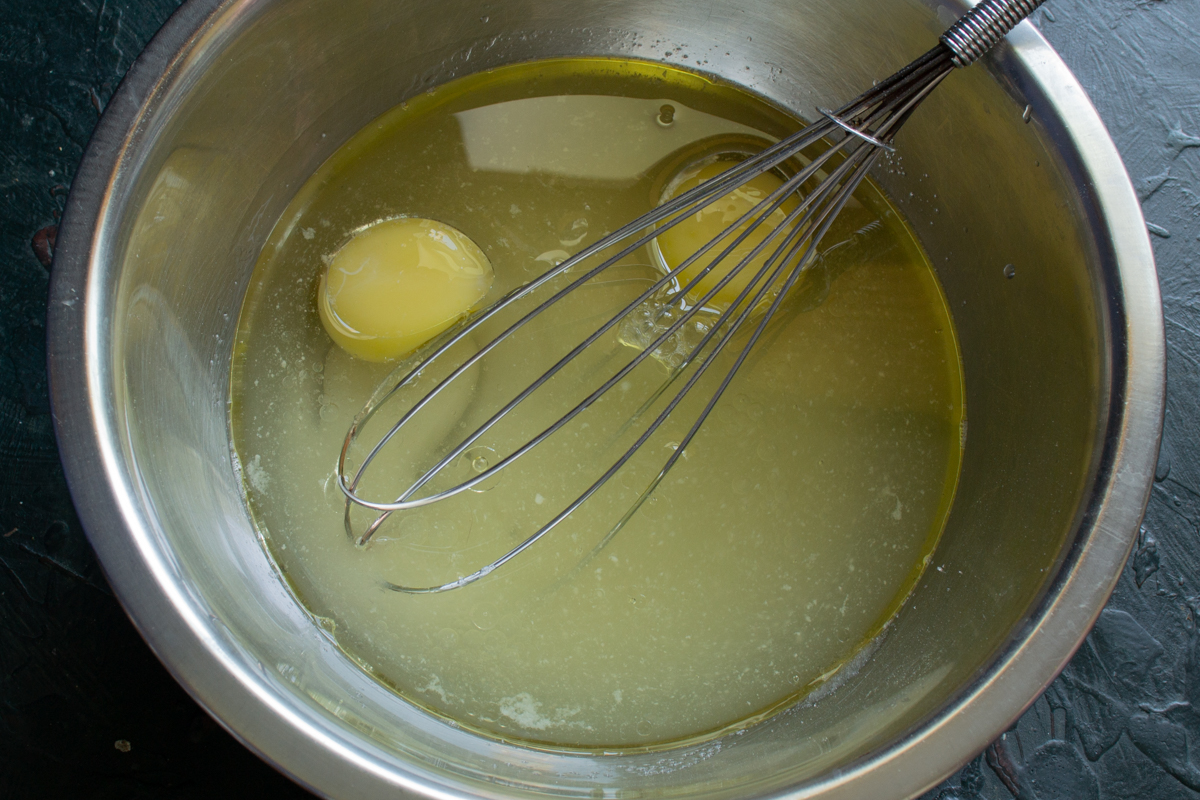
Pour in the sugar and vegetable oil. Use a neutral, odorless oil to let the chocolate flavor shine.
Whisk the wet ingredients together until completely smooth.
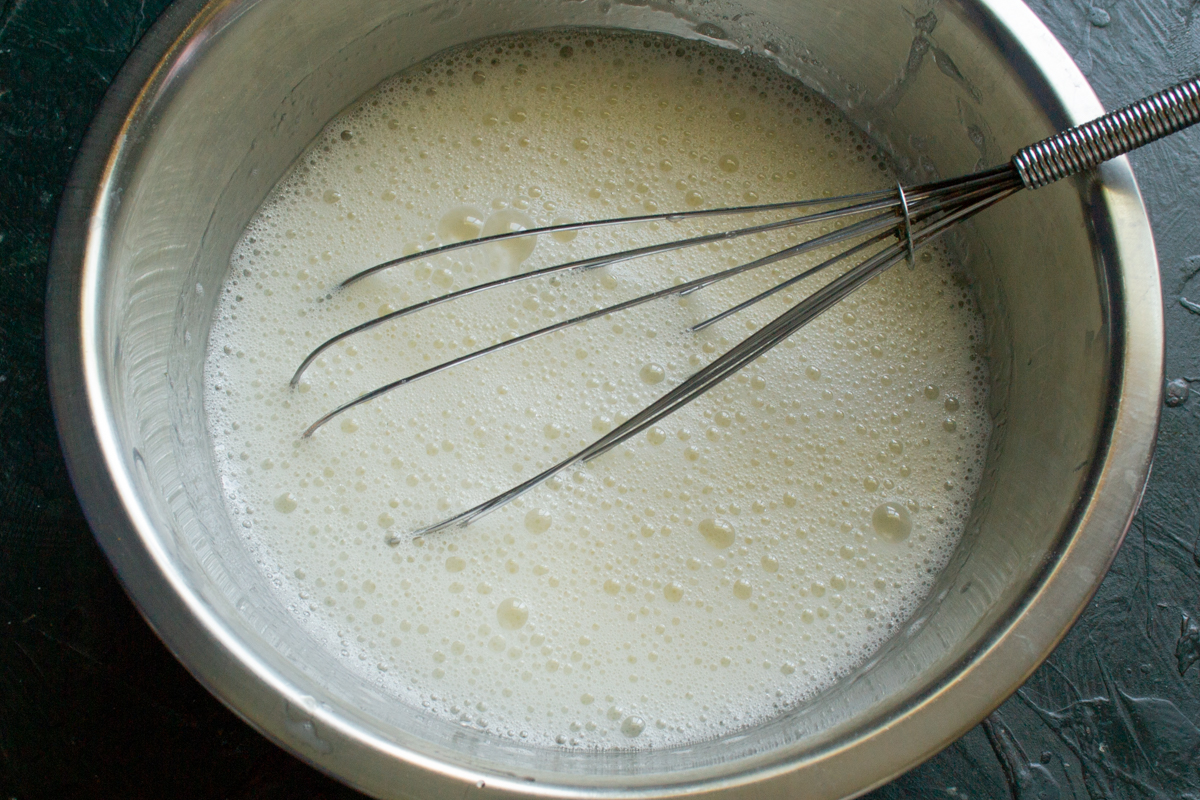
Thoroughly whisk the ingredients until a light foam appears and the mixture is perfectly smooth.
In a separate bowl, combine the all-purpose flour, baking powder, and cocoa powder.
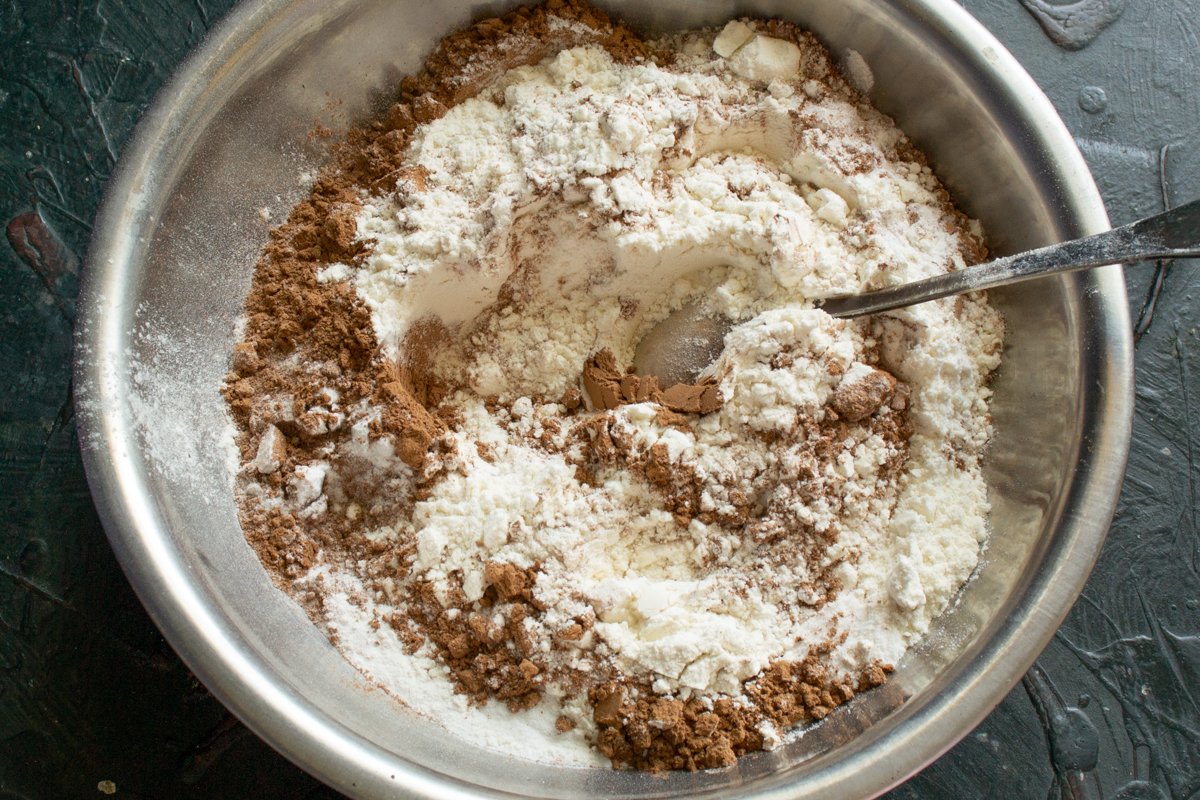
In a separate container, combine the all-purpose flour, high-quality cocoa powder, and baking powder.
Thoroughly mix the dry ingredients. If desired, you can add a pinch of vanilla powder or ground cinnamon. Fold the dry mixture into the wet ingredients.
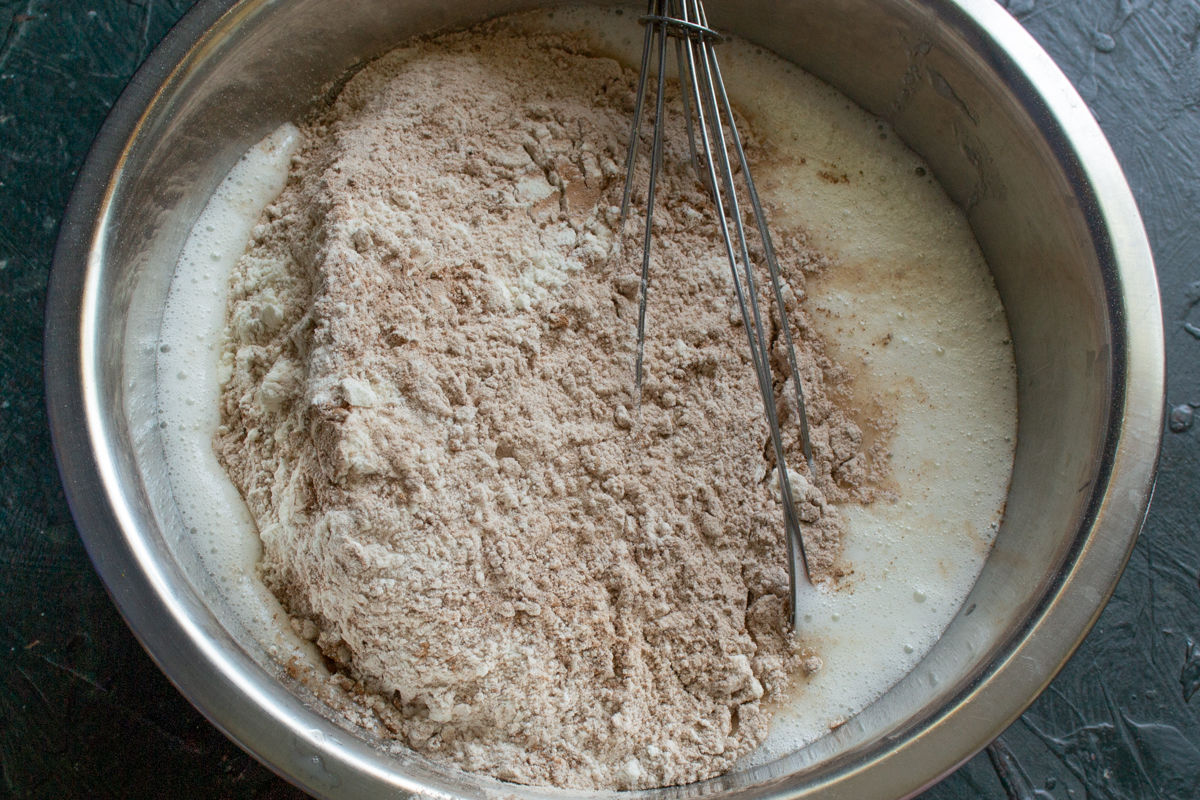
Gradually fold the dry mixture into the wet base, whisking gently to combine.
Wash an orange and rinse it with boiling water. Zest the thin orange layer using a grater. Add the orange zest to the batter.
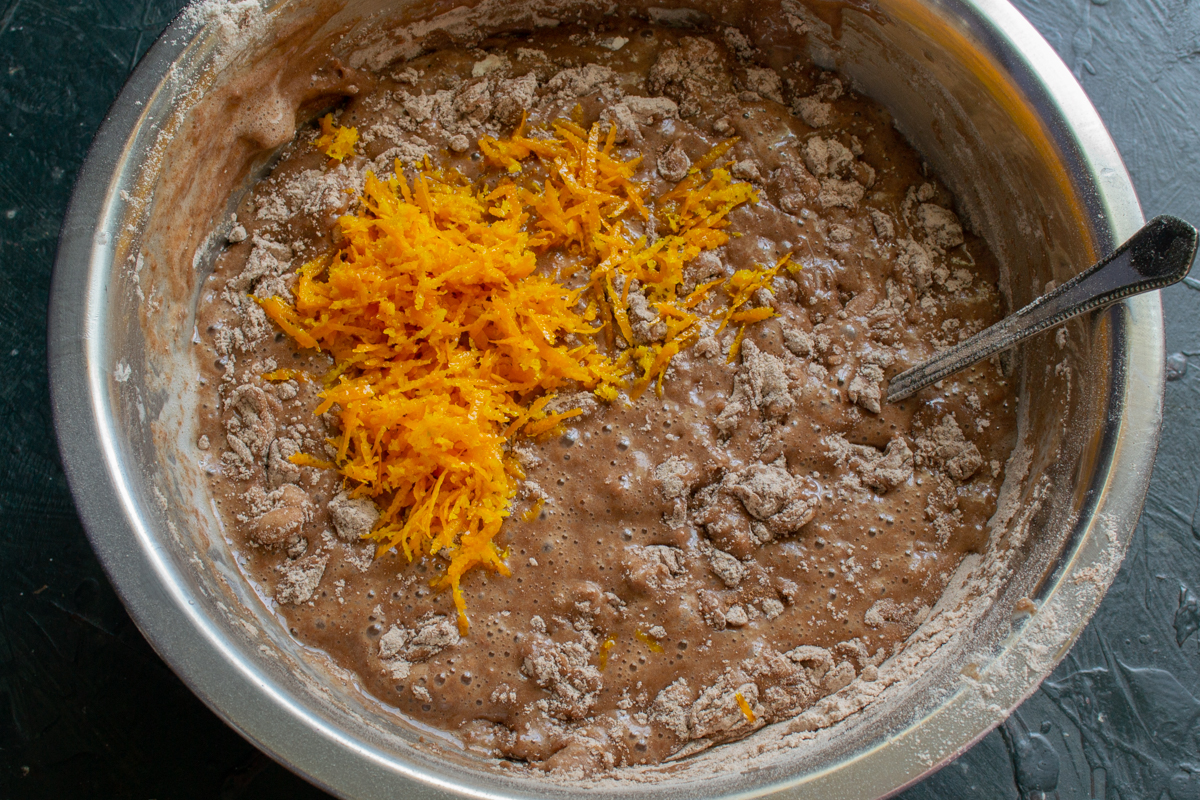
Orange zest gives the chocolate sponge a unique citrus aroma and freshness.
Mix the batter until perfectly smooth and free of flour lumps. Since the batter is quite thin, you can use an immersion blender at this stage to quickly achieve a silky texture.
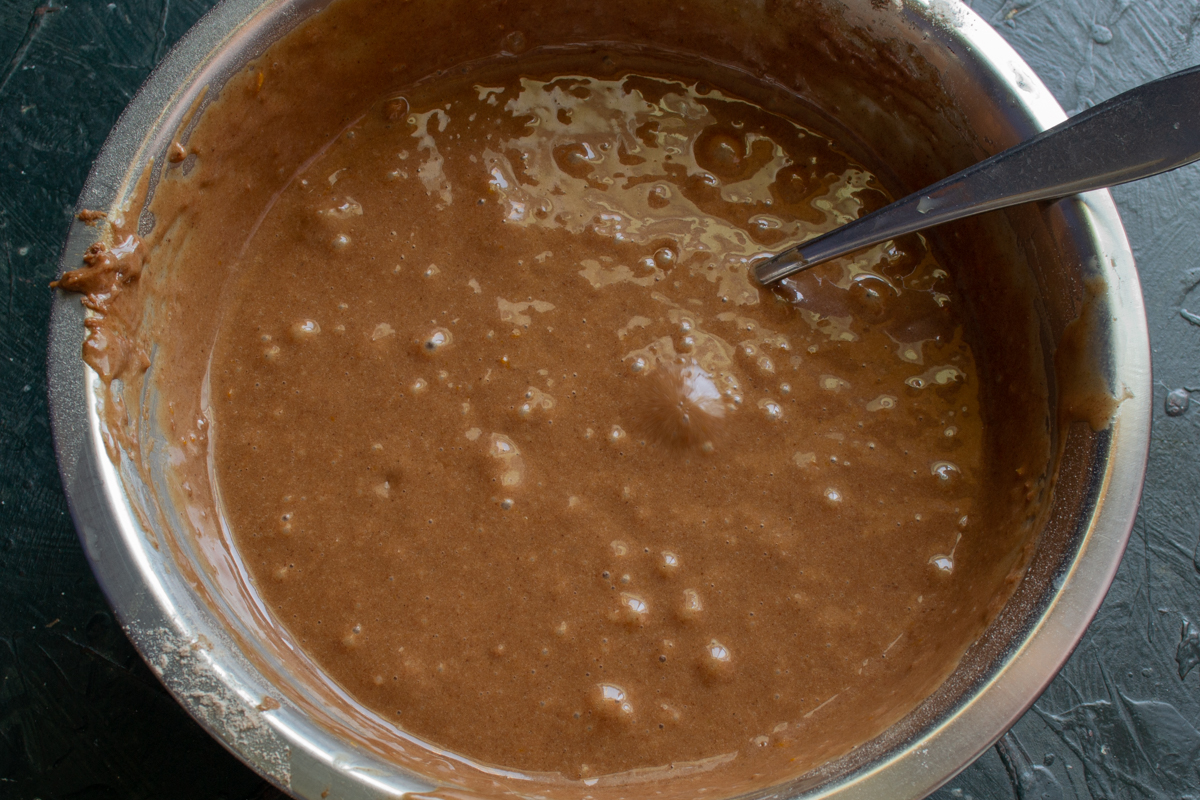
Mix the batter until perfectly smooth and lump-free. It should turn out quite runny.
Line a baking pan with parchment paper and coat it with cooking spray. Pour the batter into the pan. I baked this sponge in a bread maker, but you can also bake it in a conventional oven or a multicooker without changing the recipe.
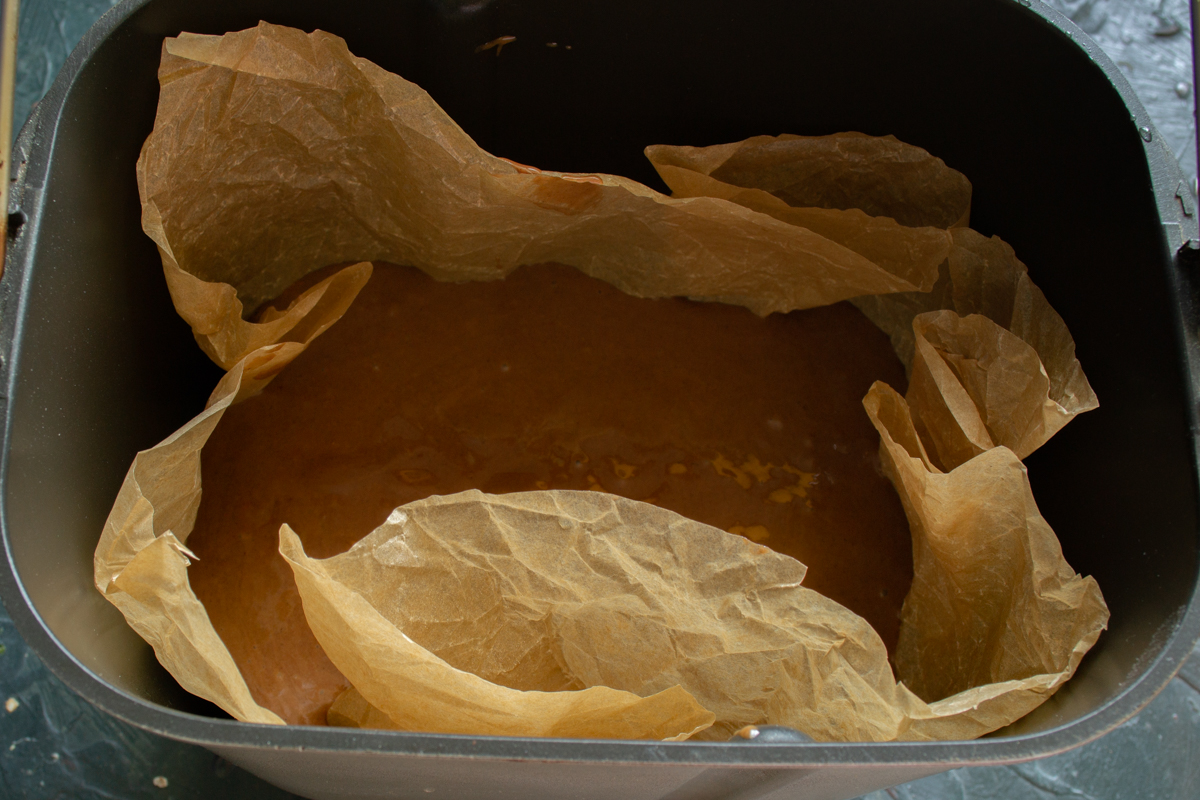
Pour the batter into a parchment-lined pan. This recipe uses a bread maker's pan.
Bake for 1 hour on the ‘Bake’ setting if using a bread maker. In a conventional oven, bake for 50 minutes at 170°C (340°F). If using a multicooker, follow the manufacturer’s instructions.
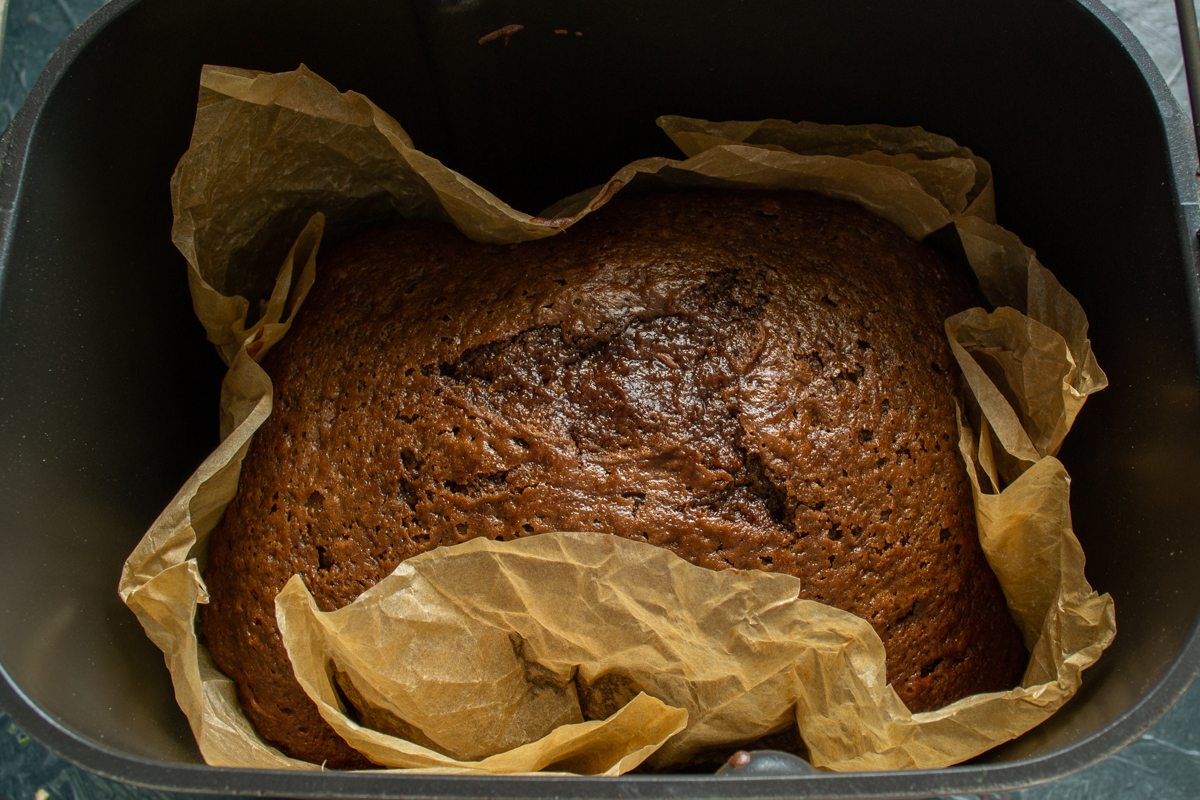
After an hour of baking, the sponge has risen beautifully and is ready for the next steps.
Prepare the soaking syrup. Squeeze the juice from one orange and stir in the sugar.
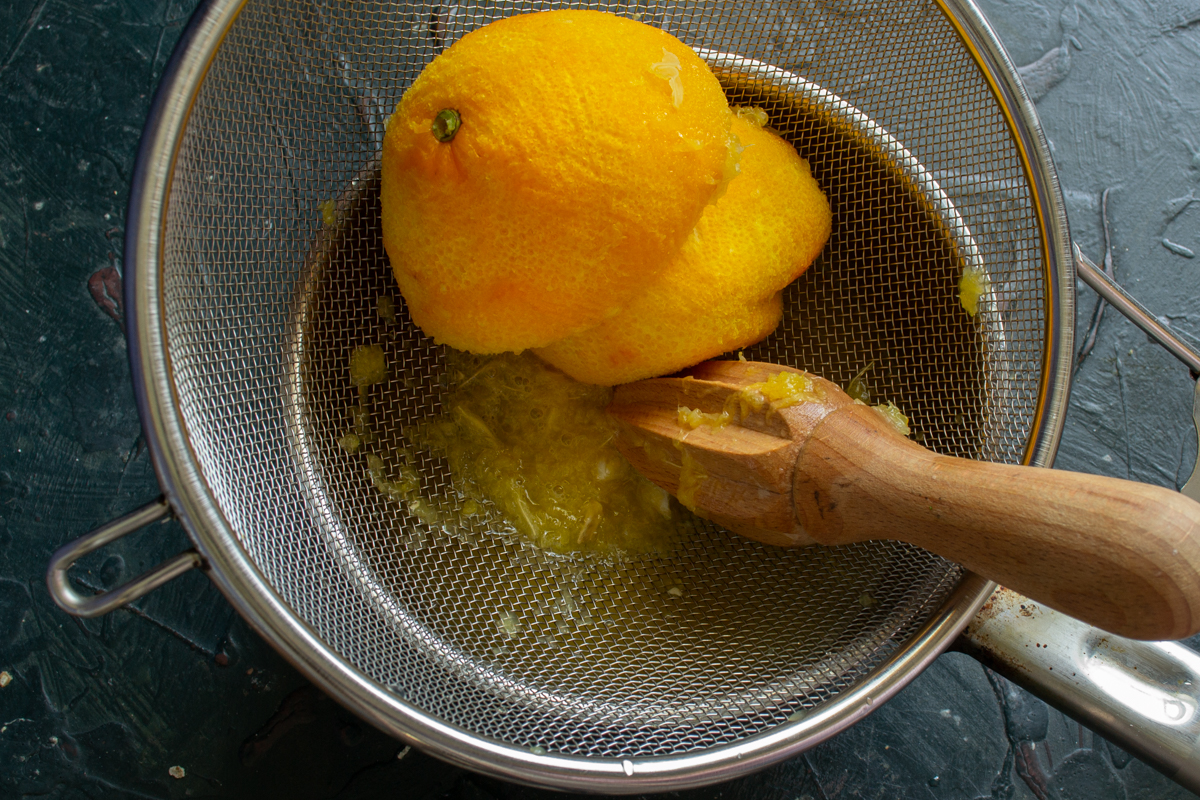
Squeeze the juice from a fresh orange to create the aromatic soaking syrup.
Heat the syrup to a boil, then remove from the heat. Let the syrup cool to room temperature, then pour in the chocolate liqueur.
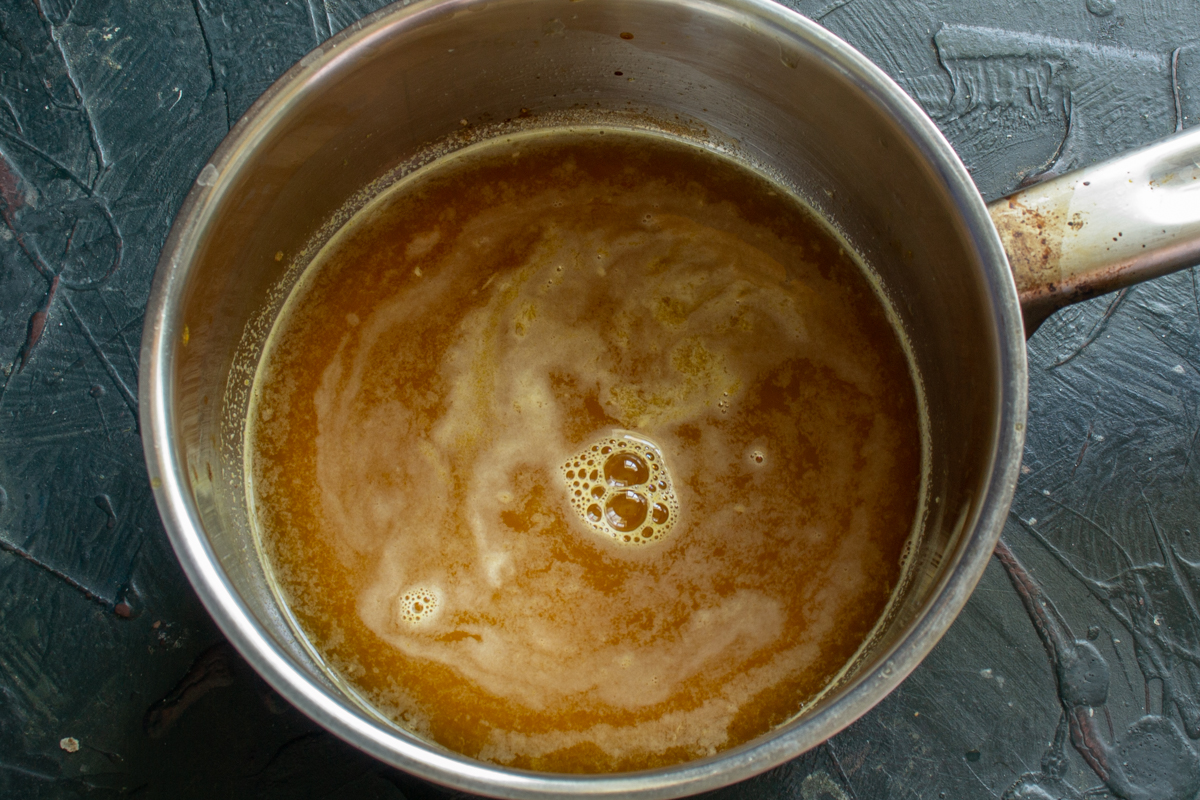
Heat the juice and sugar to a boil, then add the chocolate liqueur for a piquant touch.
Leave the baked sponge in the parchment paper for now. Pierce it frequently all over with a bamboo skewer.
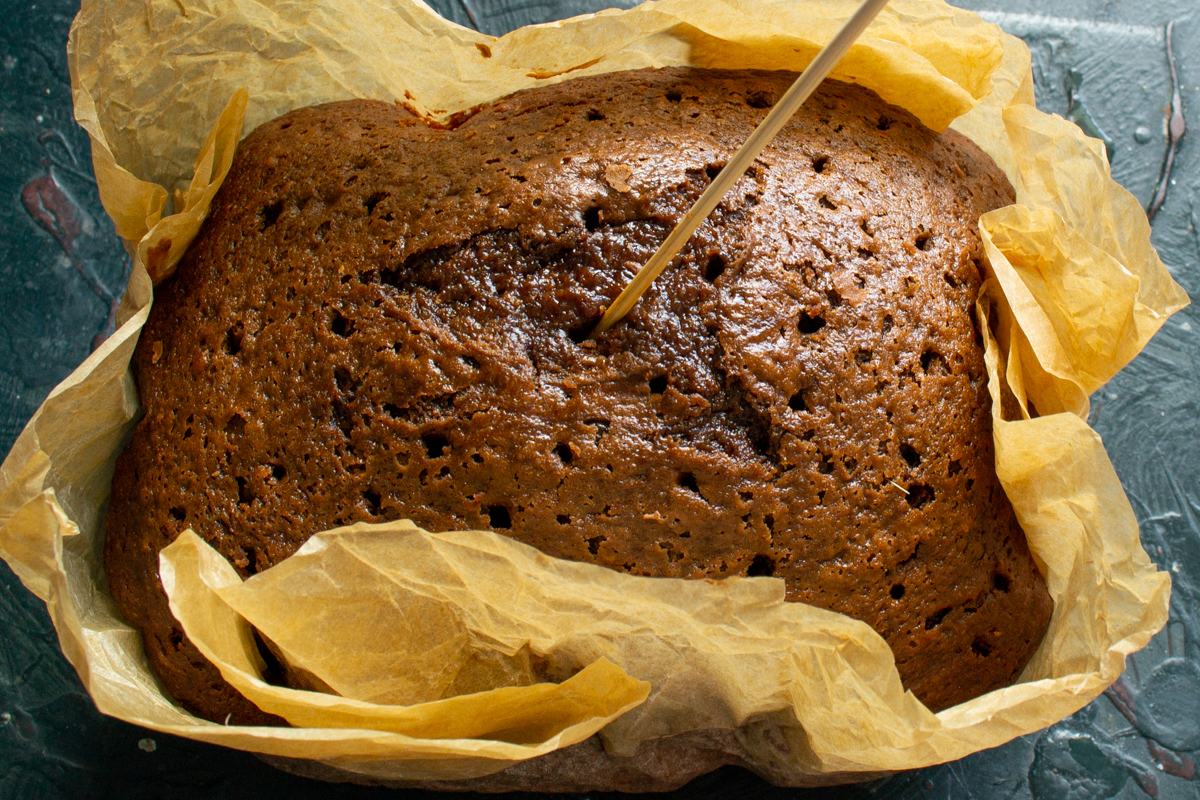
Pierce the warm sponge frequently with a skewer so the syrup penetrates deeply into the cake.
Pour the cold syrup evenly over the warm sponge. Once the syrup is fully absorbed (after about 2-3 minutes), carefully remove the parchment paper.
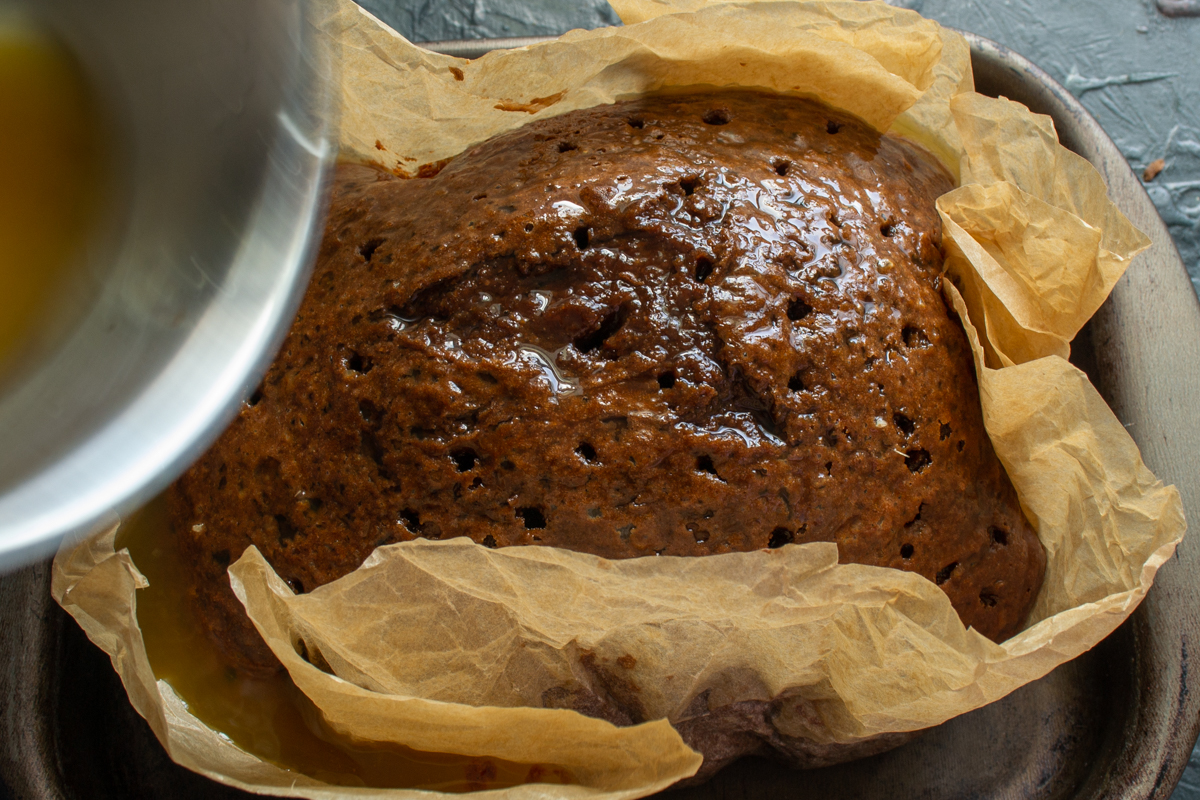
Pour the cold syrup evenly over the sponge. This will make the cake incredibly moist.
Whip the cold heavy cream (33% fat) for 1 minute, add the powdered sugar and cream stabilizer, and continue whipping for another 2-3 minutes until very thick. Cover the cooled cake with the whipped cream and dust with cocoa powder.
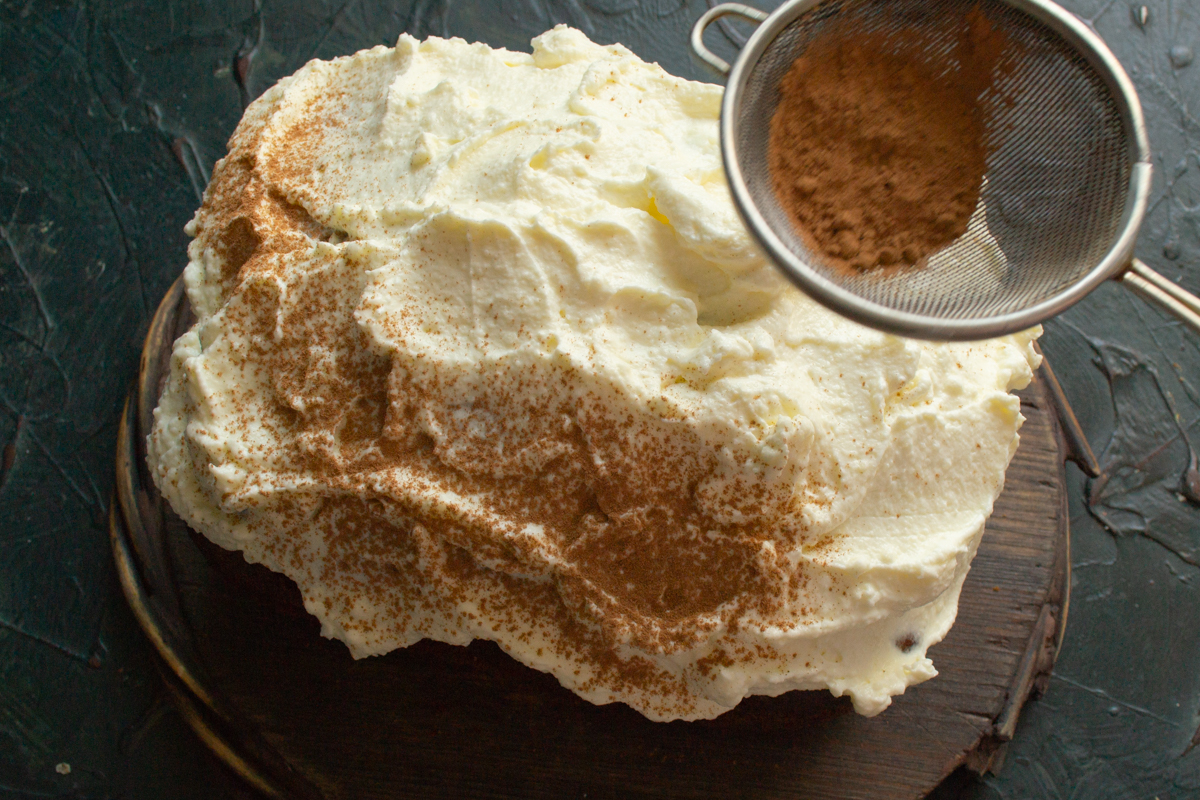
Cover the cooled cake with thick whipped cream and lightly dust with cocoa powder through a fine mesh sieve.
Slice the fresh strawberries, place them in runny honey, and gently toss. Decorate the cake with the honey-glazed strawberries.
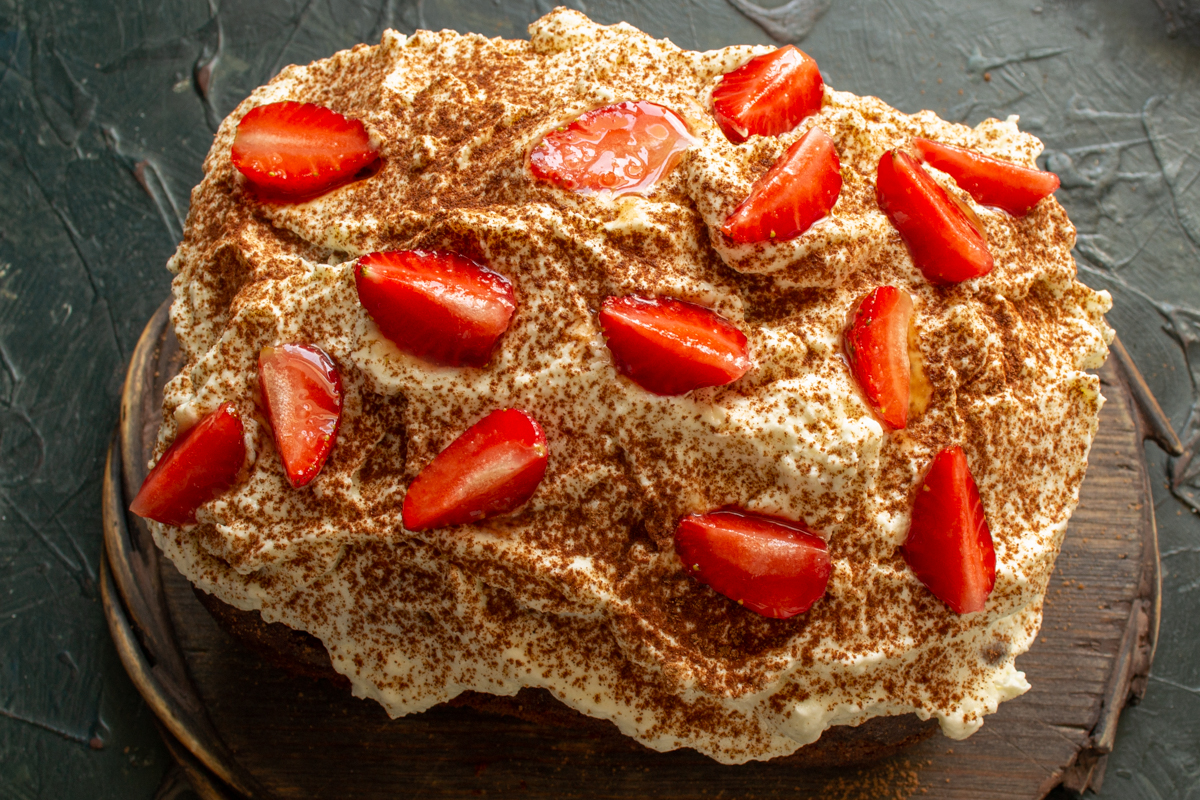
Arrange the strawberry pieces, previously tossed in honey for extra shine and sweetness.
To let this chocolate cake fully reveal its flavor profile, be sure to let it rest in the refrigerator. A few hours of chilling allow the syrup to distribute evenly throughout the sponge and help the whipped cream set properly. When serving, I recommend using a sharp knife dipped in hot water to ensure every slice is neat and aesthetically pleasing.
If you don't have strawberries on hand, you can easily top this dessert with raspberries or blueberries, or increase the liqueur in the syrup for a more grown-up version. Store the cake in an airtight container in the fridge for up to two days—though, from experience, this treat disappears from the table much faster. The combination of cozy home baking and restaurant-style presentation makes this dish a foolproof choice for any occasion.
0 comments