
Welcome to the world of a true culinary legend—Chicken Kyiv! This iconic dish, celebrated across Eastern Europe, is more than just a meal; it's an experience. Imagine cutting into a perfectly golden, crispy chicken breast, only to release a fragrant river of melted herb butter. It might seem like a dish reserved for fancy restaurants, but with our detailed guide, you'll discover the simple secrets to creating this masterpiece in your own kitchen. Get ready to impress your family and friends with a dish that is both elegant and incredibly delicious.
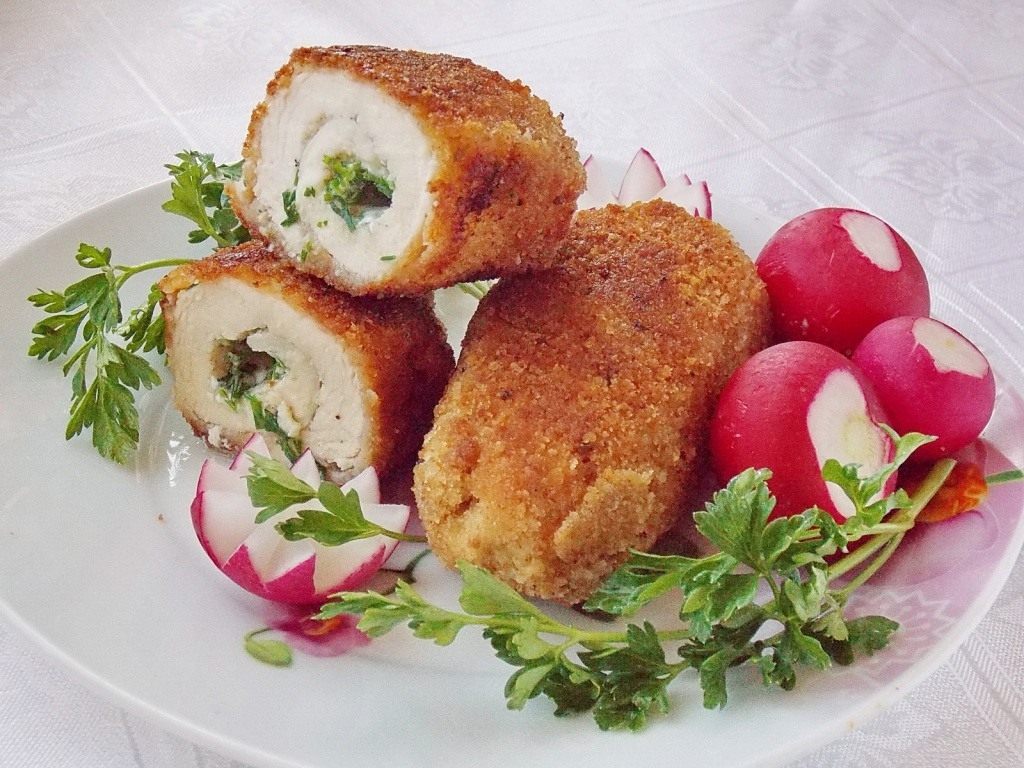
Chicken Kyiv
Ingredients for Chicken Kyiv
- 1 chicken breast
- 30-50 g butter
- small bunch of fresh dill and parsley
- 120-150 g breadcrumbs (panko works well for extra crispiness)
- 2 eggs
- salt and freshly ground black pepper to taste
- sunflower oil (or any neutral vegetable oil for frying)
How to Make Chicken Kyiv
Cut the butter into rectangular sticks, about 1 cm thick and 2-3 cm long, and place them in the freezer. This is the first secret to perfect Chicken Kyiv! If you use soft butter, it will melt too quickly during cooking and might leak out. Frozen butter, however, won’t melt as fast, ensuring it stays inside the cutlet.
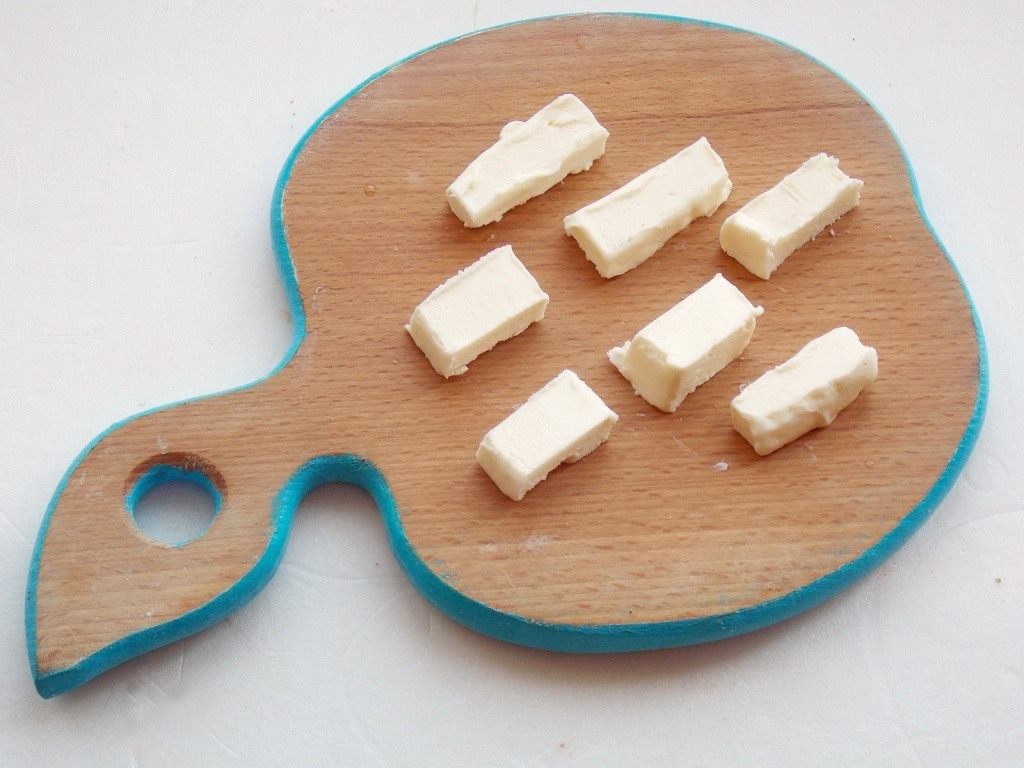
Cut the butter into sticks
I prefer to place a piece of butter and some chopped herbs separately inside the cutlet. Another method is to finely chop clean, dry fresh herbs, mix them with the butter, and then form this herb butter into sticks for the filling. By the way, this herb butter with parsley, dill, and green onions is delicious on its own—just salt it and spread it on bread. Feel free to make a larger batch!
While the butter is chilling, prepare the chicken fillet. Cut each half of the chicken breast into two wide pieces. In total, you’ll get four pieces from one breast. You can gently pound the fillets through plastic wrap to make the meat more tender and easier to shape. However, you can also skip this step for denser cutlets that resemble mini chicken rolls.
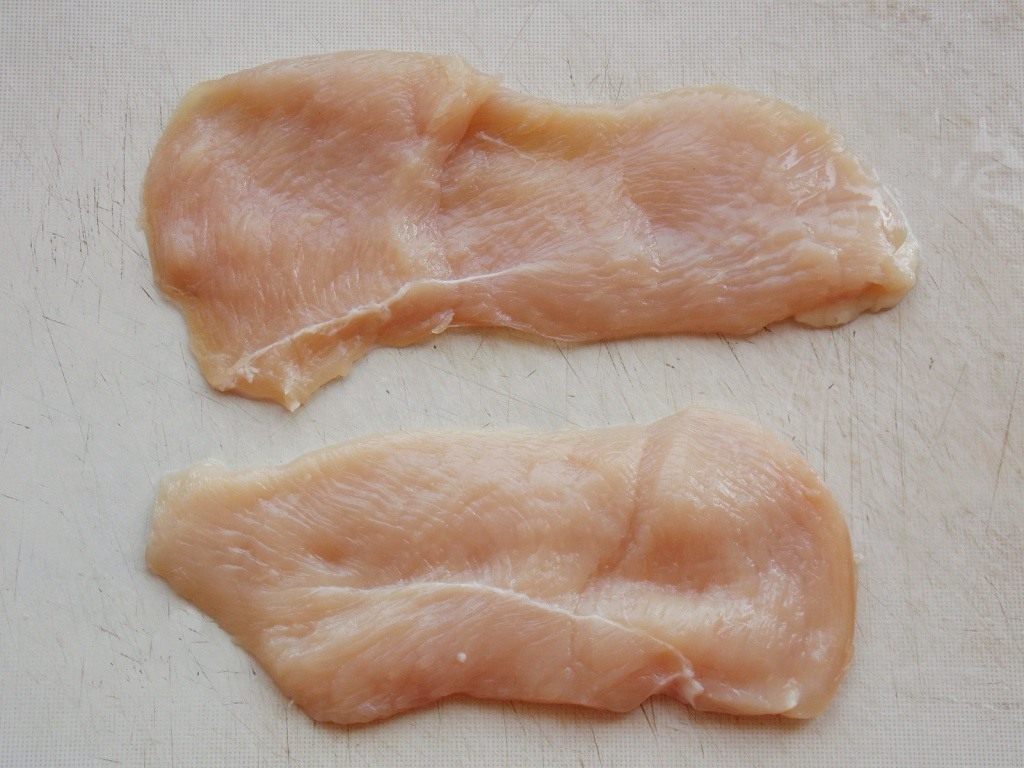
Prepare the chicken fillet
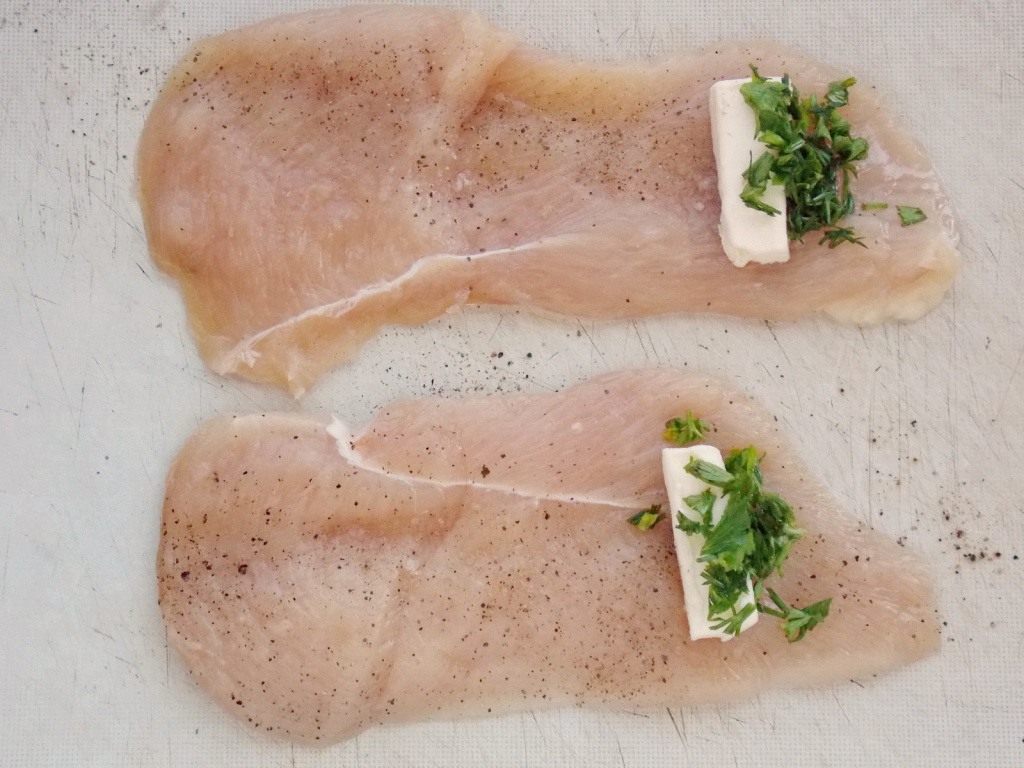
Place the butter and herb filling on the fillet
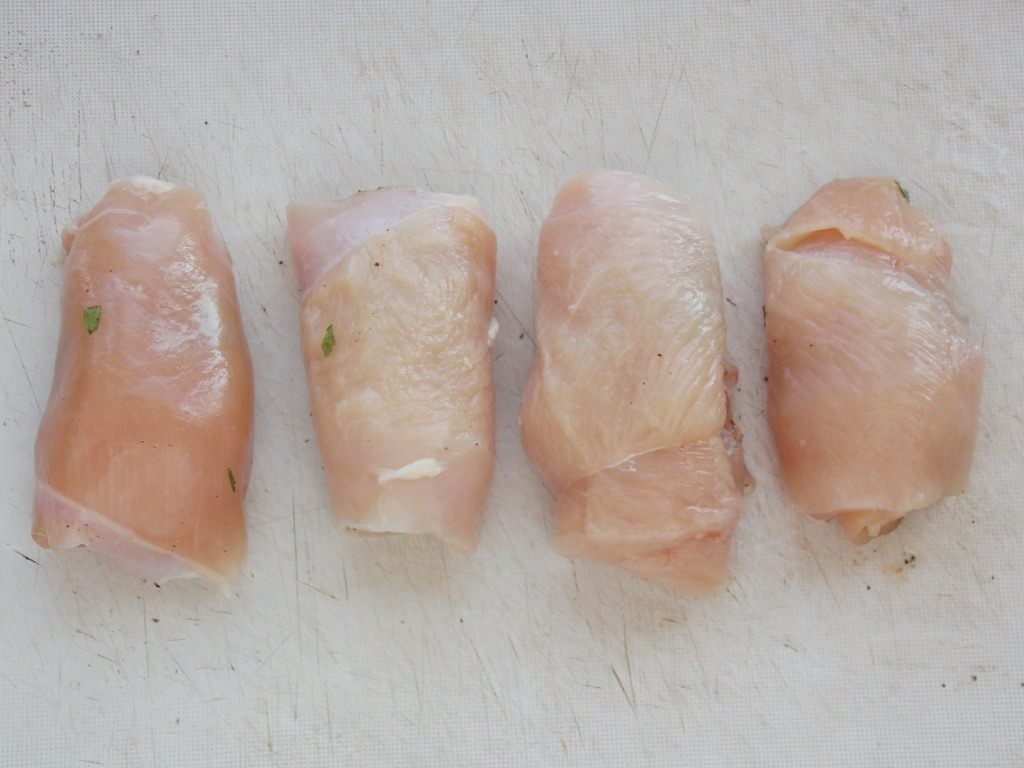
Roll the fillet into a roulade
Season each piece of fillet with salt and pepper, then place a piece of butter and herbs on the edge.
Roll up the fillets, starting from the edge with the butter.
The second secret to Chicken Kyiv is the double breading, which creates a sturdy, crispy crust on the outside and keeps the inside juicy.
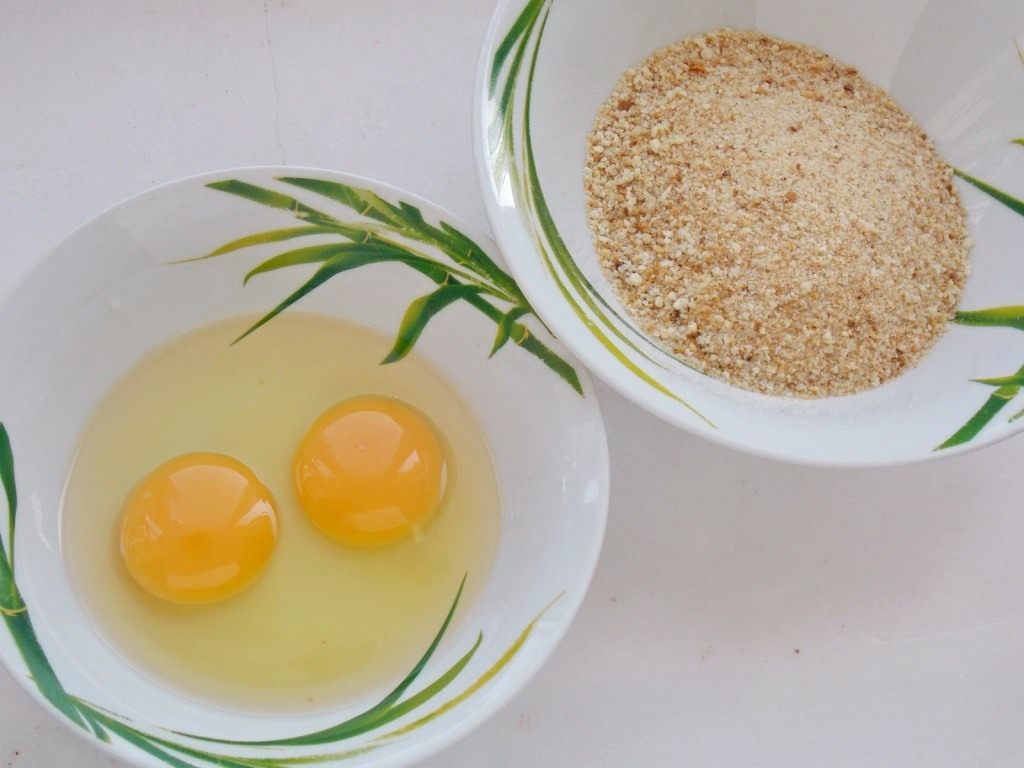
Prepare the breading
In a deep bowl, beat the eggs. In a shallow dish, spread out the breadcrumbs.
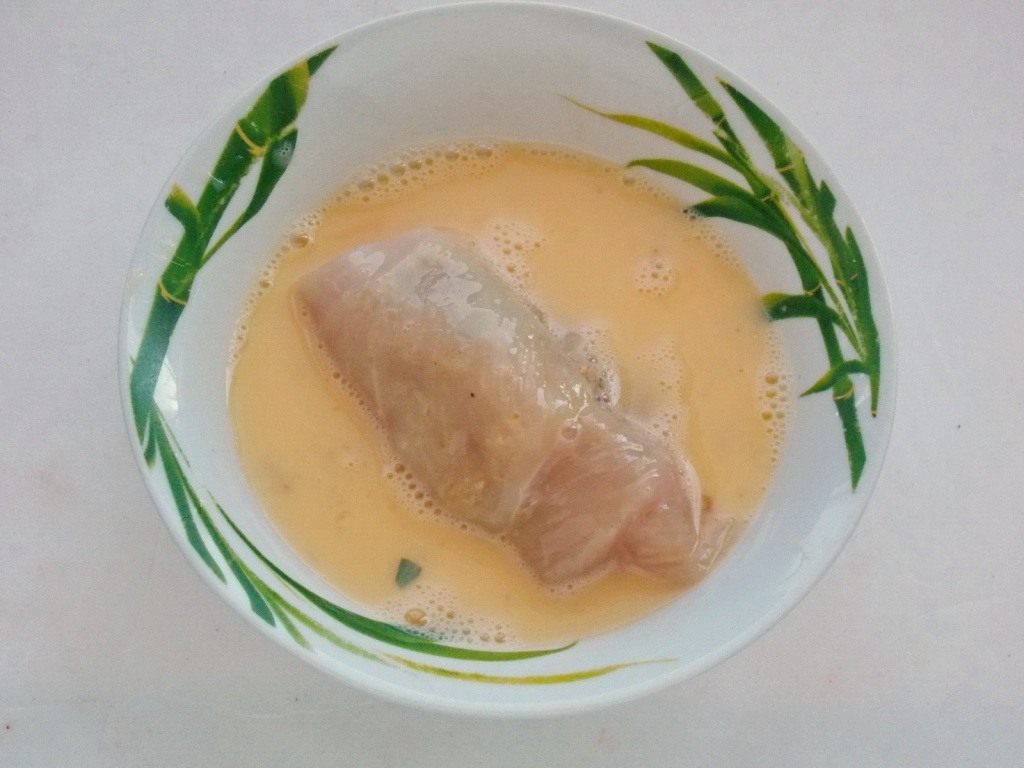
Dip the cutlet in the egg
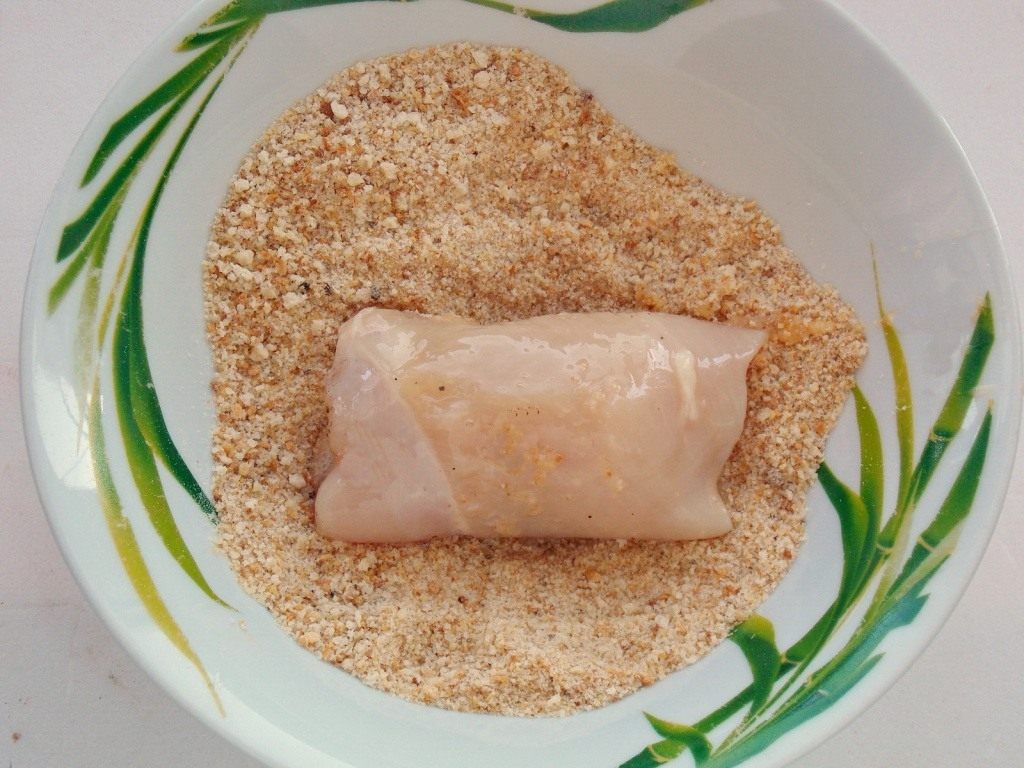
Coat the cutlet in breadcrumbs
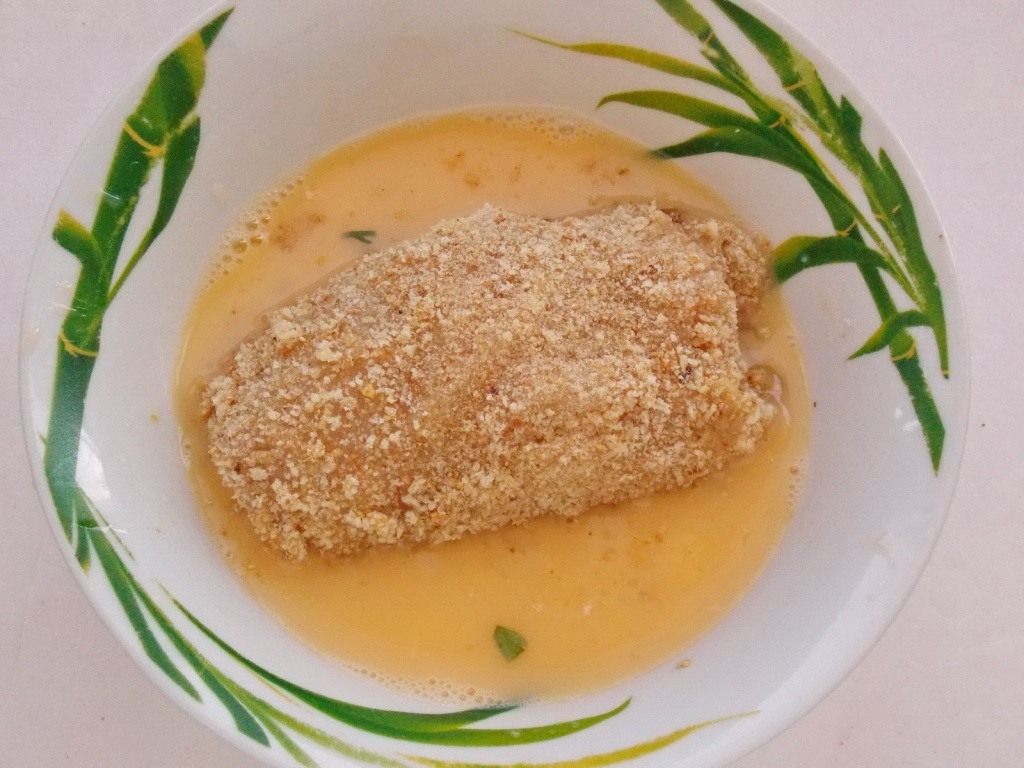
Repeat the process twice
Thoroughly coat each cutlet:
- first in the beaten eggs;
- then in the breadcrumbs;
- back into the egg;
- and a second time in the breadcrumbs.
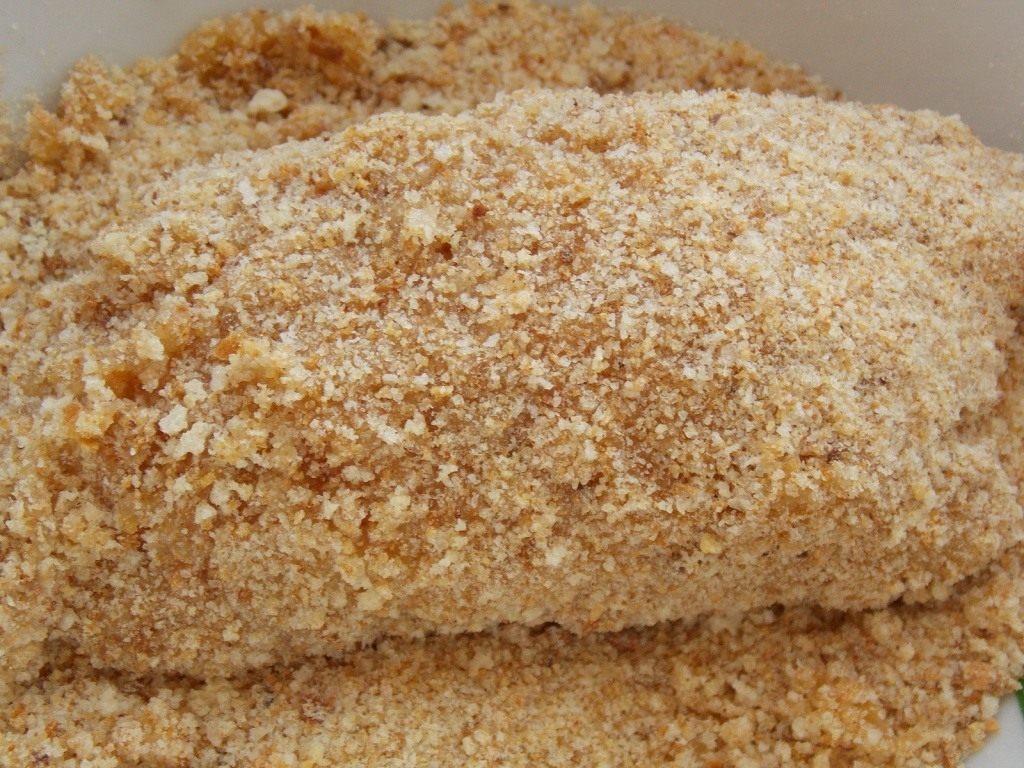
Double-breaded Chicken Kyiv
Place the breaded cutlets on a plate and put them in the freezer for 20-30 minutes (you can also freeze them for later use).
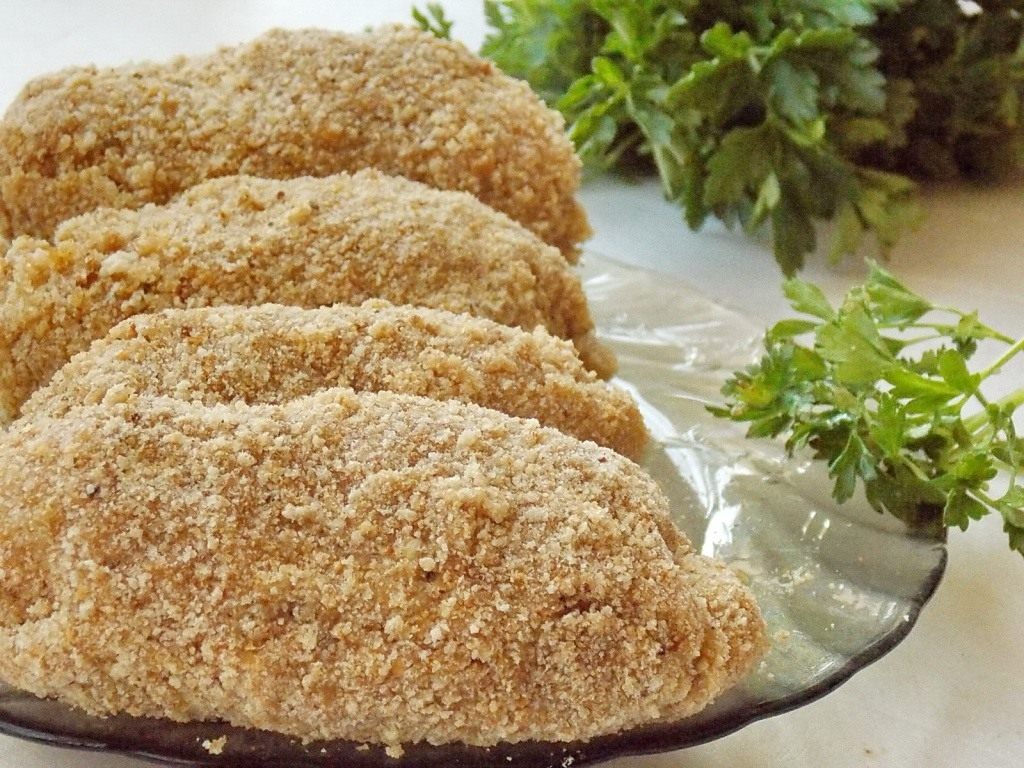
Place the Chicken Kyiv in the freezer
Sometimes Chicken Kyiv is deep-fried, but I prefer pan-frying. Place the cutlets in a skillet with hot sunflower oil and fry for a couple of minutes on high heat to set the crust. Then, reduce the heat to medium and cover the skillet with a lid. Cook for 5-7 minutes to let them brown on the bottom and cook through in the middle.
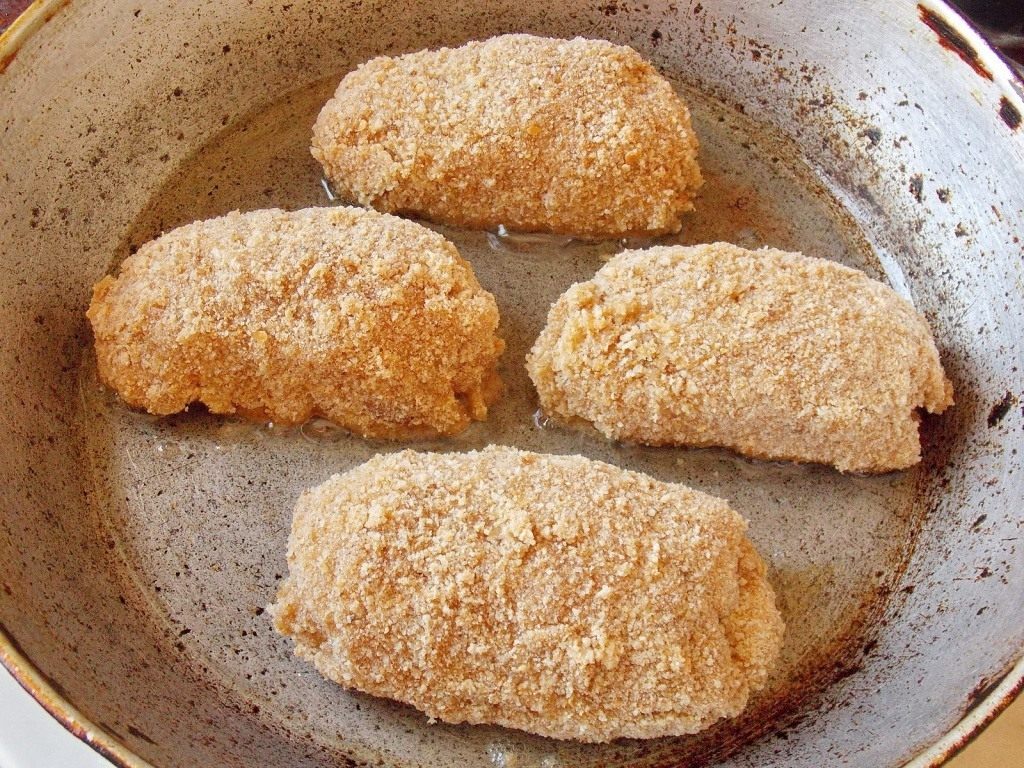
Start frying the Chicken Kyiv
Flip the cutlets with a fork, cover again, and fry until the other side is just as golden brown.
Since these cutlets are large, after frying them on both sides, I turn them on their sides and fry them there as well.
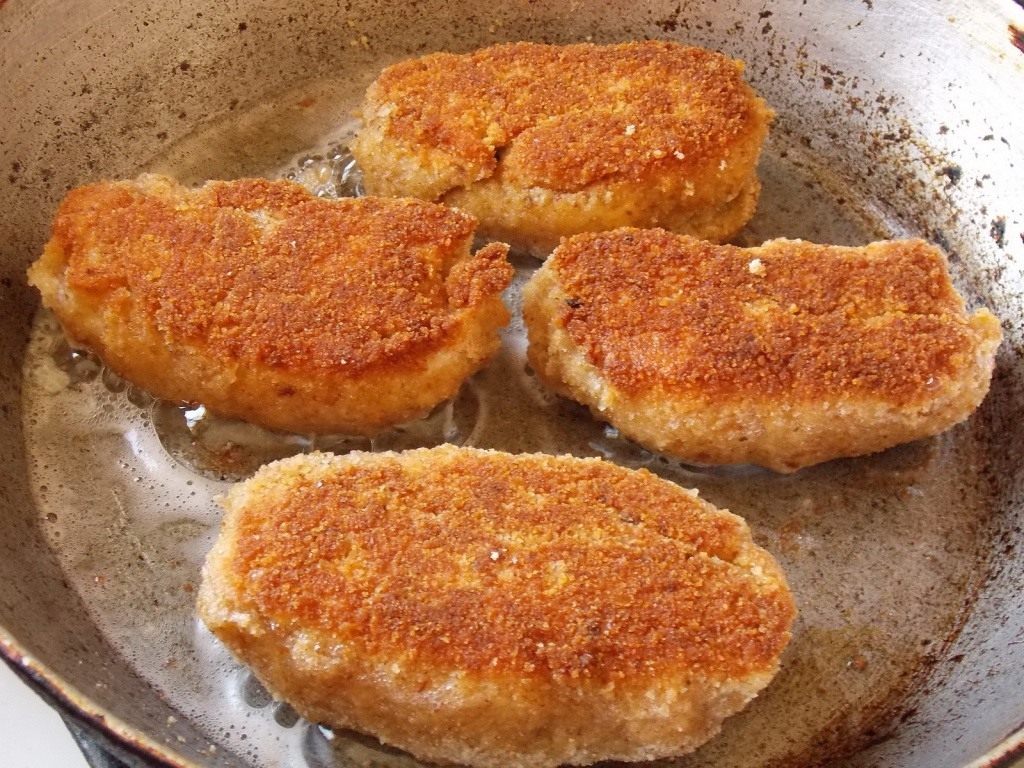
Fry the Chicken Kyiv on both sides until golden brown
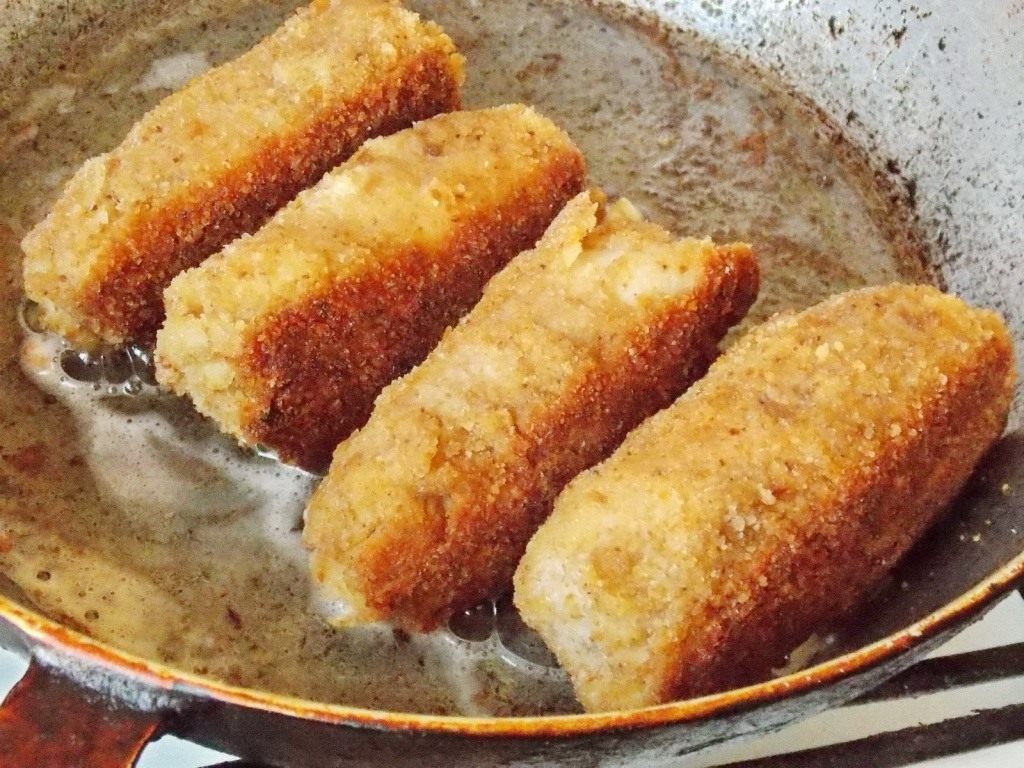
Large cutlets can also be fried on the sides
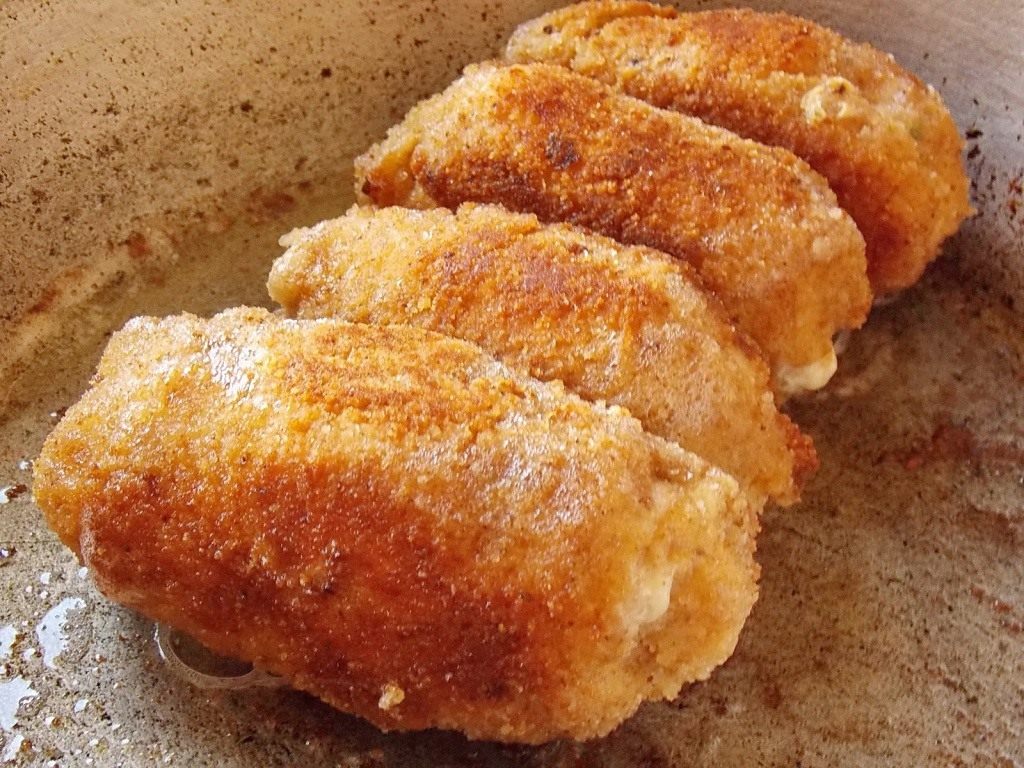
Fry the Chicken Kyiv evenly on all sides until golden brown
Transfer the cooked cutlets to a plate, garnish with herbs, and serve with a side of vegetable salad, grains, or mashed potatoes. A Chicken Kyiv is very filling—you can even have a satisfying meal with just a cutlet and a slice of bread.
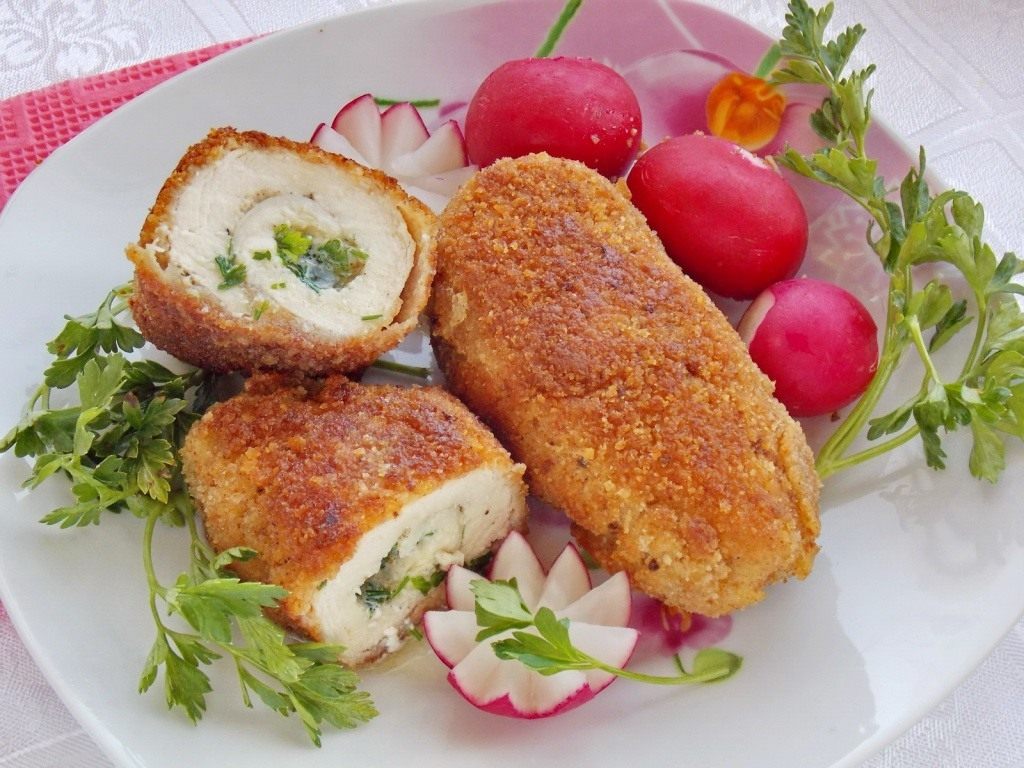
Chicken Kyiv
And there you have it—your very own homemade Chicken Kyiv, crispy on the outside and bursting with flavor on the inside! The key takeaways are using frozen butter and applying a thorough double breading to lock in all that deliciousness. Traditionally, Chicken Kyiv is served with creamy mashed potatoes to soak up the butter, but a light green salad or roasted vegetables also make for a wonderful pairing. We hope you enjoy the delightful moment of cutting into your creation. Happy cooking!
0 comments