
Making homemade delicacies always brings a special kind of joy, and these beef sausages with cheese and garlic are no exception. Using chicken skin instead of traditional casings is a practical culinary trick that helps you achieve perfect juiciness and an appetizing golden crust without the hassle of hunting down rare ingredients. The aroma of freshly ground beef paired with savory garlic and melting cheese fills your home with warmth even while they are still searing in the pan. This dish is an excellent alternative to standard patties and is perfect for both a family dinner and an outdoor picnic, as these prepped sausages are fantastic for grilling over hot coals.

Appetizing homemade beef sausages with cheese and garlic, pan-fried to a golden brown crust.
Ingredients
- 300 g (10.5 oz) lean beef
- 40 ml (1.3 fl oz) water
- 1 small onion
- 3 garlic cloves
- 3 tablespoons semolina
- 45 g (1.5 oz) hard cheese
- 1/2 teaspoon each of paprika, curry powder, and ground black pepper
- 3 pieces of chicken skin (from chicken breasts)
- 2 tablespoons olive oil (plus extra for frying)
- Salt to taste
How to Make Beef Sausages with Cheese and Garlic
Cut the beef into small pieces. For this recipe, veal or young beef works best.
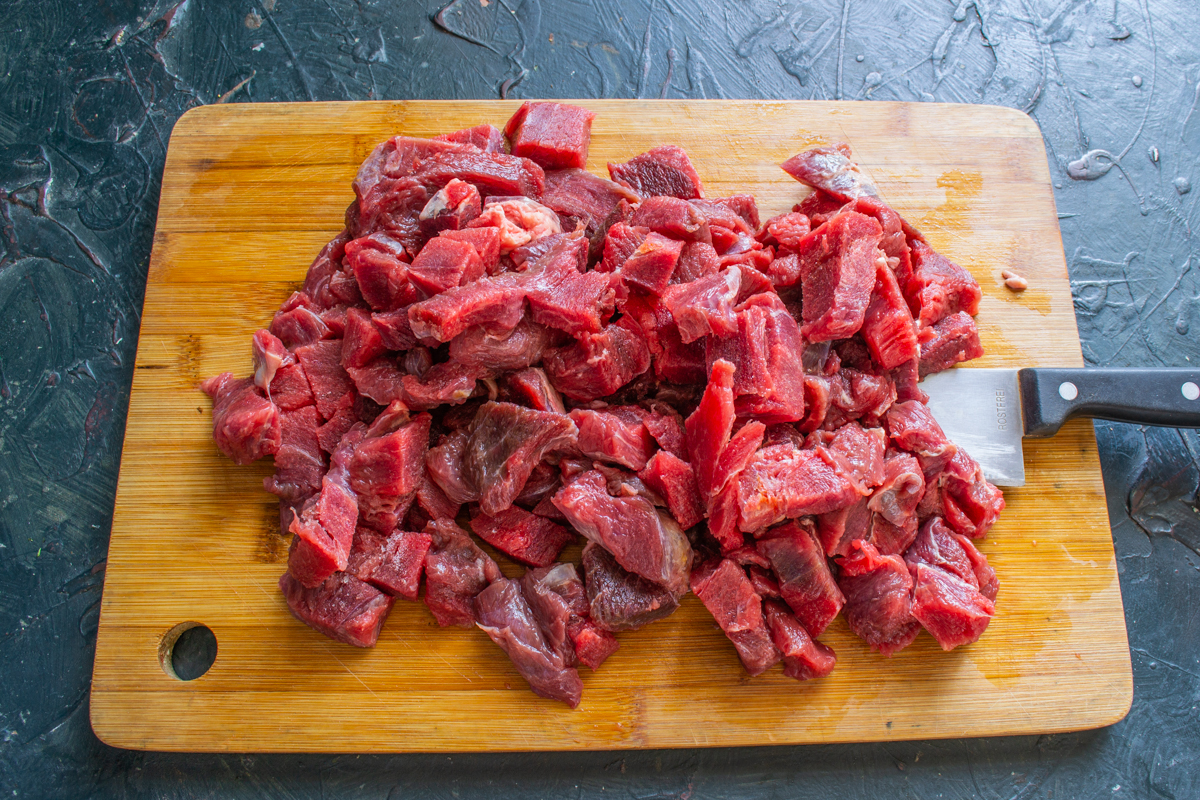
For the juiciest sausages, it is best to choose fresh veal or young beef.
Run the meat through a meat grinder. Use a fine grinding plate to achieve the perfect minced beef texture for this recipe.
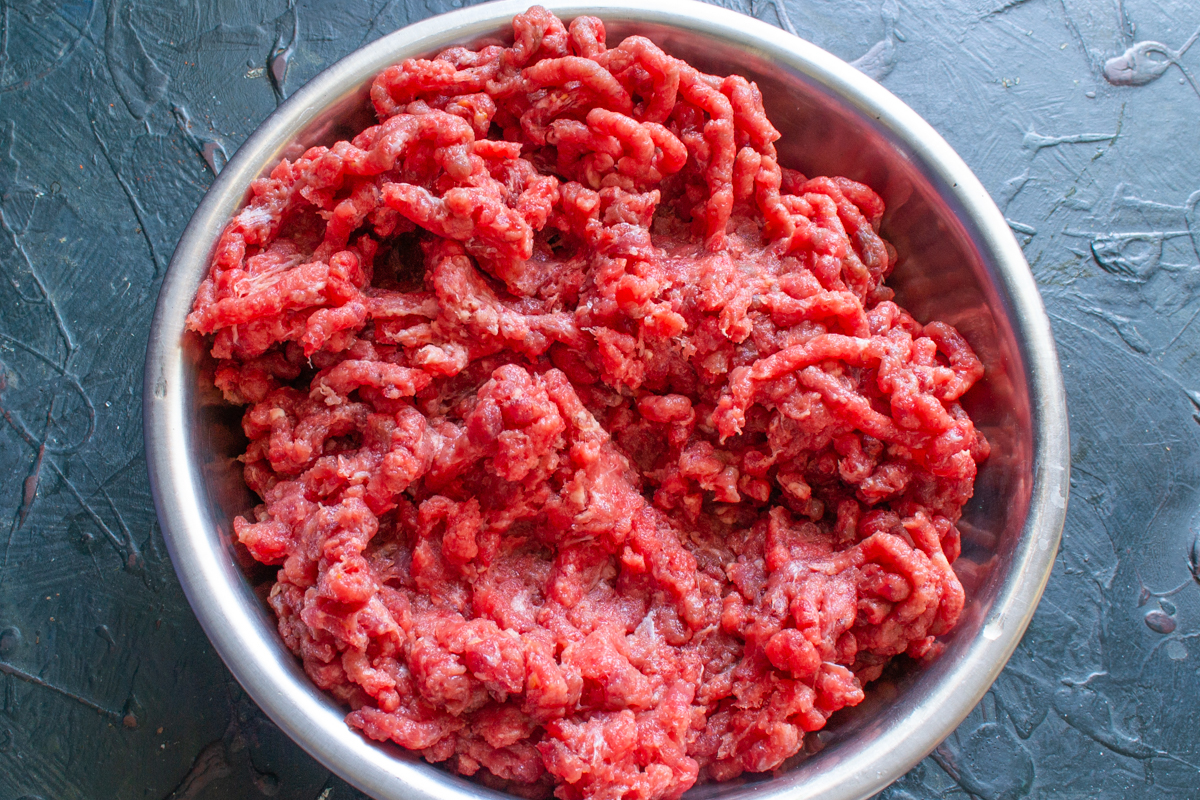
Use the fine plate of your meat grinder for a smoother, more tender sausage texture.
Follow the meat by grinding a small onion.
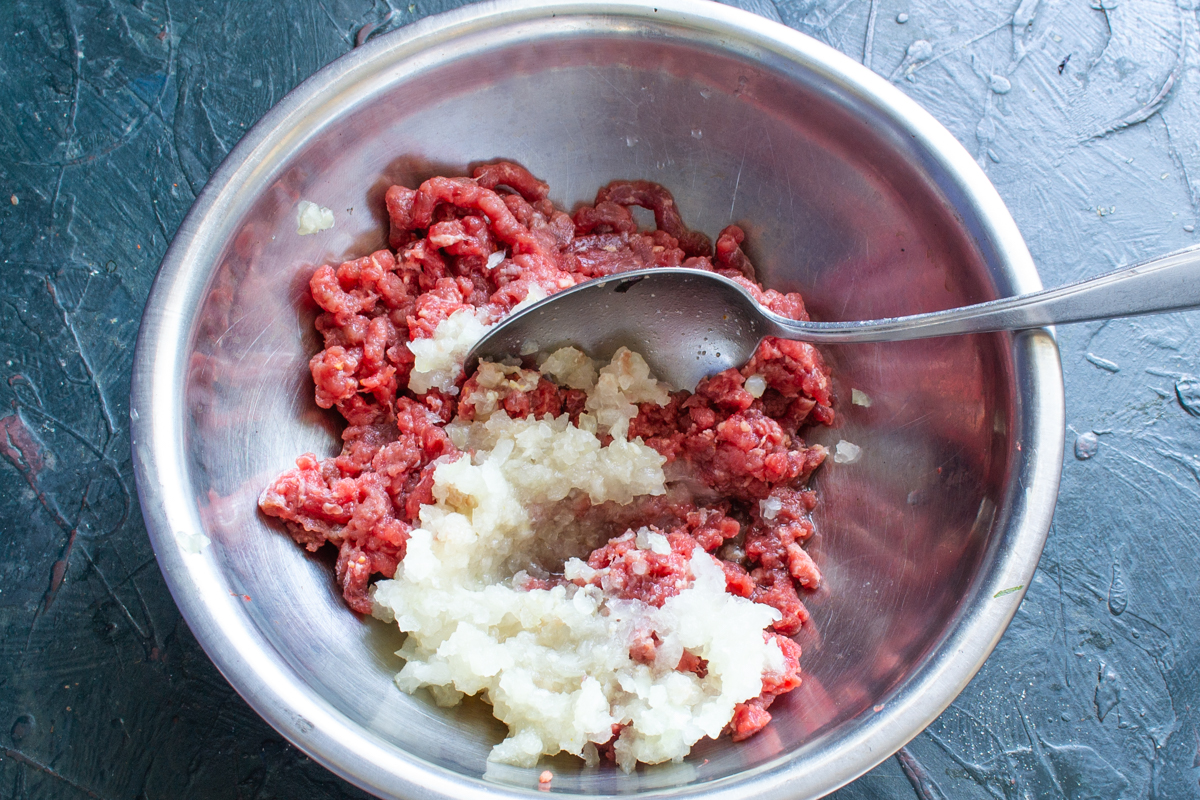
The onion adds essential moisture and a touch of sweetness to the meat.
Crush the garlic cloves with a knife, mince them, or push them through a garlic press. Add the prepared garlic to the ground meat.
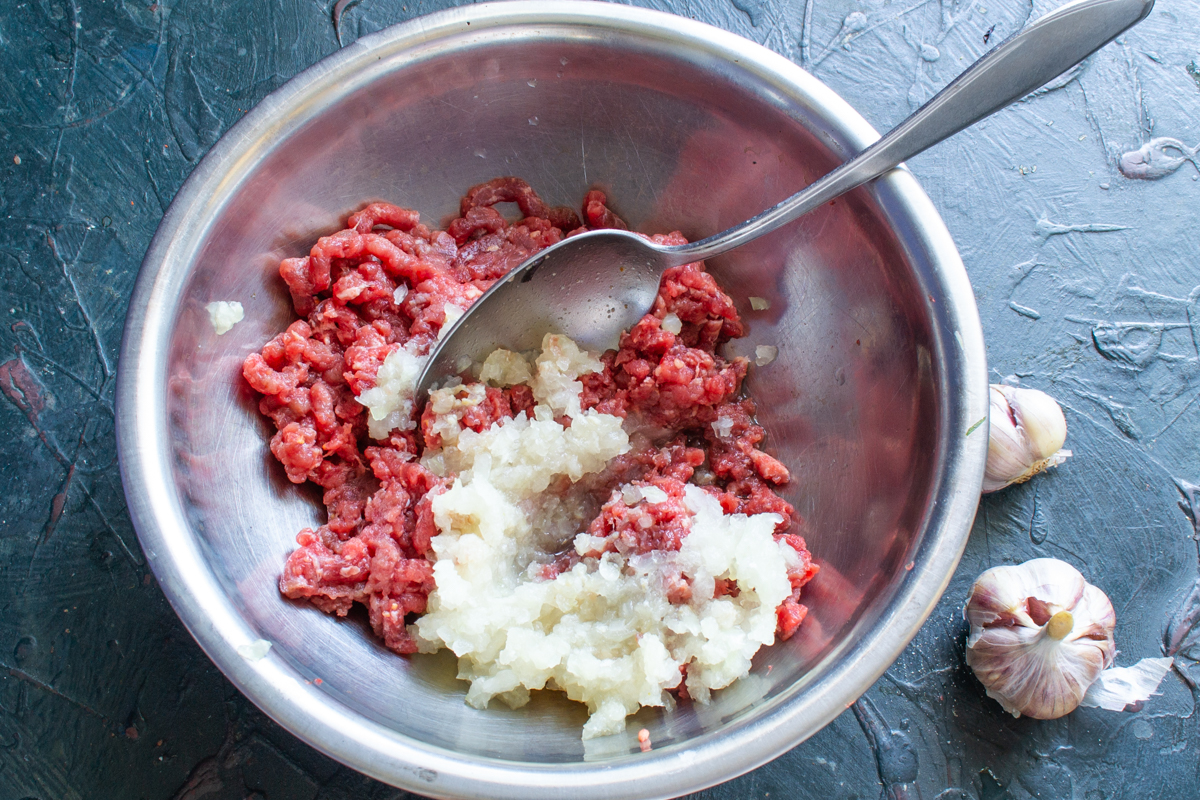
Fresh garlic is a key ingredient to give the sausages their signature savory kick.
Add the semolina. Measure it with a tablespoon, leveled, not heaping!
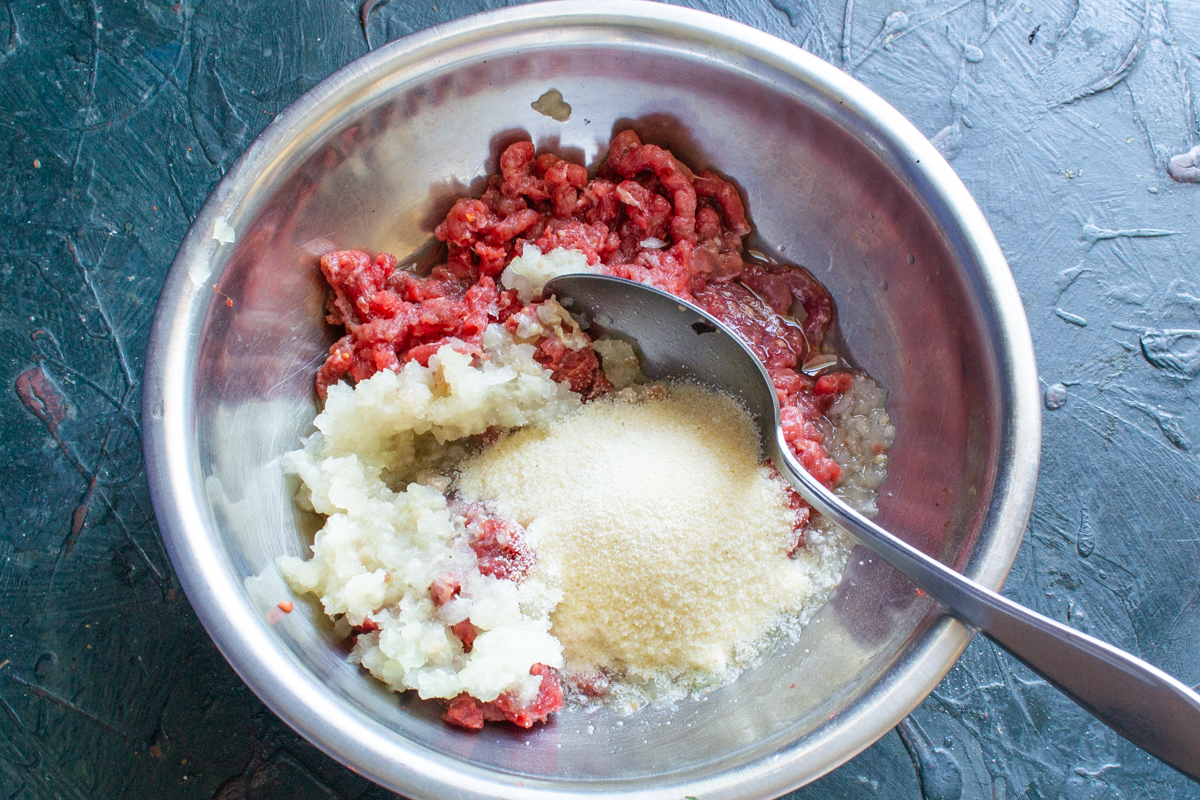
Semolina acts as a binder, locking the delicious meat juices inside the sausage.
Add your seasonings: ground sweet paprika, a meat curry spice blend, ground black pepper, and salt to taste.
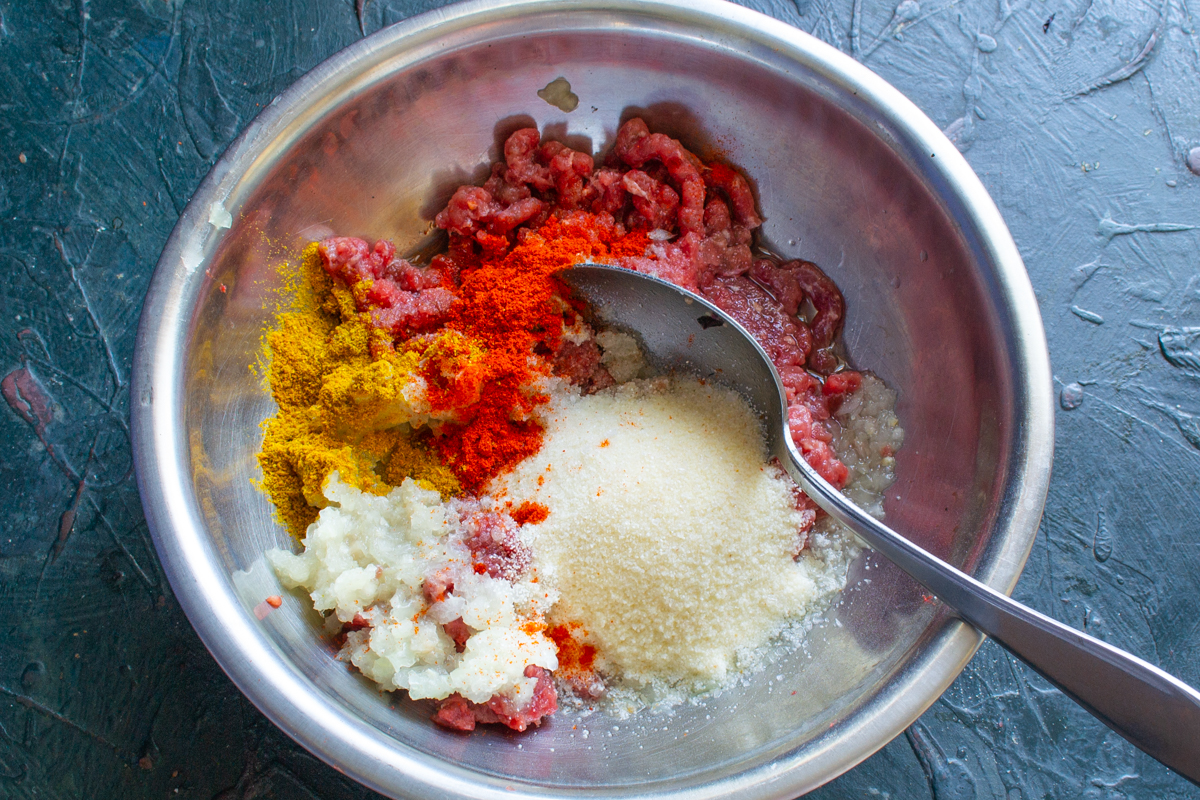
You can adjust the spices to your liking, but paprika and curry perfectly complement the flavor of beef.
Pour in the olive oil and cold water. Knead the minced meat mixture thoroughly.
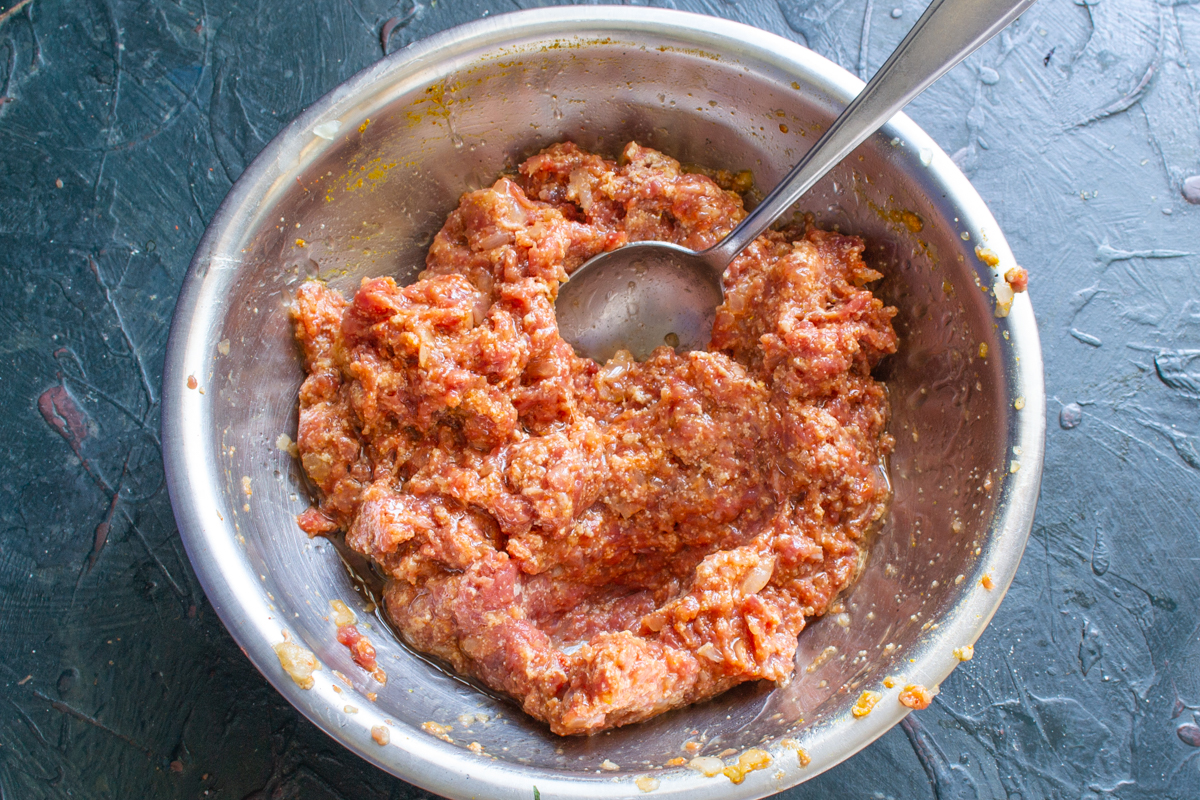
A thoroughly kneaded meat mixture is the foundation for the perfect sausage texture.
Finely grate a high-fat hard cheese. Fold the grated cheese into the meat mixture and mix everything well again. Transfer the prepared sausage filling to the refrigerator for 30 minutes to 1 hour.
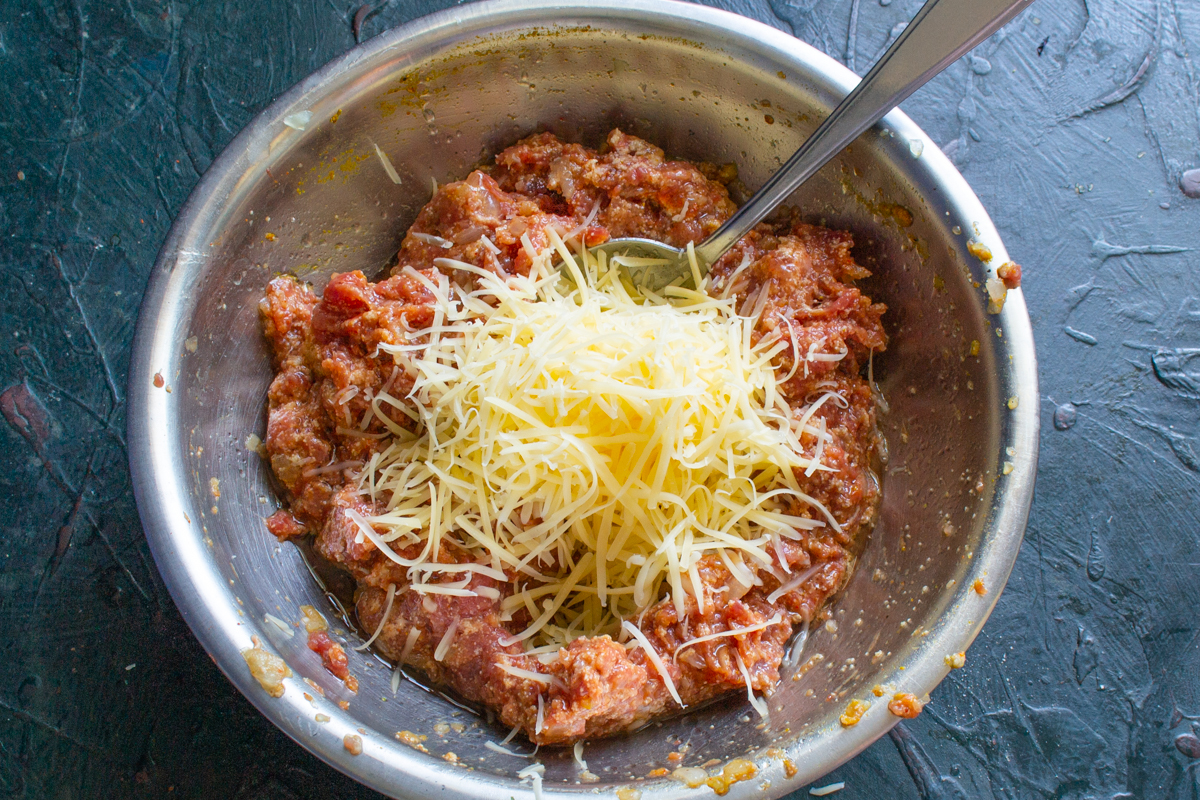
Opt for high-fat hard cheeses; they will melt beautifully inside the meat as it cooks.
Instead of traditional casings, this recipe uses natural chicken skin. I usually remove the skin from chicken breasts and freeze it in a bag. This way, I always have homemade sausage casings on hand—just thaw them in advance. Trim the skin into even pieces, season with salt, and sprinkle with black pepper.
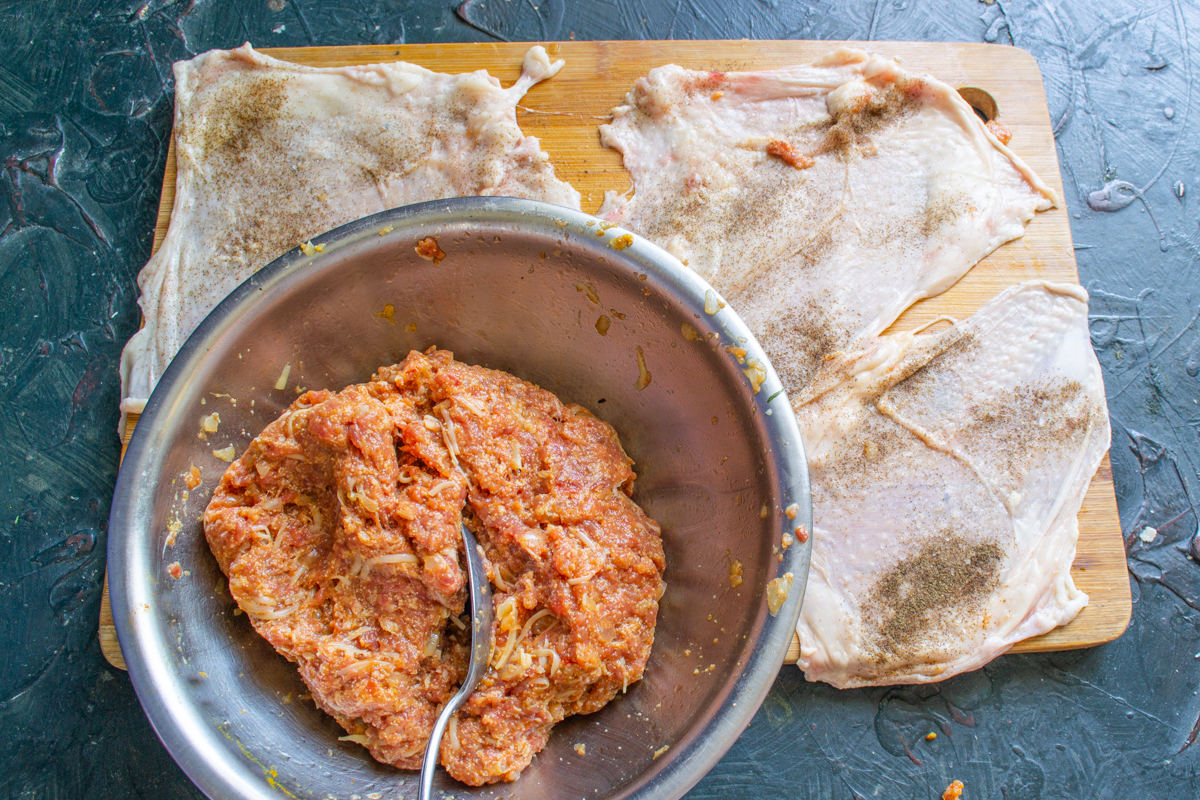
Chicken skin is a fantastic natural alternative to traditional casings for homemade sausages.
Divide the meat mixture into three equal portions. Place each portion onto the chicken skin and shape it into a thick sausage.
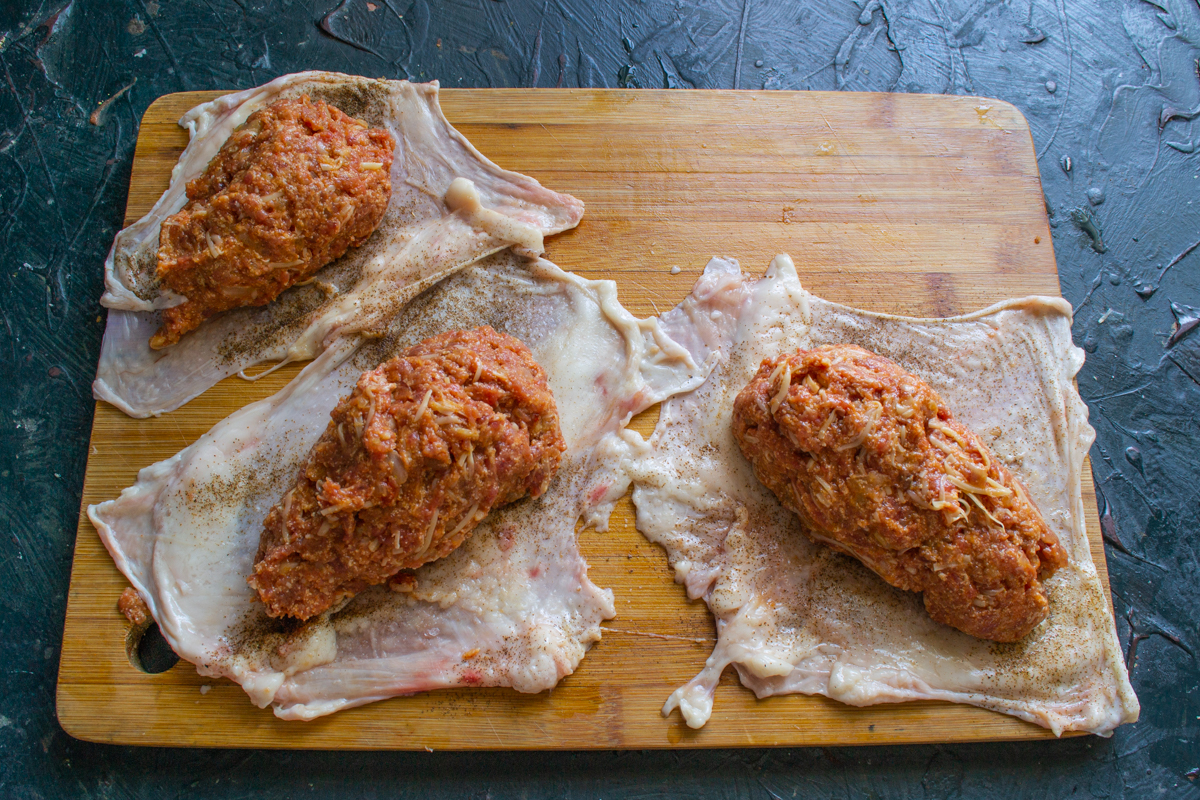
Divide the meat mixture into equal portions so the sausages cook evenly at the same time.
Fold the narrow edge of the chicken skin over the meat, then tightly roll it up like a burrito to secure the sausage.
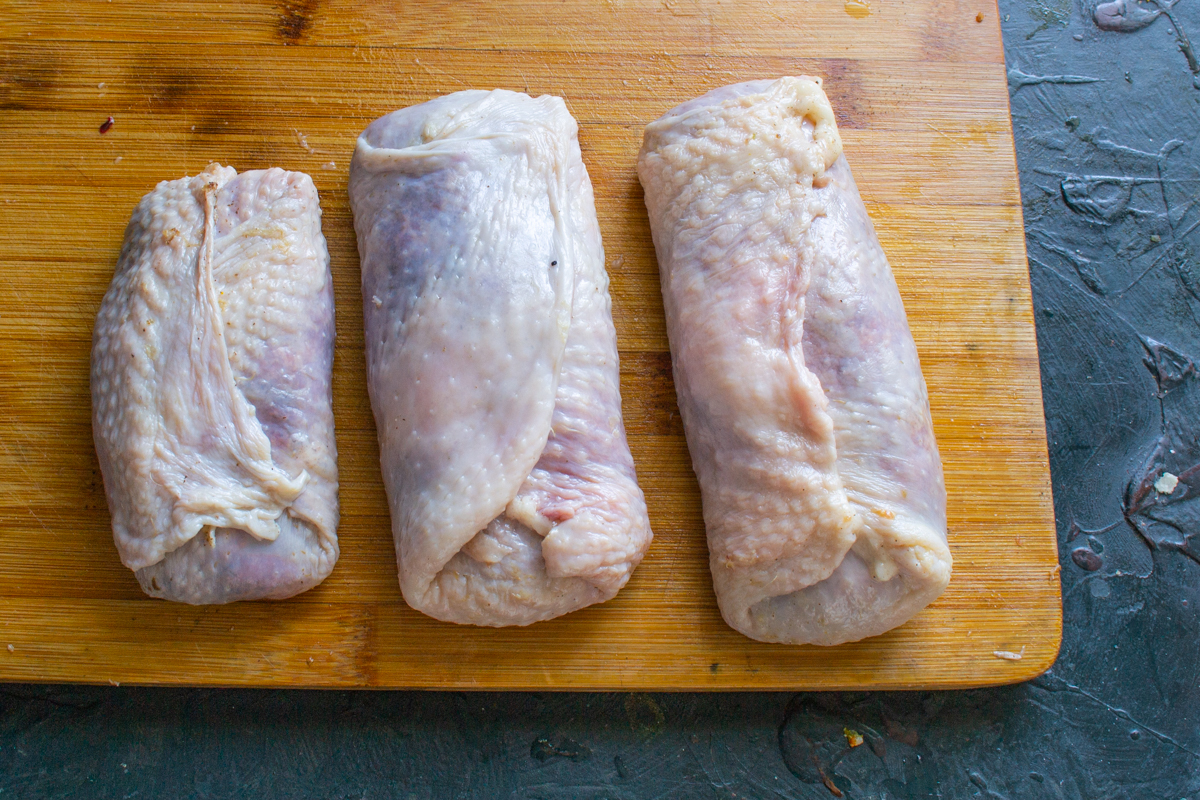
Roll the skin tightly, making sure no excess air remains inside.
Take kitchen twine or linen thread. Tie the sausages every half-inch to an inch (1.5-2 cm), and trim any excess string. If you lack specialty twine, unbleached cotton sewing thread will work perfectly.
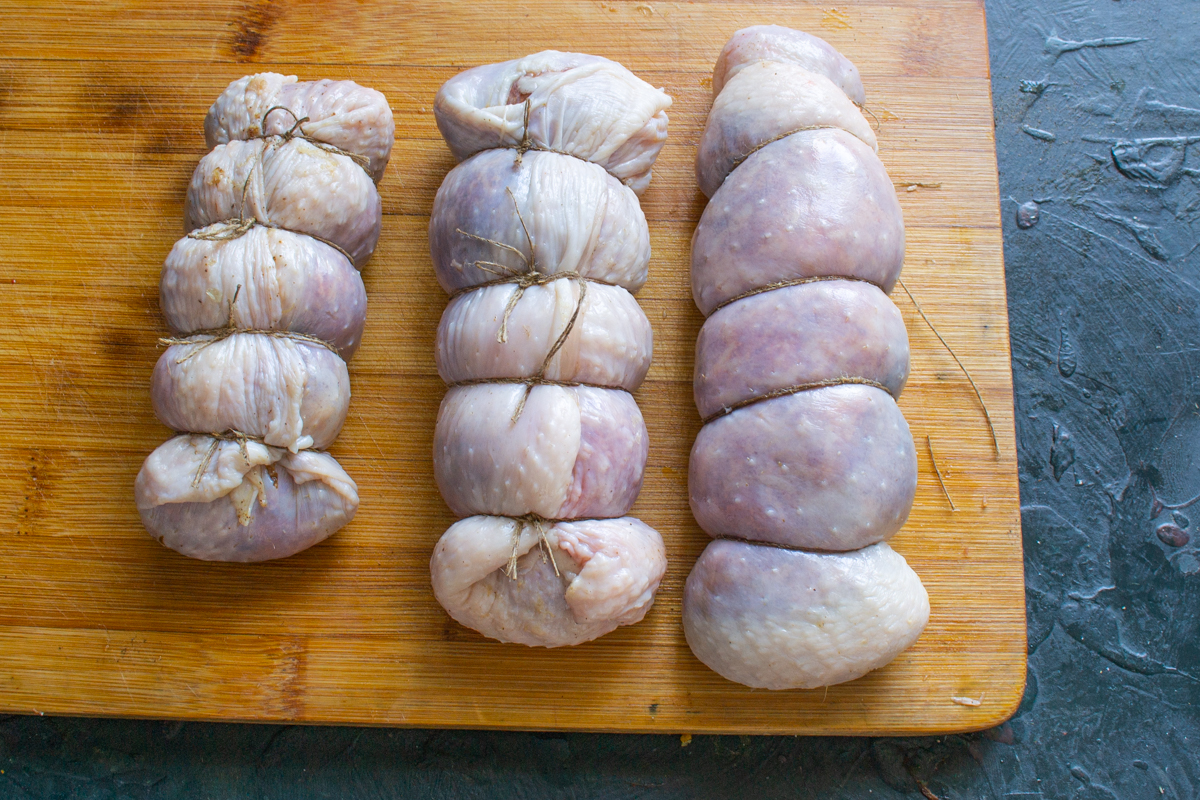
Tying with twine helps the sausages maintain their shape during cooking.
Place the tied sausages in a bowl and drizzle them with olive oil or any neutral cooking oil.
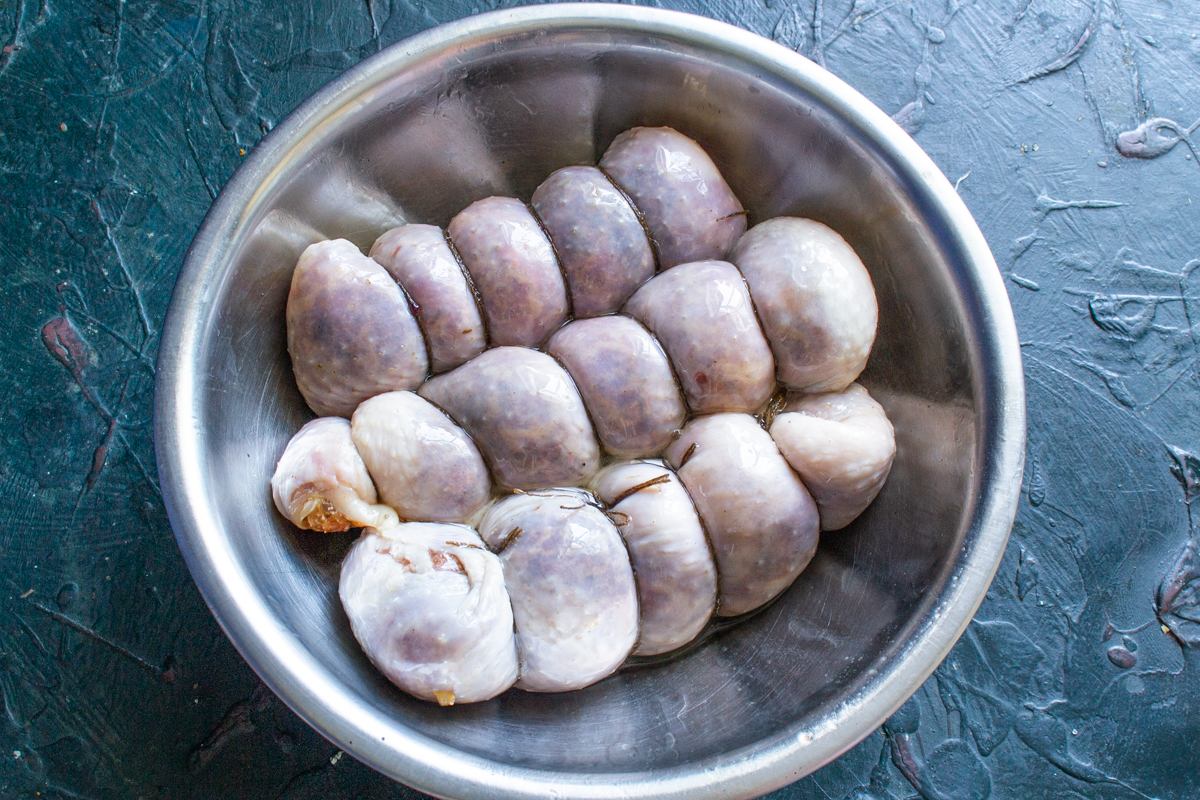
A small amount of oil will help the spices bloom and make the chicken skin crispy.
Preheat a heavy-bottomed skillet, preferably non-stick. Place the sausages in the hot pan and sear them until golden brown on all sides.
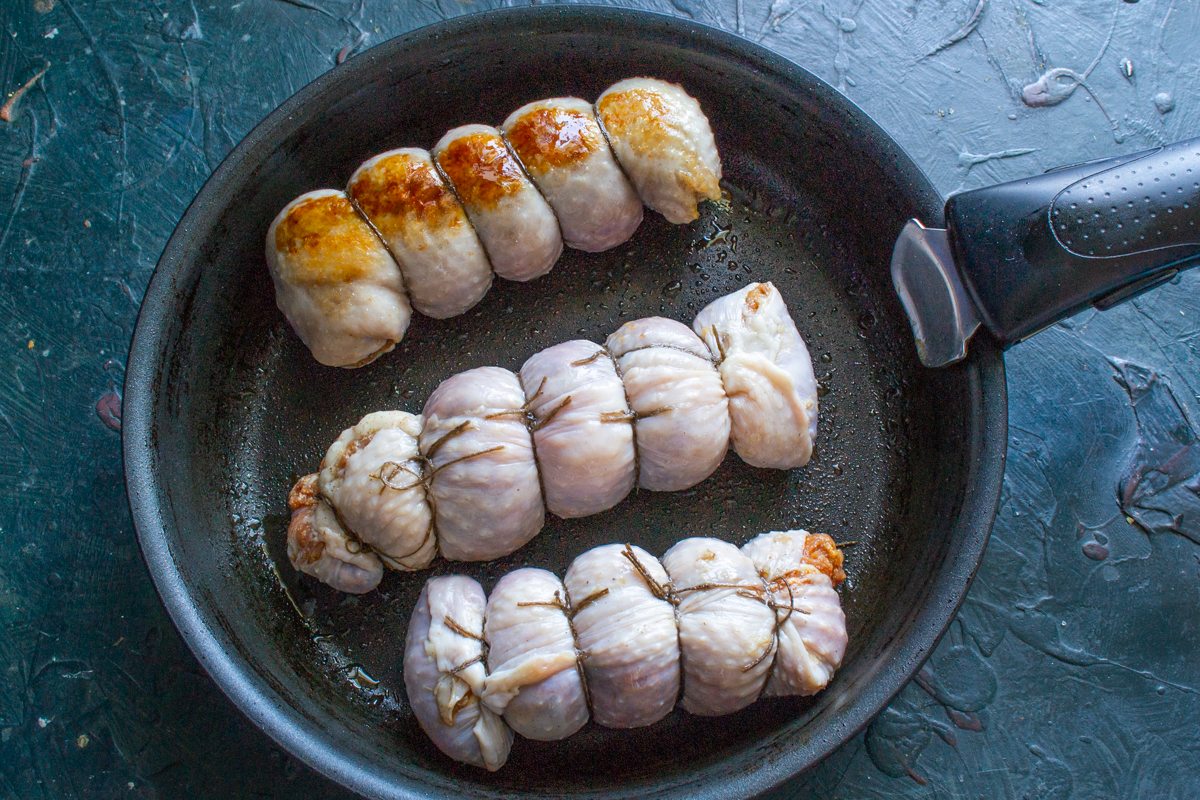
First, sear over high heat to lock all the savory juices inside.
Cover the skillet with a lid. Reduce the heat to low and cook the sausages for about 25 minutes, turning them occasionally to prevent burning on one side.
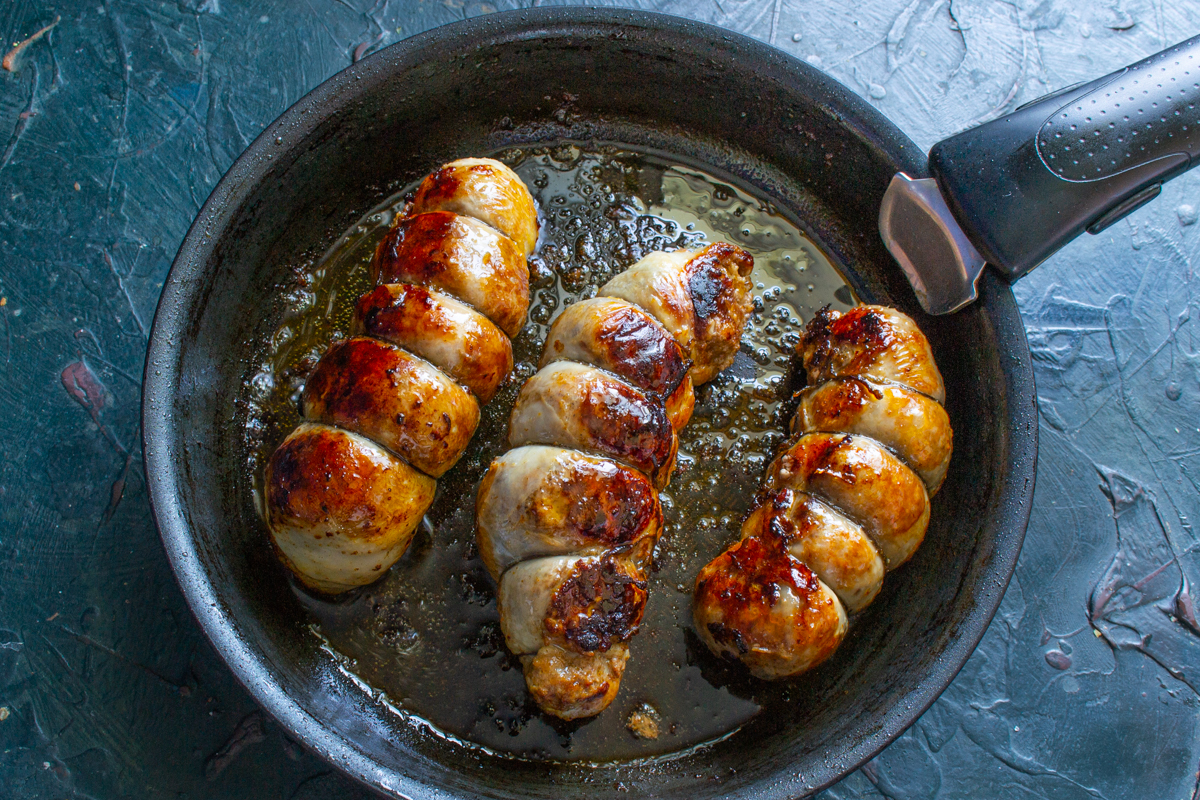
Simmering gently under a lid ensures the sausages cook through completely and become incredibly tender.
These beef sausages with cheese and garlic are incredibly delicious when served piping hot straight from the pan. However, they remain just as tasty when cold, making them a fantastic filling for sandwiches.

Serve the finished sausages on their own as a main dish or slice them for hearty sandwiches.
Beef sausages with cheese and garlic are best served immediately, while the cheese inside remains hot and gooey. Mashed potatoes, roasted vegetables, or a light fresh herb salad make the perfect side dishes. If you want to add a vibrant kick to the meal, serve them with a homemade tomato-horseradish sauce or classic mustard to enhance the rich, savory flavors of the meat and the sharpness of the garlic. If you have leftover portions after dinner, don't worry, when cold, these sausages transform into an excellent base for hearty sandwiches. Simply slice them into thin rounds and place them on a piece of fresh bread. Store the finished product in an airtight container in the refrigerator for no more than two to three days. Before serving, you can gently warm them in a dry, covered skillet to bring back the pleasant texture of the casing.
0 comments