
Standing at the butcher counter, three options present themselves. Chicken breasts offer convenience—even cuts, no bones, and a twenty-minute trip from pan to plate—but they come at a premium. Thighs are more affordable and forgivingly juicy, making them far more interesting to cook. A bit further down lie the whole birds, which immediately raise the question of what to make from an entire chicken and how to handle the leftovers.
Many people simply grab the breasts in this moment. The choice is clean, straightforward, and requires no overthinking.
That used to be the default approach. A whole chicken felt intimidating: it meant either roasting the bird whole to consume in one evening, or butchering it, cooking a portion, and banishing the rest to the freezer with an uncertain future. Butchering a single bird made little sense: two wings barely make a snack. Boiling a single carcass yields a pale, underwhelming broth. Picking meat from a single frame produces just a handful—hardly enough to build a meal around.
However, when two or three birds sit on the cutting board, everything changes. Six wings suddenly form a proper appetizer. Three carcasses simmer into a dark, rich broth with an aroma that lingers in the kitchen for hours. Stripping the bones yields enough meat to create something substantial. Within a day, the refrigerator begins to resemble a small deli: broth sits on one shelf, slow-braised legs rest on another, and breasts await their turn nearby.
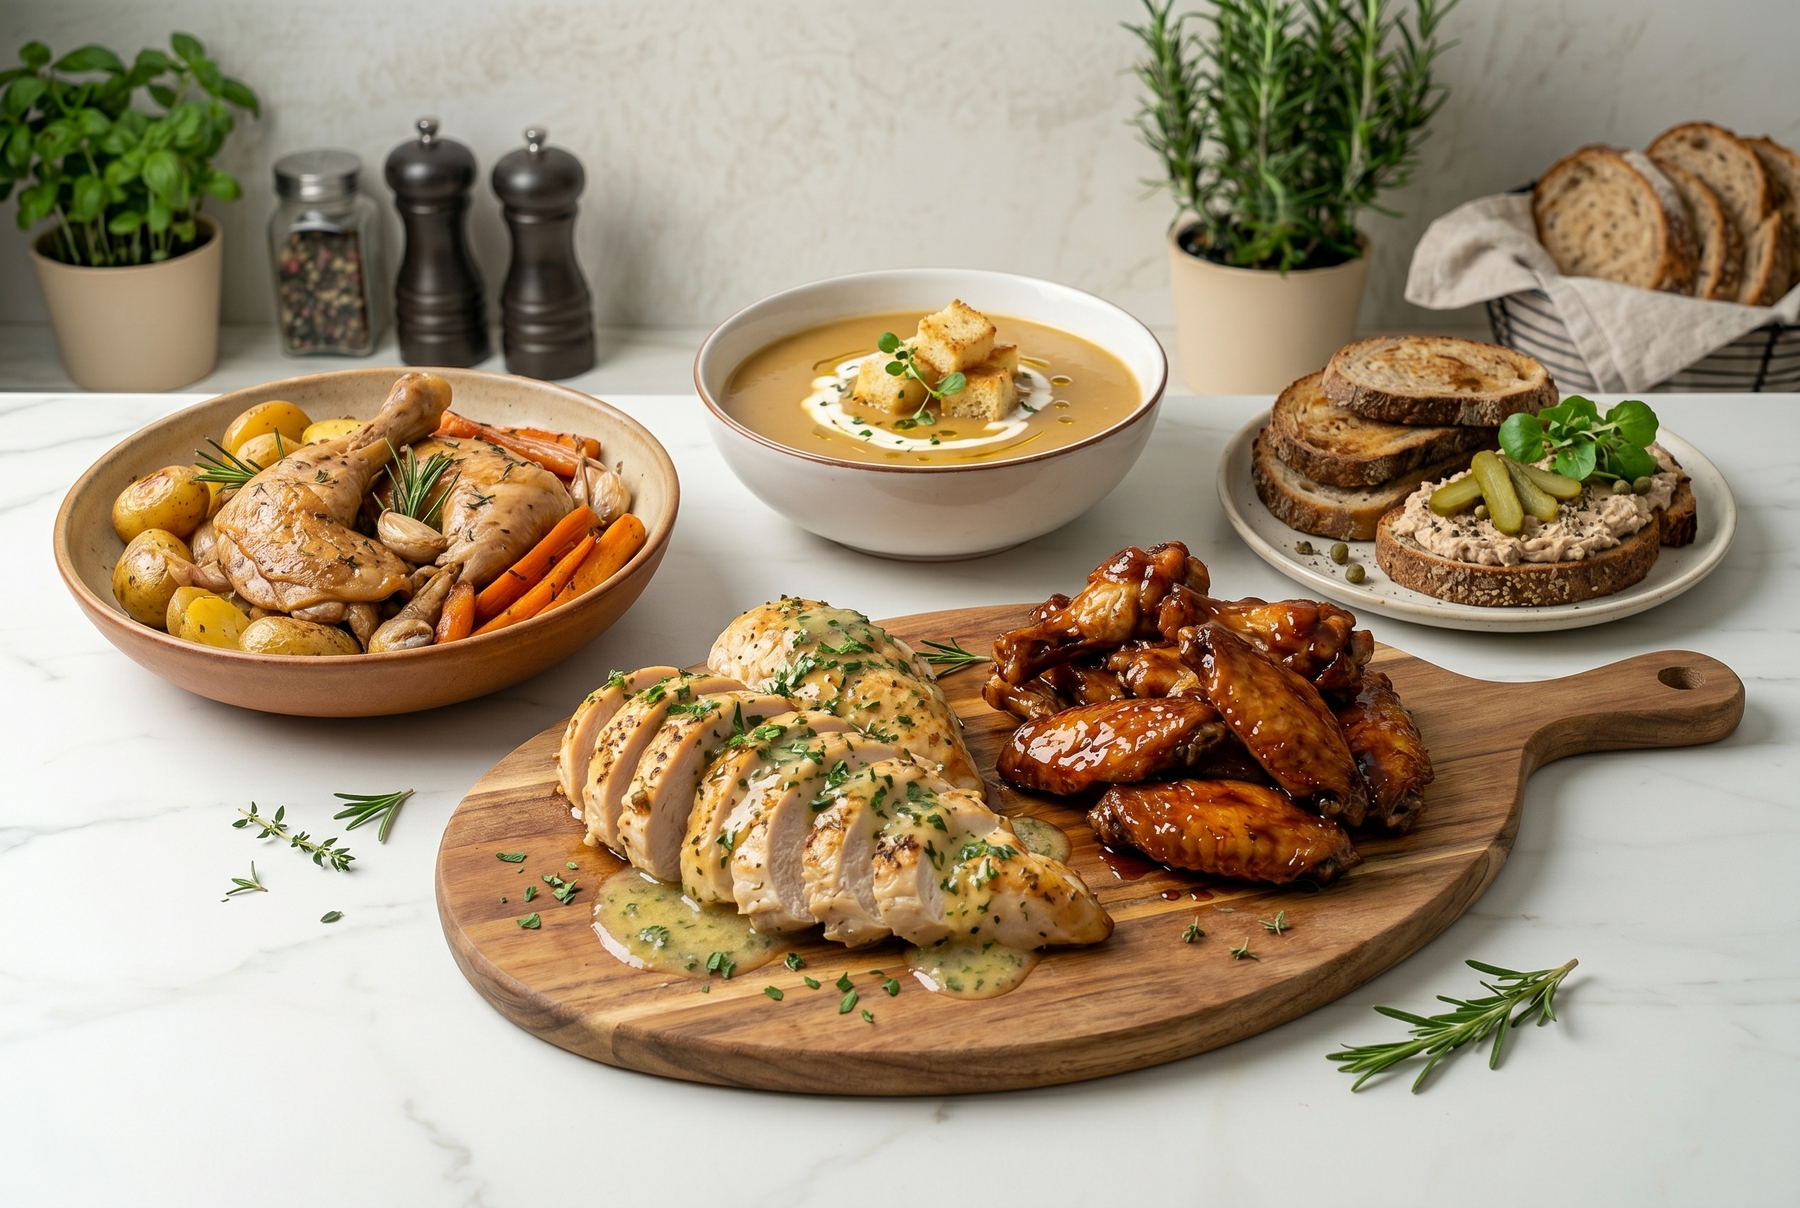
The result of properly butchering two to three birds: a complete menu featuring five diverse dishes, from tender chicken breast to rich bone broth.
Table of Contents
- Two to Three Chickens: Why Quantity Changes Everything
- What to Buy for a Week of Chicken Meal Prep
- The Butchering Day: Starting Off Right
- Dish One: Chicken Breast With Lemon Butter
- Dish Two: Slow-Braised Legs Yielding Fall-Off-The-Bone Meat
- Dish Three: Glazed Wings That Never Burn
- Dish Four: The Great Broth and Carcass Velouté
- Dish Five: Rillettes, Fillings, or Sandwiches From Picked Meat
- Everyday Chicken Meals: Building More From the Same Prep
- How to Distribute the Cooking Throughout the Week
- Where to Store Everything
- Five Mistakes That Kill the Meal Prep Dream
- Cheat Sheet: A Weekly Menu From Two to Three Chickens
Two to Three Chickens: Why Quantity Changes Everything
A Single Bird Makes a Good Dinner, But Not a Meal Plan
A single bird provides breasts, two legs, two wings, a carcass, and some skin. This is perfectly adequate for one or two dinners. It falls short for creating more than three complete meals: the wings are too few for a proper appetizer, the broth from a single frame emerges light and thin, and the bones yield too little meat for anything serious.
When working with two or three chickens, every component finally gains substantial weight. Wings transition from an afterthought to a standalone dish. Three frames simmered in one pot produce an amber-hued, full-bodied broth. Stripping multiple carcasses yields enough meat for a proper filling or a generous spread. The breasts and legs provide for several distinct meals, allowing portions to be neatly frozen—not out of desperation, but by design.
Leftovers happen when there is no plan. Meal prep happens when the destiny of every chicken piece is known in advance.
What to Buy for a Week of Chicken Meal Prep
Choosing the Right Chickens
Chilled broilers weighing around 1.5 to 2 kilograms (3.3 to 4.4 lbs) are ideal. The skin needs to be free of stickiness and off-odors. Excessive liquid in the packaging signals that the bird has been sitting longer than necessary. The meat should feel firm, bounce back to the touch, and never look gray.
Pasture-raised or heritage chickens often deliver more flavor, but their muscle fibers are denser, requiring longer cooking times. When preparing multiple dishes simultaneously, standard supermarket or butcher chickens prove much more predictable. Purchasing birds of similar size ensures that corresponding parts cook evenly.
How Many to Buy
Two chickens represent the sweet spot for a couple or a small family, yielding several upcoming dinners plus some freezer stock. Three birds work beautifully for larger families, upcoming dinner parties, or those wanting a serious reserve for the weeks ahead. Part of the prep goes toward immediate meals, while the rest builds a freezer stash. Consuming everything at once is impossible, and that is exactly the point.
The Basic Pantry Kit
Nothing exotic is required. Onions, carrots, garlic, lemons, fresh herbs, butter and cooking oil, mustard, honey, soy sauce, heavy cream or sour cream, potatoes, and serving accompaniments like rice, buckwheat, pasta, or bread complete the list.
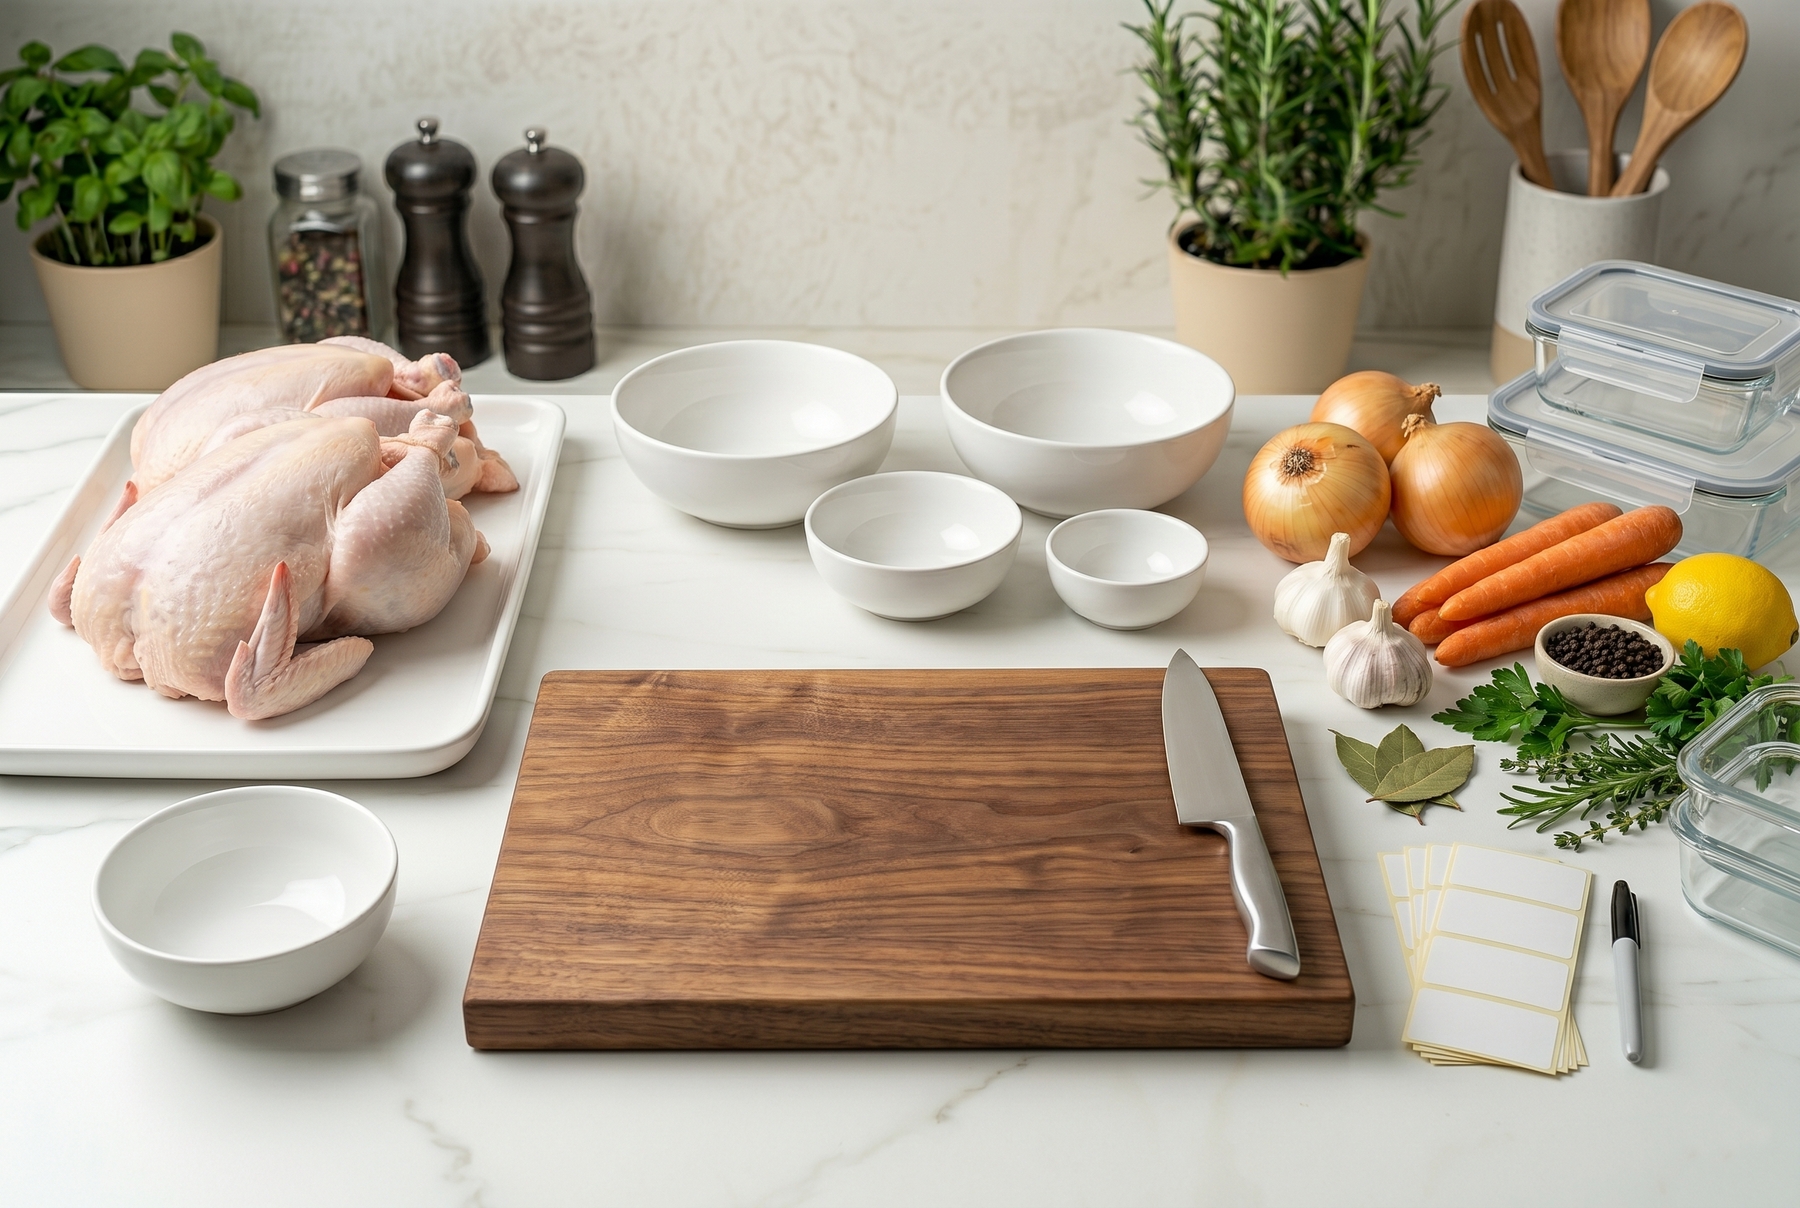
The basic meal prep kit: fresh whole chickens, aromatic vegetables for broth, and a sharp knife ensure fast and efficient work.
The Butchering Day: Starting Off Right
Organizing the Kitchen First
Kitchen chaos during butchering does not start with the chicken itself. It begins with a lack of bowls.
A large cutting board, a sharp knife (a dull one only brings frustration and jagged cuts), several bowls for different parts, storage containers, freezer bags, paper towels, and a permanent marker for labeling are essential.
A Simple Breakdown Scheme
Breaking down the birds involves removing the breasts, the whole legs (or separating the thighs and drumsticks), the wings, the carcasses with the backs, the skin, noticeable fat deposits, and small trimmings. Flawless French butchery techniques are unnecessary here: the goal is to disassemble the bird into manageable pieces, not to impress an executive chef.
Sorting Parts Immediately
Sorting the parts into designated bowls right after butchering streamlines the process: breasts in one, legs in another, wings in a third, and carcasses straight into a large stockpot. Labeling everything is crucial. From there, the workflow becomes effortless—instead of deciding what to cook, one simply follows the plan.
Dish One: Chicken Breast With Lemon Butter
Why Breasts Require Separate Cooking
Chicken breast is the most temperamental part of the bird. It demands brief, careful heating: a quick sear followed by a few minutes covered yields juicy results. An extra five minutes added ‘just to be safe’ turns it into shoe leather.
Preparation and Cooking
Salting the breasts generously with kosher salt and letting them rest for thirty to sixty minutes before cooking allows the salt to draw out moisture, which is then reabsorbed. While optional, this step makes a noticeable difference.
Drying the meat with paper towels ensures a proper crust. Searing them quickly in a very hot pan for 1.5 to 2 minutes per side until deeply golden, then lowering the heat, covering, or moving to a 160°C (320°F) oven for another 8 to 12 minutes depending on thickness, does the trick. The most reliable indicator is the internal temperature: aim for about 72–74°C (160–165°F) in the thickest part. Resting the meat under foil for five minutes before slicing against the grain preserves the juices.
The Lemon Butter
Softened butter combined with lemon juice, a touch of zest, crushed garlic, chopped parsley or dill, a pinch of black pepper, and a dab of mustard for emulsification creates a vibrant finish. Mashing these together in advance allows the flavors to meld. Dropped onto a hot chicken breast, this butter melts lazily, pooling onto the plate. A green salad or boiled potatoes generously seasoned with flaky salt make perfect companions.
Handling Leftover Breast Meat
If there is an abundance of chicken breast, portions can remain in the fridge for the next day to be repurposed into warm salads, sandwiches, or grain bowls. Freezing raw breasts is preferable if they will not be cooked within a day or two, as cooked breast often loses its juiciness upon thawing, whereas raw meat retains its texture much better.
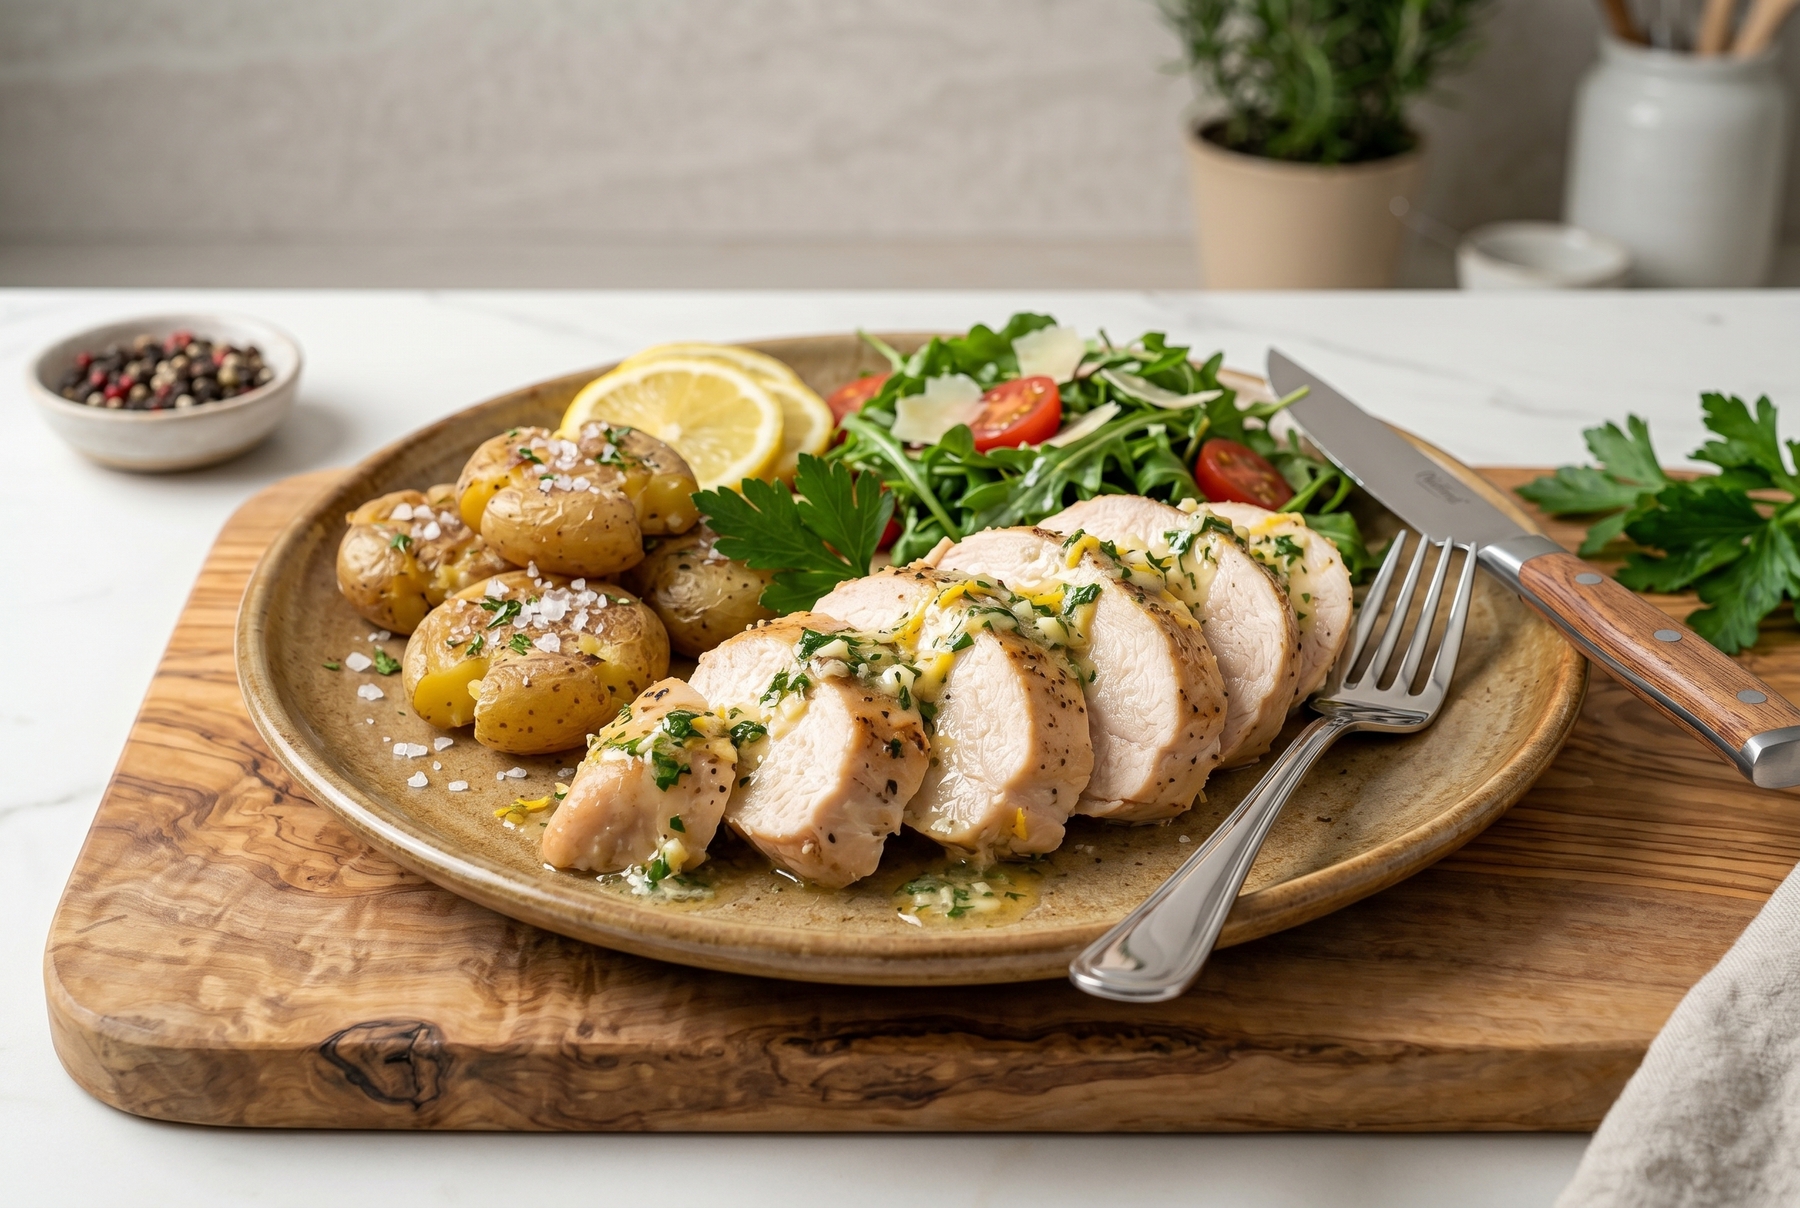
Pan-seared chicken breast finished with lemon butter remains incredibly juicy and aromatic. It pairs perfectly with roasted potatoes and a light green salad.
Dish Two: Slow-Braised Legs Yielding Fall-Off-The-Bone Meat
Why Dark Meat Needs Time
Chicken legs are built differently. Packed with connective tissue, fat, and dark meat, they require time rather than a quick sear. A couple of hours in the oven softens the meat until it naturally flakes apart, the skin turns golden and slightly crispy, and the rich fat and aroma baste the accompanying vegetables.
A Home-Style Faux Confit Without a Bucket of Fat
Classic confit involves submerging the meat in copious amounts of fat. While achievable at home, it demands liters of duck or chicken fat that most home cooks simply do not possess. A more practical version uses the same principle but with a reasonable amount of cooking oil.
Salting the legs in advance—ideally overnight, or at least a few hours prior—sets the foundation. Adding whole, lightly smashed garlic cloves, black peppercorns, and bay leaves elevates the flavor. Arranging them in a baking dish, drizzling with a few spoonfuls of neutral oil and any rendered chicken fat from the skin, and sealing the pan with foil starts the process. Baking at 150–160°C (300–320°F) for an hour and a half to two hours breaks down the tissue. Removing the foil and increasing the heat to 200°C (400°F) for the final fifteen minutes crisps the skin beautifully.
What to Serve Alongside
Adding large chunks of potatoes, carrots, onions, and perhaps celeriac or parsnips to the same baking dish is a brilliant move. Potatoes soaked in roasted chicken fat and garlic often outshine the bird itself.
Managing Extra Legs
Surplus cooked legs chill and freeze beautifully. Shredding the meat from cooked legs provides an excellent base for pasta, pot pies, or rice dishes. Alternatively, raw marinated legs can be tossed directly into the freezer without any loss of quality.
Dish Three: Glazed Wings That Never Burn
Why Wings Finally Become a Meal
Two wings from a single chicken hardly constitute a meal. Frying them up and devouring them in three minutes leaves one feeling unsatisfied. However, four to six wings pulled from two or three birds create a proper appetizer or a complete dinner when paired with a simple side.
A Basic Glaze From Pantry Staples
Soy sauce, honey, crushed garlic, a splash of lemon juice or vinegar, and a pinch of chili flakes form a reliable glaze. The exact proportions depend on personal taste, but one rule remains absolute: the glaze must be thick enough to cling to the skin rather than running off onto the baking sheet.
Variations abound: mixing adjika (a spicy Caucasian chili paste) with honey yields a fiery, darker result. Honey mustard provides a softer profile with a subtle bitter backdrop. Tomato paste mixed with smoked paprika creates a dense, smoky, barbecue-like finish. Serving them with cold garlic-herb sour cream offers a perfect contrast to the hot, sticky wings.
Cooking Methods to Prevent Burnt Glaze
Roasting the wings almost to completion at 190–200°C (375–400°F) for about forty minutes before applying the glaze prevents the sugars from scorching. Returning them to the oven for another seven to ten minutes, reapplying the glaze if necessary, results in deeply lacquered skin that smells intoxicatingly of caramelized honey and roasted garlic.
Applying the glaze strictly at the end is crucial. Slathering raw wings with a sugary sauce from the start guarantees a burnt exterior long before the meat cooks through.
When to Freeze Wings
If the wings are not destined for the oven within a day or two, freezing them raw in their marinade is the best course of action. They can go straight into the oven after thawing. Freezing fully cooked, glazed wings ruins their texture—the skin turns soggy and the glaze turns cloudy. They are always best enjoyed fresh.
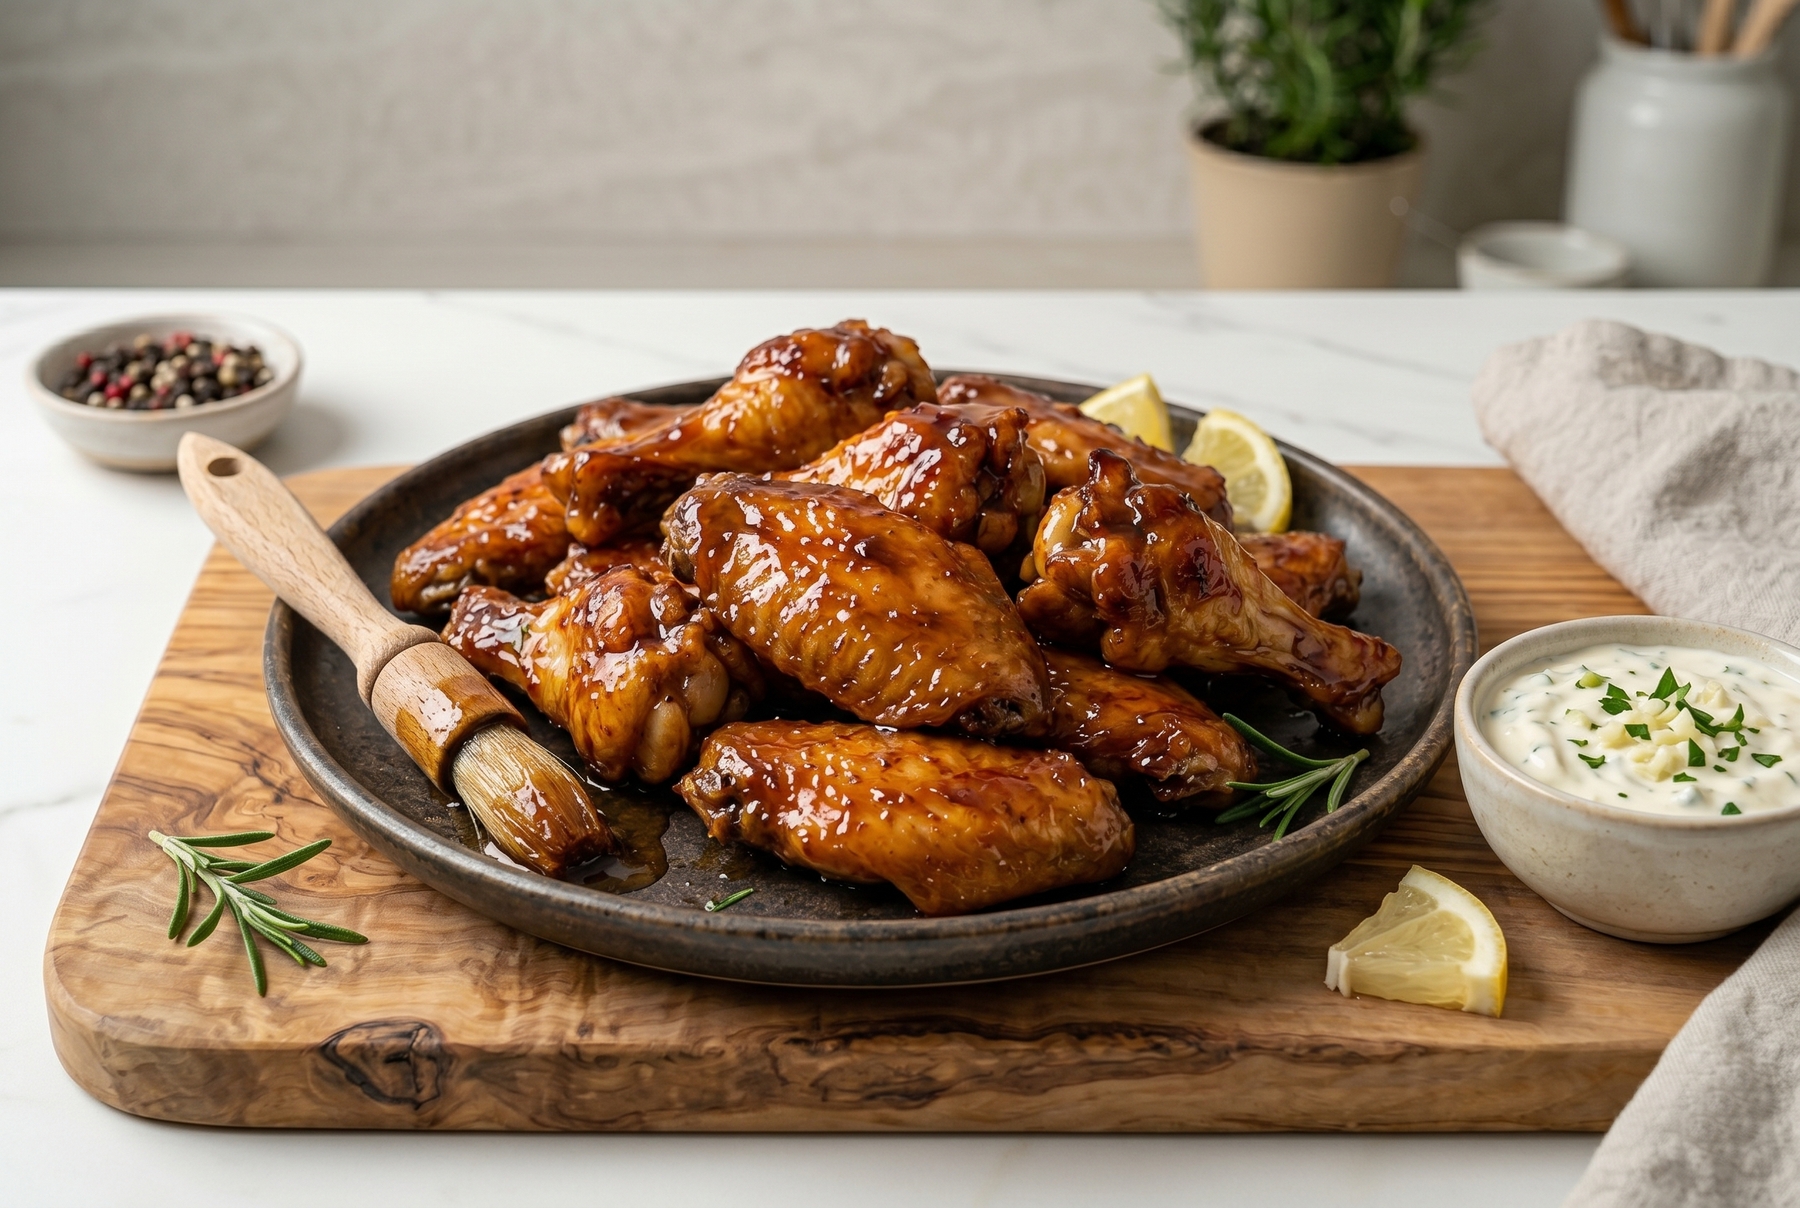
The secret to flawless wings lies in applying the sticky glaze during the final 10 minutes of roasting, achieving a lacquered crust without burning the sugars.
Dish Four: The Great Broth and Carcass Velouté
Why Carcasses Justify Buying Whole Birds
Chicken breasts produce no broth, and wasting legs on soup feels criminal. The deep, restorative flavor of a proper stock comes from the carcasses, backs, joints, and skin.
Broth is not a secondary byproduct here. It serves as the magic ingredient that elevates soups, sauces, risottos, buckwheat, or any grain cooked in liquid instead of water. While one carcass yields a pleasant, light broth, two or three create a robust foundation boasting the color of aged amber and an aroma that permeates the home for hours.
How to Brew the Broth
Placing the carcasses, backs, and wingtips into a large stockpot alongside an unpeeled onion (the skins provide beautiful color), carrots, bay leaves, peppercorns, and herb stems starts the brew. Covering everything with cold water—strictly cold, as hot water coagulates the proteins too quickly and clouds the broth—is essential. Bringing it slowly to a gentle simmer, skimming the minor impurities from the surface, and leaving it to barely bubble on the lowest heat for two to three hours works wonders. Salting happens toward the end.
Chilling the strained broth allows the fat to rise and solidify on the surface. Skimming a portion of it is optional; leaving some behind adds luxurious mouthfeel.
Transforming Broth Into Velouté
Reducing a portion of the broth until deeply colored, pouring in a splash of heavy cream, and thickening it with a butter-flour roux or puréed root vegetables creates a stunning velouté. Serving it in a deep bowl with a few drops of high-quality oil and croutons feels distinctly elegant.
If the term ‘velouté’ feels too pretentious, calling it an exceptionally rich chicken cream soup works just as well. The flavor remains spectacular regardless of the name.
Freezing the Broth
Excess broth freezes beautifully in 300 to 500 milliliter (10 to 16 oz) portions. Reducing it further into a potent concentrate and freezing it in ice cube trays provides instant flavor bombs for sauces without the need to thaw a whole liter. The meat picked from the carcasses should be used within a day or stored in the freezer.
Dish Five: Rillettes, Fillings, or Sandwiches From Picked Meat
After boiling two or three carcasses, a surprising amount of meat can be salvaged from the bones. Soft, fibrous, and thoroughly infused with broth, this is not mere scrap meat—it is a versatile ingredient waiting for the right recipe.
How to Pick the Carcasses
Allowing the carcasses to cool slightly before stripping the meat by hand or with a fork ensures thoroughness. Carefully removing any small bones and cartilage is vital, as they are unpleasantly noticeable in the final dish. The meat naturally shreds into fine fibers.
Homemade Rillettes
Combining the shredded meat with a touch of rendered chicken fat or butter (which acts as a binder and adds richness), mustard, fresh herbs, black pepper, and optional chopped pickles or capers creates a sophisticated spread. Mixing it thoroughly achieves a cohesive but textured consistency; it should retain its fibrous nature without turning into a purée.
Spread over dark rye bread or a toasted baguette, these rillettes hold their shape beautifully and smell so enticing that reaching for a third slice becomes inevitable.
Alternatives to Rillettes
Picked carcass meat represents the most adaptable prep ingredient. It effortlessly folds into crêpes, savory pastries, quesadillas, pasta dishes, vegetable fried rice, classic chicken salads, and hearty sandwiches.
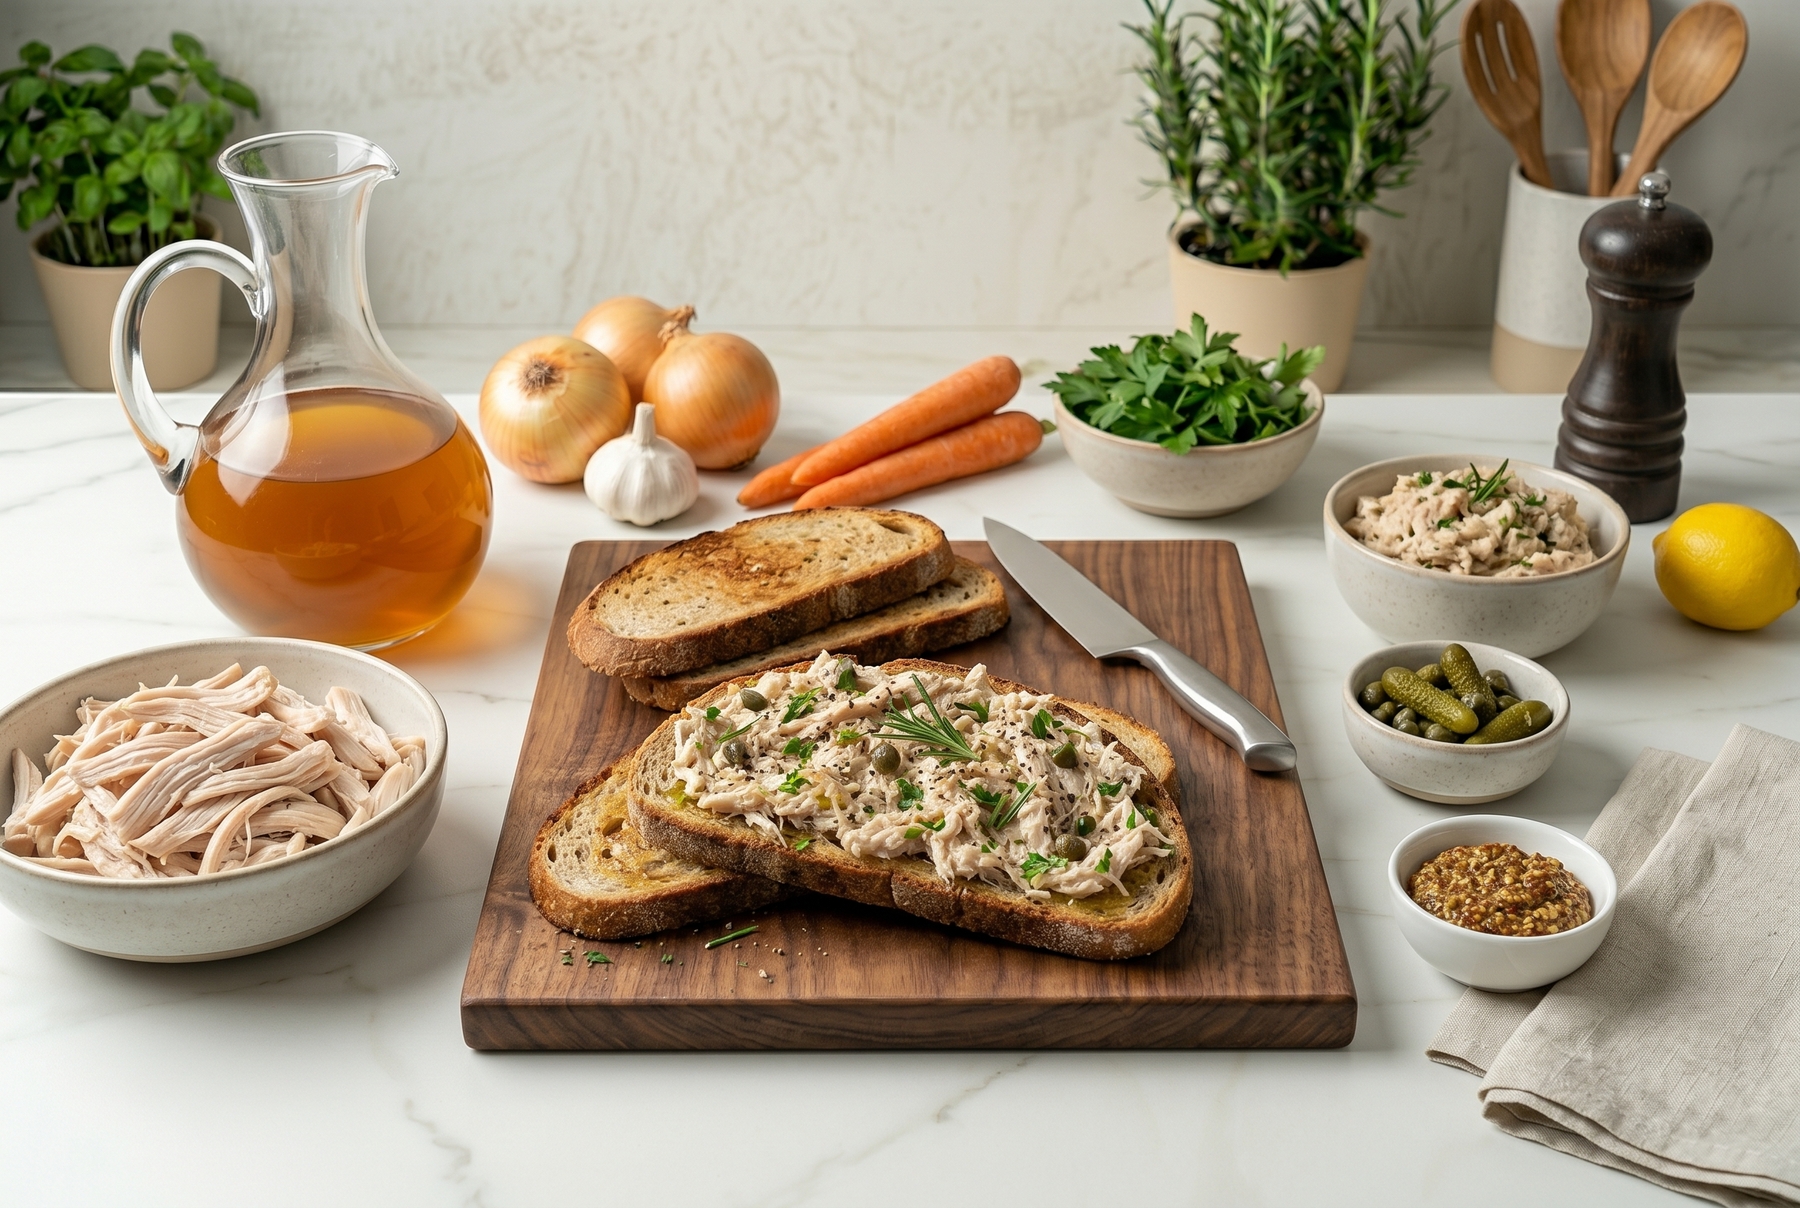
The meat salvaged from the carcasses after brewing broth transforms into elegant rillettes—an excellent savory spread for sandwiches and rustic toasts.
Everyday Chicken Meals: Building More From the Same Prep
These are merely baseline options. Each part of the bird can inspire multiple distinct dinners depending on pantry staples. The exact same chicken breast can hit the table in three entirely different formats.
The Breast bathed in lemon butter triumphs on day one, seamlessly transitions into a warm arugula salad on day two, and forms the protein base for a creamy pasta—using that rich homemade broth—on day three. Served cold, sliced thin, and layered in a sandwich with mustard and pickles, it provides a fourth brilliant iteration.
The Legs surrender their meat without resistance after a slow braise. Pulled from the bone, this meat elevates potato pot pies or savory crêpe fillings. Simmered briefly with a splash of broth and caramelized onions, it transforms into a quick, rustic chicken ragù for pasta or buckwheat in twenty minutes.
The Wings completely change character depending on the sauce. Swapping the basic soy-honey glaze for garlic-cumin yogurt leans heavily into Caucasian flavor profiles. A spicy tomato and paprika sauce introduces a Hungarian accent. Sour cream brightened with dill and lemon feels vibrant and almost summery.
The Broth reigns as the ultimate utility ingredient. It cooks buckwheat into something profoundly comforting. It builds the foundation for rich gravies poured over mashed potatoes. Rice pilafs simmered in it take on deep, savory notes. Reduced by half and whisked with cold butter and chopped herbs, it becomes a pan sauce worthy of drizzling over a freshly seared breast or roasted leg.
The Picked Meat tossed with boiled eggs, scallions, and mayonnaise creates a classic, unimpeachable chicken salad. Quickly pan-fried with onions and rolled into a flatbread with fresh tomatoes and herbs, it makes a fifteen-minute dinner. It also melts perfectly into a cheesy pepper quesadilla.
The skin and fat trimmed from the birds are far from trash. Rendered chicken fat (schmaltz) is the greatest gift a pan-fried potato could ask for. Chicken skin, roasted at high heat until it shatters like glass, serves as an incredible, zero-waste crunchy topping for salads or soups.
How to Distribute the Cooking Throughout the Week
Day One: Butchering, Marinades, Searing Breasts, and Starting the Broth
Breaking down the birds, sorting the parts, salting the breasts, and marinating the legs and wings (if destined for early consumption) kicks off the process. Tossing the carcasses straight into the stockpot establishes a passive, hands-off simmering broth. Cooking the breasts provides an easy first-night dinner.
The salted breasts, along with the marinated legs and wings, go into the refrigerator. Anything not slated for the immediate future—extra raw breasts, legs, or carcasses if time doesn’t permit making broth right away—goes straight into the freezer.
Day Two: Braised Legs, Straining Broth, and Picking Meat
Roasting the slow-braised legs with potatoes anchors the second day. Straining and chilling the broth comes next, followed by picking the meat from the spent carcasses. Deciding whether that meat becomes rillettes or fillings determines the next step. Excess broth gets portioned and frozen.
Day Three: Glazed Wings and Rillettes
Baking the wings, applying the sticky glaze, and serving them hot provides a fun, effortless meal. Assembling the rillettes or preparing fillings utilizes the picked meat. A portion of the fresh broth can serve as the base for a lunchtime soup, a sauce, or a batch of grains.
The Rest of the Week: Assembling Prepped Components
The remaining broth finds its way into soups and sauces. The picked meat gets folded into pasta or rice. Leftover chilled breasts become salads or sandwiches. Even potatoes, fried in leftover rendered chicken fat, stand alone as a deeply satisfying dinner.
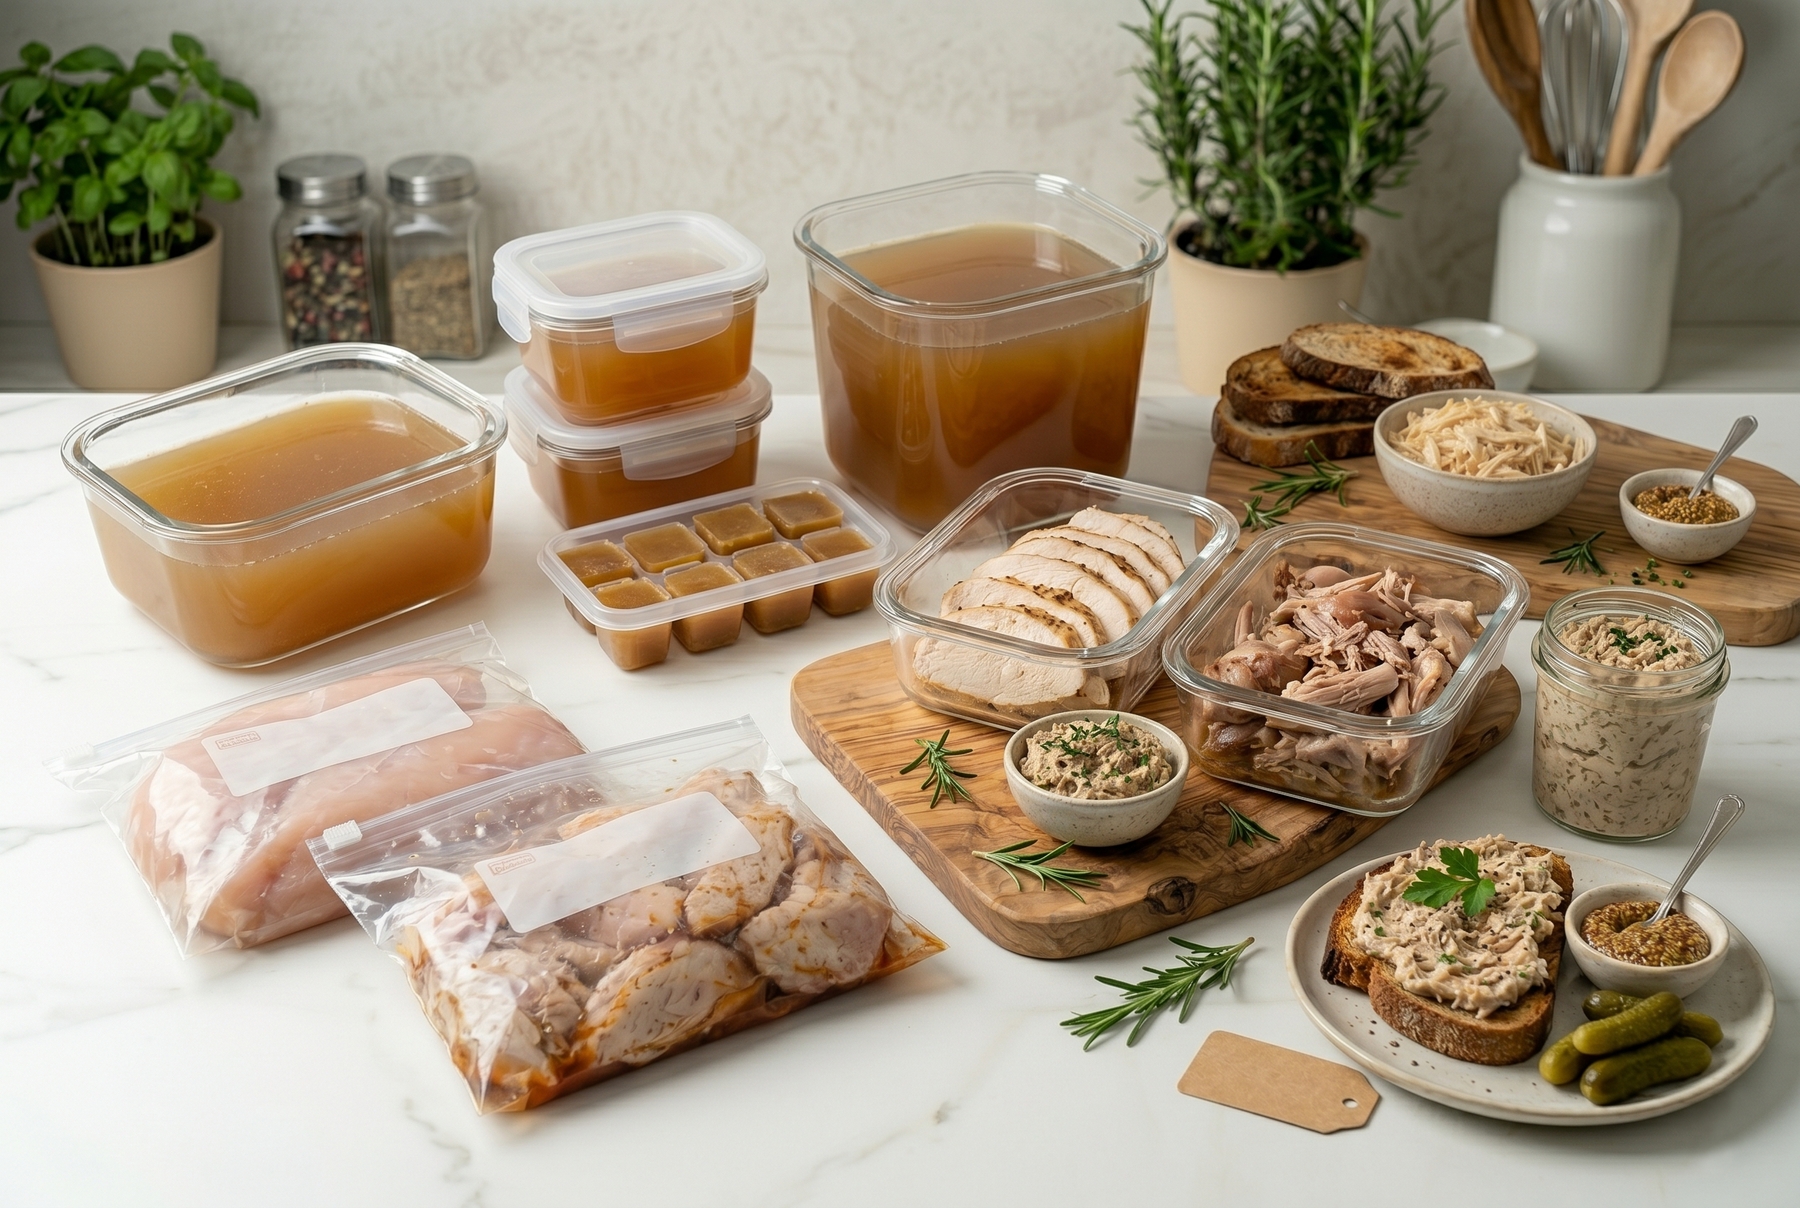
Proper storage organization: portioned broth, marinated cuts, and ready-to-eat meals in the refrigerator save valuable time throughout the week.
Where to Store Everything
In the Refrigerator for the Coming Days: Cooked breasts, braised legs, rillettes, fresh broth (holds perfectly for two to three days), and raw, marinated parts waiting for the oven.
In the Freezer: Raw breasts in portions, raw legs, wings in marinade, broth in varying container sizes, highly reduced broth concentrate in ice cube trays, and picked carcass meat.
What to Avoid Freezing: Cooked breasts (they turn dry upon thawing), fully cooked glazed wings (they lose their crispness and texture), and rillettes that have already been mixed with fresh herbs and pickles.
Five Mistakes That Kill the Meal Prep Dream
Expecting Five Dinners From a Single Bird. A single chicken is a wonderful ingredient, but it cannot stretch indefinitely. True multi-meal prep requires volume.
Cooking Every Part the Same Way. Breasts demand delicate, brief heat. Legs thrive on time and fat. Wings need high temperatures and carefully timed glazes. Carcasses require water and immense patience. Treating them universally yields mediocre results.
Delaying Storage Decisions. Failing to sort the cuts into designated bowls immediately after butchering turns meal prep day into a chaotic refrigerator puzzle with no clear endgame.
Freezing Blindly. The freezer is not a black hole for indecision. It is meant for intentional components with clear future purposes: portioned raw cuts, measured broth, marinated wings, and picked meat.
Calling Prepped Ingredients ‘Leftovers’. As mentioned earlier, leftovers are the result of poor planning.
Cheat Sheet: A Weekly Menu From Two to Three Chickens
Chicken Breast With Lemon Butter — A delicate main course, a warm salad, a sandwich, or a grain bowl.
Faux-Confit Chicken Legs — A slow-braised centerpiece served alongside garlic and root vegetables.
Sticky Glazed Wings — A vibrant appetizer or a casual dinner paired with a simple side.
Rich Bone Broth and Velouté — The backbone for soups, sauces, risottos, grains, or luxurious cream soups.
Picked Meat Rillettes — Perfect on toast, dark rye, or as a savory filling for crêpes, pastries, pastas, and sandwiches.
On day one, the kitchen hosts a cutting board, a sharp knife, a few bowls, a simmering pot, and the faint feeling of operating a small butchery. The aroma of rich broth begins after an hour and lingers deep into the evening. But from that point onward, the refrigerator practically cooks for you: clearly labeled broth containers stack neatly, slow-braised legs wait patiently, lemon-butter breasts sit ready, wings rest in their marinade, and a jar of fresh rillettes anchors the bottom shelf.
0 comments