
A kitchen grater lives in almost every home. It rests in a drawer next to the ladle, pulled out on autopilot: to grate cheese over pasta, carrots for a salad, and then back it goes until next time. Few people realize what a powerful tool it actually is. It stands in for a knife, a garlic press, and, to some extent, a blender. Most importantly, it completely changes how an ingredient behaves on the plate.
The majority of home cooks rely on just one familiar side of their grater, missing out on almost everything else the tool has to offer. It stops being a random piece of metal from the drawer exactly when you understand that the size of the shred changes everything: the speed at which juices are released, the intensity of the aroma, and the moisture level. This size also dictates how a sauce clings to a surface. A coarse shred of carrot brings crunch to a salad. That same carrot, passed through the fine side, collapses into a soft, weeping mound of juice within a minute.
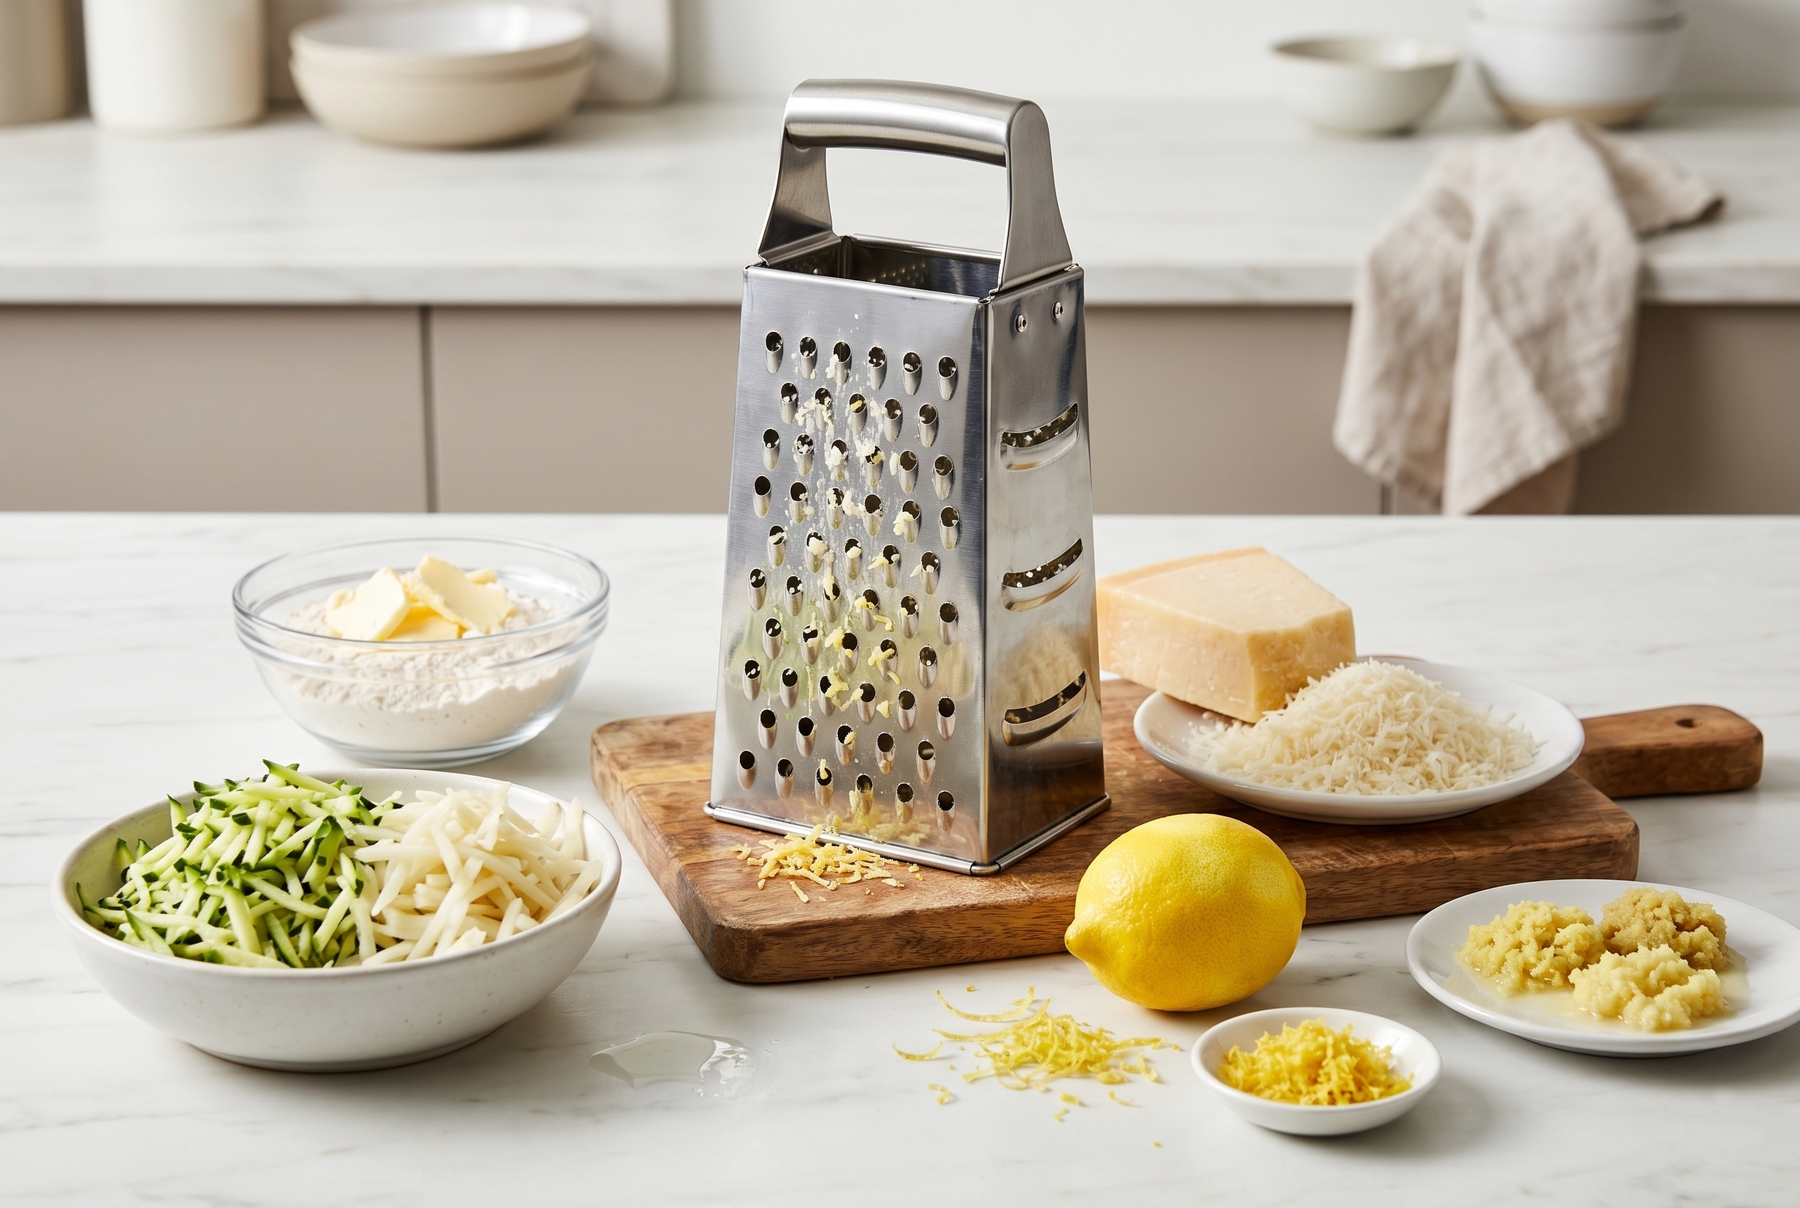
Every side of the grater is designed for specific tasks: from creating crunchy matchsticks to yielding an aromatic paste.
Table of Contents
- What the Different Sides of a Grater Are Actually For
- The Biggest Mistake: Pressing Instead of Gliding
- Tricks for Specific Ingredients
- How to Avoid Leaving Half Your Food on the Grater
- How Grating Transforms Flavor
- The Grater in Quick Kitchen Tasks
- What Not to Do With a Grater
- How to Choose a Kitchen Grater and Why Steel Matters
- How to Care for Your Grater
- Cheat Sheet: What to Grate on Which Side
What the Different Sides of a Grater Are Actually For
The Coarse Side: Structure and Excess Water
The coarse side shines when you need to preserve structure. Think cheese for a casserole that needs to melt into distinct, pulling threads rather than fusing into a dense puddle. Cold butter cut into flour. Zucchini for fritters, potatoes for latkes (traditional potato pancakes), or apples for a pie filling.
There is a flip side: a juicy ingredient pushed through coarse holes releases a lot of water. Zucchini emerges as neat matchsticks, but in a batter, it creates a swamp unless properly squeezed dry.
The Fine Side: Louder Flavor, Higher Risk
The fine side is all about aroma. Garlic, ginger, hard cheeses like Parmesan, citrus zest, and nutmeg belong here. The ingredient is almost instantly reduced to a paste, and that is precisely the point: smaller particles expose more surface area, releasing an intense aroma and flavor much faster.
This, too, has a drawback. Garlic grated finely delivers a pungent bite that is welcome in a raw marinade but turns bitter within 10 seconds in a hot skillet. Plus, your fingers get closer to the metal than is entirely comfortable.
The Raspy Side: Sharp and Temperamental
This is the side with protruding, sharp, crown-like teeth that everyone is afraid to use. And for good reason, though only half the time. It excels at making breadcrumbs, grating chocolate, and occasionally handling whole spices or very firm garlic. On softer ingredients, it does not grate—it tears. Cheese smears into a mess, and tomatoes turn to mush. These teeth catch skin with alarming ease, so working on this side requires a much slower pace than you might expect.
The Biggest Mistake: Pressing Instead of Gliding
Applying heavy pressure does not speed up the process. It crushes the ingredient, clogs the holes with a damp mass, and yields a puree instead of clean shreds. A grater cuts through speed and motion, not brute force.
The rule of thumb is simple: glide using your whole hand in long, smooth strokes, and do not press down hard. Maintain a consistent angle; avoid rocking your wrist up and down. Once you feel the ingredient starting to slip and mash, you are pressing too firmly.
Stability is equally important. A grater held mid-air over a bowl tends to slip, which is exactly when knuckles get scraped. Set it inside a wide bowl or on a cutting board, letting the bottom edge brace firmly. Grating directly over a steaming pot is generally a bad idea: it is much easier to remove the pot from the heat or grate into a separate bowl first. If you absolutely must grate over the stove, do so only when there is no boiling, steam, or splattering, and ensure the pot is completely stationary.
Tricks for Specific Ingredients
Soft cheese benefits from 15 minutes in the freezer before grating: chilled, it refuses to smear and yields neat shreds. Hard cheese should be grated finely right before serving. Grated ahead of time, it dries out around the edges within half an hour, losing the rich, nutty aroma you bought it for in the first place.
A frozen block of butter passed through the coarse side easily replaces tedious chopping with a knife. The flakes emerge small and even, cutting into flour much more uniformly than cubes ever could. Shortcrust pastry, streusel toppings, quick flatbreads, and biscuits all vastly improve with this method.
For zucchini, cucumbers, potatoes, and onions, always grate first, then squeeze out the moisture, never the reverse. If a puddle immediately forms at the bottom of your bowl, the texture needs saving. Squeeze the shreds by hand or through cheesecloth, salt them and let them sit, or stir in a spoonful of cornstarch to bind the excess moisture.
When zesting citrus, only remove the colored outer layer, stopping before the white pith: the pith is incredibly bitter. Hold the fruit and rotate it against the grater, rather than scrubbing one spot in circles. The moment the white layer appears beneath the teeth, move to a new spot.
A fine paste of garlic or ginger incorporates into marinades, sauces, and dressings in seconds, much more evenly than when crushed through a press. However, when cooking with hot oil, it is best to add this paste later than other aromatics, or mix it with a fat or acid first, to prevent it from instantly turning bitter.
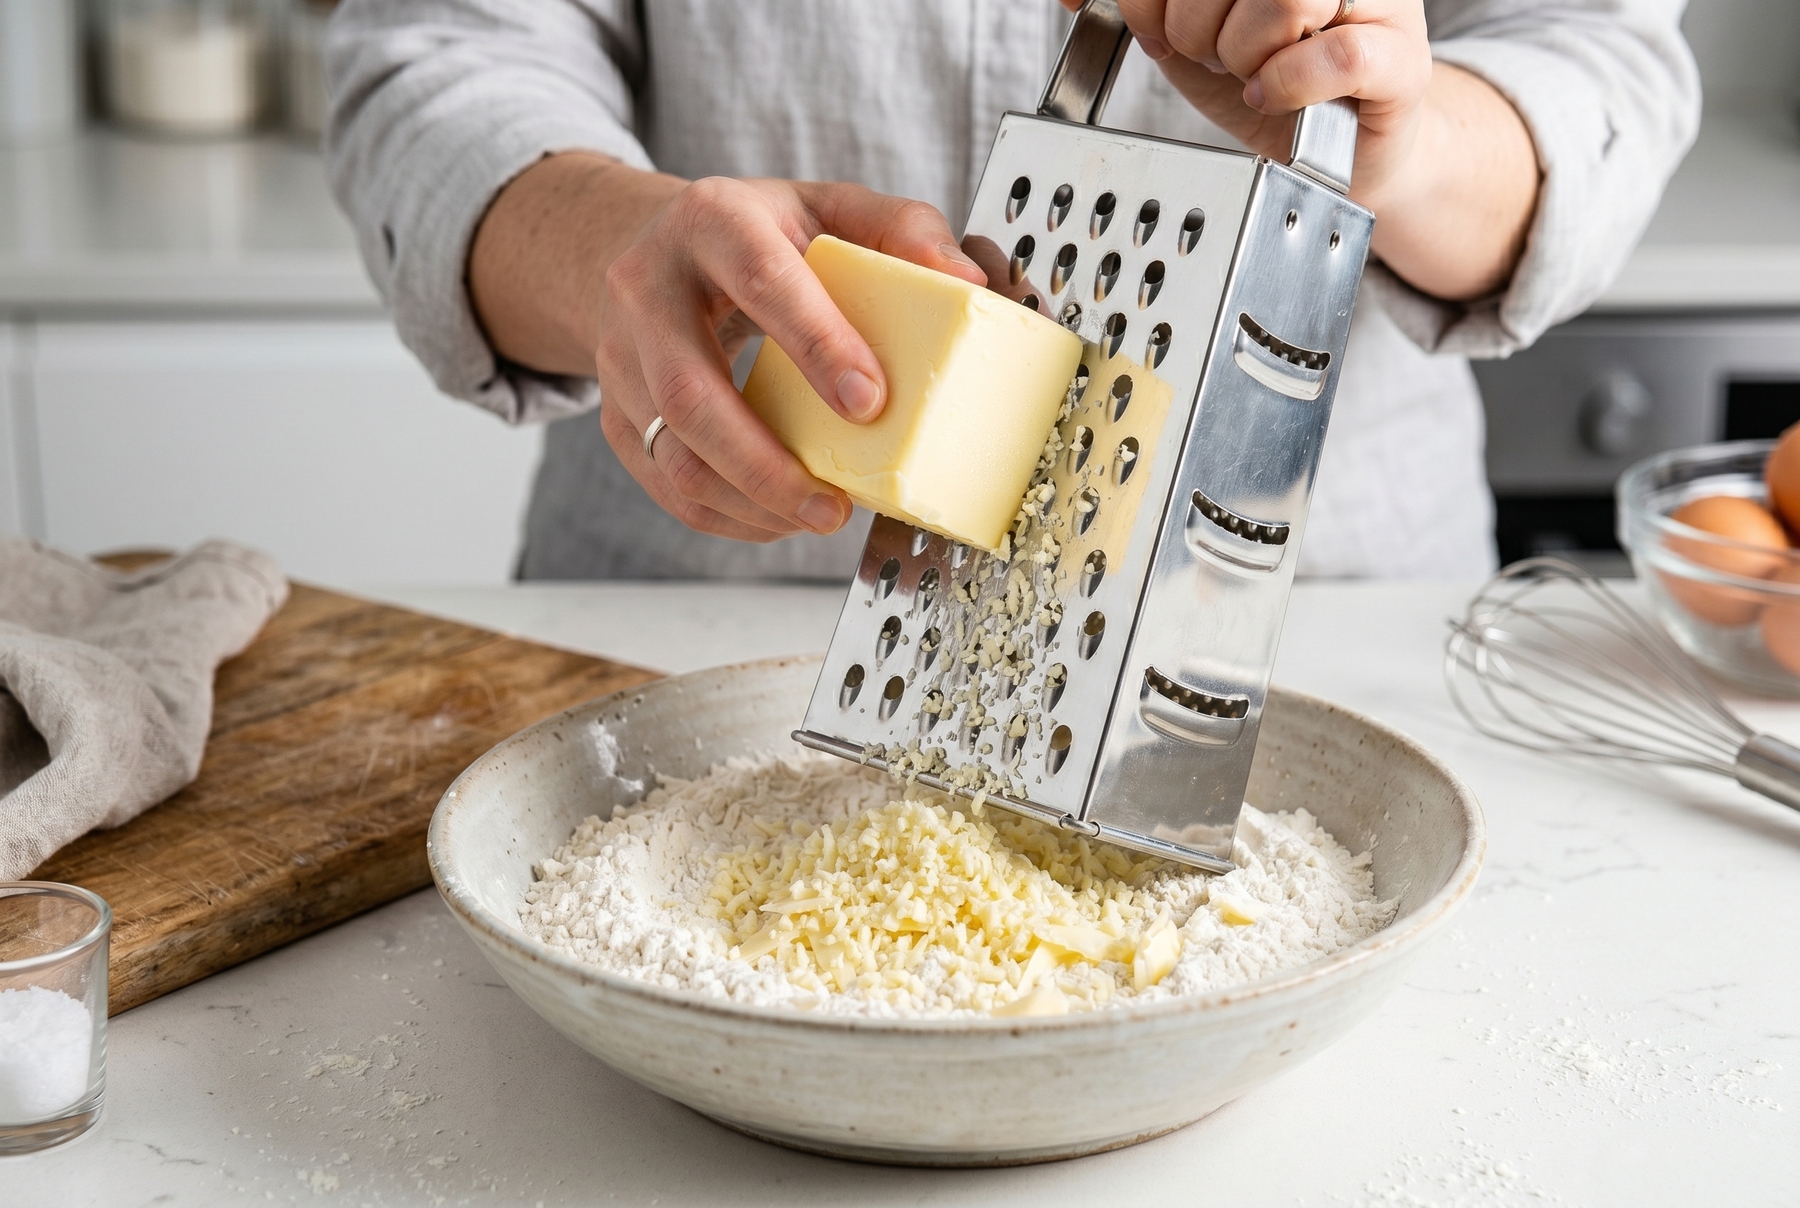
Using a grater for frozen butter allows for the quick preparation of a perfect base for shortcrust pastry or streusel.
How to Avoid Leaving Half Your Food on the Grater
Sometimes an ingredient clings to the metal, making it seem like half of it is stuck in the holes. A single drop of neutral oil rubbed over the surface before you begin solves this: it works wonders for soft cheese, sticky garlic, or a small batch of zest. For carrots or potatoes, this is unnecessary; the oil does not help there.
Simple helpers go a long way. Grate cheese onto a sheet of parchment paper, then funnel it exactly where it needs to go in one smooth motion, rather than fishing shreds out of the grater’s interior. Grate chocolate directly over the dessert. Place the grater in a wide bowl to keep shreds from flying across the counter.
Now, about those last few centimeters. There is no need to grate the piece down to the bitter end just to prove your bravery. When the ingredient gets smaller than a matchbox, switch to a food holder or a cut-resistant glove: these are reliable options. A fork occasionally helps, but it holds poorly on small, slippery pieces, making it far from a universally safe method. Regular kitchen or silicone oven mitts do not protect against cuts and will snag on the teeth, so do not rely on them. A sliced fingertip takes far longer to heal than the few grams of food you might save.
How Grating Transforms Flavor
It all comes down to surface area. A fine shred exposes more surface, making the ingredient behave much more actively. Cheese melts faster, and citrus zest smells stronger. Garlic becomes far more pungent, and onions release their juices almost immediately.
One Carrot, Three Different Dishes
Take a single carrot and observe what happens based on the side you choose. Coarse shreds result in a crunchy salad where the carrot remains distinct. Fine shreds belong in patties or a sauce where the carrot needs to dissolve and release its sweetness. The near-puree from the raspy side forms a base for batters or a soft side dish. The side you choose entirely dictates how the dish will feel on the palate.
The Grater in Quick Kitchen Tasks
Grated potato thickens a soup better than flour, without any lumps. A tomato cut in half and rubbed against the coarse side down to the skin yields a fresh sauce base in one minute (the skin is left perfectly intact in your hand). Frozen grated butter rescues pie dough. Stale bread easily transforms into breadcrumbs for breading. Grated chocolate serves as an effortless garnish.
The grater saves dinner more often than you might think: when there is no time to chop vegetables for a soup or when a sauce needs to come together on the fly. Yesterday’s pasta is instantly revived by grating some fresh Parmesan and a touch of lemon zest directly into the bowl.
What Not to Do With a Grater
Do not grate anything hot, slippery, or excessively soft without bracing the tool: this leads to burns, cuts, and a mushy mess instead of clean shreds. Do not press down so hard that the metal grinds; this dulls the teeth rapidly, crushes the food, and tires your hand for no reason. And do not use one side for absolutely everything. Zucchini on the fine side turns to water. Cheese on the raspy side clumps together. Citrus zest taken too deeply introduces a bitterness that will ruin an entire dessert.
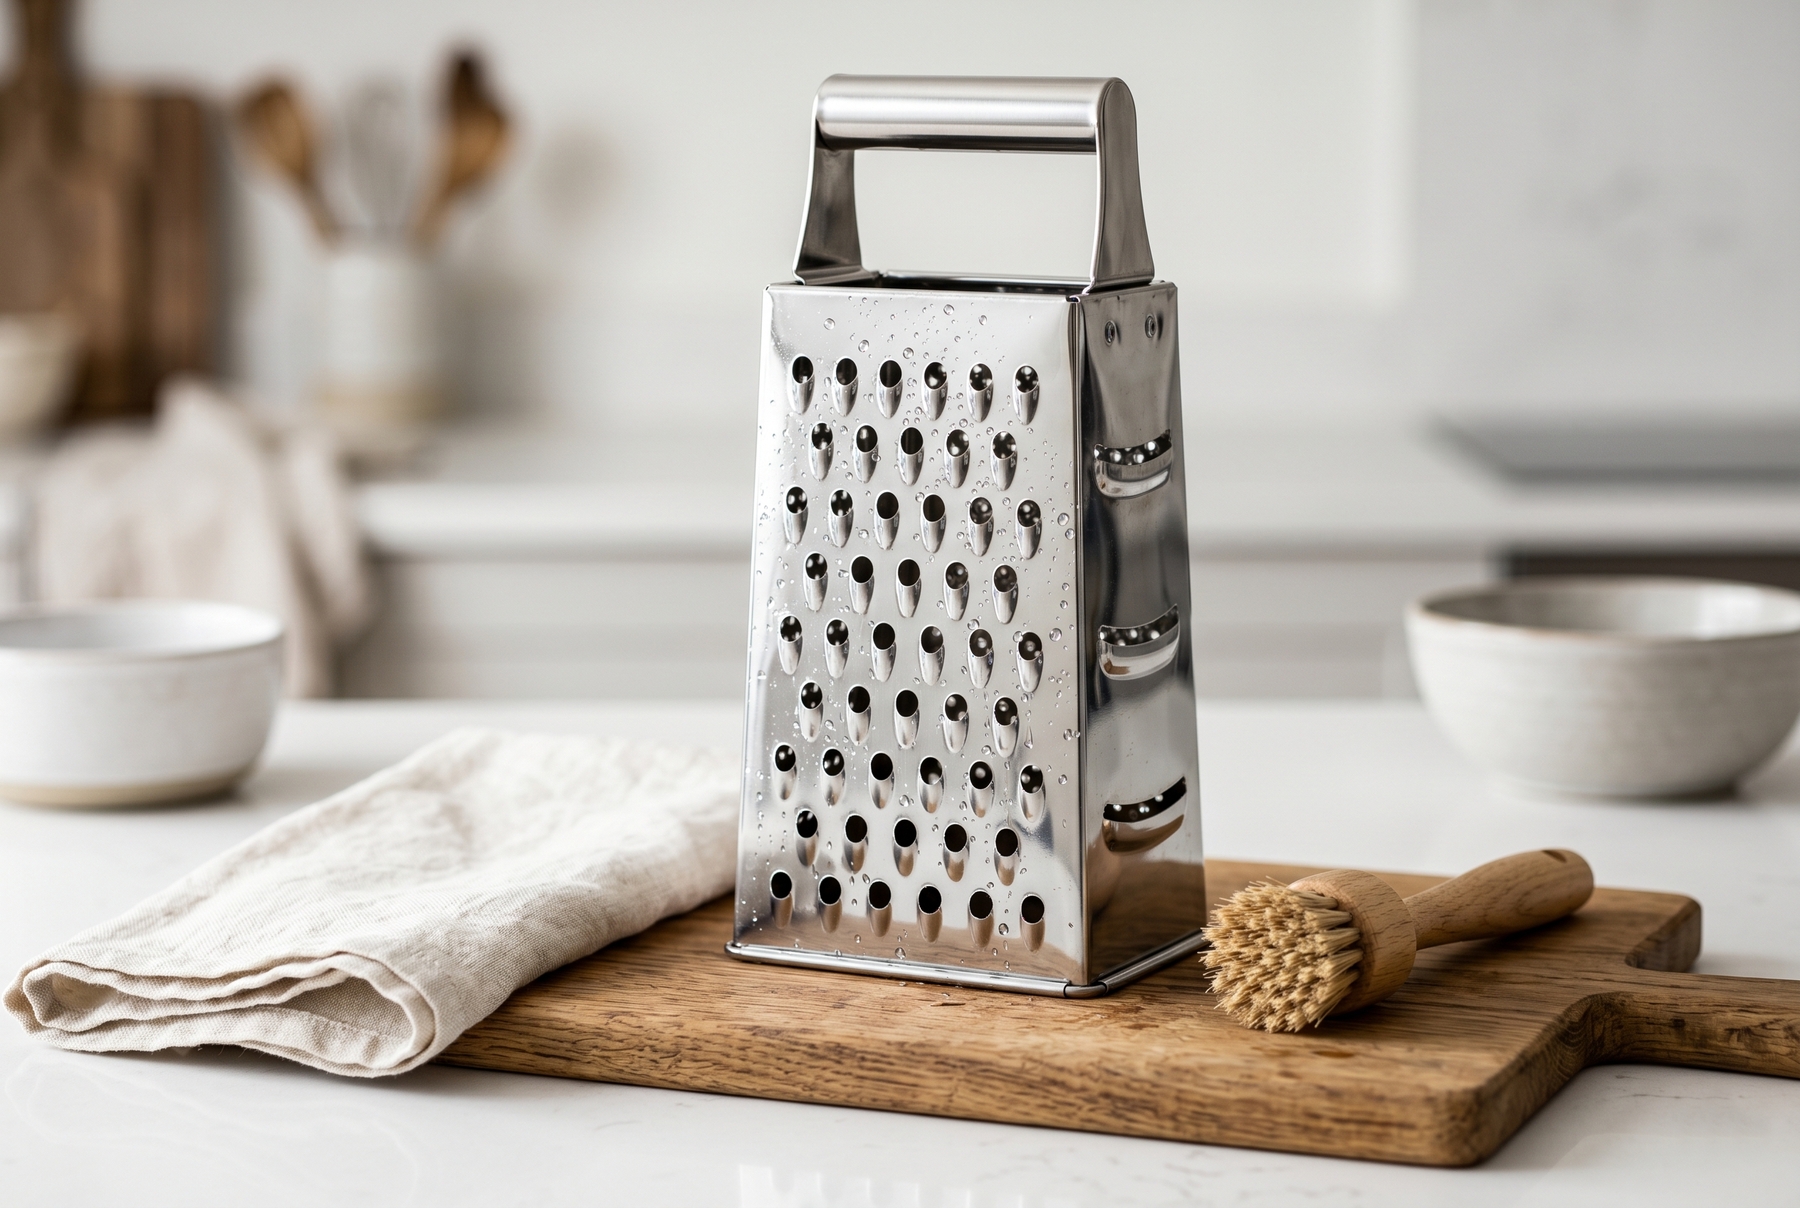
To extend the life of your tool, wash the grater immediately after use and employ a brush to clean hard-to-reach holes.
How to Choose a Kitchen Grater and Why Steel Matters
It seems like you can grab any cheap grater off the nearest shelf. In reality, the steel makes all the difference. Soft, cheap steel dulls in a couple of months: the holes dent, the edges round off, and instead of neat shreds, you get crushed food and an aching arm. This type of steel also rusts eagerly from the first poorly dried water droplet.
A quality grater cuts rather than crushes from day one, and it holds its edge for years. I have a Spanish-made grater at home forged from decent steel; in the time I have owned it, four random cheap ones have come and gone alongside it. One went completely dull, two developed rust spots along the edges, and one twisted out of shape. The Spanish grater still cuts like it did on day one.
What to look for when buying: run your finger perpendicular to the holes: on a good grater, the edge feels sharp; on a bad one, it feels rounded. Hold it in your hand: decent steel is slightly heavier and does not flex when you press on the surface. Pay attention to the handle. It must allow you to hold the grater completely steady, because half of your safety depends on your grip, not just the teeth.
How to Care for Your Grater
Wash it immediately, before the food dries. Cheese, dough, garlic, and ginger harden on the metal quickly and require a battle to remove later. Rinse it with a strong stream of water from the inside out, pushing the debris outward, and use a brush to help. It is best not to run a sponge along the teeth: you will likely leave half the sponge attached to the grater.
It is generally best to keep your grater out of the dishwasher, especially fine and sharp models. Harsh chemicals and long, hot cycles dull the edges much faster than hand washing, and they leave cloudy streaks and rust spots on cheaper steel. Cheese still manages to get stuck between the fine teeth, surviving the wash cycle entirely, and reaching for a sharp blade in a cramped rack is hardly a pleasant experience. Washing by hand, immediately after use, is far more reliable.
Dry it thoroughly and immediately. A damp grater tarnishes, orange rust spots emerge on cheap steel, and reaching for it becomes deeply unpleasant. Store it in a drawer with the sharp side facing away from you, or keep it in a protective sleeve to avoid accidental cuts when reaching in blindly.
It is time for a replacement when ingredients start crushing even under light pressure, forcing you to press harder than usual. Or when the metal catches unevenly and rust begins to appear. A dull grater is far more dangerous than a sharp one: you press too hard, your hand slips, and that is exactly when accidents happen.
Cheat Sheet: What to Grate on Which Side
- Hard cheese, citrus zest, garlic, ginger, nutmeg — the fine side;
- Cheese for casseroles, carrots for salads, zucchini, potatoes, frozen butter, apples — the coarse side;
- Breadcrumbs, chocolate, whole spices — the sharp, raspy side;
- Tomatoes for a quick sauce — the coarse side, leaving the skin in your hand.
Take a carrot and grate half of it coarsely, the other half finely. The coarse side provides a satisfying crunch; the fine side will weep a little puddle of sweet juice within a minute.
0 comments