
Professional kitchens employ a technique that looks like a mistake to the untrained eye. Squid is taken off the heat after a minute and a half, when the inside still seems slightly raw. Ten seconds pass, and the squid finishes cooking on the plate. It emerges soft, slightly springy, and without a single hint of rubberiness.
The stove is turned off, but the cooking process continues.
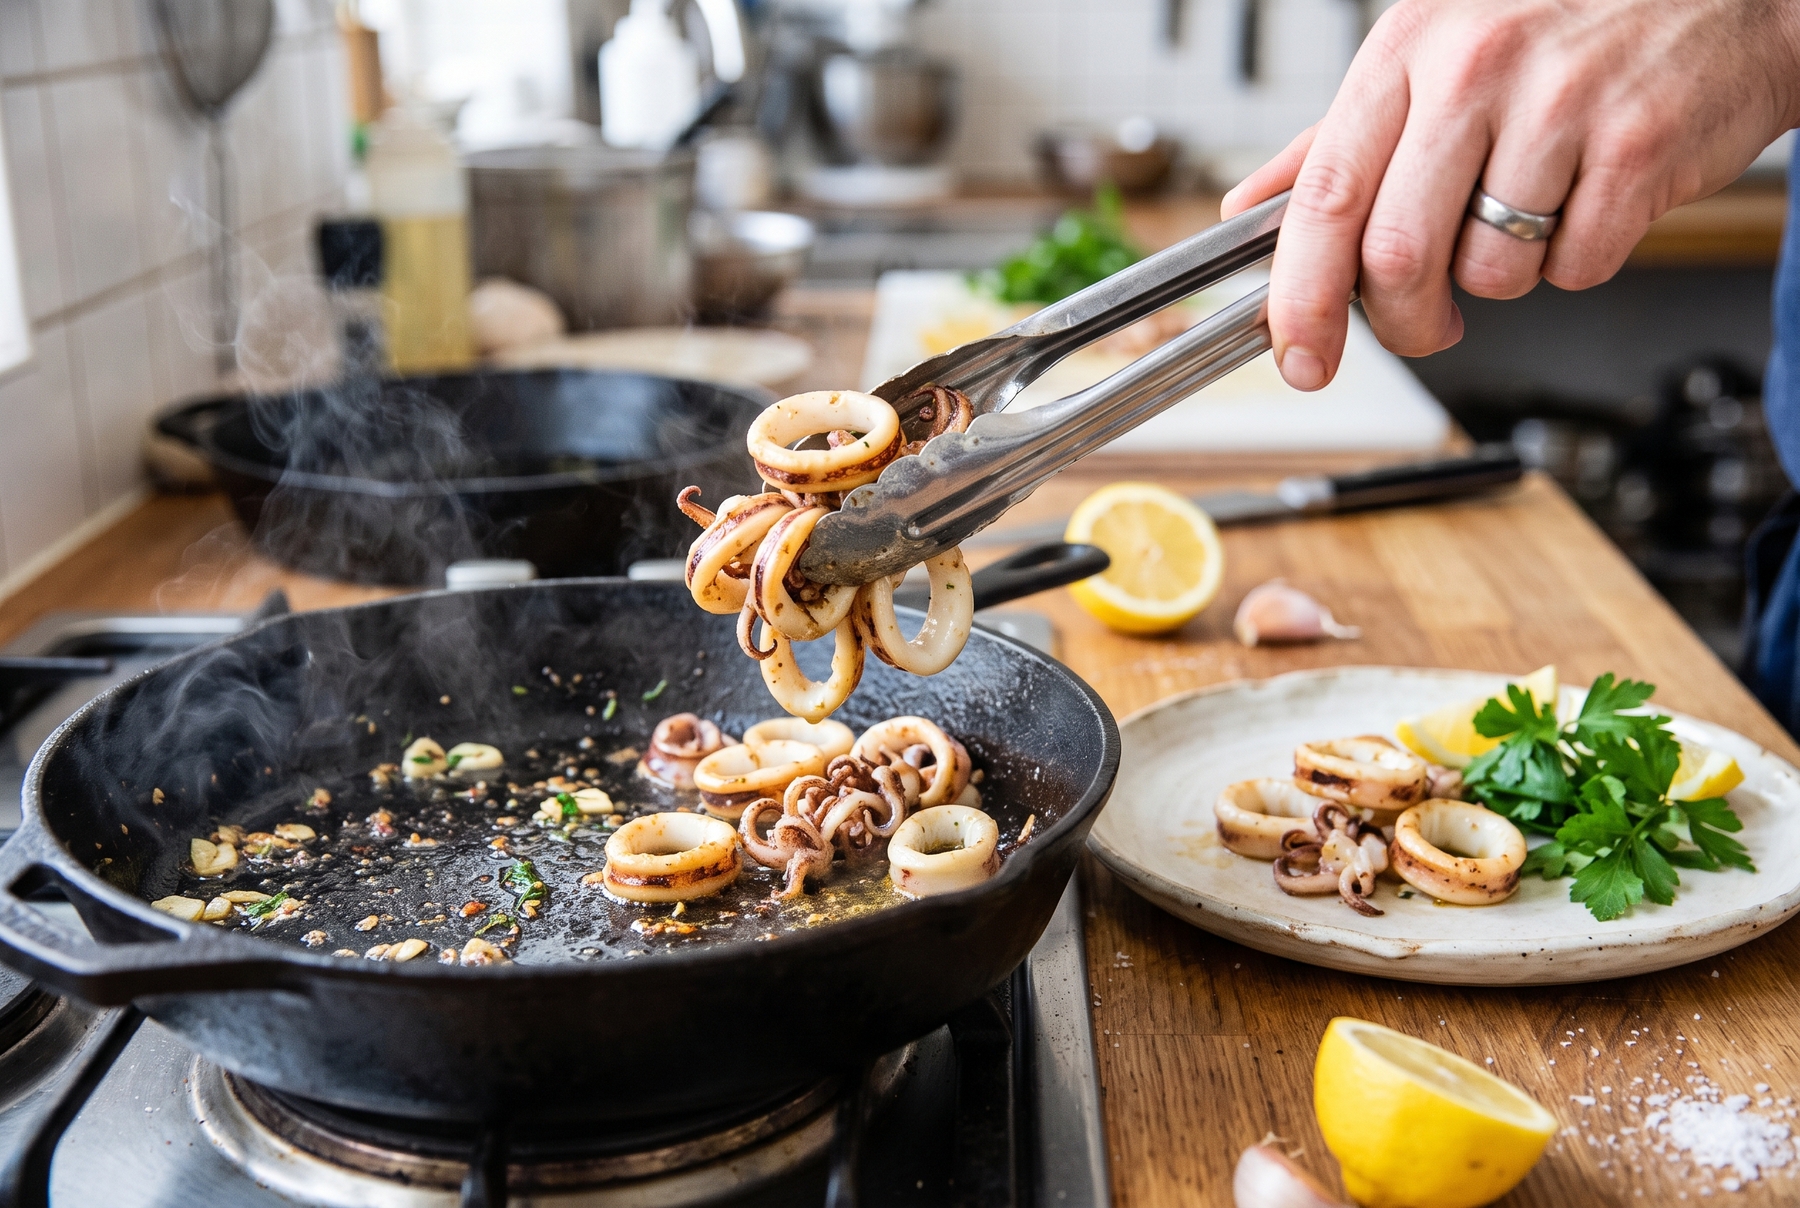
Squid is taken off the heat at the first signs of doneness so it finishes cooking from its own heat and remains tender.
Table of Contents
The Law Of Residual Heat
Heat accumulates inside any piece of meat, fish, or vegetable, and it does not disappear the moment you flick the switch. The outer layers are hotter than the center, so the heat continues to travel inward until the temperature equalizes. Chefs call this residual heat, and in professional parlance, it is known as carryover cooking. The internal temperature of a thin steak can jump another 3–5 °C (5–9 °F) after leaving the stove. For a thicker cut, the rise can reach up to 7 °C (13 °F).
A dish brought to absolute perfection directly on the stove almost always ends up overcooked by the time it is served. While you are carrying the plate, calling the family to the table, and looking for the missing pepper grinder, the scallop inside turns into an eraser. Restaurant textures rely on this principle: taking the food off earlier than ‘done,’ catching that precise point just seconds before the finish line.
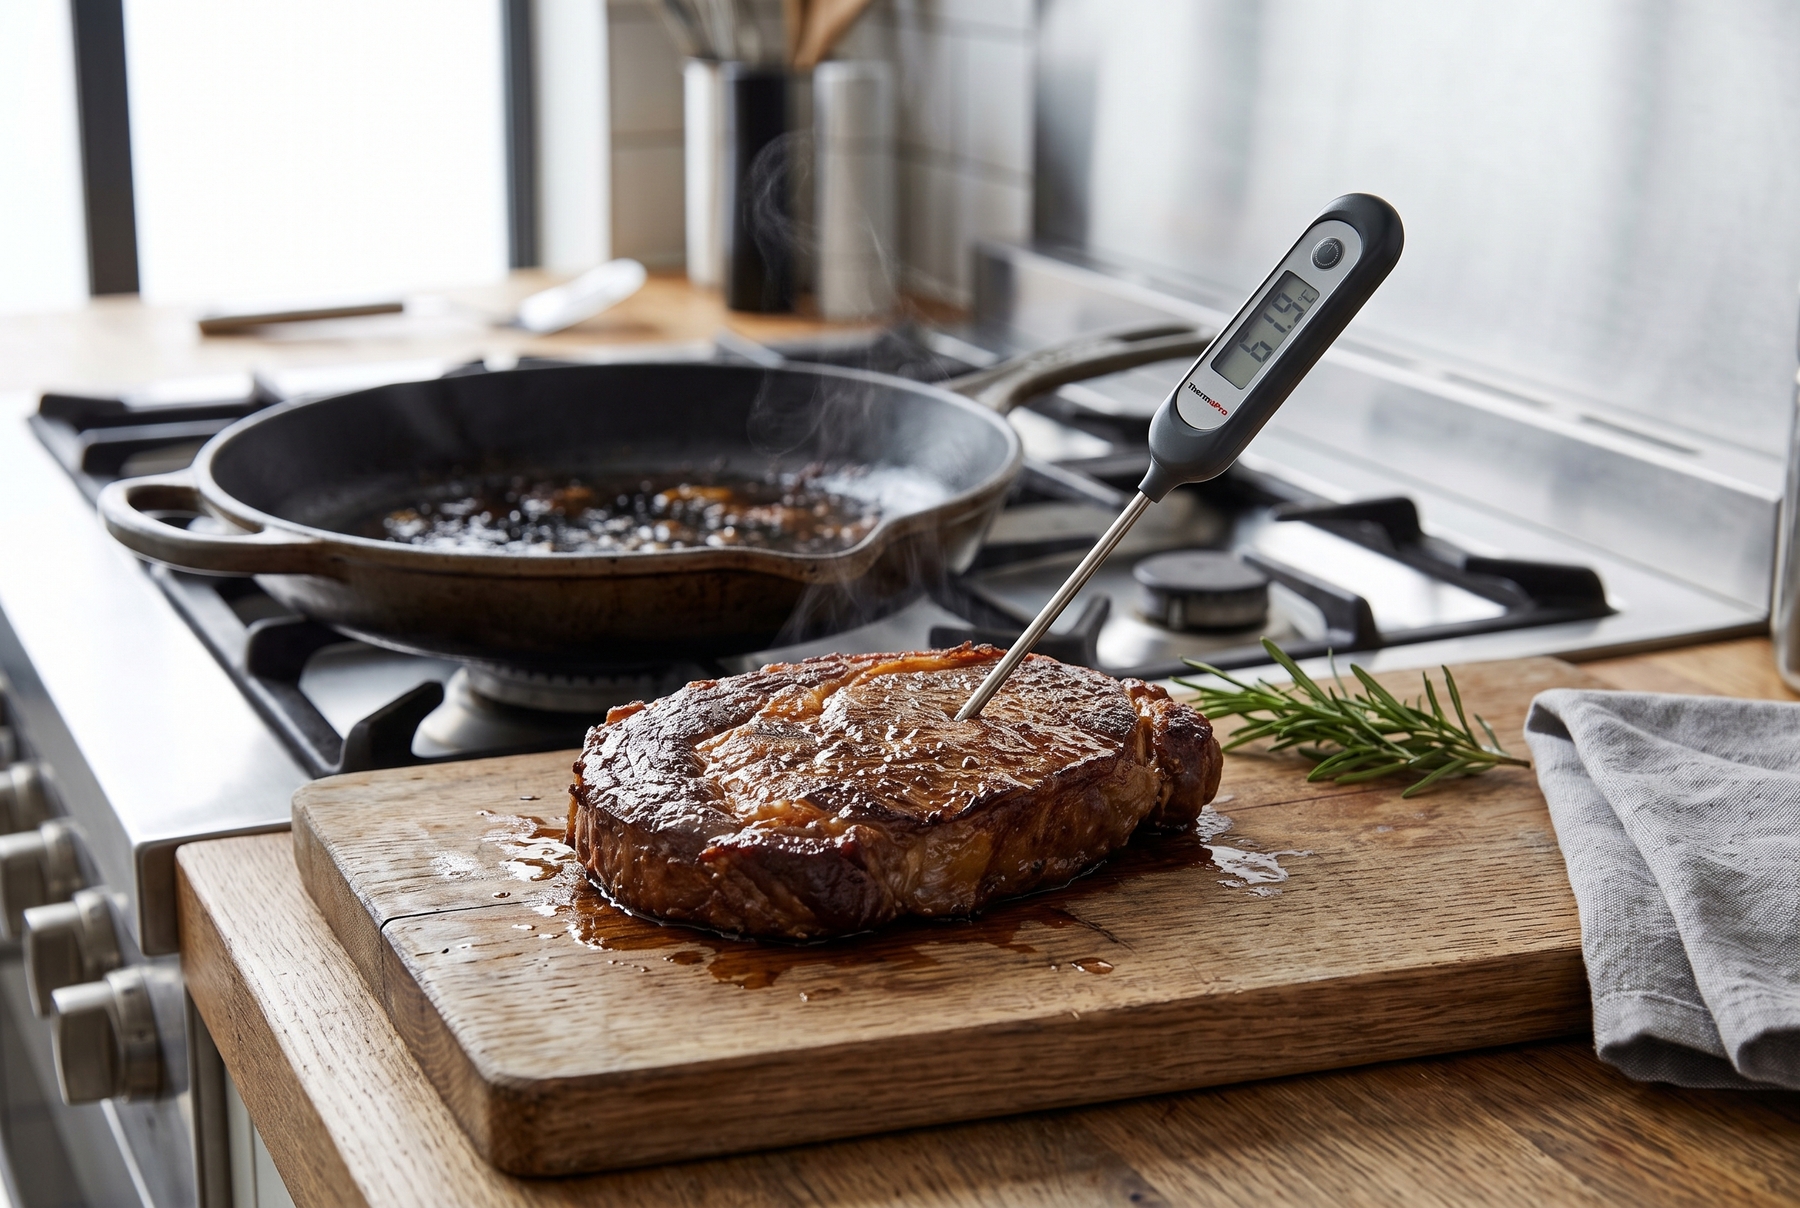
Residual heat continues to warm the meat after it leaves the stove, raising the internal temperature by another 3–5 °C (5–9 °F).
How To Avoid Overcooking Seafood And Fish
Marine proteins coagulate faster than any other. The fibers in fish and mollusks are short, connective tissue is scarce, and once the internal temperature crosses the necessary mark, moisture is squeezed out in a matter of seconds. Residual heat becomes the primary risk here. Seafood is deliberately taken off the heat early.
Squids, Cuttlefish, And Octopuses: The “2 Minutes Or An Hour” Rule
Cephalopods require either a very quick or a very long cooking time. A short sear of up to 2 minutes over high heat leaves the flesh tender and slightly translucent inside. A long braise (from 40 minutes in a sauce or broth) breaks down the collagen and also yields a soft texture. Anything in between turns the squid into a rubber ring that can be chewed until morning.
The first method is more convenient at home. Heating a skillet until a drop of water dances like a bead on the surface is essential. The rings or tubes should be arranged in a single layer, without piling them up. Giving them about 90 seconds is usually enough. As soon as the edges whiten and curl, while the center remains slightly glassy, they need to come off. Translucency in the middle does not mean rawness: this is exactly the point where the meat will finish cooking from its own heat directly on the plate.
Tiger And Argentine Prawns: The Letter “C” Versus The Letter “O”
A prawn signals its doneness through its body shape. A raw one lies almost straight. As it heats up, it tightens and curls into a neat letter “C”. This is the perfect moment. Continuing to apply heat causes the ring to close tighter, turning into a rigid letter “O”. “O” means the timing is lost: the meat has shrunk, the juices are gone, and the texture has become cottony. A large prawn needs only a couple of minutes on each side over medium heat. The shell turns coral-red, and the meat becomes matte-white. Catching the “C” means taking it off the heat immediately.
Sea Scallops: Two Crusts And A Warm Center
A scallop can easily turn into an expensive mistake. Drying each one thoroughly with a paper towel is crucial, otherwise they will boil in their own moisture instead of searing. The skillet must be nearly smoking. Placing them, waiting, and not touching them is the secret: a minute and a half on one side until a caramel crust forms, and a minute on the other. That is it. Inside, the scallop remains warm and translucent, resembling a dense jelly. Cooking it all the way through makes it tough, and it will smell of dried fish rather than the sea.
Salmon: The Pink Center That People Wrongly Fear
Restaurants serve salmon medium, with a bright orange, glossy center, which often frightens home cooks. It looks as if the fish is raw. In reality, the fibers have already coagulated at the edges, and the center has just warmed up. This kind of salmon is juicy, buttery, and flakes into large, moist petals. The temperature guide is simple: taking it off at 48–50 °C (118–122 °F) allows it to rest and reach 52 °C (126 °F). Protein starting to emerge as white droplets (albumin) indicates that it has been heated for too long. Purchasing high-quality chilled fish from a reliable supplier is highly recommended. For a lighter sear, it is safer to buy sushi-grade fish that has undergone commercial freezing: this reduces the risk of parasites, though it does not destroy all dangerous microorganisms.
Tender White Fish: The Moment The Fibers Just Barely Shift
Cod, halibut, and haddock are even less forgiving. Their muscle plates are held together by thin protein membranes, and the difference between a juicy cut and dry cotton is measured literally in a single minute. Watching the fibers from the side helps. Finished fish begins to flake: when gently prodded with a fork, the plates separate slightly but still gleam and hold their shape. As soon as the gloss disappears and the cut becomes matte, the moisture is lost. Removing it at the very first sign of flaking is vital. A thick piece of cod needs only 6–8 minutes in the oven at 180 °C (350 °F); it will finish cooking on its own.
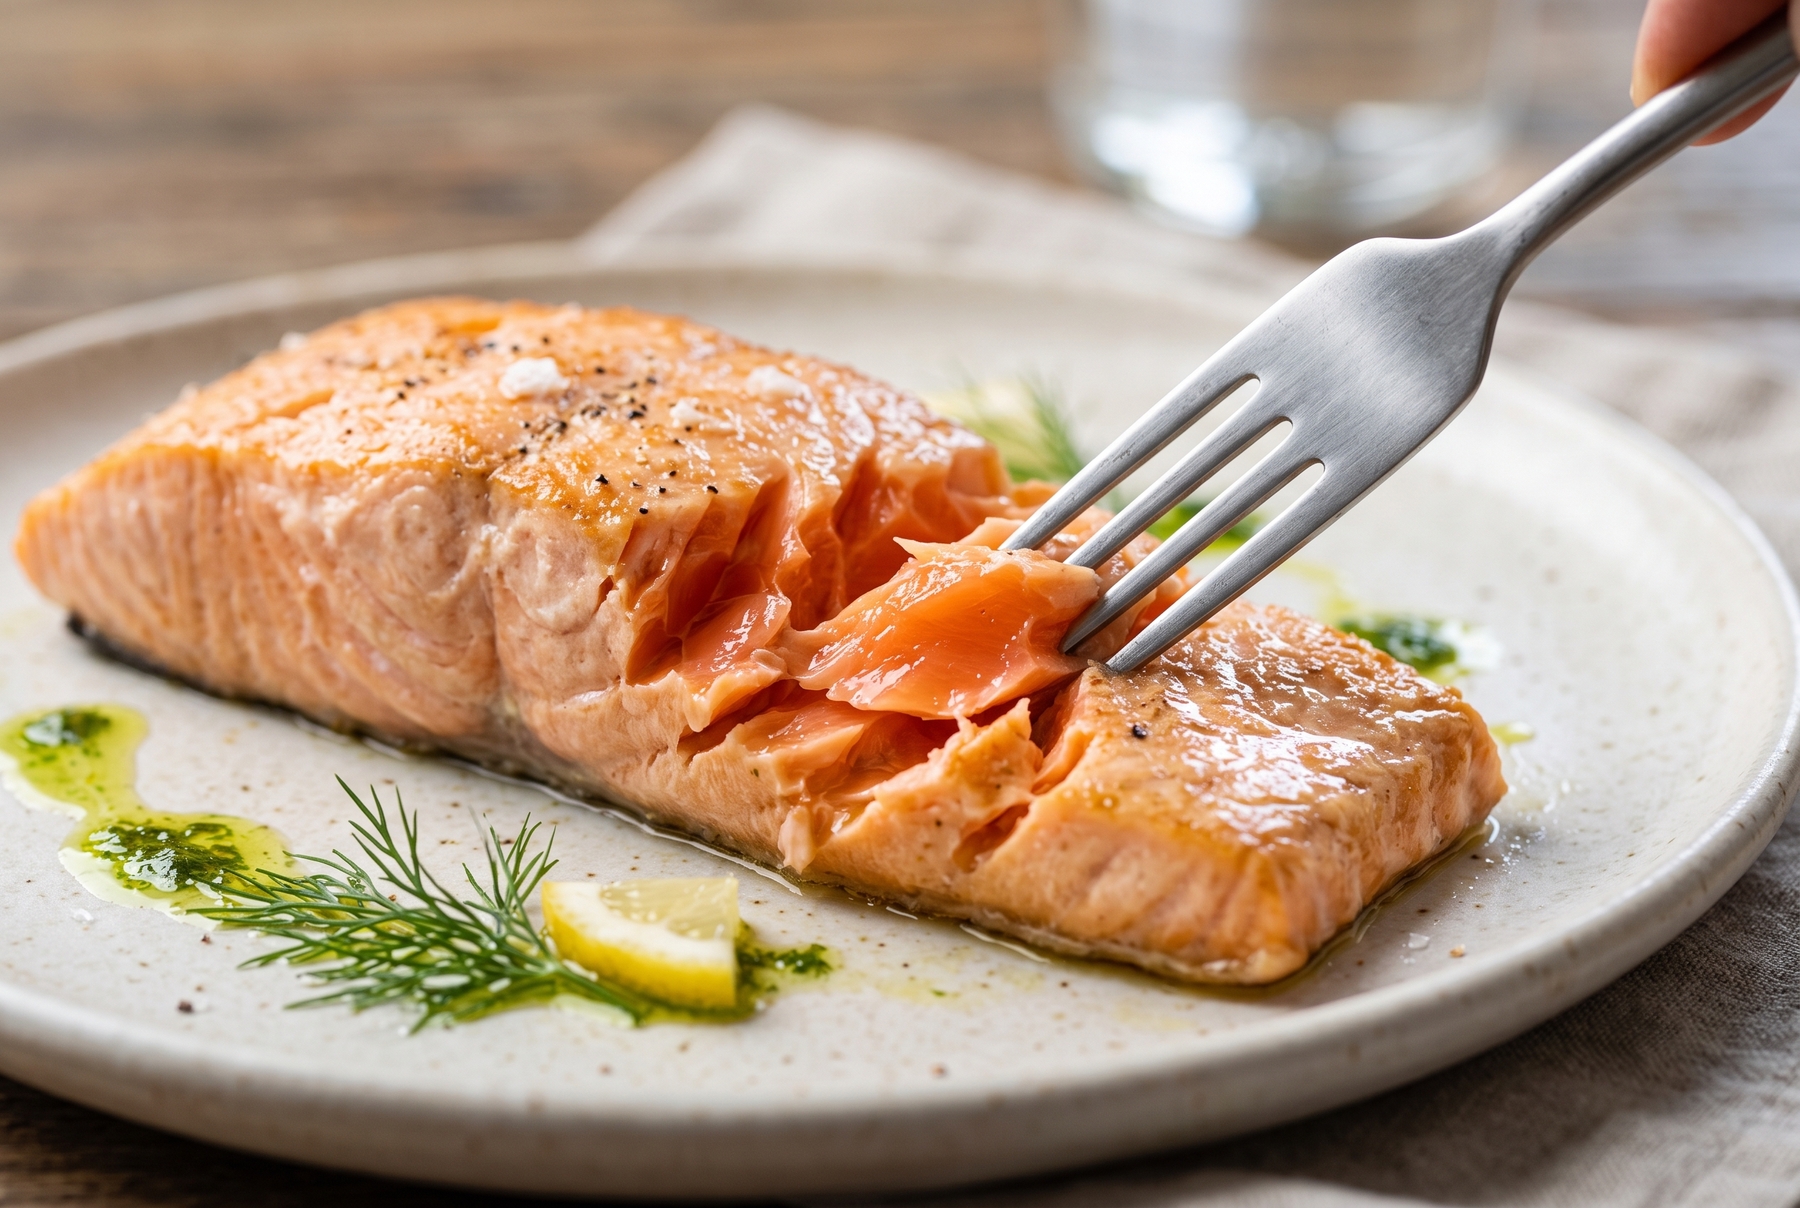
An ideally cooked salmon retains a juicy orange center and flakes easily into moist petals.
How To Avoid Overcooking Green Vegetables
Chlorophyll gives vegetables their green color. A brief exposure to heat makes it flash brighter: dropping green beans into boiling water turns them neon-green in half a minute. However, trouble begins right after. The acids inside the cells and prolonged heat destroy the chlorophyll, the greenery fades into a muddy olive hue, the tissue softens, and the water washes the flavor and vitamins right into the pot. Therefore, green vegetables are cooked quickly and removed while they still offer some resistance to the tooth.
Broccoli And Cauliflower: Al Dente Is Not Just For Pasta
The florets should have a slight crunch: neither raw nor boiled into a mush. Dropping broccoli into boiling salted water for 2–3 minutes, no more, works best. Checking with the tip of a knife reveals a slight resistance, similar to an almost ripe pear. The color at this point becomes dense and richly green. Cauliflower is slightly sturdier, requiring 3–4 minutes. A sensation of firmness means it is time to drain, and if not serving immediately, plunging them into ice water is the next step (more on this technique below).
Asparagus: The Fine Line Between Delicacy And Straw
Asparagus cooks almost instantly. Thin spears need only 2 minutes, while thick ones take 3–4. Overcooked asparagus loses everything at once: the color dulls, the tips turn to mush, and the stalk itself becomes fibrous, like chewing on twine. Perfectly cooked asparagus bends under its own weight without snapping and remains bright green with a moist sheen. In a skillet, it is easy to gauge by ear: while it hisses and jumps, the process is ongoing, but once the sound quiets down, it is time to take it off.
Green Beans And Green Peas: The Heat Of The Sauce Instead Of A Pot
These two finish cooking in seconds. Young peas (fresh or frozen) do not require boiling at all: tossing them into a hot sauce at the very end uses just enough heat from the pan. Half a minute is all it takes to warm them through, keeping them sweet and ready to pop in the mouth. Blanching green beans for 2–3 minutes in boiling water yields a bright green color and a light crunch. Overcooked peas shrivel and turn gray, while green beans hang like wet rags.
Spinach: Take It Off The Heat Before You Turn It On
Spinach sets a record for speed. It barely needs a fire. Tossing a handful of leaves into a pan where garlic was just sautéed, turning off the burner, and simply stirring is enough. The volume collapses to a third almost immediately, and the leaves become dark and glossy. It is done. Continuing to heat it causes the spinach to release water, turning into a dark, slimy mass and losing that fresh, slightly grassy flavor for which it was chosen in the first place.
Young Summer Squash And Zucchini: Water As A Death Sentence
The appearance of a puddle in the pan means you are too late. A young zucchini consists almost entirely of water locked inside its cells. As long as the structure is intact, the slices hold their shape, turn slightly golden at the edges, and remain crunchy in the center. Overheating causes the cells to burst, the water escapes, and a pale mush floats in the pan instead of fried zucchini. Searing them quickly over high heat, a couple of minutes per side, creates golden char marks. Salting them at the very end is crucial: salt draws out moisture, and salting early will make the puddle appear even faster.
The Ice Bath: A Restaurant Technique Worth Bringing Home
As soon as a green vegetable reaches the desired firmness, transferring it instantly from boiling water into a bowl of ice water is standard practice. The sharp cold stops the cooking instantly (ending the residual heat) and locks in the bright color. Keeping the vegetable in the ice bath for a minute, then draining it, prepares it perfectly. Before serving, a quick warm-up in a pan with butter or oil is sufficient. Asparagus, broccoli, and green beans remain vibrantly green and crisp after such a bath, even if they sit for a while.
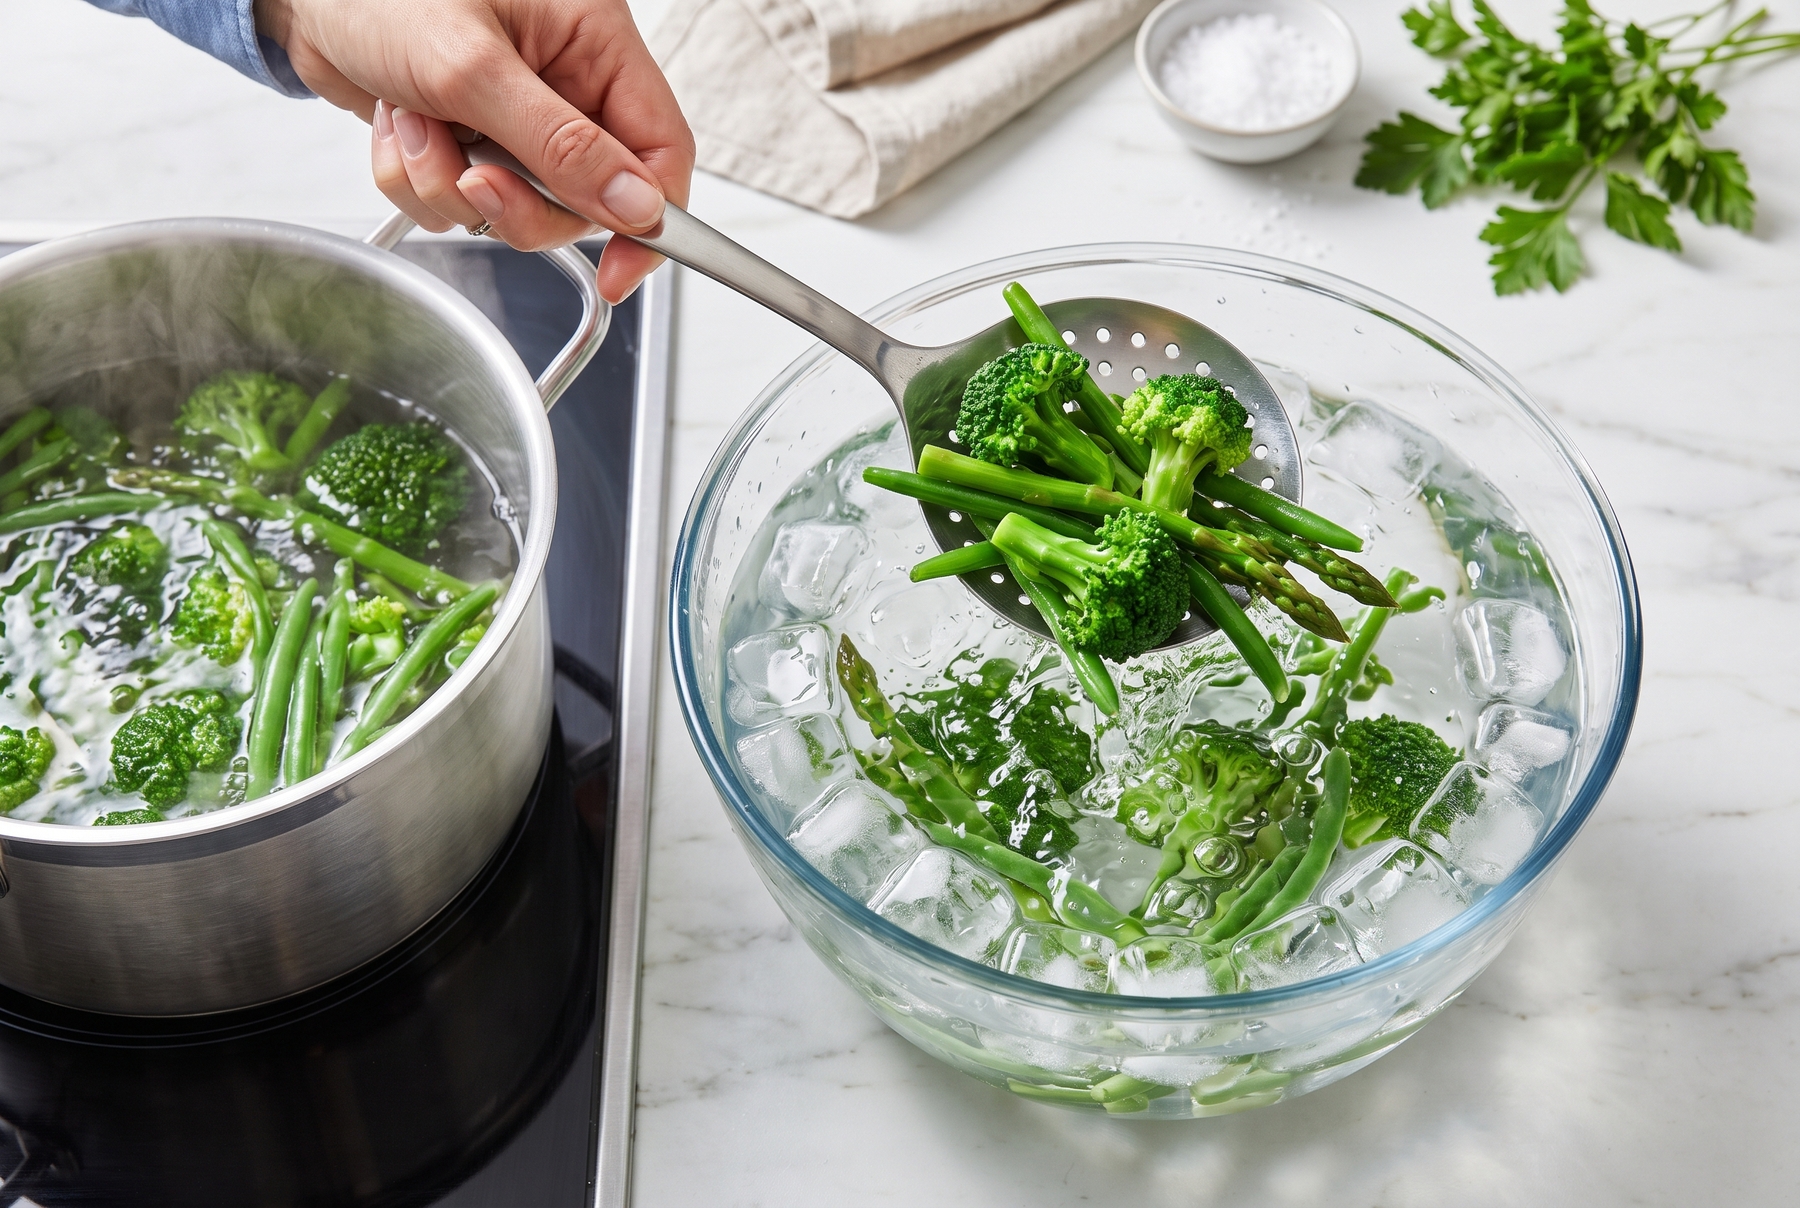
An ice bath instantly halts the cooking process and preserves the vibrant green color of the vegetables.
Tender Meats And Offal
Residual heat acts most powerfully on meat because a dense cut holds the heat for a long time. Forgetting about it means the meat will turn gray right on the plate.
Chicken Breast: Juiciness Without The Dry “Fitness Version”
Chicken breast dries out instantly because it contains almost no fat. The breast is removed slightly early and allowed to rest in a warm place. The official safety guideline for poultry is an internal temperature of 74 °C (165 °F). Bringing the breast to this number directly in the pan guarantees it will arrive at the table completely dry. Aiming for a final 74 °C (165 °F) in the thickest part is the goal: removing it slightly earlier is only acceptable if a thermometer confirms that the temperature will reach the safe mark during the resting period, allowing the juices to redistribute through the fibers instead of leaking onto the cutting board at the first slice. A finished breast is matte-white on the inside, with clear juices. Pink juice or glassy flesh indicates it has not finished cooking, requiring a couple more minutes.
Duck Breast: Medium As The Law Of The Genre
Duck breast is seared to medium. Well-done duck transforms tender red meat into tough liver with a metallic aftertaste. Placing the breast skin-side down in a cold, dry skillet and turning the heat to medium works wonders. The fat renders slowly, and the skin becomes thin, golden, and glass-shattering crisp. This takes 6–8 minutes. Flipping it onto the meat side for a couple of minutes is next. For a restaurant-style medium, the breast is pulled at 52–54 °C (125–129 °F), reaching about 57 °C (135 °F) while resting. However, official safety recommendations for all poultry advise no less than 74 °C (165 °F) internally. When sliced, a medium duck breast is warm and pink throughout, with a thin gray rim near the crust.
Beef Tenderloin And Steaks: Why Meat Rests On The Board
Many people cut a steak right out of the pan and are surprised by the pool of juices on the board. Meat needs to be left alone. After leaving the stove, heat still rages inside the cut, forcing the juices outward from the overheated center under pressure. Letting the steak rest for roughly the same amount of time it cooked (about 5–8 minutes for a thick filet mignon) solves this. During this time, the internal temperature will rise another 3–5 °C (5–9 °F), meaning a medium-rare steak should be pulled from the heat at 50 °C (122 °F), not 54 °C (129 °F). The fibers will relax, and the juices will flow back into the tissue. Slicing a well-rested steak leaves the board almost dry, with the juices exactly where they belong.
Pork Tenderloin: Pink Is No Longer A Death Sentence
The advice to dry out pork “just in case” is outdated. In the past, it was cooked to the texture of a shoe sole out of fear of parasites, but sanitation standards have long been revised. USDA recommendations allow for an internal 63 °C (145 °F) followed by a 3-minute rest, and at this mark, pork tenderloin remains juicy, with a slight pinkish tint in the center. Removing it at 60 °C (140 °F) and letting it rest under foil is the ideal approach. Overcooked pork is tough, and the flavor vanishes entirely. When pulled on time, it slices softly and smells of sweet, nutty roasting heat.
Beef And Chicken Livers: Salt At The End, Slicing With A Caveat
Liver dislikes two things: early salt and prolonged heat. Salt draws out moisture, so salting strictly occurs after searing, otherwise the piece turns leathery. Beef liver cooks quickly, a couple of minutes per side over high heat, retaining a faintly visible pink hue in the center: overcooked liver becomes grainy and bitter. Chicken liver, however, requires more care. Campylobacter can reside not just on the surface but inside, so chicken liver must be brought to 74 °C (165 °F) in the center, verified by a thermometer rather than just color. A liver that is gray all the way through is ruined, but leaving chicken liver frankly raw is not advisable either.
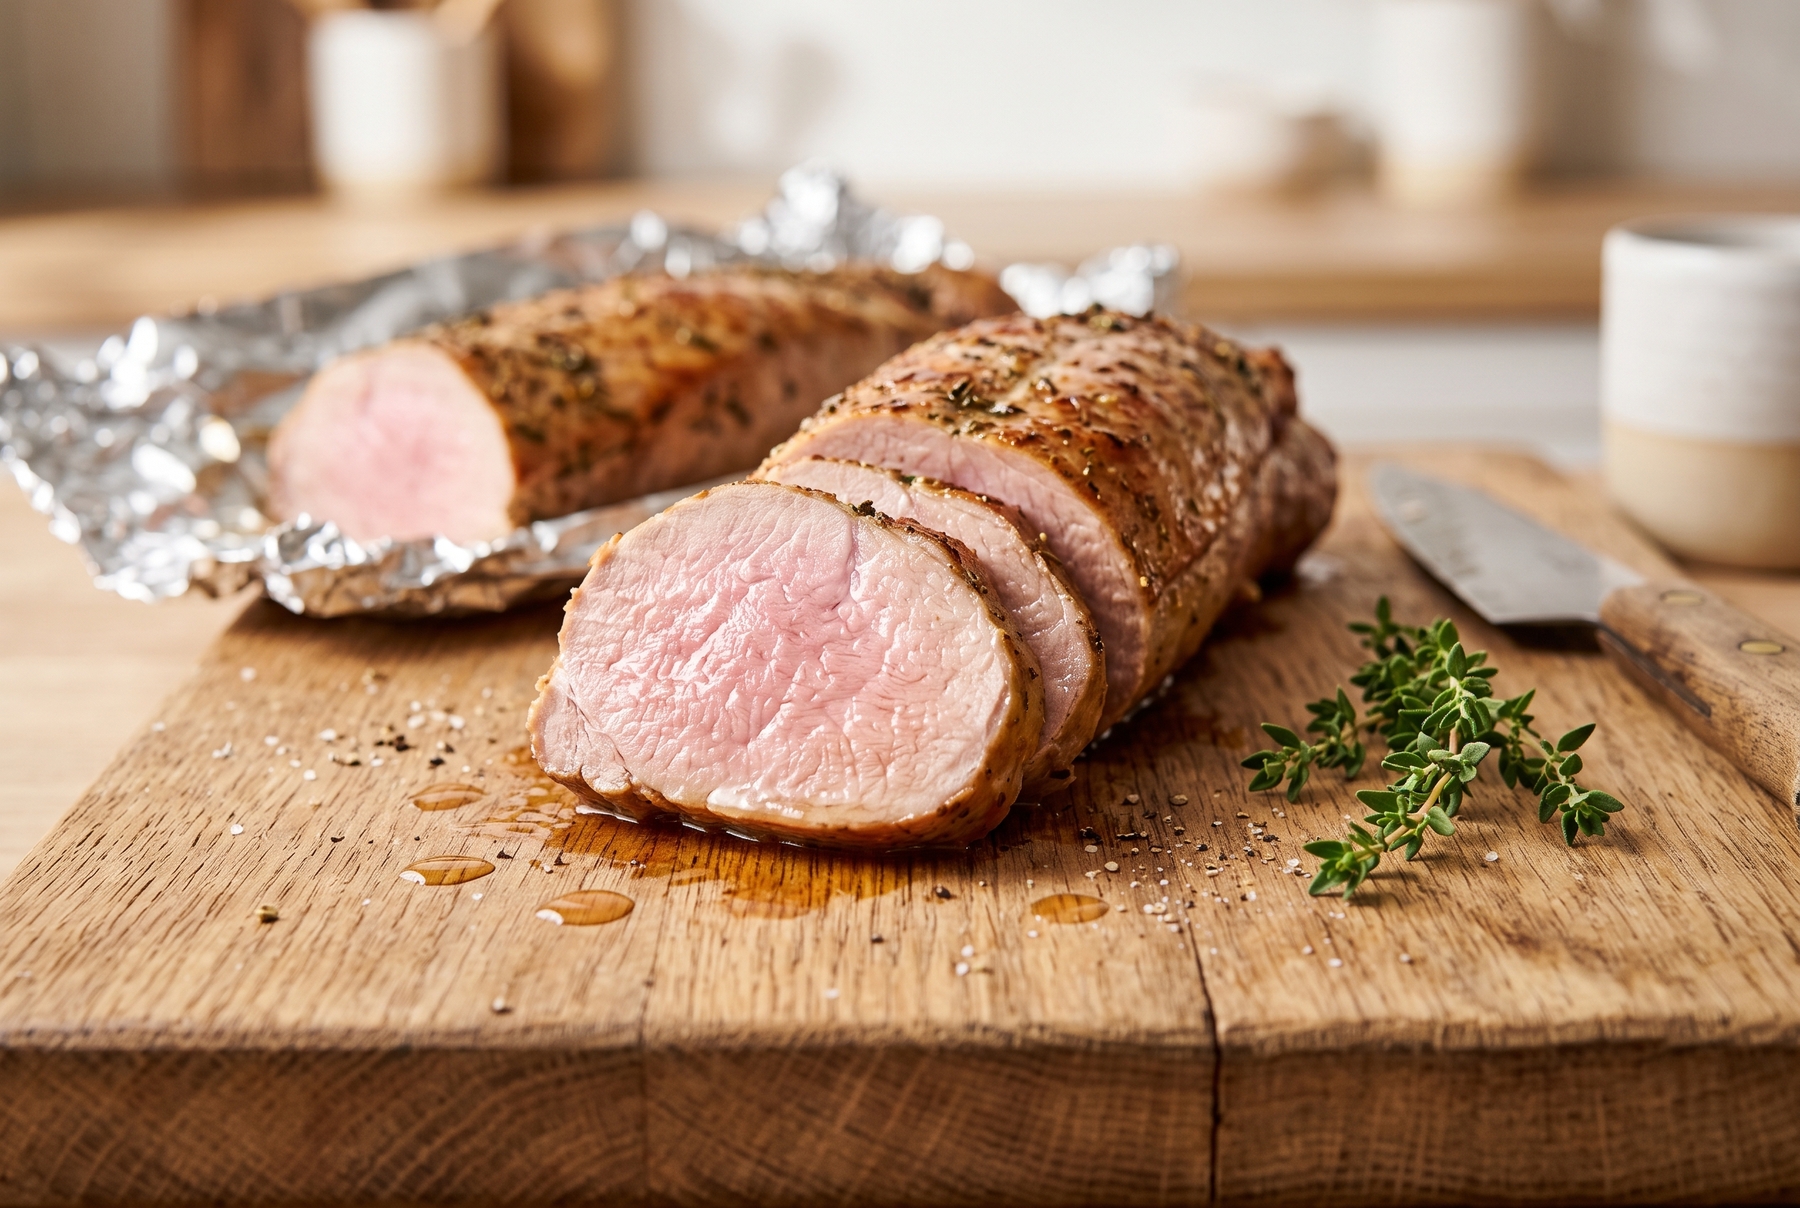
Pork tenderloin finishes cooking under foil, maintaining its juiciness and a tender pinkish hue in the center.
Second-By-Second Textures: Eggs, Cheese, Grains
Some foods travel from perfection to failure in a single breath. Thermometers will not help here; the eye and the hand decide everything.
Scrambled Eggs And Omelets: Take Them Off When It Seems Too Early
French scrambled eggs are removed from the heat when they still look somewhat runny, about 70% done. It appears premature, but the residual heat of the pan and the eggs themselves brings the mass to a creamy, slightly flowing texture during the seconds it takes to carry it to the plate. Stirring constantly with a spatula over low heat gathers delicate curds. As soon as most of it has set, but moisture still glistens between the folds, removing them and stirring off the heat is the final step. Overcooked scrambled eggs turn into a dry crumb that squeaks on the teeth and releases water onto the plate.
Poached And Hard-Boiled Eggs: Every Second Counts
With boiled eggs, timing is critical down to the second. A poached egg is gently dropped into barely shivering (not rolling) water with a splash of vinegar for 3 minutes: the white sets, while the yolk remains liquid and pours out as a thick drop when cut. A soft-boiled egg with a firm but moist yolk requires 6 minutes in boiling water, while a slightly firmer yolk needs 7. Overcooking results in a gray-green ring with a sulfurous smell around the yolk (a reaction between iron and sulfur), and the yolk itself dries and crumbles. Thus, hard-boiled eggs are plunged into cold water immediately after boiling to stop the process and prevent the ring from forming.
Halloumi And Saganaki: Catching The Crust Before The Cheese Melts Away
Certain cheeses do not spread into a puddle but hold their shape when fried: Cypriot halloumi and Greek saganaki cheeses. However, they also have a limit. Catching the moment of a golden crust is the goal. Heating a dry skillet (Halloumi releases enough of its own fat), placing slices about 1 cm (0.4 inches) thick, and frying for literally one minute per side yields great results. Once a toasted crust appears, flipping is necessary. Leaving them too long overheats the cheese inside, making it soften and spread, losing that springy, slightly squeaky texture for which it is fried in the first place. Crispy on the outside, stretchy on the inside.
Pasta: Removing It 1–2 Minutes Before Doneness
Pasta is almost never boiled to completion in water. Removing it 1–2 minutes earlier than the package directions suggest, while a thin white vein remains in the center (which is the true al dente), is standard. From there, the pasta finishes cooking in the skillet with the sauce. Splashing a couple of spoonfuls of starchy pasta water in, tossing the undercooked pasta, and stirring vigorously allows it to absorb the sauce’s flavor and reach the perfect firmness right in the pan. Overcooked pasta clumps together, loses its shape, and cannot hold sauce, which simply pools at the bottom of the plate. Al dente, however, offers a satisfying resistance to the teeth while remaining fully warmed through.
Risotto: The All’onda Wave And Mantecatura Without Fire
A finished risotto should flow across the plate in a slow wave (Italians call this all’onda). The rice itself remains slightly firm in the core, never mushy. The final stage happens entirely off the heat. Taking the pot off the stove when the rice still seems slightly undercooked and somewhat liquid is crucial. Beating in cold butter and grated cheese with energetic movements (a stage called mantecatura) follows. The residual heat of the rice melts the butter, binds the starch, and brings the grains to a creamy texture while you whip. Covering with a lid for a minute lets the risotto thicken just enough to hold the wave without turning into a brick.
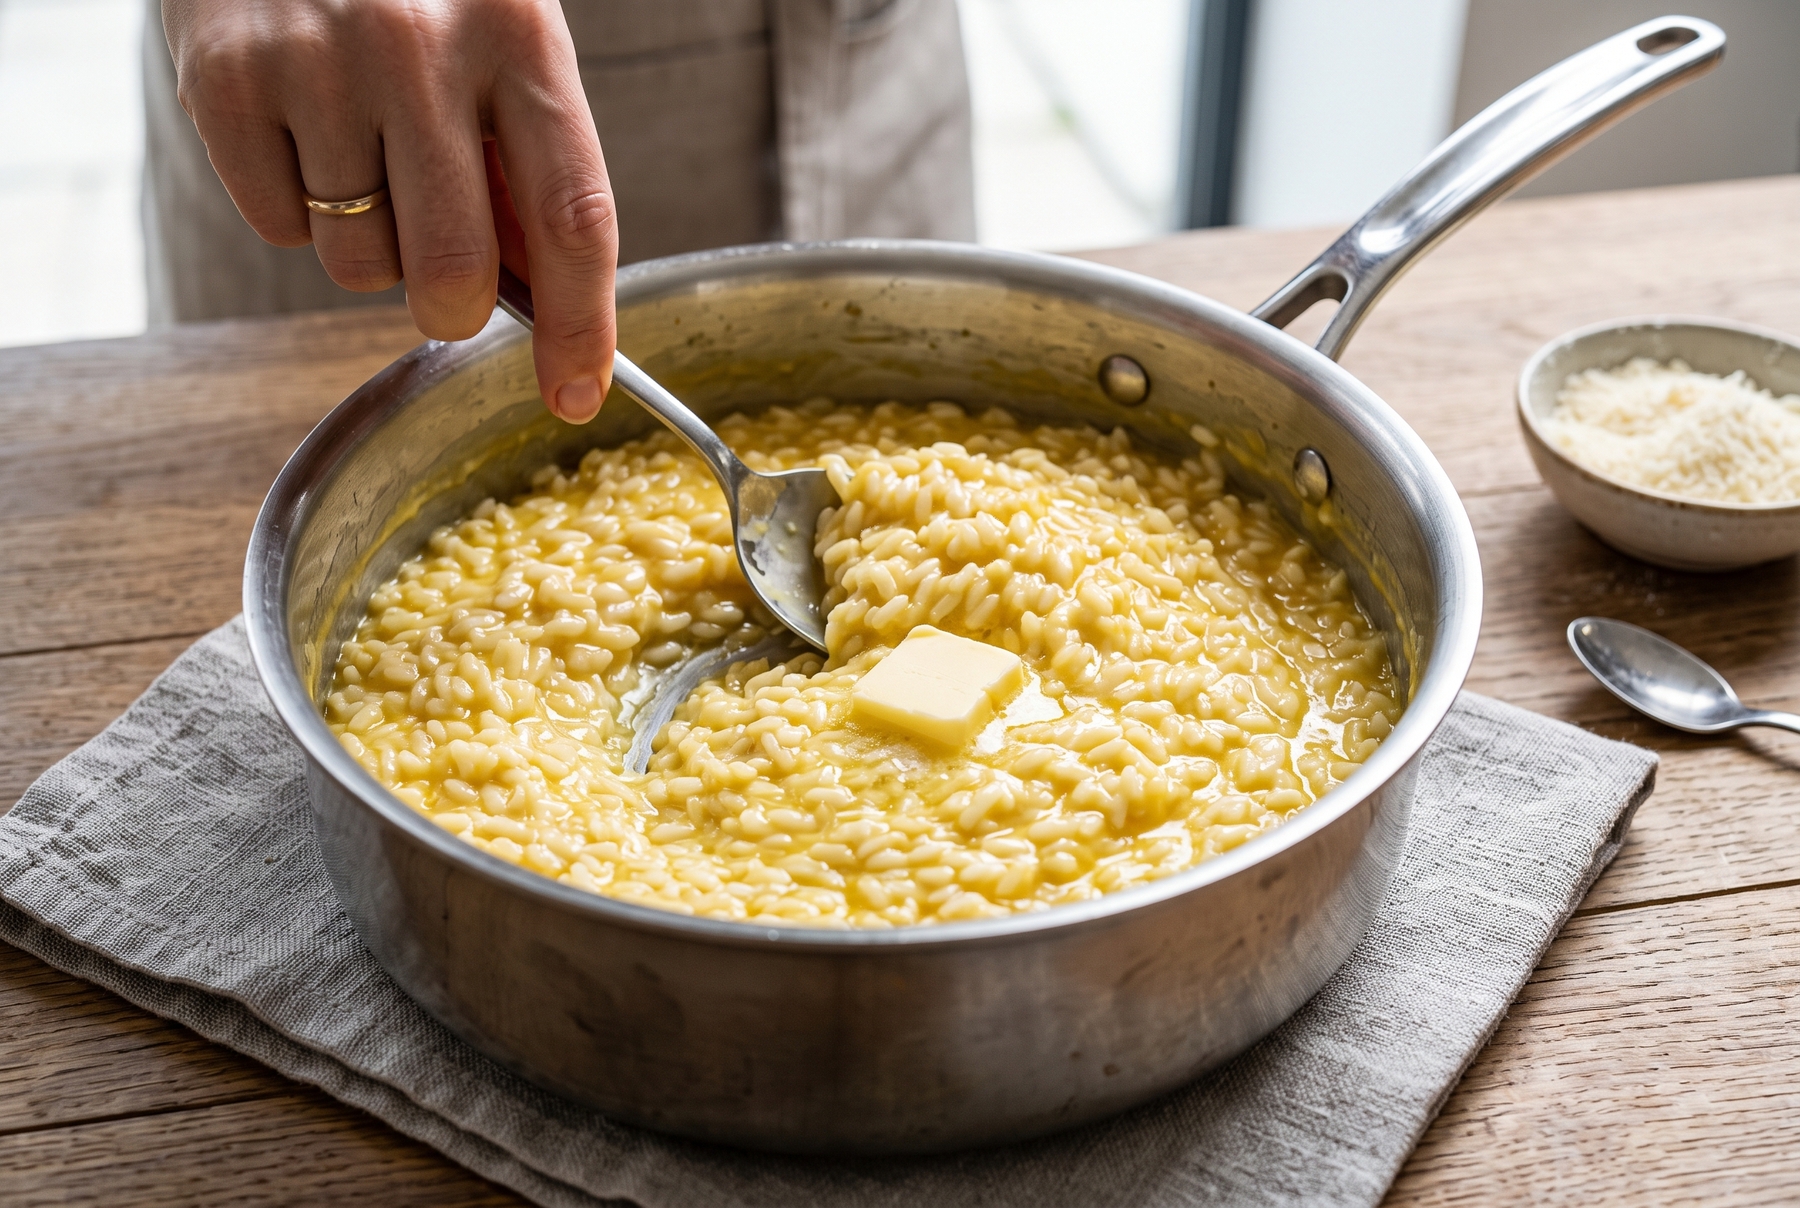
Vigorously stirring in butter off the heat creates a creamy risotto texture without overcooking the rice.
4 Signs It Is Time To Rescue A Dish From The Heat
When a thermometer is unavailable or the food is too small for it, the body itself offers clues. There are four signals relied upon in every kitchen:
- The Eye. Color And Transparency. Marine proteins lose their glassiness and turn white, greens flash bright and glossy, and the cross-section of meat changes tone from red to pink. At this hue, the fire is no longer needed.
- The Finger. Firmness. Perfectly cooked fish springs back and flakes slightly under pressure, a medium-rare steak offers a soft resistance, and an al dente vegetable holds its shape but yields. Hard and shrunken means “too late.”
- The Ear. The Sound Of Searing. Active hissing indicates that moisture is still evaporating and a crust is forming. As soon as the crackling subsides and shifts to a dull bubbling, the food is surrendering its last drop of water; dryness follows.
- The Nose. Aroma. Ideal doneness smells sweet, nutty, and toasted. A sharp sulfurous, burnt, or dry fishy odor means the point of no return has passed.
And the final point, the one most often forgotten: taking food off the burner is not enough. A blazing hot cast-iron skillet, a baking sheet, or even a hot plate continues to radiate heat just as effectively as a lit stove. Transferring a scallop from a hissing pan to a cold dish ensures it will finish cooking right there. A copper sauté pan, much like the ones often scrubbed in Parisian bistros, takes about 10 minutes to cool down, and during all that time, it quietly finishes cooking whatever was left inside.
0 comments