
Imagine this: you pull a chicken out of the oven, slice into it, and instead of a juicy breast, you find chalky, crumbly fibers, while the legs are still rubbery near the bone. Or the opposite occurs: the thigh melts in your mouth, but the breast has turned to cotton and lost all its moisture. Sound familiar?
The problem stems from the fact that a chicken is not a uniform piece of meat. A single bird contains two entirely different types of meat with distinct temperature requirements. The breast is almost pure protein with minimal fat. A mere two or three extra degrees can easily dry it out. The thigh and drumstick tell a different story: they contain more fat and abundant connective tissue, which remains tough at low temperatures but transforms into soft, nearly creamy gelatin when cooked properly.
Cooking them exactly the same way is akin to washing silk and denim on the same cycle. Something is bound to suffer.
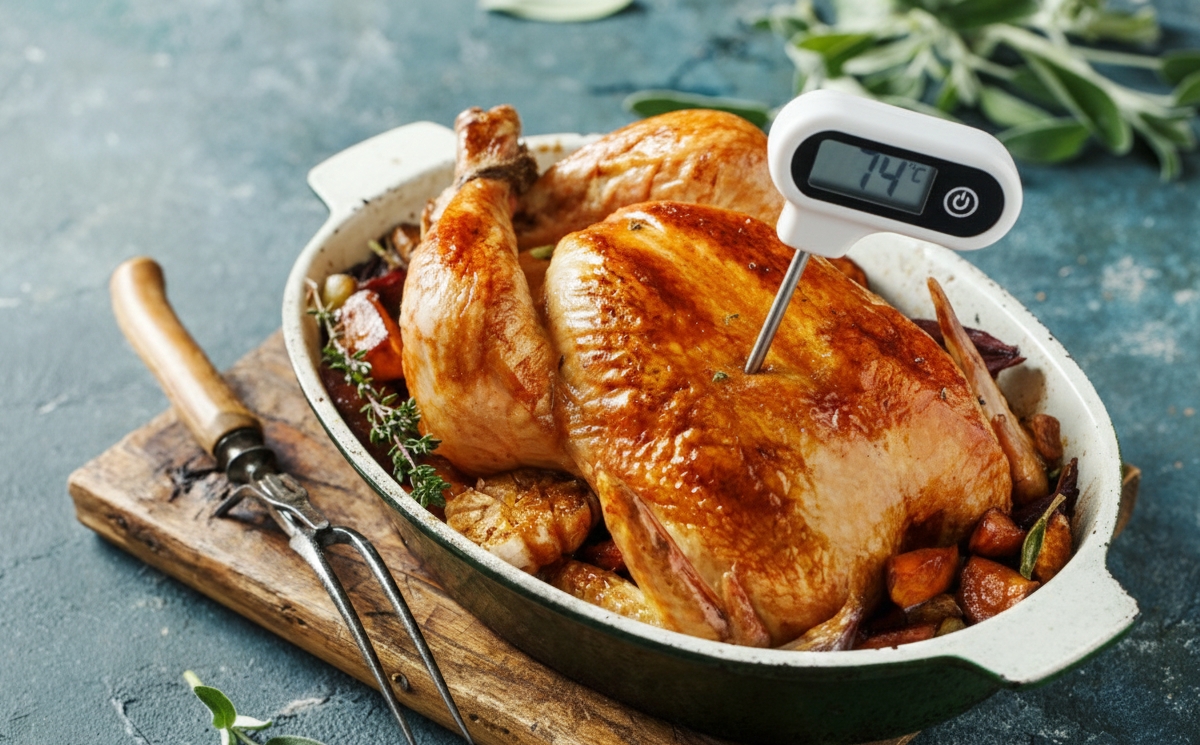
Juicy breasts and tender legs: the ultimate no-guesswork chicken temperature guide.
Traditional methods for checking chicken doneness usually fail. Clear juices can mean anything, including overcooked meat that has already expelled all its moisture. A pink color near the bone often results from hemoglobin, which might not disappear even when the meat is fully cooked. Relying strictly on a recipe’s cooking time is also a questionable strategy: the weight of the bird, the actual temperature of your oven (which frequently is off by 10–15°C or 20–30°F), and even how tightly you arrange the pieces on the baking sheet all affect the heating rate.
This is why using a meat thermometer is not an act of pedantry, but the only way to stop guessing and start controlling the outcome.
Cheat Sheet: Quick Start for Those Already in the Kitchen
If your oven is already on and you have no time for theory, these are your guidelines:
| Poultry Part | When to Remove from Heat | Texture Goal | Where to Measure |
| Breast | 70–72°C (158–162°F) | Firm, moist | The exact center of the thickest part |
| Thigh / Drumstick | 80–82°C (176–180°F) | Tender, pulls away easily | The thickest muscle mass (avoiding bone) |
| Wings | 85°C (185°F) | Crispy skin, melting meat | The meatiest section |
| Ground (Minced) Meat / Stuffing | 74°C (165°F) | Fully cooked | The center of the dish |
The Golden Rule: Cutting into the chicken immediately ruins the meat. Resting the chicken for 5–15 minutes allows the internal temperature to rise another 2–3°C (3–5°F) while the juices stabilize.
Table of Contents
- Cheat Sheet: Quick Start for Those Already in the Kitchen
- What Happens to Chicken When We Heat It
- What "74 Degrees" Actually Means
- The Temperature Map: Where to Find the Right Numbers
- Three Practical Scenarios: How to Get Everything Right
- What Went Wrong: Troubleshooting Common Mistakes
- What to Do With Cooked Chicken: Storage and Second Life
- Final Thought: A Thermometer Is Not Pedantry
What Happens to Chicken When We Heat It
Mastering the process requires understanding the basic mechanics. Several parallel stories unfold inside a roasting chicken, and all of them dictate what eventually lands on your plate.
The first story involves proteins. Muscle fibers begin to coagulate as early as 50–55°C (122–131°F). Think of protein strands twisting like a wet towel being wrung out. Higher temperatures and longer cooking times cause tighter squeezing, which forces more moisture out. The breast is particularly vulnerable since it lacks the fat needed to compensate for this moisture loss. Every degree past 74°C (165°F) works against you.
The second story centers on the collagen in the legs and thighs. This connective tissue holds the muscle fibers together. At room temperature, it remains tough and resilient. However, as the meat reaches 70°C (158°F) and beyond, the collagen slowly breaks down into gelatin, which dissolves into the meat juices. This conversion explains why a properly cooked thigh becomes so tender. This process requires time alongside heat. Stopping at the minimum 74°C (165°F) yields safe but somewhat tough legs. Pushing the temperature to 82–88°C (180–190°F) allows the meat to separate cleanly from the bone, making every bite melt in the mouth.
The third story highlights how heat travels through the meat. Heat moves from the outside in, and the temperature difference between the surface and the center can reach 30–40°C (54–72°F). While the center of the breast sits at 60°C (140°F), the exterior might already be hitting 95–100°C (203–212°F). This creates a classic trap: waiting for the center to reach a safe temperature often results in the outer layers drying out into cardboard.
Another crucial factor often overlooked is carryover cooking. Heat continues to migrate from the surface to the center even after you pull the chicken from the oven. The core temperature of a whole bird can rise by 3–5°C (5–9°F), while individual pieces might increase by 2–3°C (3–5°F). This phenomenon acts as a valuable resource. Pulling a breast at 72°C (162°F) and letting it rest under foil for 5–10 minutes allows it to reach the safe 74°C (165°F) on its own while remaining remarkably juicy.
The final detail involves the golden-brown crust. This forms on the surface at temperatures above 140°C (284°F) thanks to the Maillard reaction (where proteins and sugars interact under high heat). However, the crust has absolutely nothing to do with the internal doneness of the meat. Beautiful golden skin can easily hide a completely raw breast, just as pale skin can cover a fully cooked and safe chicken.
All these factors explain why trying to guess doneness by color, time, or appearance remains so unreliable. The naked eye cannot see what happens inside, but a thermometer can.
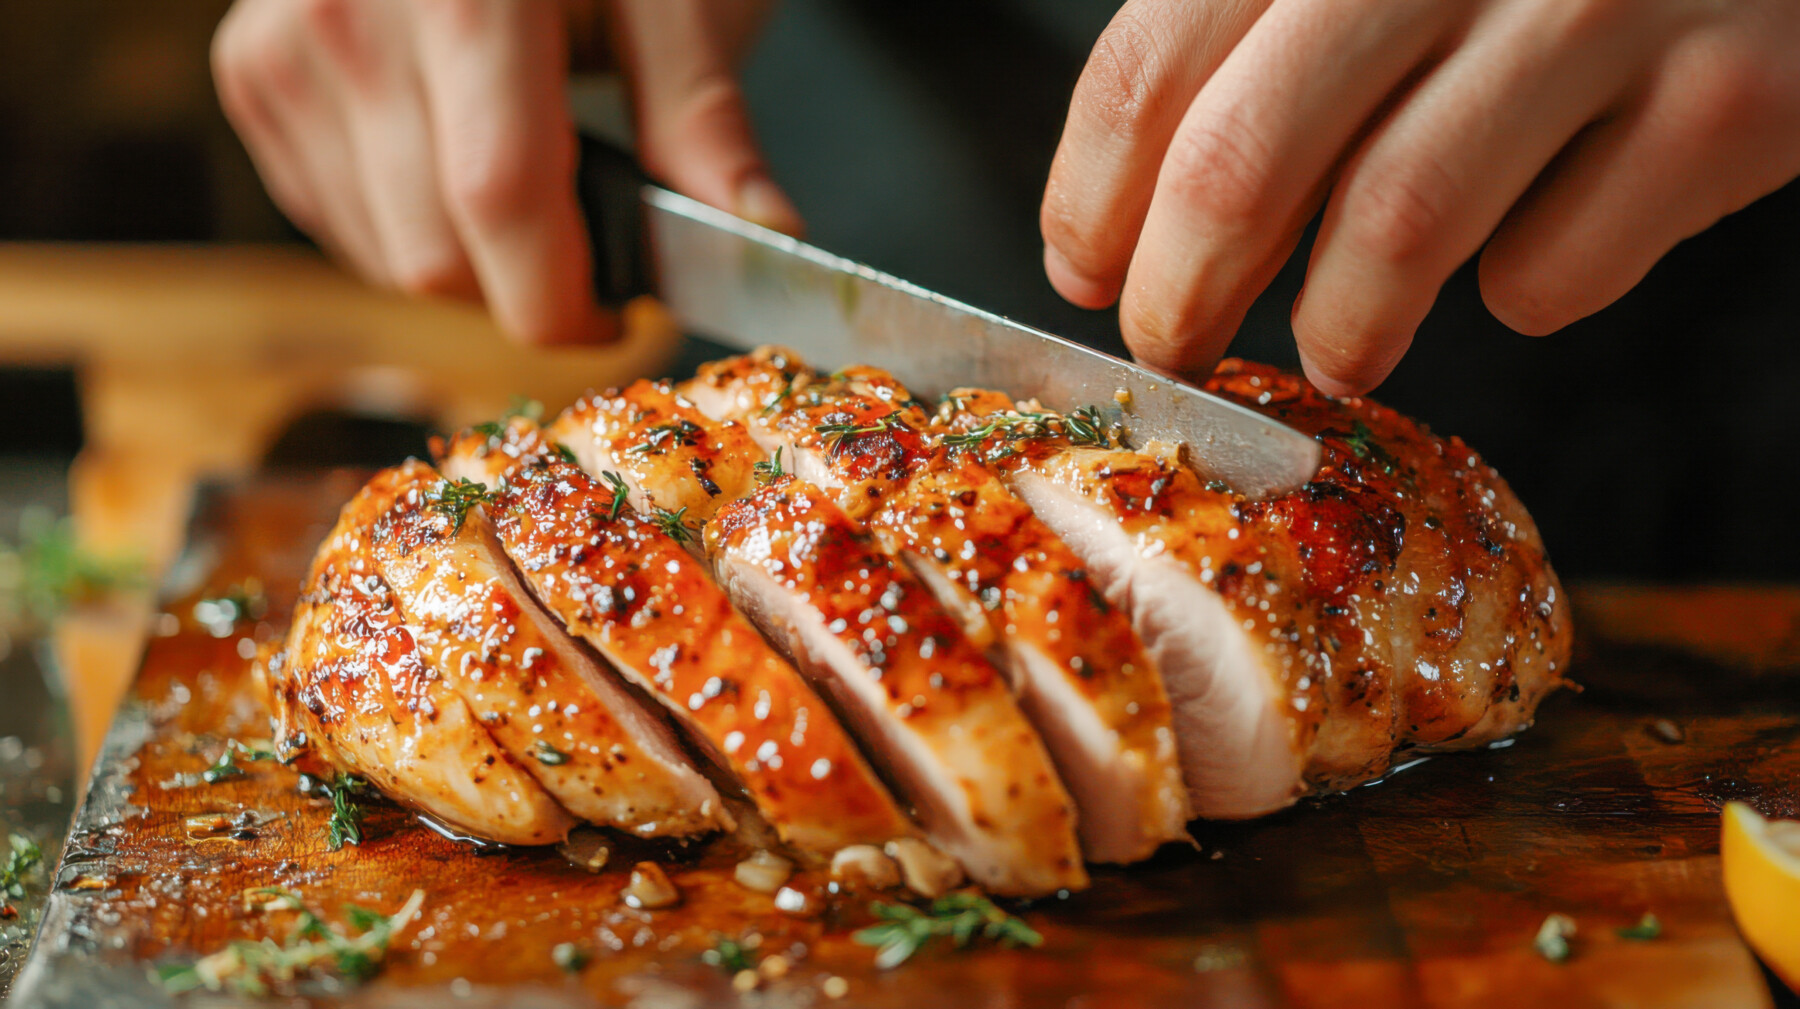
Achieving true juiciness requires pulling the breast at 70–72°C (158–162°F), covering it with foil, and letting it rest for 5–10 minutes. Residual heat safely pushes it to 74°C (165°F) without squeezing out the juices.
What “74 Degrees” Actually Means
The official safety standard for all poultry stands at 74°C (165°F). This is the temperature at which dangerous bacteria like Salmonella and Campylobacter die almost instantly.
Digging a little deeper reveals a more interesting picture. Safety actually depends on both temperature and holding time. Professional regulations and sous-vide cooking rely on time-temperature pasteurization tables. For instance, bacteria also perish at 60°C (140°F), but the meat must hold that temperature for several minutes. At 65°C (149°F), the required time drops. At 74°C (165°F), the bacteria die immediately.
Home kitchens usually lack ovens with precise temperature control, making the “74°C (165°F) in the thickest part” rule the easiest to follow. This guarantees you avoid the gray zone where safety depends on exactly how many seconds or minutes the meat spent at a specific temperature.
One vital clarification: ground (minced) poultry, any stuffing cooked inside the bird, and rolled roasts always demand a strict 74°C (165°F), no exceptions. The meat structure is broken down, bacteria spread throughout the entire volume, and there is absolutely no room for leniency.
The Temperature Map: Where to Find the Right Numbers
Understanding the mechanics makes it easier to pinpoint exact target temperatures and thermometer placement.
First comes the equipment. A digital instant-read thermometer is essential. Good models cost about the same as a couple of packs of chicken breasts at the supermarket and pay for themselves after the first dinner where you do not have to wonder if the chicken is raw.
Breast
The minimum safe core temperature is 74°C (165°F). Achieving true juiciness means pulling the breast at 70–72°C (158–162°F), covering it with foil, and letting it rest for 5–10 minutes. Residual heat pushes the temperature up to the safe 74°C (165°F) mark without squeezing out all the juices, keeping the meat incredibly tender.
Where to place the probe: Insert it into the center of the thickest part of the breast, parallel to the cutting board. Pushing it all the way through or touching the bone (if cooking bone-in breasts) yields falsely high readings since bones heat up faster.
What a perfect breast looks like: The meat feels firm but not rock-hard. The fibers appear white and opaque. Pressing with a fork reveals a springy texture that refuses to crumble into dry flakes.
Thigh and Drumstick
The safety minimum remains 74°C (165°F). Stopping at this exact number yields technically edible but slightly tough legs. Achieving a truly soft, tender texture requires aiming for 82–88°C (180–190°F). This higher temperature allows the collagen time to transform into gelatin, making the meat separate easily from the bone and ensuring every bite melts.
Where to place the probe: Insert it into the thickest part of the thigh, close to the joint, without touching the bone. The bone heats up rapidly and will easily deceive you.
What perfect legs look like: The joint moves effortlessly, and the meat near the bone might look slightly darker (which is perfectly normal, so do not panic) while feeling extremely soft. At 82–88°C (180–190°F), the fibers yield to a fork with almost no resistance.
Whole Bird
Roasting a whole chicken requires monitoring two distinct points: the breast and the thigh. They cook at different speeds, and the ultimate goal is catching the exact moment the breast hits 74°C (165°F) (or slightly lower, factoring in the resting period) while the legs have managed to reach 82–85°C (180–185°F). Roasting a bird without any special techniques almost always results in the breast finishing first, making it the primary piece you must protect from drying out.
Wings
Wings usually cook alongside the legs and comfortably sit in the 80–85°C (176–185°F) range. Rich in skin and small bones, wings forgive slight overheating much easier than the breast.
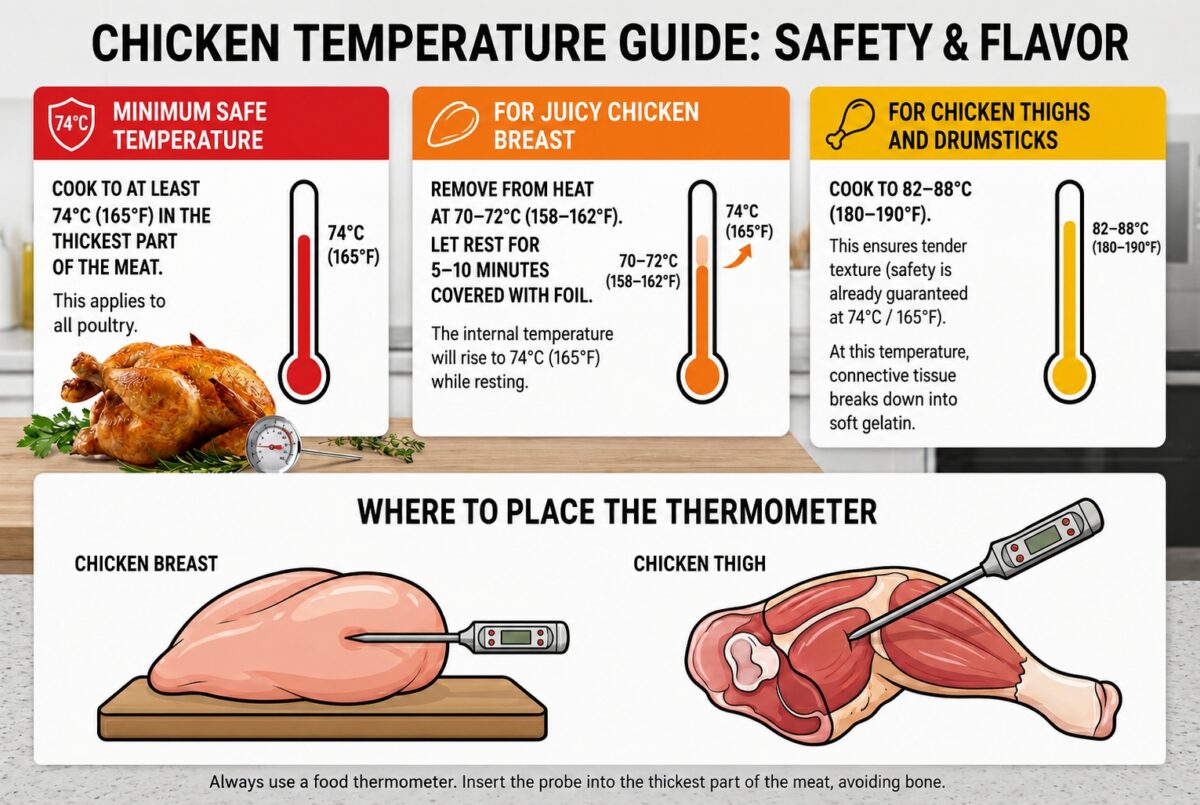
A guide to safe internal chicken temperatures: a minimum of 74°C (165°F), 70–72°C (158–162°F) before resting for juicy breast meat, and 82–88°C (180–190°F) for tender thighs and drumsticks.
Three Practical Scenarios: How to Get Everything Right
Knowing the temperatures only solves half the puzzle. The other half involves organizing the cooking process so the breast and legs hit their target temperatures simultaneously. Here are three proven methods.
Scenario One: Breaking Down the Bird (The Most Reliable)
Dividing the chicken into parts offers the best results: keep breasts separate, thighs and drumsticks separate, and wings grouped with the legs. Sending the legs and thighs into the oven first gives them the extra time they need to reach 82–88°C (180–190°F). Adding the breasts 15–20 minutes later synchronizes the finish time.
Monitor the temperature of each part individually. Pulling the breasts at 70–72°C (158–162°F), covering them with foil, and letting them rest ensures perfectly cooked white meat. Pushing the legs to 82–88°C (180–190°F) before removing them guarantees perfection for the dark meat. This approach provides maximum control and minimizes any risk of ruining dinner. Additionally, a broken-down chicken cooks much faster than a whole one.
Scenario Two: Spatchcocking the Chicken
Spatchcocking offers an impressive whole-bird presentation without the headache of uneven cooking speeds. Removing the backbone with kitchen shears or a knife allows you to open the chicken and lay it flat on the baking sheet, skin side up, like a butterfly.
A flattened chicken cooks much more evenly because all parts sit at roughly the same level and face the same heat exposure. The breast dries out less, the legs heat up better, and the skin turns remarkably crispy.
Monitoring requires checking two points: the breast and the thigh. When the breast approaches 72°C (162°F), check the thigh. If the dark meat still hovers around 76–78°C (169–172°F), simply shielding the breast with foil (or placing a buttered piece of foil over it) and returning the bird to the oven for a few minutes allows the legs to reach 82–85°C (180–185°F).
Scenario Three: The Whole Chicken “As Is” (Classic with Nuances)
Roasting a traditional whole bird—sitting upright with tucked wings—means accepting that the breast will suffer first. It protrudes upward, heats up faster, and lacks the protective buffer of fat or collagen.
The strategy goes like this: when the breast reaches 70–72°C (158–162°F), immediately check the thigh. If the dark meat remains around 76–78°C (169–172°F), cover the breast with foil (adding a pat of butter on top offers extra insurance) and return the bird to the oven. Pushing the legs to 82–85°C (180–185°F) takes a bit more time. Meanwhile, the covered breast will gently climb to a safe 74°C (165°F) without turning into pressed sawdust.
All three scenarios produce excellent results. The choice simply depends on what matters most: maximum control (breaking it down), impressive presentation (spatchcocking), or a classic look (whole bird). The key lies in understanding how temperature behaves in different parts and refusing to leave the process to chance.
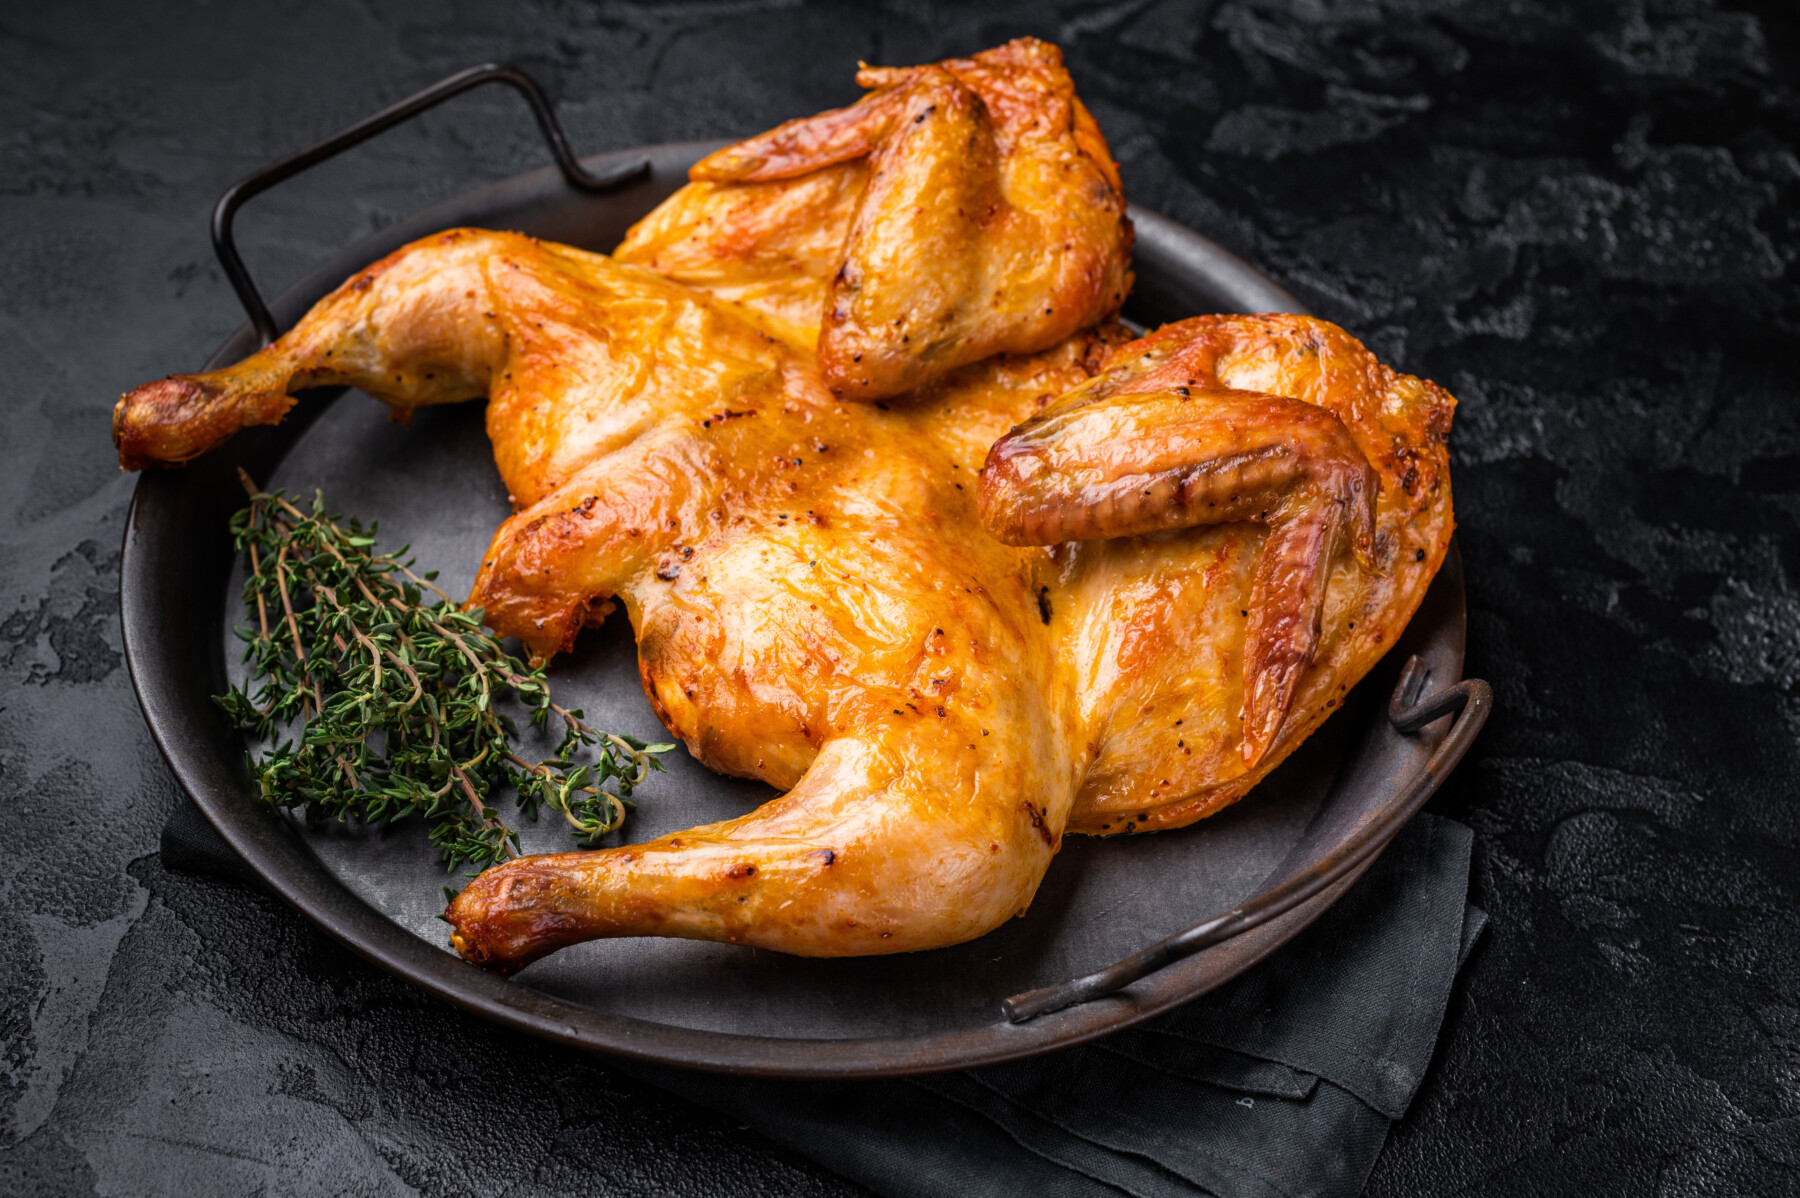
A spatchcocked chicken cooks much more evenly: monitor both the breast and the thigh. When the breast hits 72°C (162°F), push the thigh to 82–85°C (180–185°F), shielding the breast with foil if necessary.
What Went Wrong: Troubleshooting Common Mistakes
Mistakes happen even with a thermometer if you ignore a few hidden pitfalls. This is how to read the problems and fix them.
Dry Breast, Crumbling Fibers
Slicing the chicken reveals a breast that falls apart into dry white flakes with almost no juice. A classic tragedy.
Possible causes: Pulling the meat too late (the core temperature exceeded 75°C (167°F)), cutting immediately after taking it out of the oven without resting (spilling all the juice onto the board instead of keeping it inside), or measuring the temperature in the wrong spot, meaning the actual center got much hotter than expected.
The fix: Pulling the breast at 70–72°C (158–162°F), absolutely insisting on a 5–10 minute rest under foil, and verifying the thermometer sits dead center in the thickest part prevents this entirely.
Rubbery Legs, Meat Clinging to the Bone
The chicken is safe to eat, but the legs feel tough, requiring serious gnawing, and the texture comes across as bouncy and rubbery.
The cause is almost always singular: stopping at the minimal 74°C (165°F) deprived the collagen of the time it needed to convert into gelatin. For the legs, this essentially means undercooking—technically edible, but completely unenjoyable.
The fix: Pushing the thighs and drumsticks to 82–88°C (180–190°F) solves the issue. Yes, this exceeds the safe minimum. But for dark meat packed with connective tissue, this high heat represents the ideal standard, not an overcook.
Thermometer Shows Strange or Jumping Numbers
Inserting the probe shows 68°C (154°F). Pulling it out and inserting it right next door suddenly shows 78°C (172°F). Or the readings seem impossibly high for the short time the chicken spent in the oven.
Possible causes: The probe touched the bone (which always runs hotter than the meat), hit an air pocket or a pool of juice, or the thermometer itself suffers from poor calibration.
The fix: Pulling the probe out and reinserting it, shifting the target point slightly, gives a truer reading. If the variation exceeds 3–4°C (5–7°F), checking the thermometer itself becomes necessary. Submerging it in boiling water (100°C (212°F) at sea level) reveals its accuracy. Severe discrepancies mean it is time for a new device.
Fully Cooked Inside, Pale Skin Outside
The temperature checks out perfectly, but the skin looks boiled rather than roasted.
The cause: The oven temperature ran too low (resulting in a slow, delicate cook), or the surface remained too wet.
The fix: Firing up the grill (broiler) for 2–3 minutes right at the end works wonders (watch closely to prevent burning). Alternatively, brushing the skin with oil or melted butter before cooking helps build color. Remember: crust development tells an entirely separate story and has zero connection to the internal doneness of the meat.
What to Do With Cooked Chicken: Storage and Second Life
Cooked chicken keeps beautifully in the refrigerator for 3–4 days. Realizing you will not finish it in time means freezing it immediately—this ensures better safety and preserves the texture much better than letting the meat linger on the edge of expiration.
Reheating always requires hitting 74°C (165°F)—a strict safety requirement for all pre-cooked poultry. The best method involves an oven set to 150–160°C (300–320°F), placing the chicken in a baking dish covered with foil, and perhaps adding a couple of spoonfuls of broth or water to the bottom. The microwave works faster but turns the texture unpleasantly rubbery, especially with the breast.
Breaking down the chicken yourself means you should never throw away the carcass. Bones, cartilage, skin trimmings, and wing tips all belong in a stockpot. Covering them with cold water, bringing the pot to a boil, skimming the foam, lowering the heat, and simmering gently for a few hours yields liquid gold. The resulting stock serves as the perfect base for soups, risottos, and sauces. Pouring it into jars or bags allows for easy portioned freezing.
The rendered fat and dark juices left on the baking sheet offer an almost ready-made gravy. Straining this mixture through a sieve into a glass jar creates a magical ingredient that keeps in the fridge for 4–5 days, ready to elevate roasted vegetables or serve as a sauce base.
Leftover breast meat chops perfectly into salads, sandwiches, and grain bowls. Leftover legs (even if slightly overcooked) shine in stews, tacos, and pasta dishes, where the rich sauce compensates for any dryness, ensuring a succulent final dish.
A store-bought rotisserie chicken offers incredible convenience, but requires a bit of vigilance. Bringing home a warm, rather than piping hot, bird means it should probably visit the oven until the thickest part hits 74°C (165°F). This acts as a reliable insurance policy against birds that sat on the warming rack a little too long. Breaking it down immediately after purchase and storing it in a proper container significantly extends its shelf life.
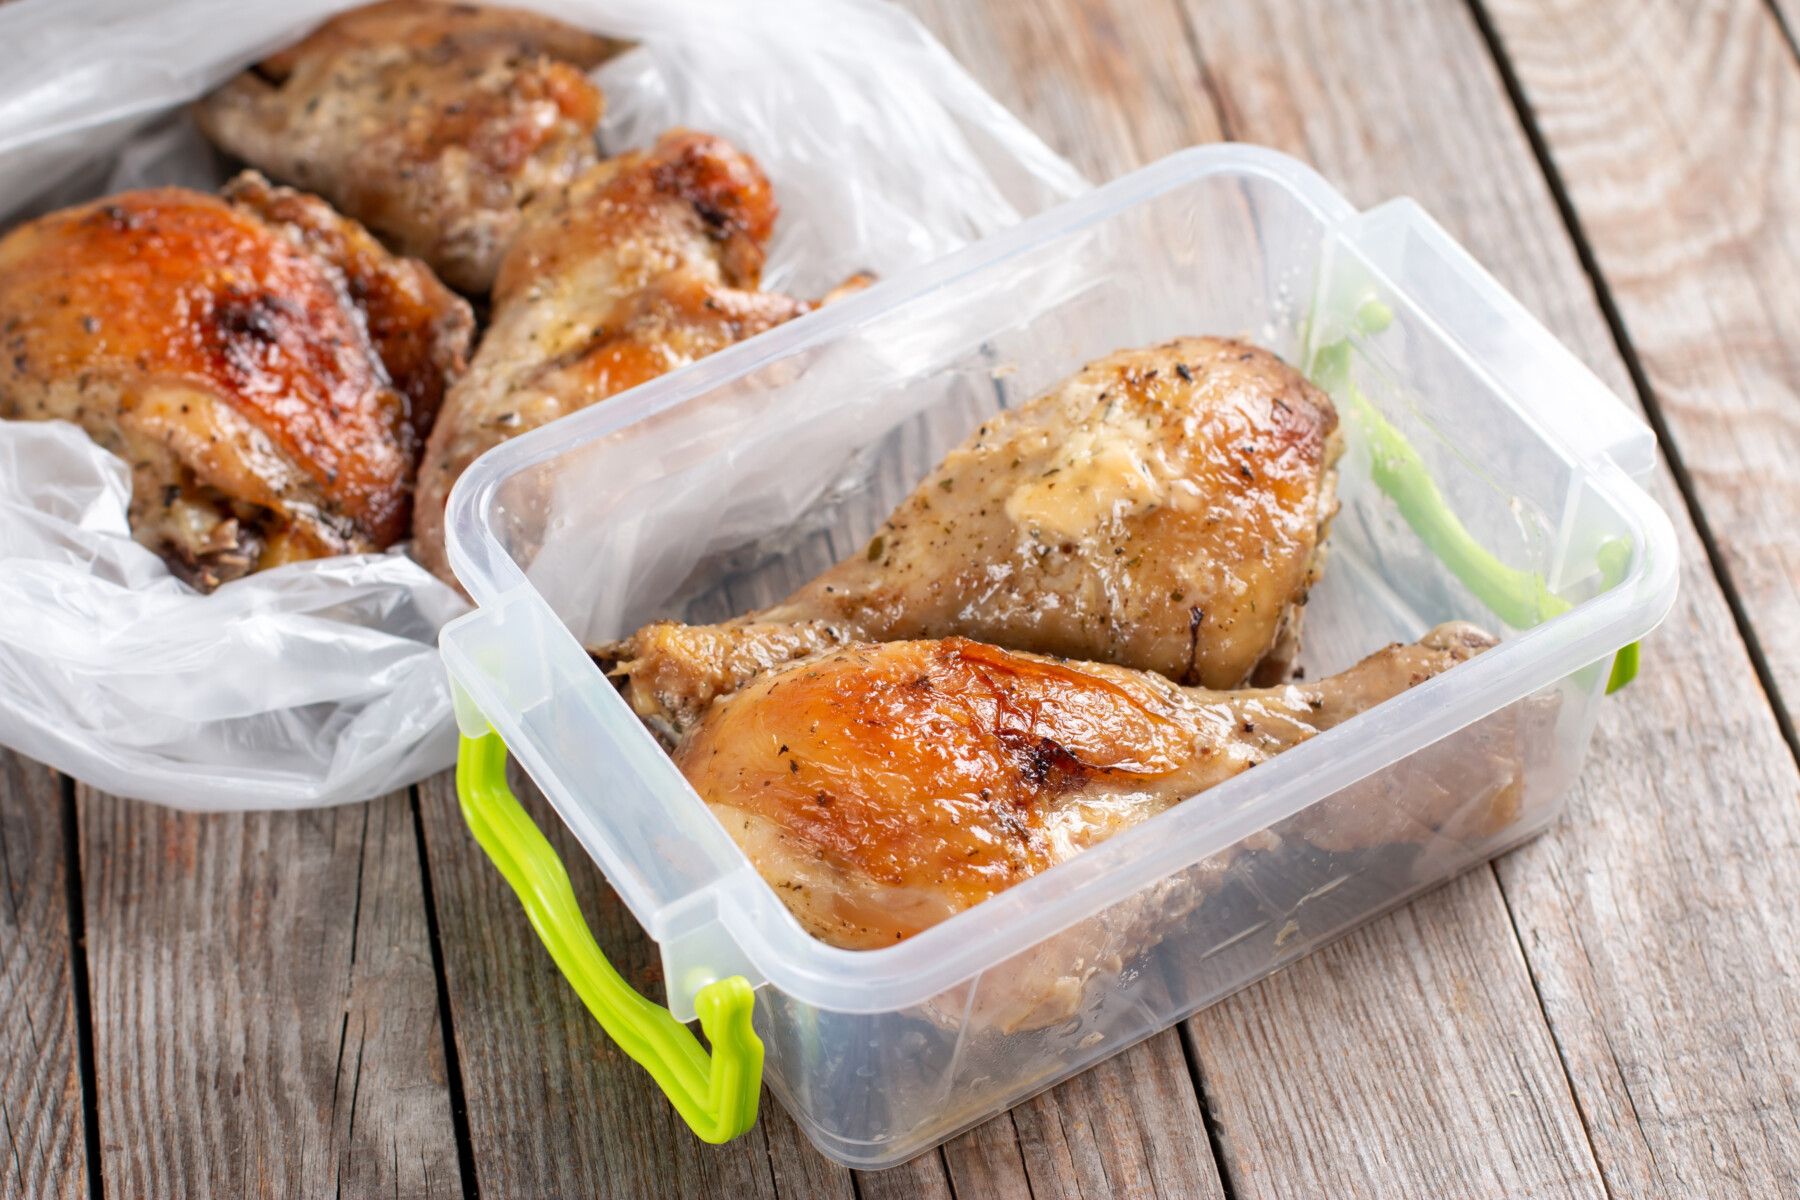
Cool cooked chicken quickly and store it in the refrigerator in a sealed container; always reheat the thickest part to 74°C (165°F).
Final Thought: A Thermometer Is Not Pedantry
Roasting a chicken without a thermometer feels exactly like navigating an unfamiliar city without a map, relying entirely on intuition and vague landmarks. Sometimes it works. But more often than not, you either dry out the breast trying to cook the legs through, or you undercook the legs out of fear for the breast. Or worse, you manage to do both simultaneously.
A thermometer eliminates the lottery. You know exactly when the breast hits 72°C (162°F) and needs to come out. You see the thigh sitting at 78°C (172°F) and understand it needs another five minutes. You finally stop stabbing the chicken in three different places just to check the juice color, spilling all that precious moisture onto the cutting board in the process.
This has nothing to do with perfectionism for perfectionism’s sake. It represents a straightforward, proven method for cooking delicious, safe food without relying on luck or “generational wisdom” that often just means accepting chronically overcooked meat.
Buying a thermometer and learning to use it ensures that roasting chicken will never be a gamble again.
3 comments