
The scenario is familiar: you bring home a wedge of cheese that cost significantly more than usual, quietly hiding the receipt from your family. Now, you open the refrigerator every half hour as if checking on a prized investment. Storing cheese properly at home is straightforward: it requires cold temperatures, moderate humidity, and wrapping that prevents the surface from drying out without trapping moisture directly against the rind.
Expensive cheese is more often ruined by overzealous care than by neglect. People suffocate a wedge in three layers of plastic wrap, shove it into the coldest corner of the fridge, and pull it out every evening to check if it has spoiled.
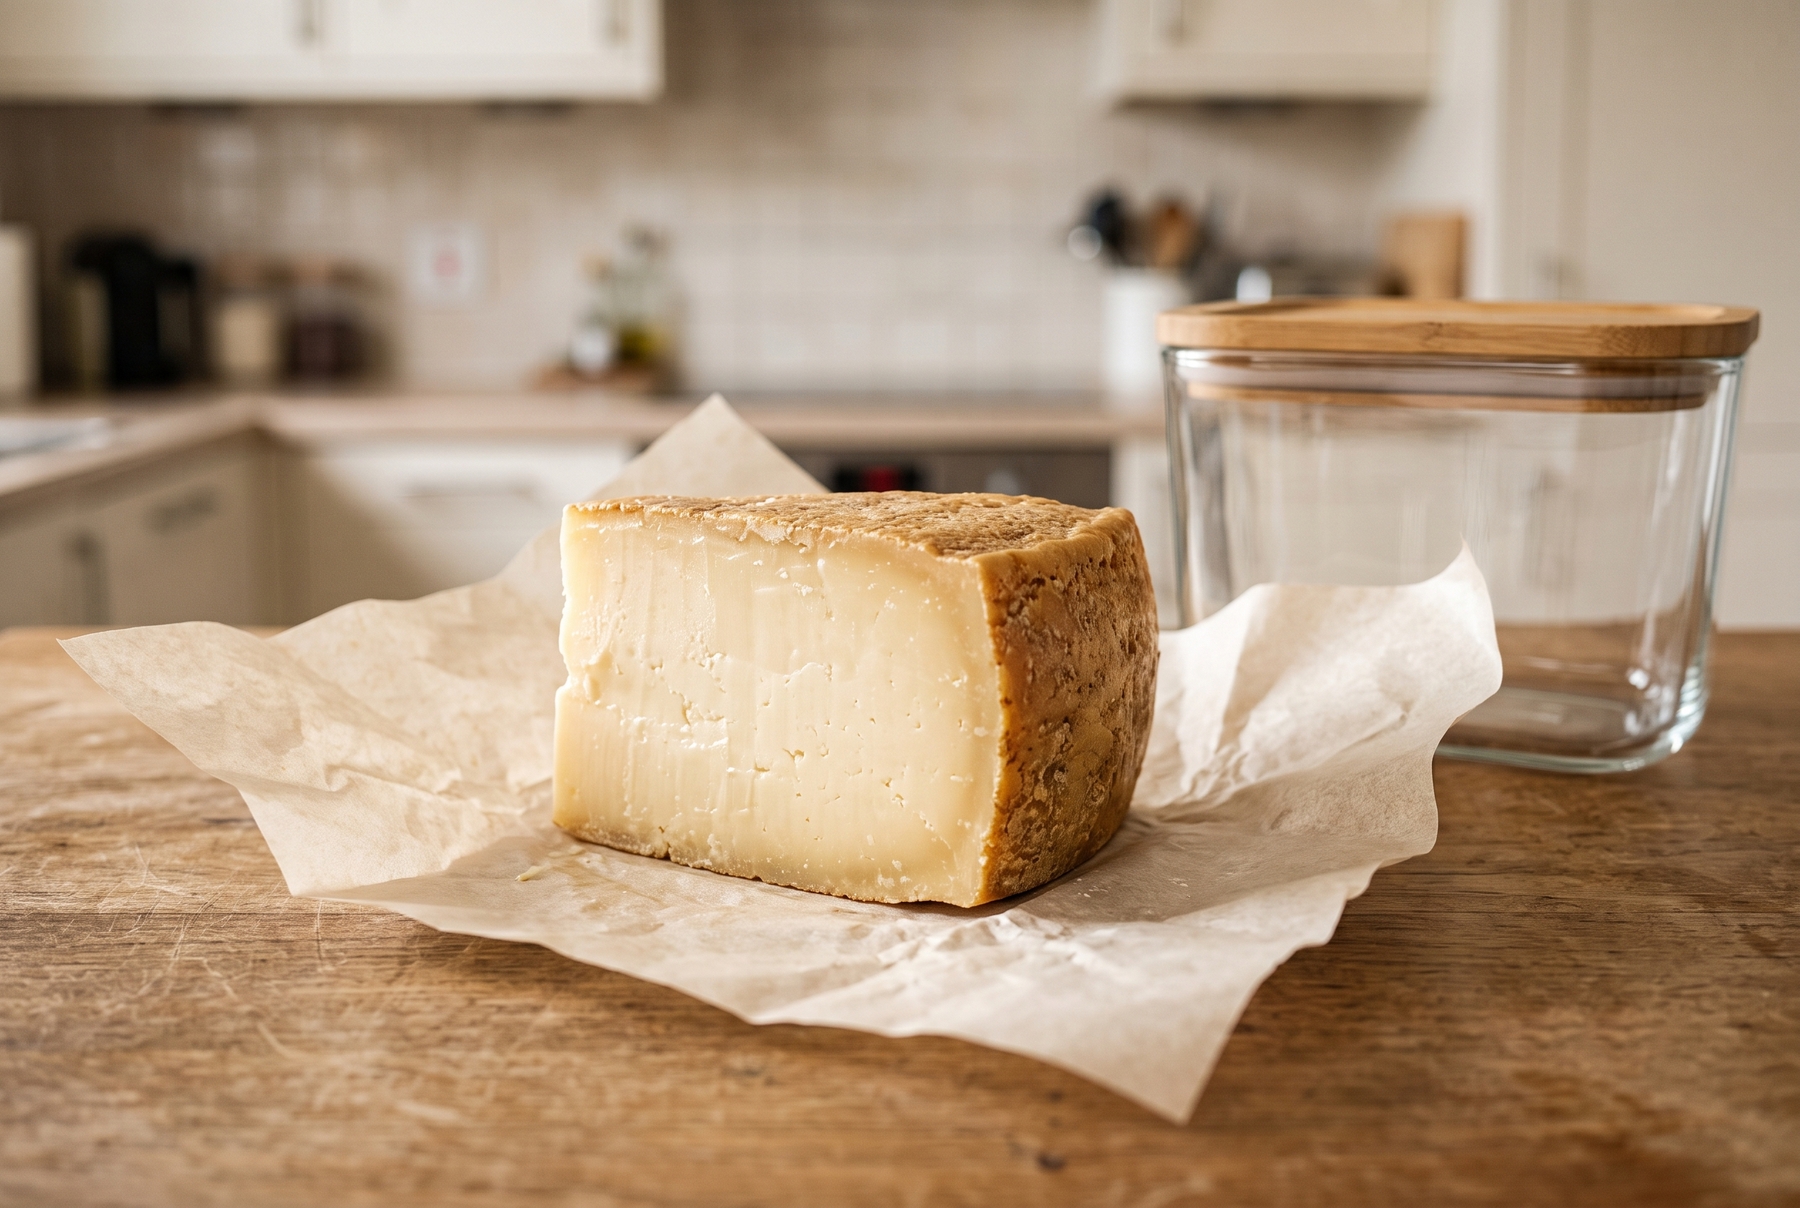
A wedge of cheese resting on parchment paper, ready for proper wrapping and home storage.
Table of Contents
- A Cut Wedge of Cheese Continues to Evolve
- Store Packaging Rarely Suits Your Kitchen
- What to Wrap Cheese in for Refrigerator Storage
- Where to Store Cheese in the Refrigerator
- Four Cheese Categories and What They Need
- How to Tell When Cheese Has Gone Bad
- How to Handle Cheese Before Serving
- Can You Freeze Cheese?
- Seven Steps to Take Once You Bring Cheese Home
A Cut Wedge of Cheese Continues to Evolve
A piece of cheese retains water, fat, proteins, aromatic compounds, and living microflora. Biological and chemical processes continue inside the refrigerator, just at a slower pace. Consequently, cheese constantly evolves: it loses moisture, absorbs stray odors, develops condensation, and shifts in flavor from week to week.
When conditions are too dry, the cut edge hardens, darkens, develops fine cracks, and crumbles under the knife. When conditions are too humid and tightly sealed, the surface turns tacky, the aroma sharpens, and moisture pools beneath the wrapper.
Preserving cheese in the exact state you bought it is impossible. The true goal is slowing down these changes and protecting its flavor until the next serving.
Store Packaging Rarely Suits Your Kitchen
Vacuum Packaging
As long as the factory seal remains intact, the manufacturer’s label and expiration date serve as reliable guides. Opening the package changes the environment entirely. The cheese encounters air, hands, knives, and cutting boards, rendering the printed expiration date obsolete.
Incidentally, cheese often smells noticeably sharper immediately after breaking a vacuum seal. Letting it rest unwrapped on a piece of paper for 10 to 15 minutes usually allows the pungent aroma to dissipate.
Plastic Wrap
Cling film works well for transport and deli display cases. For long-term home storage, however, plastic wrap alone performs poorly because it clings tightly and traps moisture against the surface. Over time, the aroma turns musty, especially near the rind.
Counter-Cut Wedges
Asking the cheesemonger about the style of cheese, its ripeness, and its realistic shelf life after cutting yields far better guidance for home storage than generic timelines found online.
Cheese that comes wrapped in specialty cheese paper can stay right as it is. Properly wrapped cheese requires no repackaging at home just for the sake of neatness.
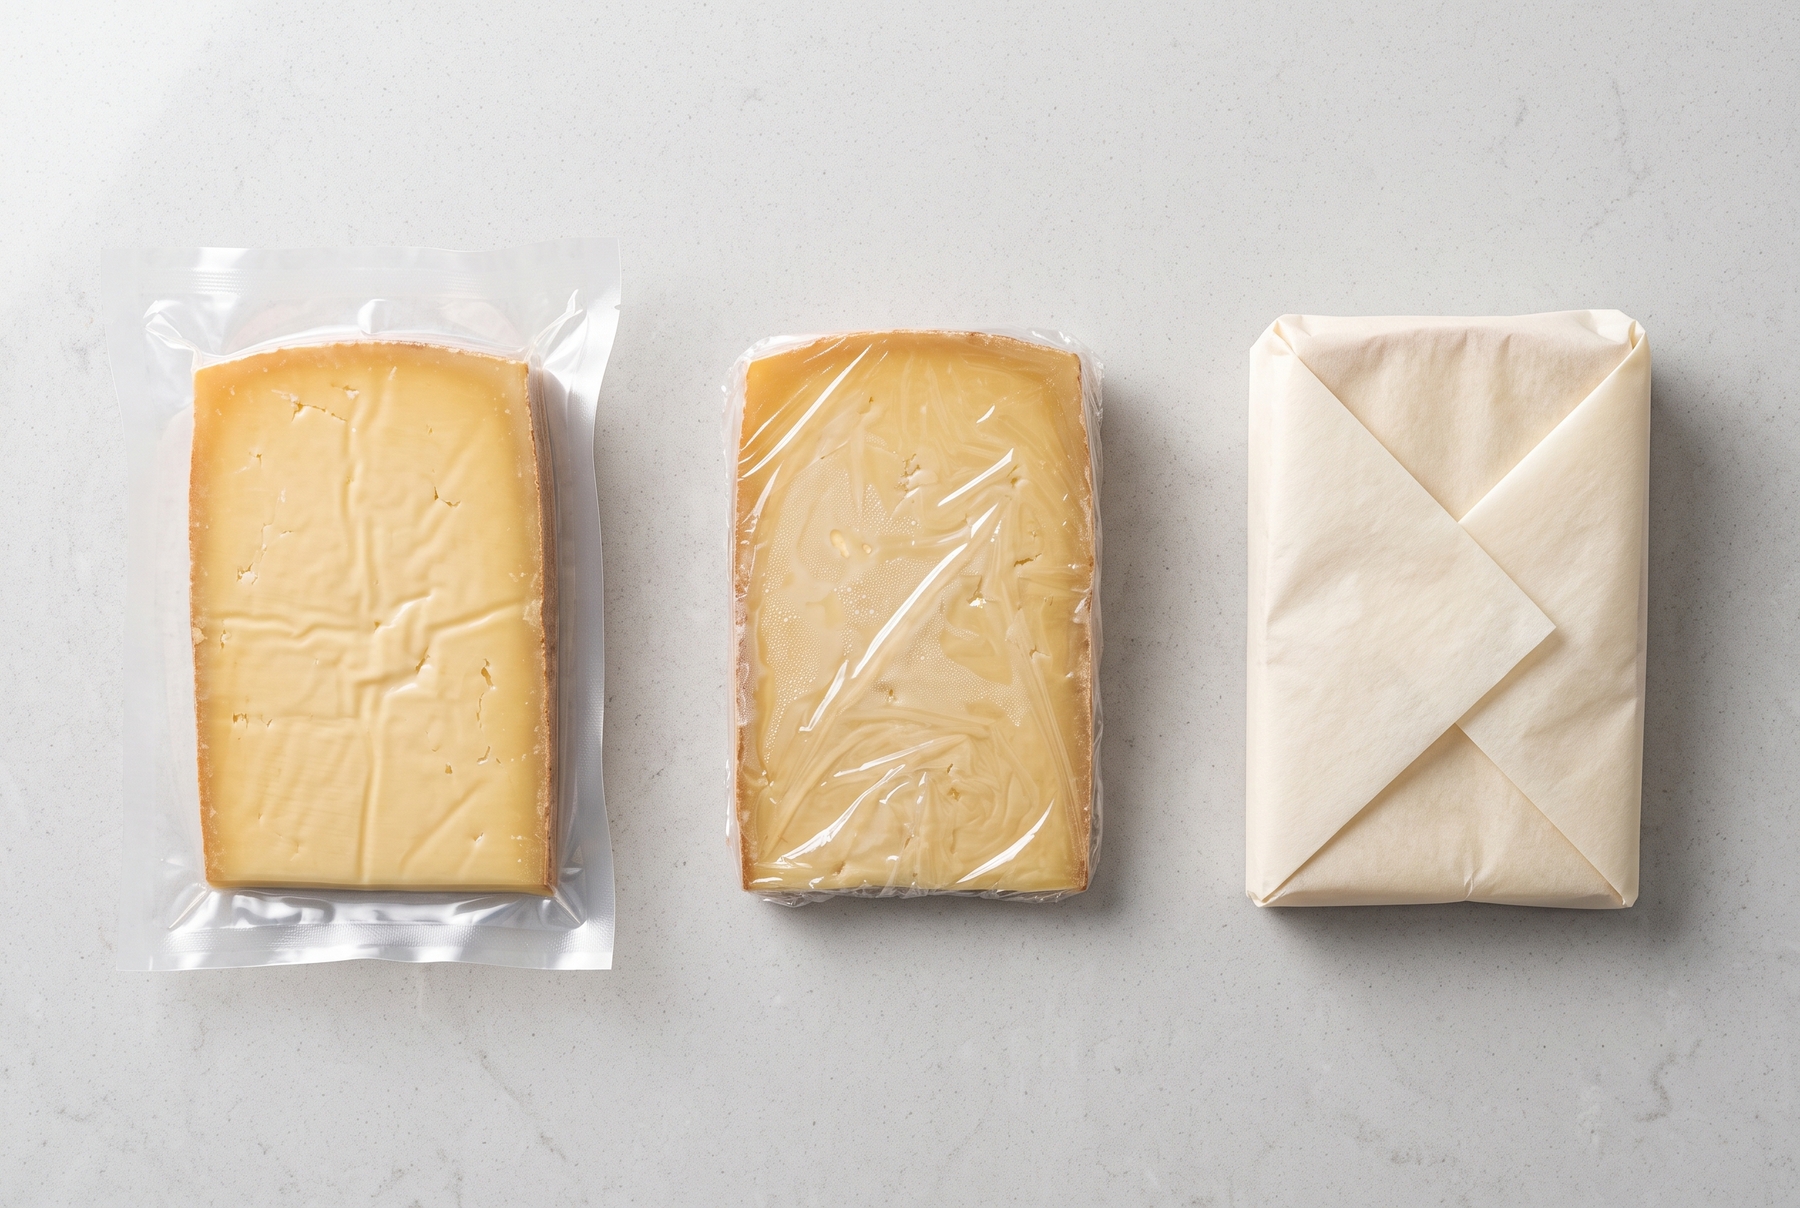
Three ways to wrap cheese: a vacuum-sealed bag, plastic cling wrap, and breathable parchment paper.
What to Wrap Cheese in for Refrigerator Storage
Two-ply specialty cheese paper works best for refrigerator storage. The inner layer allows slight moisture permeability, while the outer layer prevents the bundle from drying out too quickly. Food-grade parchment paper or wax paper offers a reliable alternative when specialty paper is unavailable.
Placing the wrapped cheese inside a vented container or a loosely closed zip-top bag slows moisture loss and shields the wedge from stray refrigerator odors.
The paper should hug the wedge snugly without compressing it. Tight wrapping crushes soft cheeses, forcing the paste to ooze over the edges. Covering the cut face completely is essential, as this exposed surface dries out first.
The condition of the paper dictates when to change it. A sheet that becomes damp, greasy, soiled, or pungent calls for a fresh replacement. Swapping out the paper on a strict three- or five-day schedule is unnecessary.
Where to Store Cheese in the Refrigerator
Temperatures fluctuate throughout the refrigerator, creating significant differences between shelves. Perishable foods require a refrigerator temperature of 4 °C (39 °F) or below. Cheese thrives in a stable zone free from freezing drafts and sharp temperature swings, making a vegetable crisper drawer or a middle shelf ideal.
The refrigerator door is unsuitable for long-term cheese storage. Every time the door swings open, the temperature fluctuates much faster there than on the interior shelves.
Pushing cheese against the back wall is another poor choice. Portions of the wedge can partially freeze there, often leaving the texture grainy after thawing.
A standalone appliance thermometer provides the easiest way to verify actual temperatures, especially in fridges where leafy greens freeze or dairy spoils prematurely. An inexpensive thermometer reveals the true temperature on any given shelf.

Proper placement of cheese inside a container on the middle refrigerator shelf maintains a stable temperature.
Four Cheese Categories and What They Need
Moisture content and rind type matter far more for storage than the specific name of the variety.
Hard and Semi-Hard Cheeses
Parmesan, Cheddar, Gouda, and other hard or semi-hard cheeses generally outlast softer styles, though their cut faces dry out rapidly. Paper protects the exposed cut, shielding the wedge from stray odors and arid air. Those crunchy white crystals dotting aged Parmesan are harmless amino acid clusters (tyrosine), not mold.
Soft Bloomy-Rind Cheeses
Brie and Camembert continue ripening in the cold. Over time, their aromas intensify and their centers soften, until a fully ripe wheel noticeably oozes onto the plate. Condensation and tight, airtight wrapping ruin these cheeses. Storing them away from smoked meats prevents the delicate rind from absorbing smoky odors.
Blue Cheeses
The blue veining inside blue cheese is a natural part of its structure, though any new, fuzzy mold appearing on the exterior remains unsafe. Keeping blue cheese well-wrapped and isolated prevents its assertive aroma from migrating to neighboring foods and stops mold spores from spreading to other cheeses. Butter stored near Gorgonzola absorbs its pungent scent remarkably fast.
Fresh and Brined Cheeses
Mozzarella, ricotta, and feta spoil fastest, making clean utensils and tracking the opening date critical. Brined cheeses belong in their original liquid when recommended by the producer. Storage rules designed for dry, aged wedges do not apply here.
Higher moisture levels make cheese increasingly sensitive to temperature swings, cross-contamination from dirty utensils, and prolonged storage.
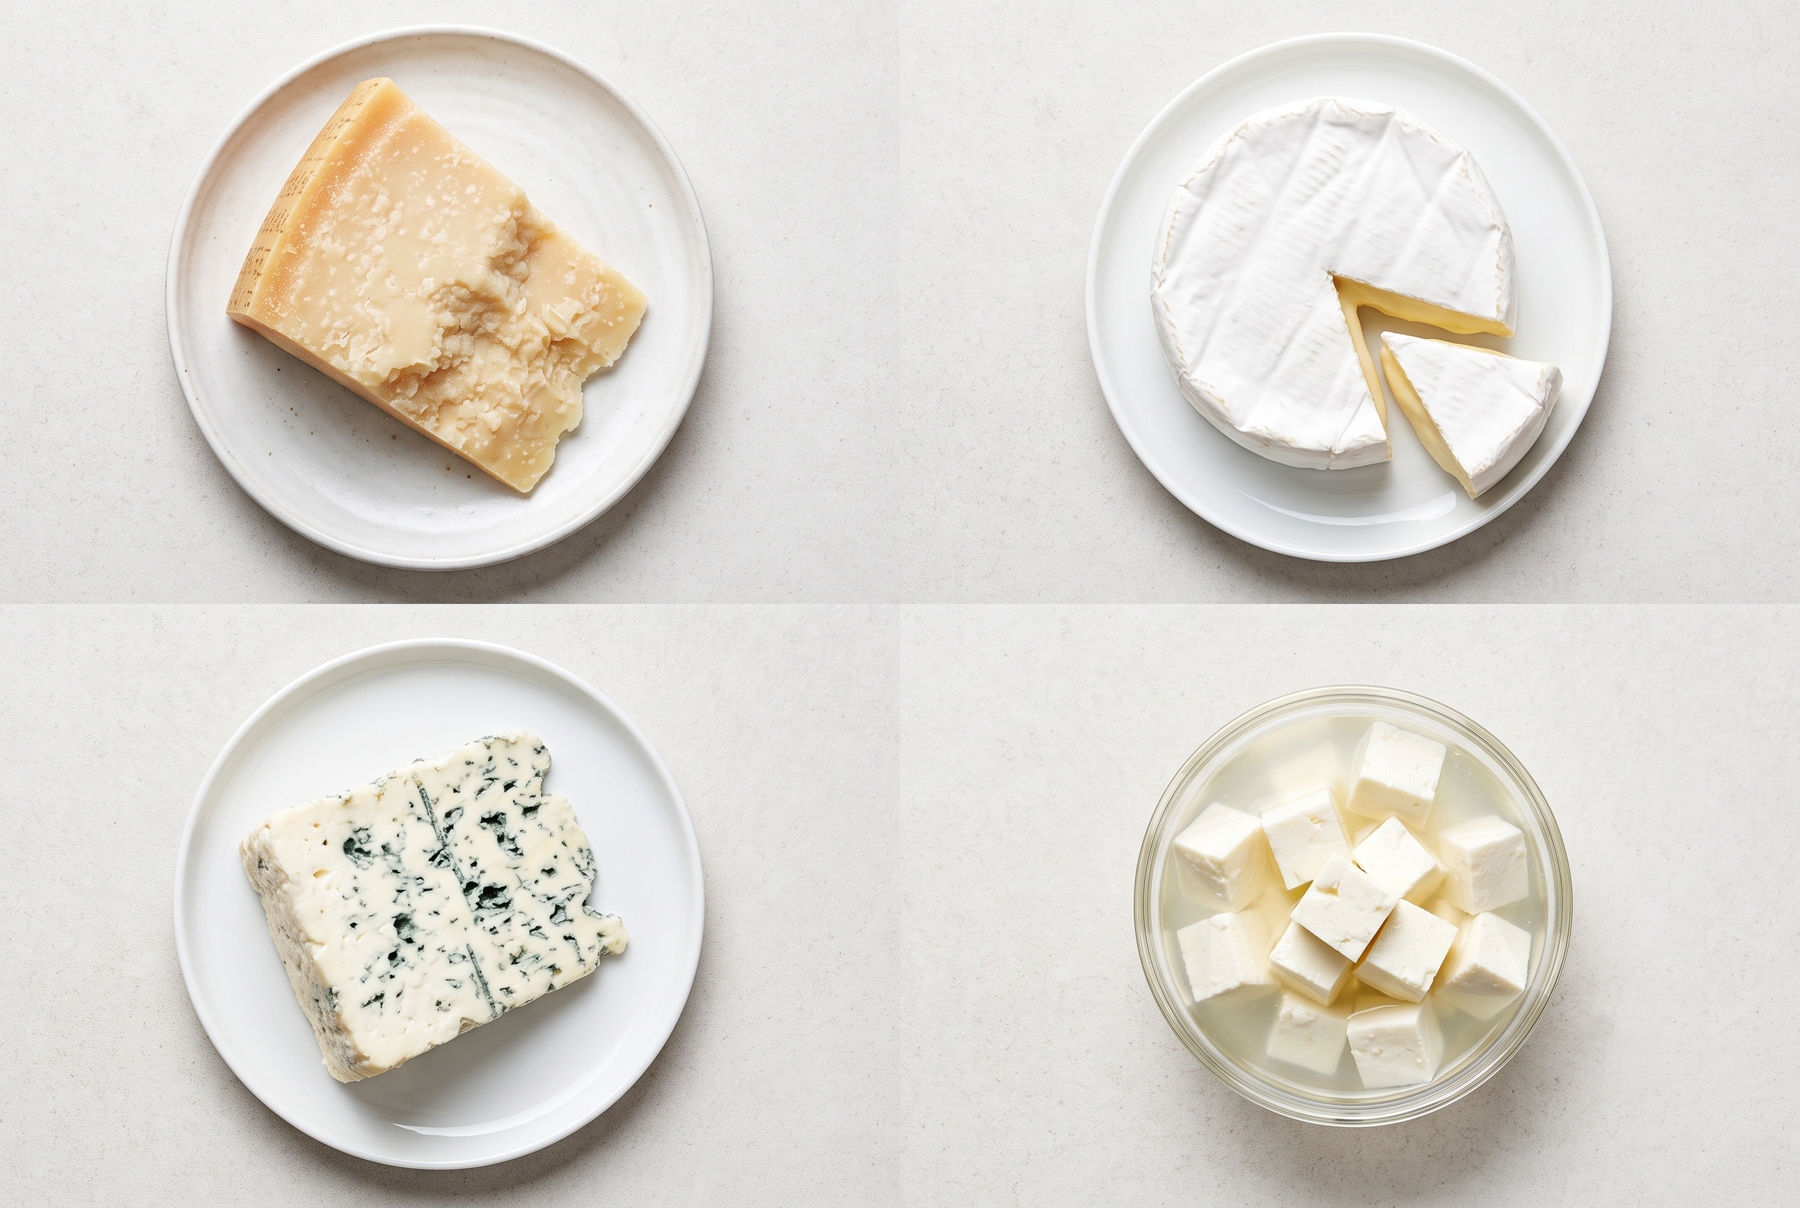
Hard, soft bloomy-rind, blue, and brined cheeses each require distinct storage conditions.
How to Tell When Cheese Has Gone Bad
Checking the date is important, but the surface appearance, aroma, and texture reveal the true condition of the cheese.
A slightly dry cut edge, a darkened rind, or the gradual softening of a bloomy-rind wheel does not automatically signal spoilage. A more pronounced natural aroma is often just a normal stage of ripening.
Warning signs include a newly tacky or slimy surface, a putrid or sharply ammoniated smell, bloated packaging, and noticeable discoloration. Uncharacteristic mold growth, cloudy liquid pooling beneath the wedge, and a crumbling, degraded texture also indicate spoilage.
Handling unexpected mold depends entirely on the density of the cheese. On hard cheeses, cutting away the affected area with a generous margin of at least 2.5 cm (1 inch) around and below the spot—without letting the knife touch the mold itself—salvages the wedge, which then goes into fresh paper. Soft cheeses like Brie and Camembert, along with cottage cheese, shredded cheese, and pre-sliced varieties, require discarding the entire package when foreign mold appears. Tasting questionable cheese to check its safety is never worth the risk.
How to Handle Cheese Before Serving
Cold temperatures mute aromas and solidify milk fats. Straight from the refrigerator, aged cheese tastes flat and feels waxy, whereas a brief warm-up releases its fragrance and softens the texture. Allowing cheese to temper slightly before serving brings out its best qualities.
No single warming time applies to every style. A standard food safety rule governs perishables: room-temperature exposure should never exceed two hours, dropping to just one hour when ambient temperatures climb above 32 °C (90 °F). Soft and fresh cheeses deteriorate especially fast in the heat.
Tempering cheese before serving follows a simple sequence:
- Remove the wedge with clean hands.
- Slice off the desired portion using a clean knife.
- Rewrap the main piece in its paper immediately.
- Return the remaining wedge to a stable zone in the refrigerator.
- Proceed with plating and serving the cut portion.
Using a dedicated clean knife prevents transferring bread crumbs, condiments, or residues from other foods onto the main wedge.

Slicing a portion of cheese with a clean knife before serving after a brief warm-up.
Can You Freeze Cheese?
Freezing extends shelf life significantly, though it alters the internal structure of the cheese. Water inside the paste expands into ice crystals that rupture protein networks, leaving thawed cheese crumbly, prone to weeping moisture, and difficult to slice neatly.
Freezing makes sense for cheese destined for cooked dishes like sauces, casseroles, soups, or savory bakes. In melted applications, textural changes go virtually unnoticed.
Fresh and soft cheeses almost always lose their signature consistency after thawing. When a cheese is prized specifically for its texture, the freezer will almost certainly ruin it.
Seven Steps to Take Once You Bring Cheese Home
- Removing tight commercial plastic wrap once the package is opened;
- Wrapping the wedge in specialty cheese paper or parchment, ensuring the cut face is covered;
- Placing the paper-wrapped bundle inside a container or loosely closed bag;
- Storing the cheese in a temperature-stable zone away from the back wall of the fridge;
- Labeling the package with the opening date, especially for soft and fresh varieties;
- Monitoring the condition of the paper and the cheese surface rather than conducting nightly inspections;
- Slicing off a single serving before plating and immediately returning the main wedge to the cold.
That splurge-worthy wedge that started it all now rests peacefully on the middle shelf, wrapped in breathable paper, labeled with the date, and sporting a clean, dry edge. Nightly inspections are no longer necessary. Only one scenario remains beyond the control of this system: the wedge mysteriously vanishes on a Wednesday night because you are not the only person in the house who knows how to open the refrigerator.
0 comments