
An egg does not simply boil in 5, 7, or 10 minutes. The answer to how long it takes cannot be reduced to a single number, as a minute alone guarantees nothing. Physics is at play inside the shell. Heat travels from the outside in, and the egg white and yolk have different structures, setting at varying temperatures. Even when the pot is removed from the stove, the egg does not stop cooking, as it continues to set from its own residual heat for a couple of minutes.
Memorizing the ‘right’ minute is not enough. A consistent result comes to those who control four key factors: how the heating starts, how vigorously the water boils, how long it cooks, and how quickly it cools.
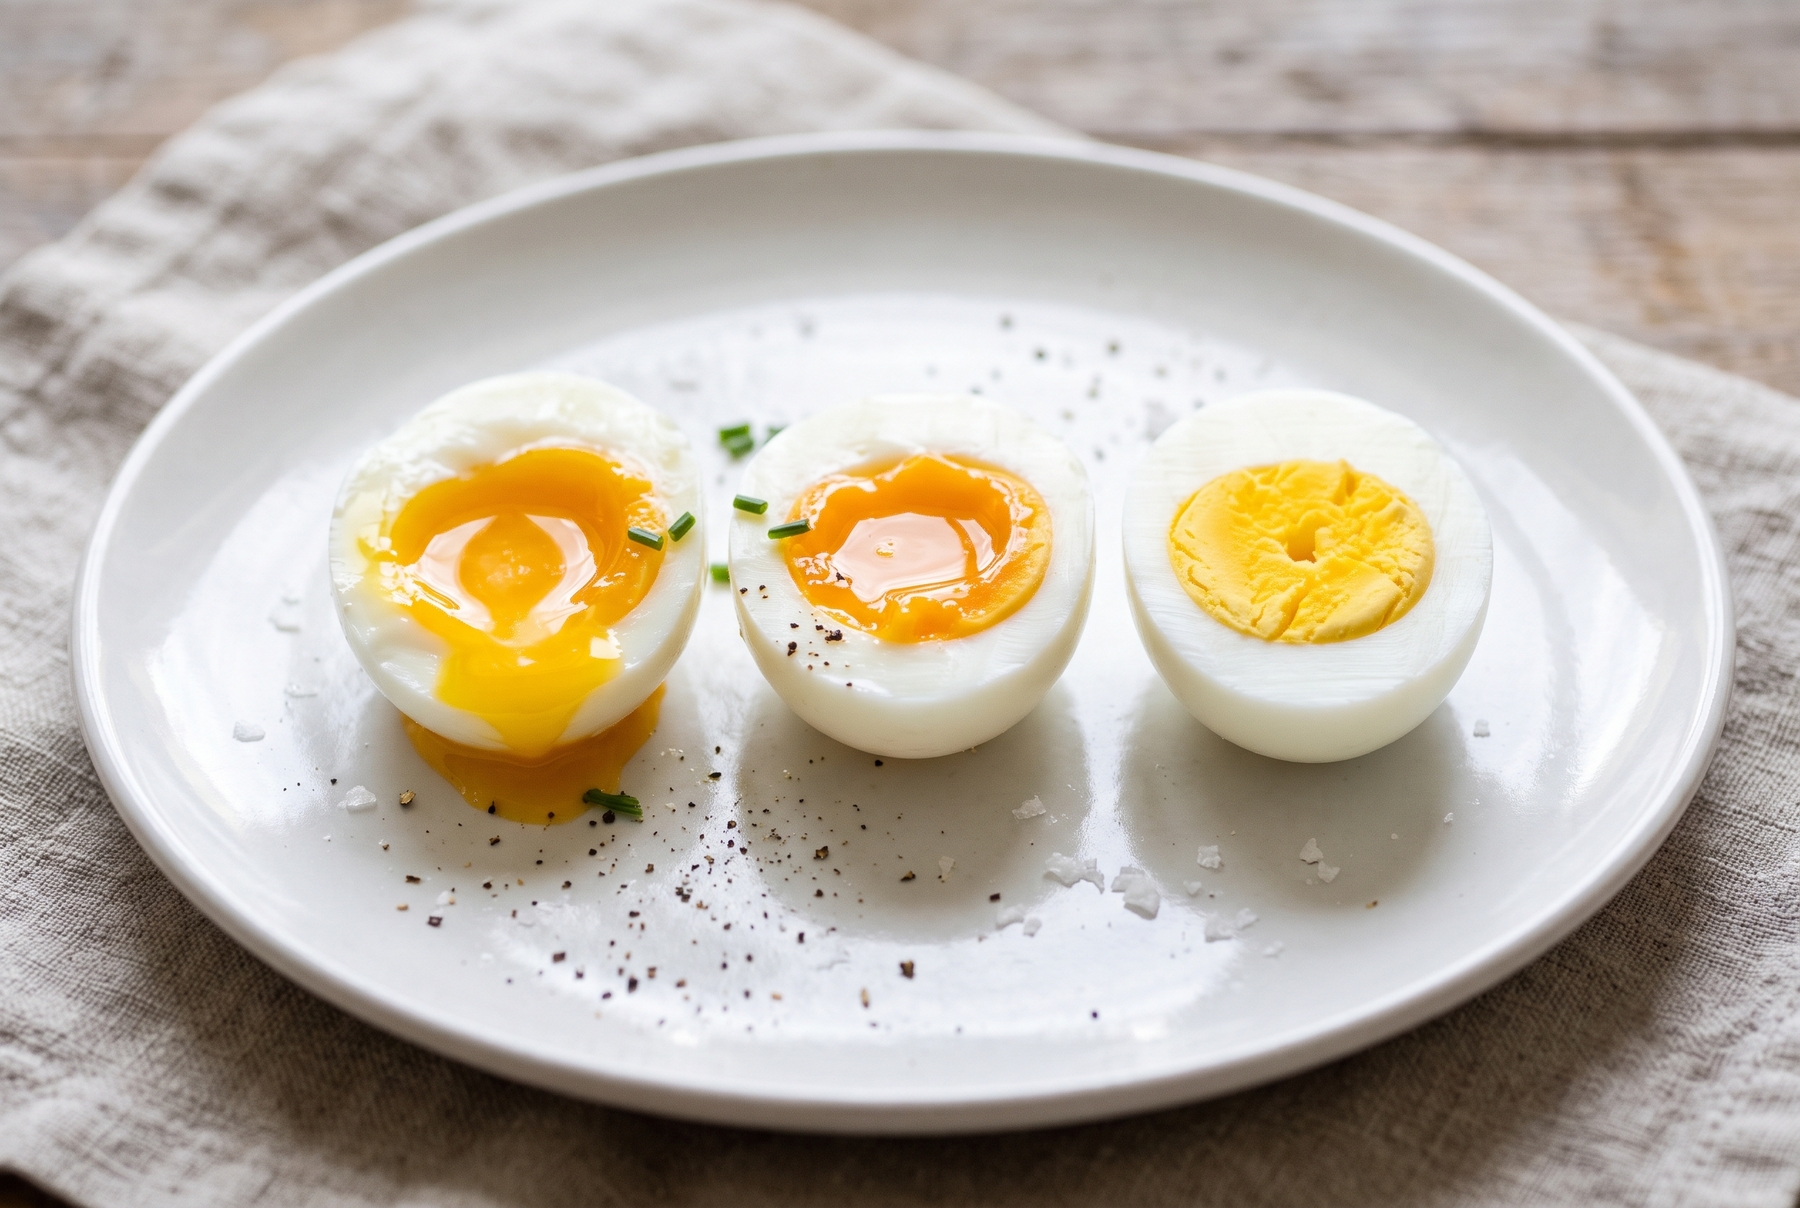
Three classic textures: a runny soft-boiled yolk (left), a tender creamy medium-boiled yolk (center), and a firm hard-boiled yolk (right).
Table of Contents
- What Happens Inside the Shell
- Where to Start: Boiling or Cold Water
- How Long to Boil Eggs: Timing Guidelines
- Why Eggs Crack During Boiling
- Why Eggs Must Be Cooled Immediately After Boiling
- Why Some Eggs Peel Easily and Others Are Stubborn
- Why Hard-Boiled Eggs Get a Greenish-Gray Ring Around the Yolk
- Safety Considerations
- Cheat Sheet: Soft, Medium, and Hard-Boiled
- A Few Tips for Consistent Results
- When the Result Is Less Than Ideal
- The Perfect Egg Without the Guesswork
What Happens Inside the Shell
The egg white and yolk do not cook together. They have different structures and coagulate at different times. Heat takes time to reach the center, which is why the yolk always lags behind the white. Meanwhile, the hot shell continues to heat the contents even after leaving the stove.
The egg white begins to turn cloudy and thicken at about 60 °C (140 °F), as the clear liquid turns white. It becomes truly firm closer to 80 °C (175 °F), when the main protein, ovalbumin, sets. An underheated white remains slimy near the yolk, creating that unpleasant translucent layer. An overheated white turns rubbery, becoming bouncy, emitting a sulfur smell, and slicing like an eraser.
The yolk is more forgiving. It starts to thicken at around 65 °C (150 °F) and sets entirely by 70 °C (160 °F). Initially, it is runny and warm, then it becomes creamy and jammy, and finally crumbly and firm. Heating it to 80–90 °C (175–195 °F) causes the yolk to dry out, turn pale, and crumble. It cooks slower not because of its toughness, but simply because it sits in the center and receives the heat last.
This explains why the exact same cooking minute can yield different results. The actual internal temperature is influenced by everything at once: the size of the egg, whether it is cold or at room temperature, the vigor of the boil, the volume of water, the type of pot, and the number of eggs in the batch. A dozen cold eggs in a half-empty pot will cool the water much faster than a single egg. This is why someone else’s ‘tested’ minute often fails on a different stove.
Where to Start: Boiling or Cold Water
There are two effective methods.
Starting in boiling water works best when precision is required, such as for soft-boiled and medium-boiled eggs. The starting point is clear, which is half the battle for a runny yolk. The only drawback is that a cold egg dropped into boiling water can crack from the sudden temperature change. The fix is simple. Taking the eggs out in advance, lowering them one by one with a spoon, and maintaining a gentle simmer with small bubbles prevents this.
Starting with cold water is gentler on the shell. The egg and water heat up together without a thermal shock. However, precision suffers. The time it takes to reach a boil depends on the stove, the pot, and the amount of water, making it harder to catch a runny yolk. This method shines for hard-boiled eggs and large batches, where consistency matters more than seconds.
A practical home approach relies on the exact degree of doneness needed. For a precise soft or medium boil, boiling water and a timer are ideal. When boiling eggs in advance or for a salad, a cold start is perfectly fine, as the difference in texture is minimal.
How Long to Boil Eggs: Timing Guidelines
The numbers below serve as a guide for boiling a medium-sized egg straight from the fridge, lowered into gently boiling water.
| Doneness | Time in Boiling Water | What is Inside |
|---|---|---|
| Soft-Boiled | 4 minutes | Soft white, runny and warm yolk |
| Medium-Boiled (Jammy) | 6 minutes | Firm white, creamy and jammy yolk |
| Hard-Boiled | 9–10 minutes | Fully set yolk without a gray ring |
Large eggs typically require an additional 30 to 60 seconds, as the center needs more time. A room-temperature egg will cook slightly faster than a cold one. The medium-boiled stage is the most temperamental, where a minute either way is visible on the cross-section, leaving the yolk either too runny or too firm. Hard-boiled eggs are more forgiving, but they are also the easiest to overcook, resulting in the dreaded gray ring discussed below.
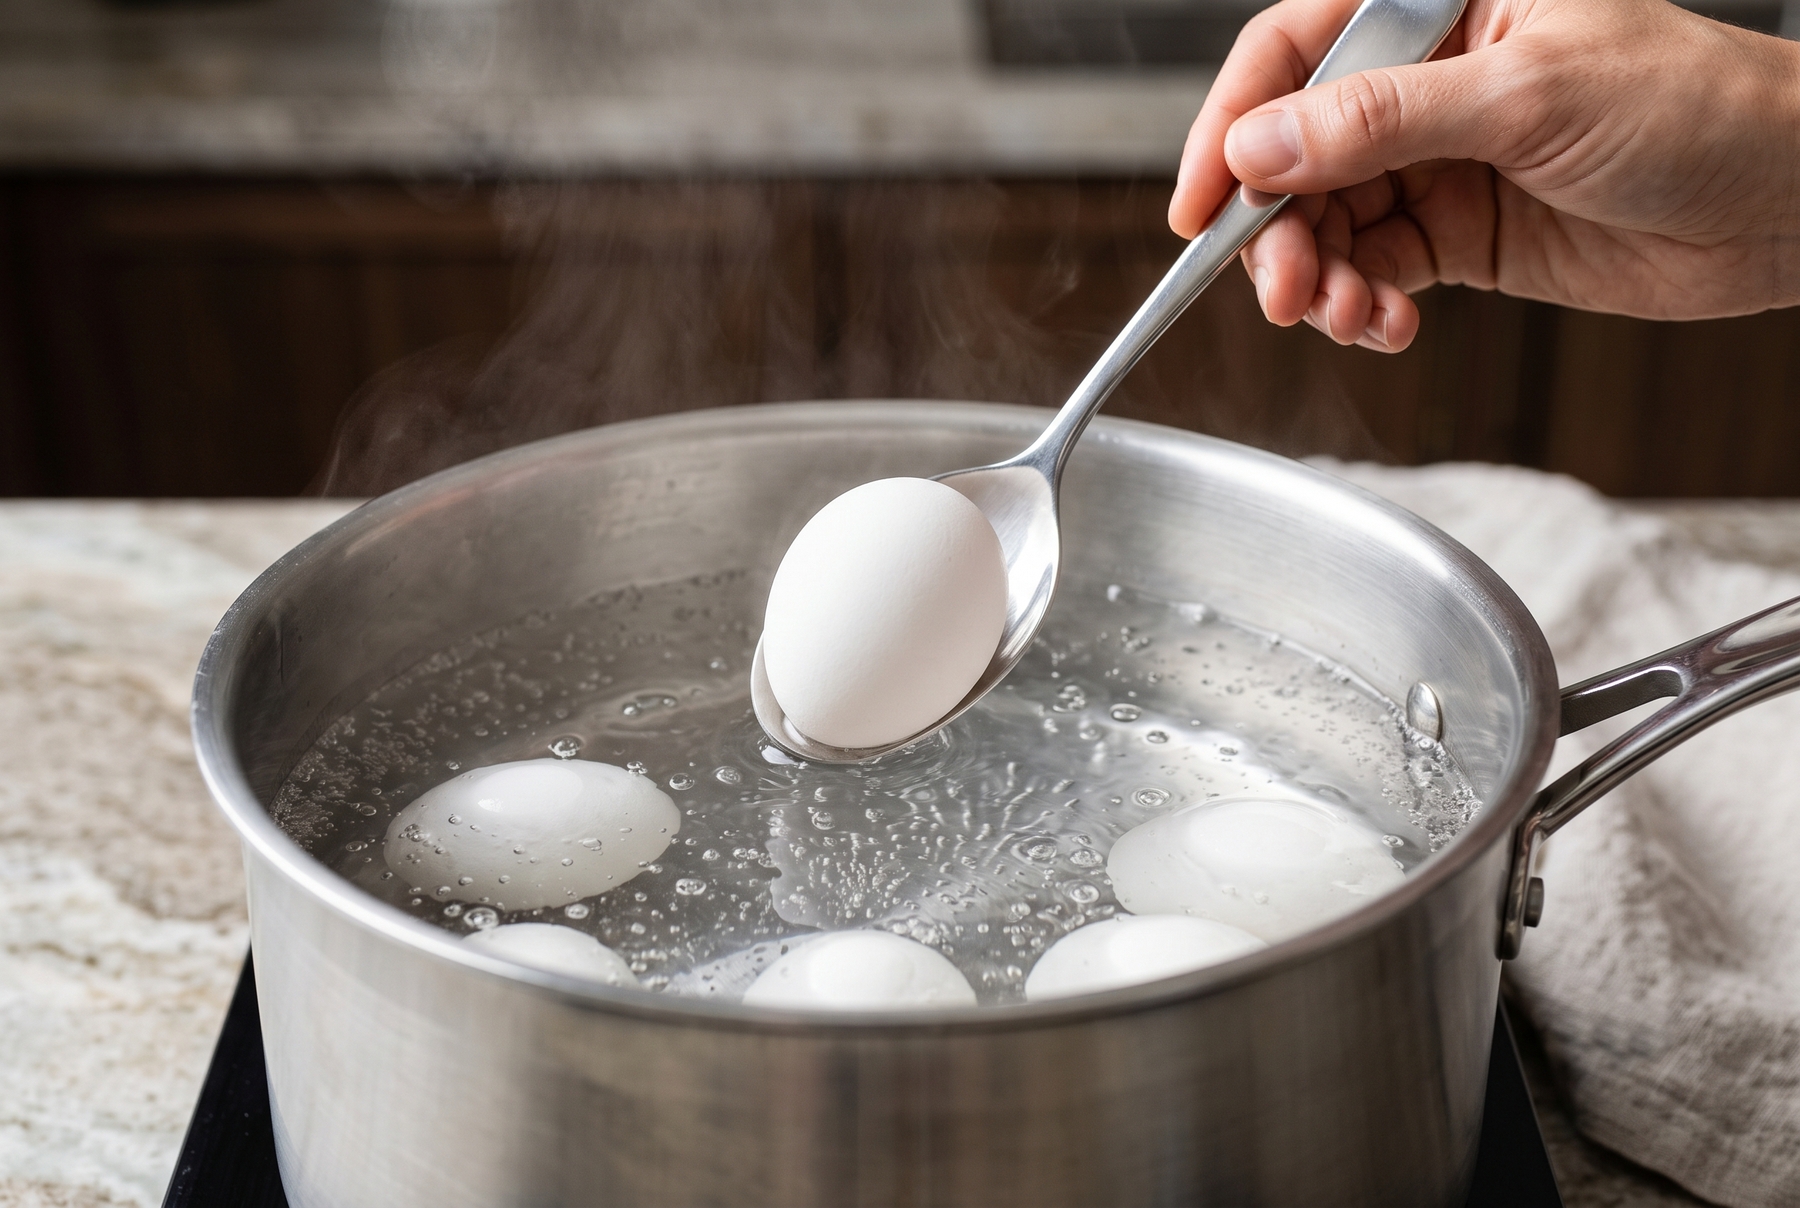
To prevent the shell from cracking due to temperature shock, gently lower room-temperature eggs into simmering water using a spoon.
Why Eggs Crack During Boiling
Cracking almost always comes down to pressure and impact. The wide end of an egg houses an air cell. As the egg heats up, this air expands and presses against the shell from the inside. Combining this with a sudden temperature change, eggs knocking against each other in a rolling boil, or pre-existing micro-cracks causes the egg white to leak out in white ribbons.
Preventing cracks involves taking the eggs out in advance, lowering them individually with a spoon, maintaining a gentle simmer with small bubbles, and using enough water so the eggs are fully submerged and do not bounce against the walls.
Salt does not actually ‘strengthen’ the shell. Its purpose is different: if an egg does crack, salted water helps the escaping egg white coagulate faster, preventing it from making a mess in the pot. Vinegar serves as the same insurance policy. Piercing the wide end with a pin sometimes relieves air pressure, but it requires a clean needle and precision, as poking too deeply pierces the white.
Why Eggs Must Be Cooled Immediately After Boiling
An egg continues to cook from its own heat even off the stove. The shell remains hot, and the yolk quietly cooks for an extra minute while sitting on the counter. Plunging the egg into ice water, or at least very cold running water, halts this process and locks in the exact doneness achieved. This is critical for soft and medium-boiled eggs, where five seconds of delay can turn a runny yolk into a creamy one.
A cold bath also aids in peeling. Rapid cooling causes the contents to shrink slightly and pull away from the inner membrane, making the shell easier to remove. This is not the only factor, as freshness plays a bigger role, but it is an effective one. This technique is especially noticeable with hard-boiled eggs, large batches, and anything destined for a clean slice, such as salads, sandwiches, or deviled eggs.
Why Some Eggs Peel Easily and Others Are Stubborn
It all comes down to freshness and that air cell. In a very fresh egg, the white is tightly pressed against the inner membrane, the air cell is small, and the shell tends to peel off in chunks along with the white. As the egg ages, it loses moisture and carbon dioxide through its pores, the air cell expands, and the white pulls away from the wall slightly. This is why hard-boiled eggs turn out best with eggs that have been in the fridge for 7 to 10 days.
Peeling boiled eggs smoothly involves a few simple steps:
- Cool the egg in cold water.
- Tap it on the counter from all sides to create a web of cracks.
- Gently roll it under the palm of your hand.
- Start peeling from the wide end, where the air cell provides a natural gap.
- Peel under running water or in a bowl of water, allowing the moisture to slip under the membrane and help release the shell.
Large batches can be peeled more cleverly. Placing the eggs in a container or pot with a little water, covering it with a lid, and giving it a gentle shake cracks all the shells at once. Shaking too vigorously, however, will mash the eggs against the walls.
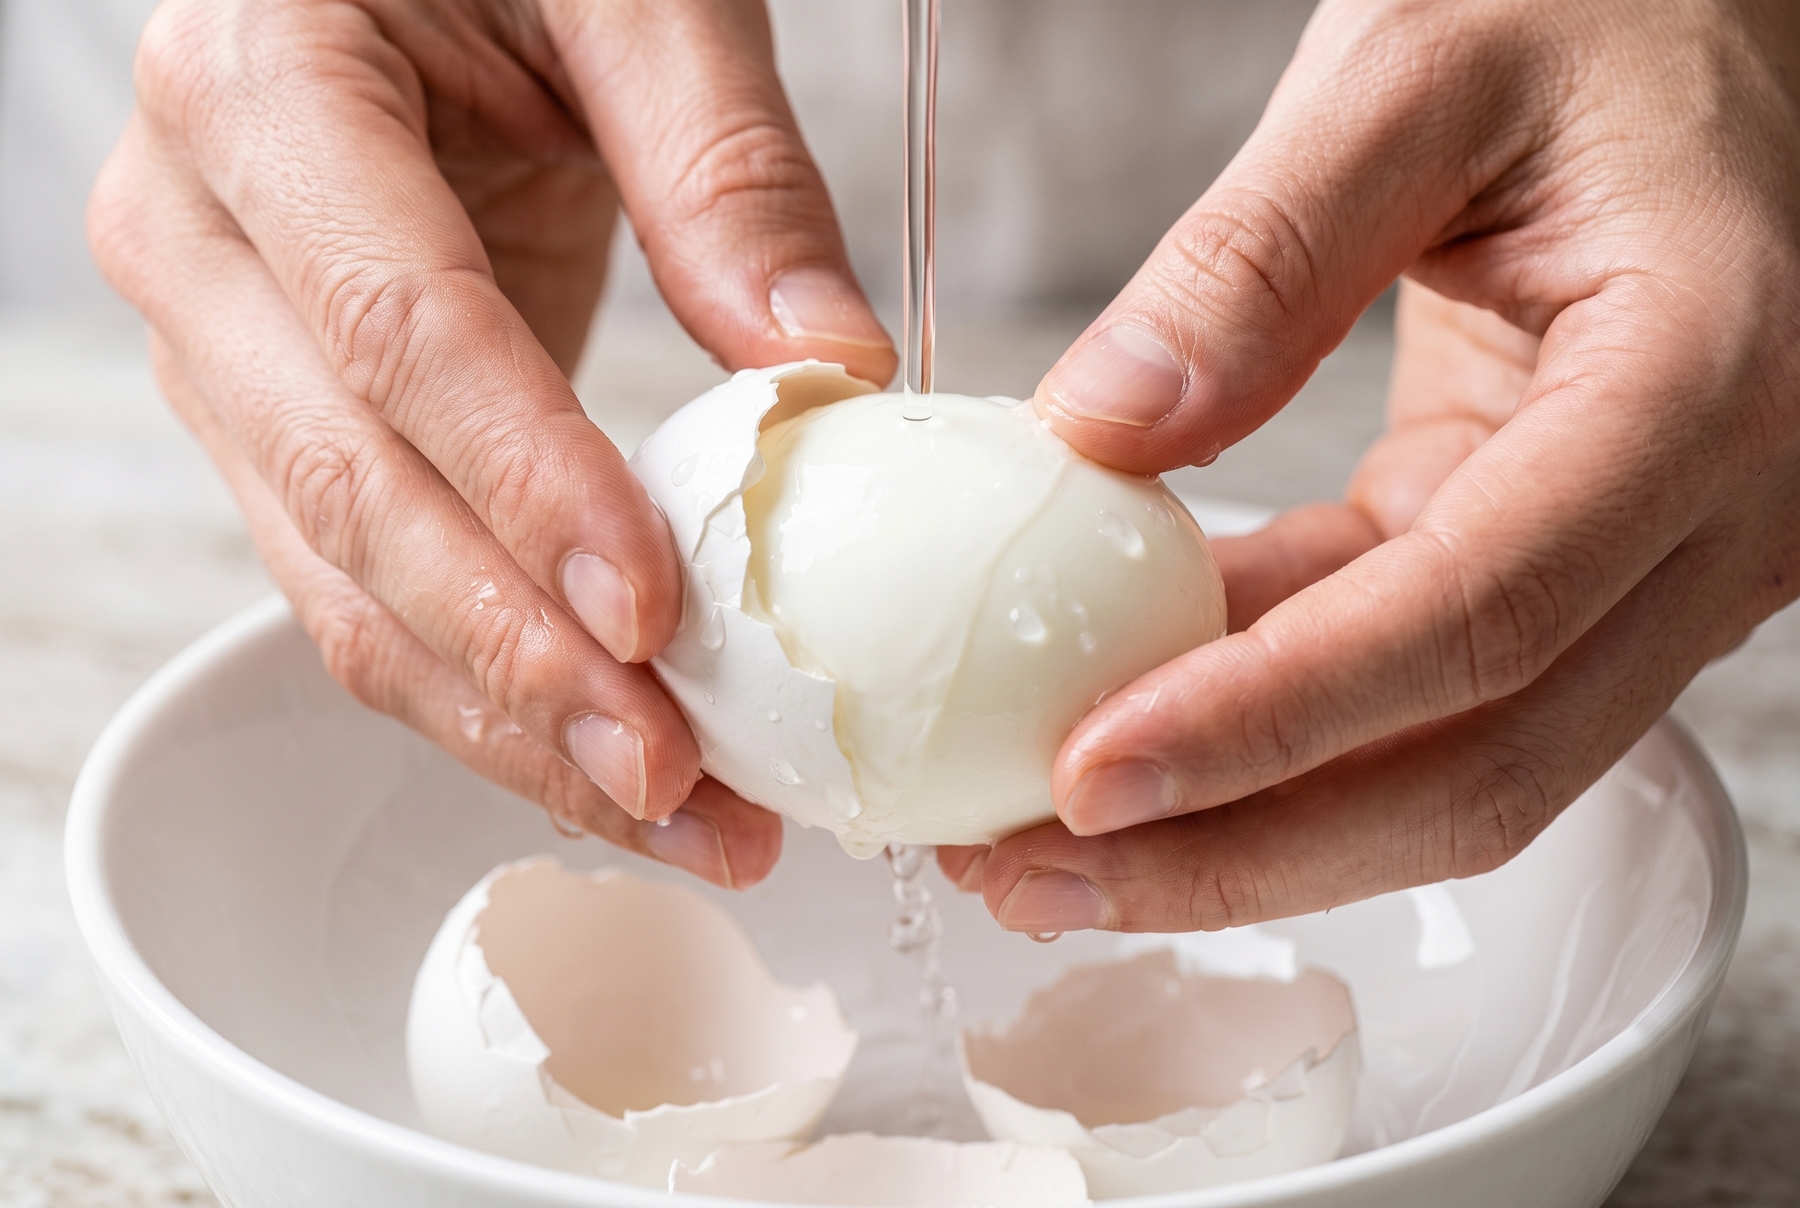
Running water easily slips under the membrane, helping to peel even eggs with fragile shells effortlessly.
Why Hard-Boiled Eggs Get a Greenish-Gray Ring Around the Yolk
It looks alarming, but the chemistry behind it is harmless. Prolonged heating causes sulfur-containing amino acids in the egg white to break down and release hydrogen sulfide. This gas moves toward the center, meets the iron in the yolk, and forms iron sulfide at their boundary, creating that familiar greenish-gray layer. Cooling the eggs slowly in hot water only encourages this reaction.
In most cases, this is an aesthetic issue rather than a safety concern. The ring itself only affects appearance and texture, and brings a slight sulfur smell. It is not an indicator of spoilage. True egg safety depends on freshness and storage, which cannot be judged by the color of the yolk’s edge.
Avoiding the ring is simple: avoiding overcooking, cooling the eggs immediately, and never leaving them to sit in hot water ‘just in case’.
Safety Considerations
Eggs are an animal product, and the same rules apply to them as to meat or fish. The main risk is Salmonella, which can be present on the shell or inside the egg from the hen. Heat kills the bacteria. When the yolk is fully set at around 70 °C (160 °F), the risk drops sharply, which is why a runny yolk always carries a slightly higher risk than a firm one.
Before cooking, it is best to avoid eggs with heavily damaged or dirty shells. Leaving them in a warm environment for long periods is discouraged. Washing hands, cutting boards, and knives after handling raw eggs prevents bacteria from transferring to other foods.
After cooking, soft and medium-boiled eggs are best enjoyed immediately while the yolk is still runny. Hard-boiled eggs should be refrigerated within two hours of cooking, or sooner in hot weather above 32 °C (90 °F), and can be stored for up to a week. Keeping them longer is not recommended, as boiling removes the shell’s natural protective coating, making the egg more vulnerable.
Pregnant women, young children, the elderly, and immunocompromised individuals are generally advised to choose fully cooked eggs over runny yolks. This is a sensible precaution, as infections can be more severe for these groups. It is always wise to consult up-to-date food safety guidelines for specific advice.
Cheat Sheet: Soft, Medium, and Hard-Boiled
Soft-boiled:
- Bring water to a gentle boil.
- Lower the egg with a spoon and time for 4 minutes.
- Transfer immediately to cold water or serve. The white is soft, and the yolk is runny and warm.
Medium-boiled (Jammy):
- Start with gently boiling water.
- Lower the egg with a spoon and time for 6 minutes.
- Cooling is essential, or the yolk will continue to cook. The white is firm, and the yolk is creamy and slightly jammy.
Hard-boiled:
- Lower into boiling water or start with cold water.
- Cook for 9–10 minutes from the boil, no longer.
- Transfer to an ice bath and peel once cooled. The yolk is fully set, bright yellow, and free of a gray ring.
A Few Tips for Consistent Results
Calibrating the stove once makes a difference. Boiling three eggs of the same size with a 30 to 60-second difference, cutting them open, and noting the sweet spot ensures consistent results going forward. That specific pot, burner, and water volume will yield the exact same egg every time.
Chasing a rolling boil is unnecessary. High heat does not cook the egg proportionally faster, as water remains at 100 °C (212 °F). It only increases the chances of cracked shells and rubbery whites. Gentle bubbles are far more reliable than a cauldron’s worth of boiling water.
Accounting for size is important. A large egg is heavier than a medium one, requiring more time for the heat to reach the center, which warrants an extra half minute.
Writing down successful parameters might sound tedious, but relying on kitchen memory is risky when a timer can do the job perfectly. Times written on a fridge magnet are much more reliable than memory.
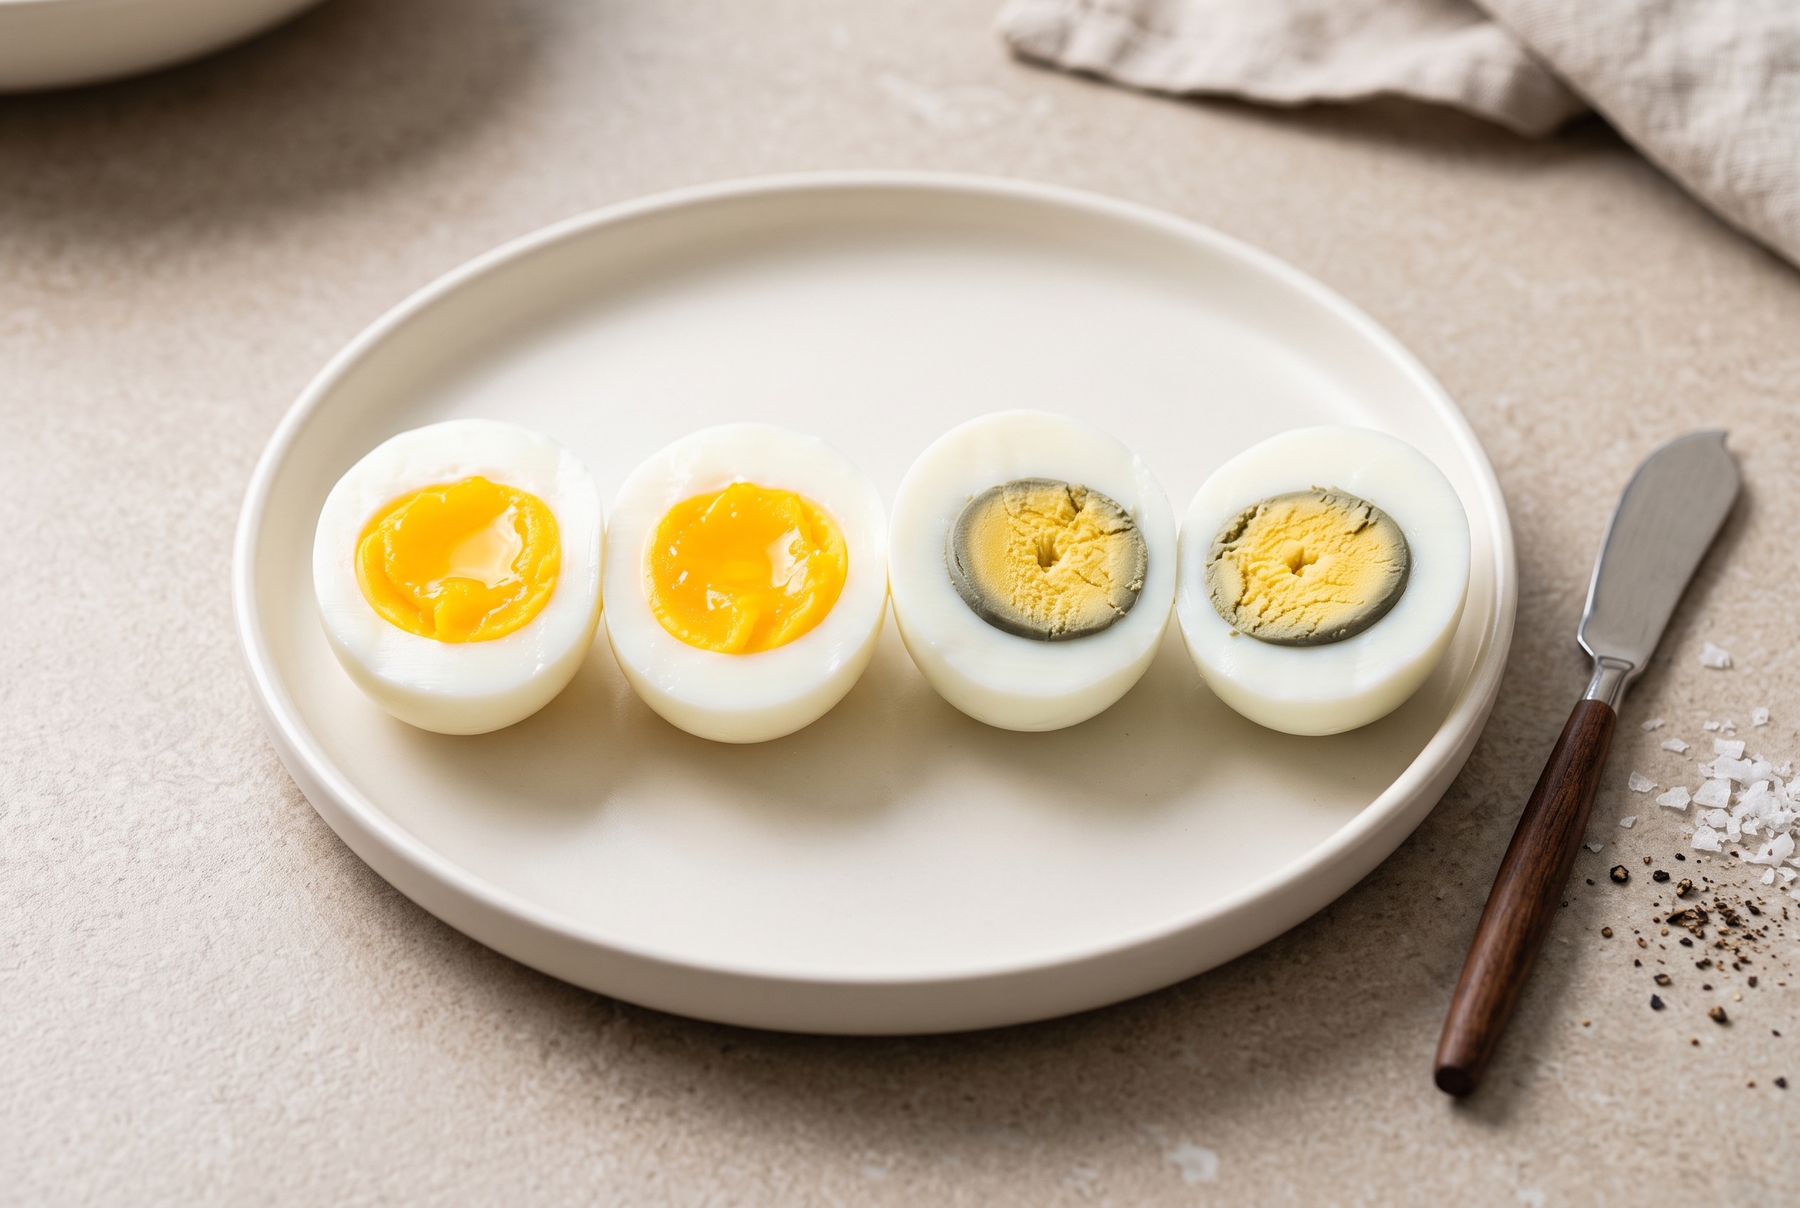
The difference in boiling time: from a perfectly runny soft-boiled yolk to an overcooked egg with a characteristic greenish-gray ring (far right).
When the Result Is Less Than Ideal
If undercooked and the shell is intact, returning the egg to hot water for a couple of minutes fixes it. If already peeled or cracked, it can be repurposed wherever a soft yolk belongs: over toast, in ramen, or on top of warm rice.
Overcooked, dry yolks do not need to be discarded. In salads, pâtés, fillings, or egg sauces, the dryness is masked by fat and acid. Mayonnaise, sour cream, a spoonful of mustard, or a drop of vinegar will restore the creaminess.
If the shell cracks during boiling and the egg finishes cooking to a firm state, it is perfectly safe to eat. However, if a raw egg has been sitting with a cracked shell, especially in a warm room, it is better to discard it, as bacteria can easily enter through the crack. When in doubt about freshness or storage, playing it safe is the best choice.
The Perfect Egg Without the Guesswork
The perfect boiled egg comes down to four decisions: choosing the starting point (boiling water for precision, cold water for batches), maintaining a gentle boil, timing it for the specific stove, and cooling it quickly. Practicing this a couple of times with a timer turns soft, medium, and hard-boiled eggs from a lottery into a guarantee.
Testing the result is easy. Cutting a cooled hard-boiled egg in half should reveal an even, bright yellow yolk with no gray edge, firm yet uncrumbly, and slightly moist on the slice.
0 comments