
My friend Tatiana once called me at nine in the evening with a question: “Alexander, I have a cake in my hands, but it is crumbling right through my fingers. I did everything exactly according to my mother’s recipe.” It turned out she did not do everything. She replaced wheat flour with almond flour one-to-one and touched nothing else. The result was a delicious, fragrant, but absolutely hopeless dessert. An edible pile. “It feels as though I baked very expensive sand,” she said.
The issue does not lie in the recipe, the oven, or her hands. The fact is that wheat flour does something in dough that almond flour fundamentally cannot do. That “something” is called gluten.
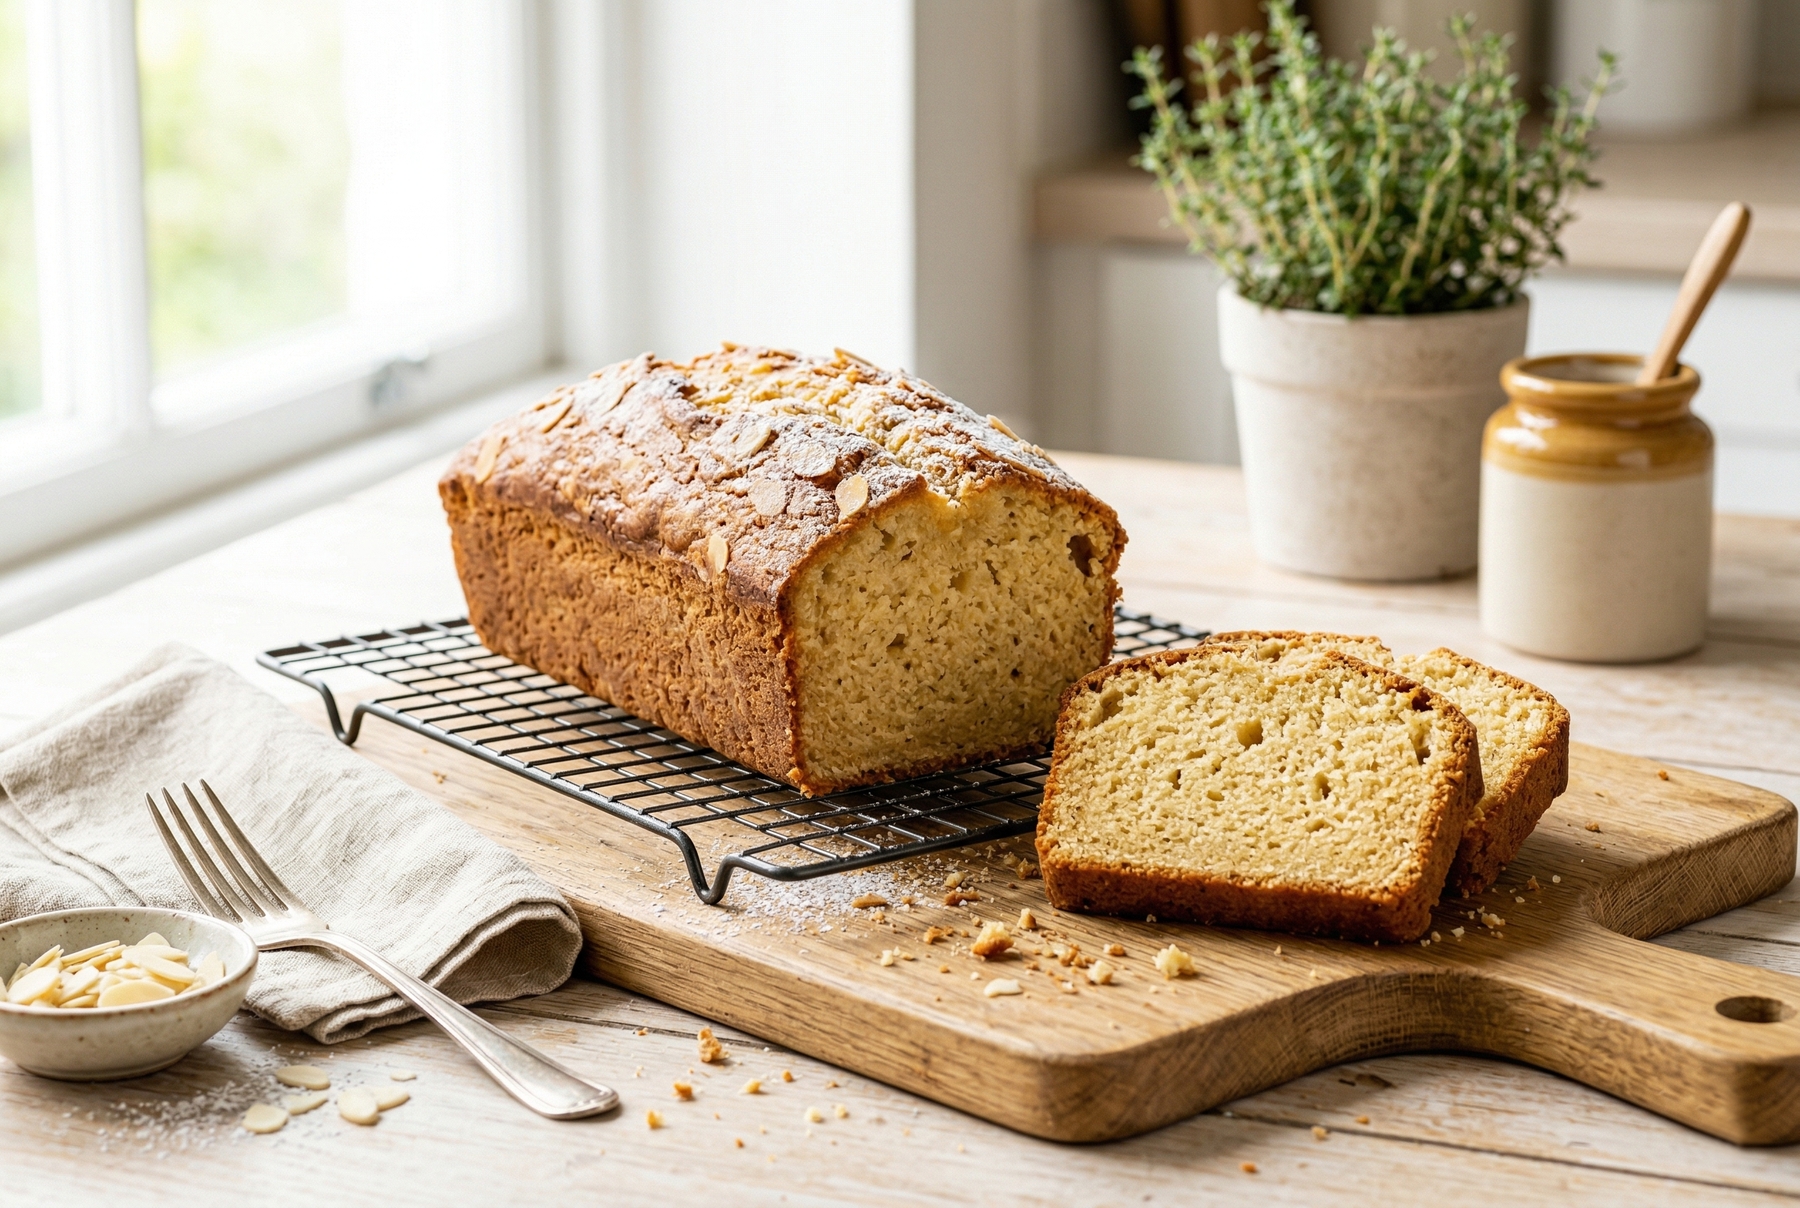
A properly baked gluten-free cake features a tender, porous crumb and does not crumble when sliced.
Table of Contents
- What Gluten Actually Does In Dough
- The Flour Construction Set: A Cheat Sheet For Assembly
- The Secret Glue: What Gives The Dough That Essential 'Framework' Effect
- The Golden Rules Of Kneading: Forgetting Everything We Were Taught
- Temperature And Time: Where Cakes Are Most Often Lost
- What To Do If It Crumbles Anyway
What Gluten Actually Does In Dough
We can leave medical disputes to the doctors. For a cook, gluten acts primarily as the internal framework of baked goods. Its absence is exactly what turns a cake into a pile of sand.
When mixing ordinary dough, the proteins in wheat flour meet water and interlock tightly with each other. They form a resilient, stretchy network. This network is gluten. Essentially, it is not a separate powder or substance, but a sturdy framework made of interconnected proteins.
This framework traps air bubbles from yeast or baking powder, forcing the dough to rise. It also prevents baked goods from drying out, preserving moisture inside. When placing the pan in the oven, the heat causes this protein structure to solidify, reliably holding the shape of the finished cake.
Now taking almond flour. It contains absolutely no gluten. It consists of roughly 50% fat and about 20% protein, but this is a different protein, lacking the ability to form that same network. Adding water, eggs, and baking powder, mixing, and baking in the oven yields rising bubbles with nothing to hold them. The moisture evaporates. The cake emerges warm and fragrant. Letting it cool causes it to crumble.
Fortunately, when gluten is absent, creating this framework artificially is entirely possible, and I will explain how.
The Flour Construction Set: A Cheat Sheet For Assembly
Gluten-free baking always resembles an erector set. Achieving the texture of a classic cake requires making a blend of different types of flours and starches, where each has its own distinct task.
It is important to note that all the percentages below represent the recommended proportion within the dry flour blend (the sum of your chosen ingredients must ultimately total 100%).
| Flour / Starch | Role In The Blend | Proportion In The Blend |
|---|---|---|
| Rice flour | Neutral base | 35–45% |
| Oat flour (gluten-free) | Soft base | up to 50–60% |
| Almond flour | Moisture, richness | 20–30% |
| Tapioca starch | Stretch, lightness | 10–20% |
| Cornstarch | Tenderness of the crumb | 10–15% |
| Buckwheat flour | Flavor, color | 15–25% |
The table serves as a convenient cheat sheet, but making the blend work requires understanding the character of each ingredient. Breaking down what each element does explains why altering the proportions is unwise:
Rice flour (base). Recommended proportion in the blend: 35–45%.
- Why we add it: This is our foundation. It gives the dough the necessary volume and mass while having almost no taste or smell. Omitting it makes baked goods either too expensive or overly heavy.
- Why not more: If the base consists entirely of rice, the pastry turns out bland and crumbles severely.
- Nuance: Rice flour loves water, so the recipe requires slightly more liquid (about 10–15% more).
Oat flour (gluten-free) (soft base). Recommended proportion in the blend: up to 50–60%.
- Why we add it: This also serves as an excellent foundation, but unlike rice, it yields a fluffier crumb and a comforting, homey flavor. It is ideal for everyday muffins and cookies.
- Why not more: Exceeding this share can make the dough overly moist and gummy inside.
- Nuance: Seeking the “gluten-free” label or the crossed-out grain symbol on the package is essential. Regular oatmeal often contains hidden gluten because facilities process it on the same equipment as wheat.
Almond flour (moisture). Recommended proportion in the blend: 20–30%.
- Why we add it: Gluten-free baked goods often turn out dry and get stuck in the throat. Almond flour solves this problem with its natural fats, making the crumb moist and tender.
- Why not more: It is very heavy. Adding more than 30% prevents the cake from rising at all.
Tapioca starch (elasticity). Recommended proportion in the blend: 10–20%.
- Why we add it: It stops the cake from crumbling into sand. When heated, tapioca acts as a binder and gives the dough that slight elasticity needed to keep the cake intact.
- Why not more: Overdoing it (more than 20%) turns the dough unpleasantly rubbery.
Cornstarch (tenderness). Recommended proportion in the blend: 10–15%.
- Why we add it: Rice flour can sometimes feel gritty on the teeth. Cornstarch smooths out this roughness, making the crumb texture silky and airy.
- Why not more: An excess of starch imparts a chalky aftertaste and makes the pastry too fragile.
Buckwheat flour (flavor and color). Recommended proportion in the blend: 15–25%.
- Why we add it: It functions more like a spice. It delivers a powerful nutty aroma and a beautiful dark color. It serves as the perfect companion for chocolate brownies.
- Why not more: Its flavor is highly dominant and will overpower all other ingredients.
- Nuance: It absorbs moisture from the dough very quickly, meaning the dough goes straight into the oven right after mixing.
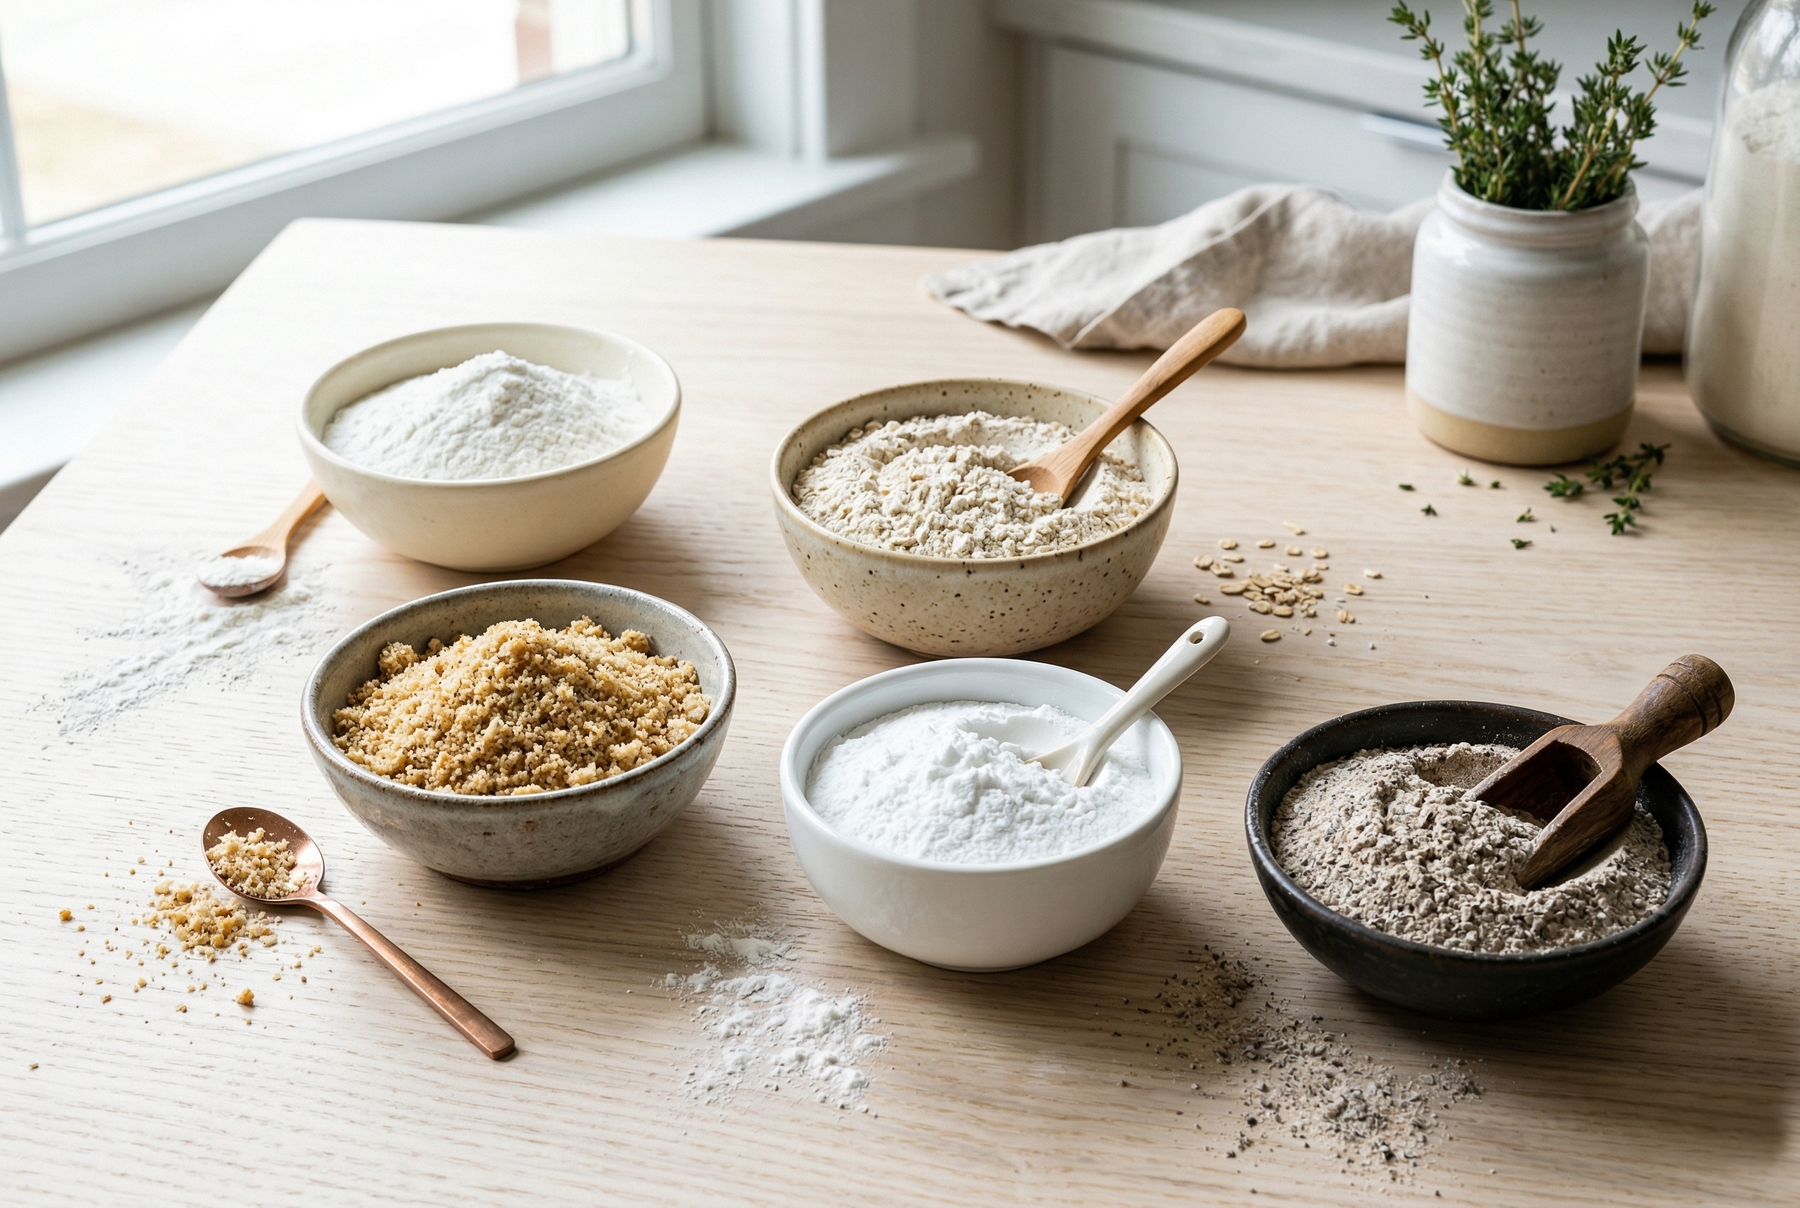
The foundation of success in gluten-free baking relies on a balanced blend of different types of flour and starch.
The Blend That Consistently Works For My Cakes And Muffins
Using 40% rice flour, 30% oat flour (gluten-free), 20% almond flour, and 10% tapioca starch creates a neutral base, with fat for softness and starch for binding.
To provide a concrete example, here is a basic starting proportion. For a basic recipe, take 200 g (7 oz) of our dry blend (rice, oat, almond, tapioca), and add 120 g (4.2 oz) of sugar and 1 tsp of baking powder. Mixing the wet ingredients in another bowl requires 3 eggs, 100 g (3.5 oz) of melted butter (or vegetable oil), and 150 ml (5 fl oz) of kefir (a cultured, fermented milk drink similar to thin yogurt).
Combining the dry and wet parts creates your blank canvas. Berries, nuts, zest, or cocoa can then be added to taste.
A visual marker of proper dough is that it appears thicker than wheat-based dough, but not like a dense lump. Dropping it from a spoon reveals a slow, stretchy fall. If it spreads like water, it is too runny, requiring more flour or a bit of psyllium (which I discuss below). The color before baking usually looks slightly grayish or creamy; this is normal, as it will never be pure white.
The Secret Glue: What Gives The Dough That Essential ‘Framework’ Effect
Suppose the flour blend is ready. Relying on it alone will not get you far; without a binder, the cake crumbles as soon as it cools. In gluten-free baking, additives play the role of this “glue,” swelling upon contact with water and binding the dough from the inside.
In most home recipes, the primary helper is eggs. The egg white coagulates when heated and acts as sturdy reinforcement, while the yolk helps water and fats mix evenly, creating a uniform crumb. More eggs are usually necessary here; if a classic recipe calls for two per 200 g (7 oz) of flour, using three is a safe bet here.
Xanthan gum or psyllium usually pairs with eggs:
Xanthan gum is ideal for delicate baked goods like cakes, muffins, and sponges. The name sounds chemical, but there is no need for alarm. Essentially, it is an entirely natural product obtained through fermentation, much like making kefir or kombucha. You likely consume xanthan regularly, as manufacturers frequently add it to store-bought ice cream or sauces for thickness.
In dough, this powder turns into a gel upon contact with water and coats the flour particles. The required dose is microscopic: about 0.5–1 g per 100 g (3.5 oz) of flour. Adding more makes the dough slimy, and the finished cake becomes “rubbery,” as if chewing on packaging film.
Psyllium (plantain husk) works best where a dense structure is needed, such as in bread or flatbreads. It absorbs an enormous amount of water and produces a thick gel. Cooks also use it in delicate cakes, but cautiously: about 1–2 g per 100 g (3.5 oz) of flour. Verifying the proportion is easy; the dough should thicken slightly 2–3 minutes after kneading. If this happens, you did everything right.
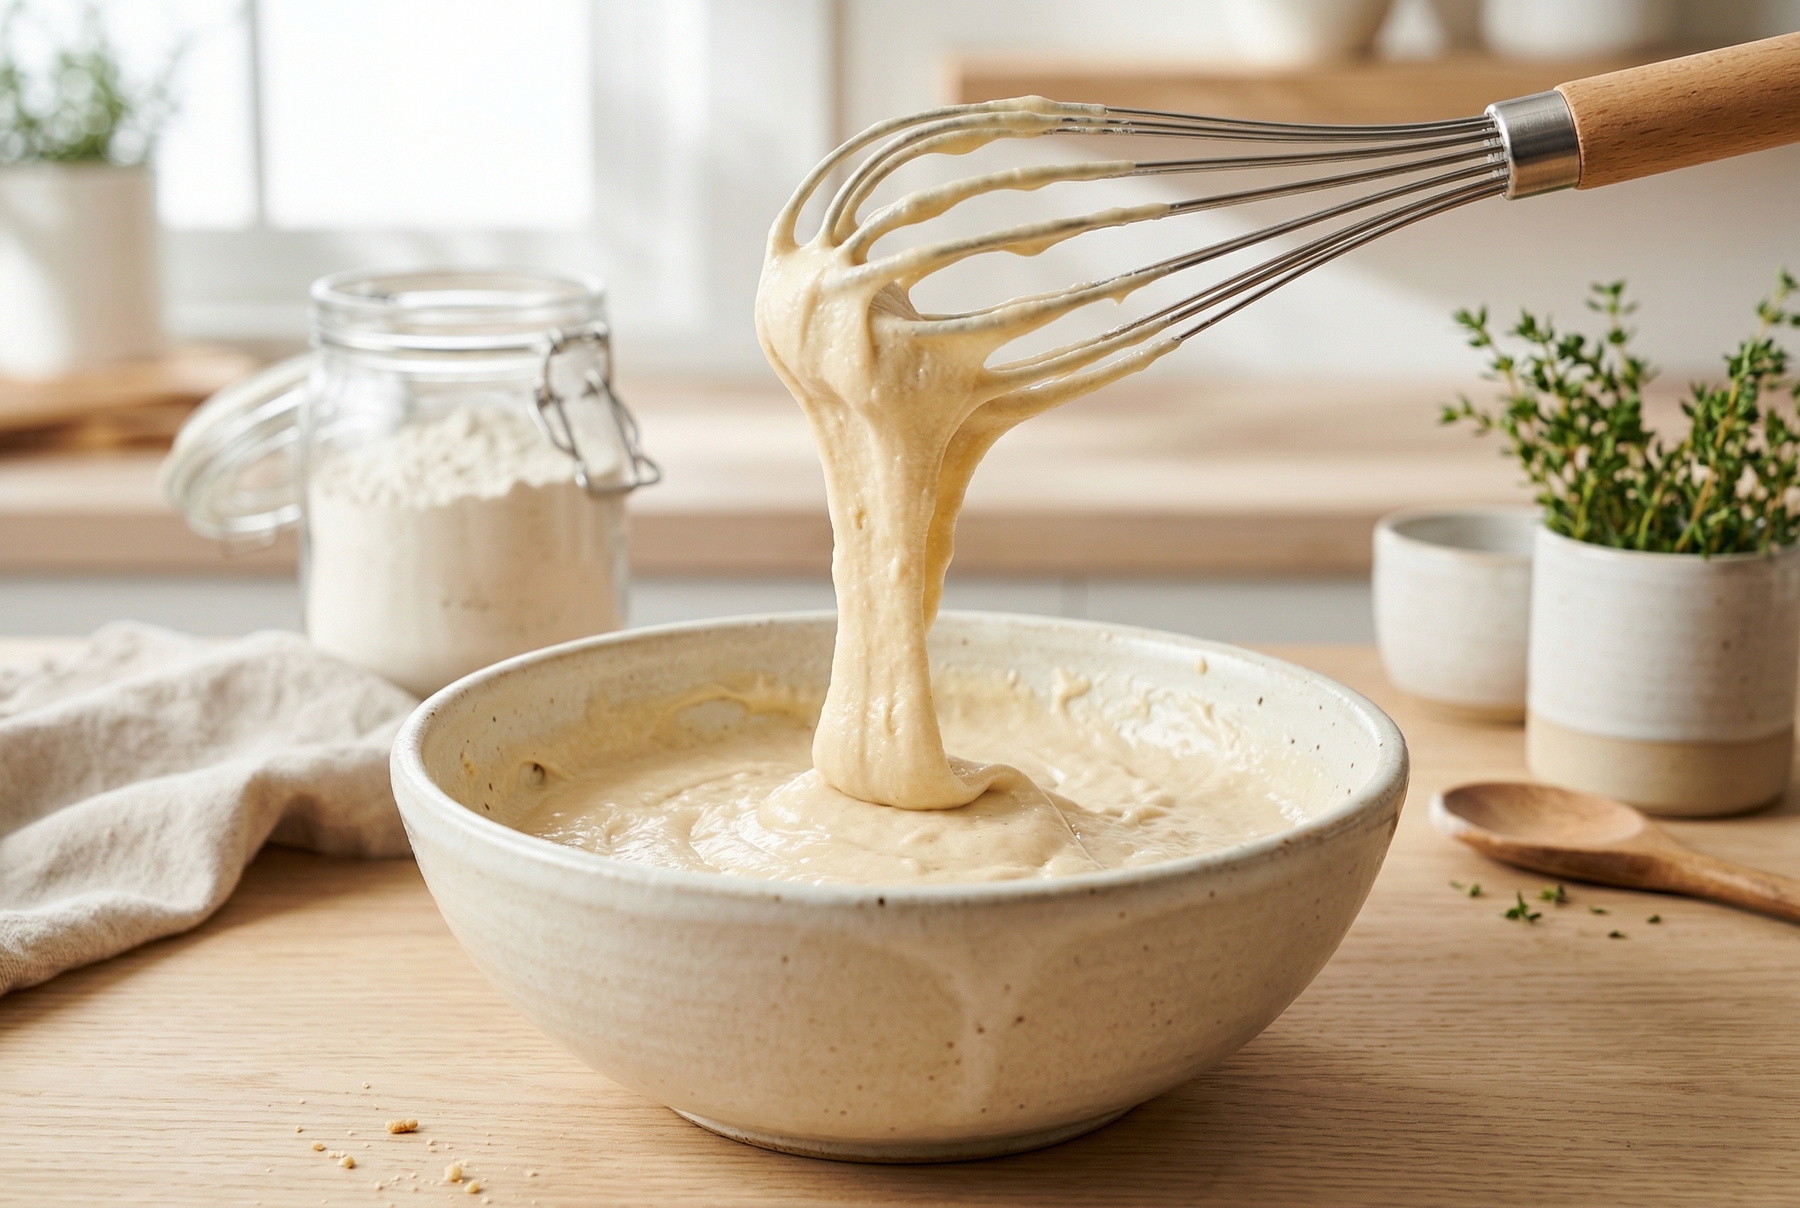
Visual marker: high-quality dough must appear thick and stretchy thanks to the work of binding components.
The Golden Rules Of Kneading: Forgetting Everything We Were Taught
Rule number one: overmixing is not a threat. Classic recipes always warn us to remove the mixer immediately after combining dry and wet ingredients; otherwise, gluten develops and makes the cake tough. In gluten-free dough, the exact opposite is true. There is no gluten here, meaning physically “overmixing” or toughening the dough is impossible. Working the mixer boldly for 2–3 minutes is entirely beneficial, as it allows the binding additives (xanthan or psyllium) to disperse better and start working.
Rule number two: the mandatory “rest.” This is a critical stage that many forget. Gluten-free flour (especially rice flour) absorbs moisture much slower than wheat flour. Sending the pan straight into the oven often results in a dry cake, with unsoaked flour grating unpleasantly against the teeth. Letting the finished dough stand on the counter for 15–20 minutes allows it to thicken and stabilize noticeably. After this wait, it is time to send it to the oven.
The only exception occurs when your blend contains a substantial share of buckwheat flour. As we already know, it absorbs moisture instantly. A long rest only harms such dough (making it too dense), so it goes into the oven immediately.
Temperature And Time: Where Cakes Are Most Often Lost
The temperature of the components frequently slips our minds. Eggs must be at room temperature; cold eggs do not emulsify as well with fat, resulting in less uniform dough. It is not a catastrophe, but it affects the texture of the slice.
The oven temperature also presents a nuance. Under high heat—200°C (390°F) and above—the surface sets before the center stabilizes. A range of 165–175°C (330–350°F) works well for most gluten-free cakes, merely requiring a slightly longer baking time.
Baking time depends on the pan, its size, and the character of the specific oven. Checking with a skewer should yield a clean pull or dry crumbs. If it catches liquid dough, another 8–10 minutes are necessary.
Letting the cake cool is essential. Gluten-free baking is particularly sensitive to the cooling stage, as the final stabilization of the structure prominently manifests right after it. The starches fall into place, and the gel sets. Slicing it 10 minutes out of the oven is like cutting warm jelly. A minimum of 30–40 minutes on a wire rack is required, though an hour is better.
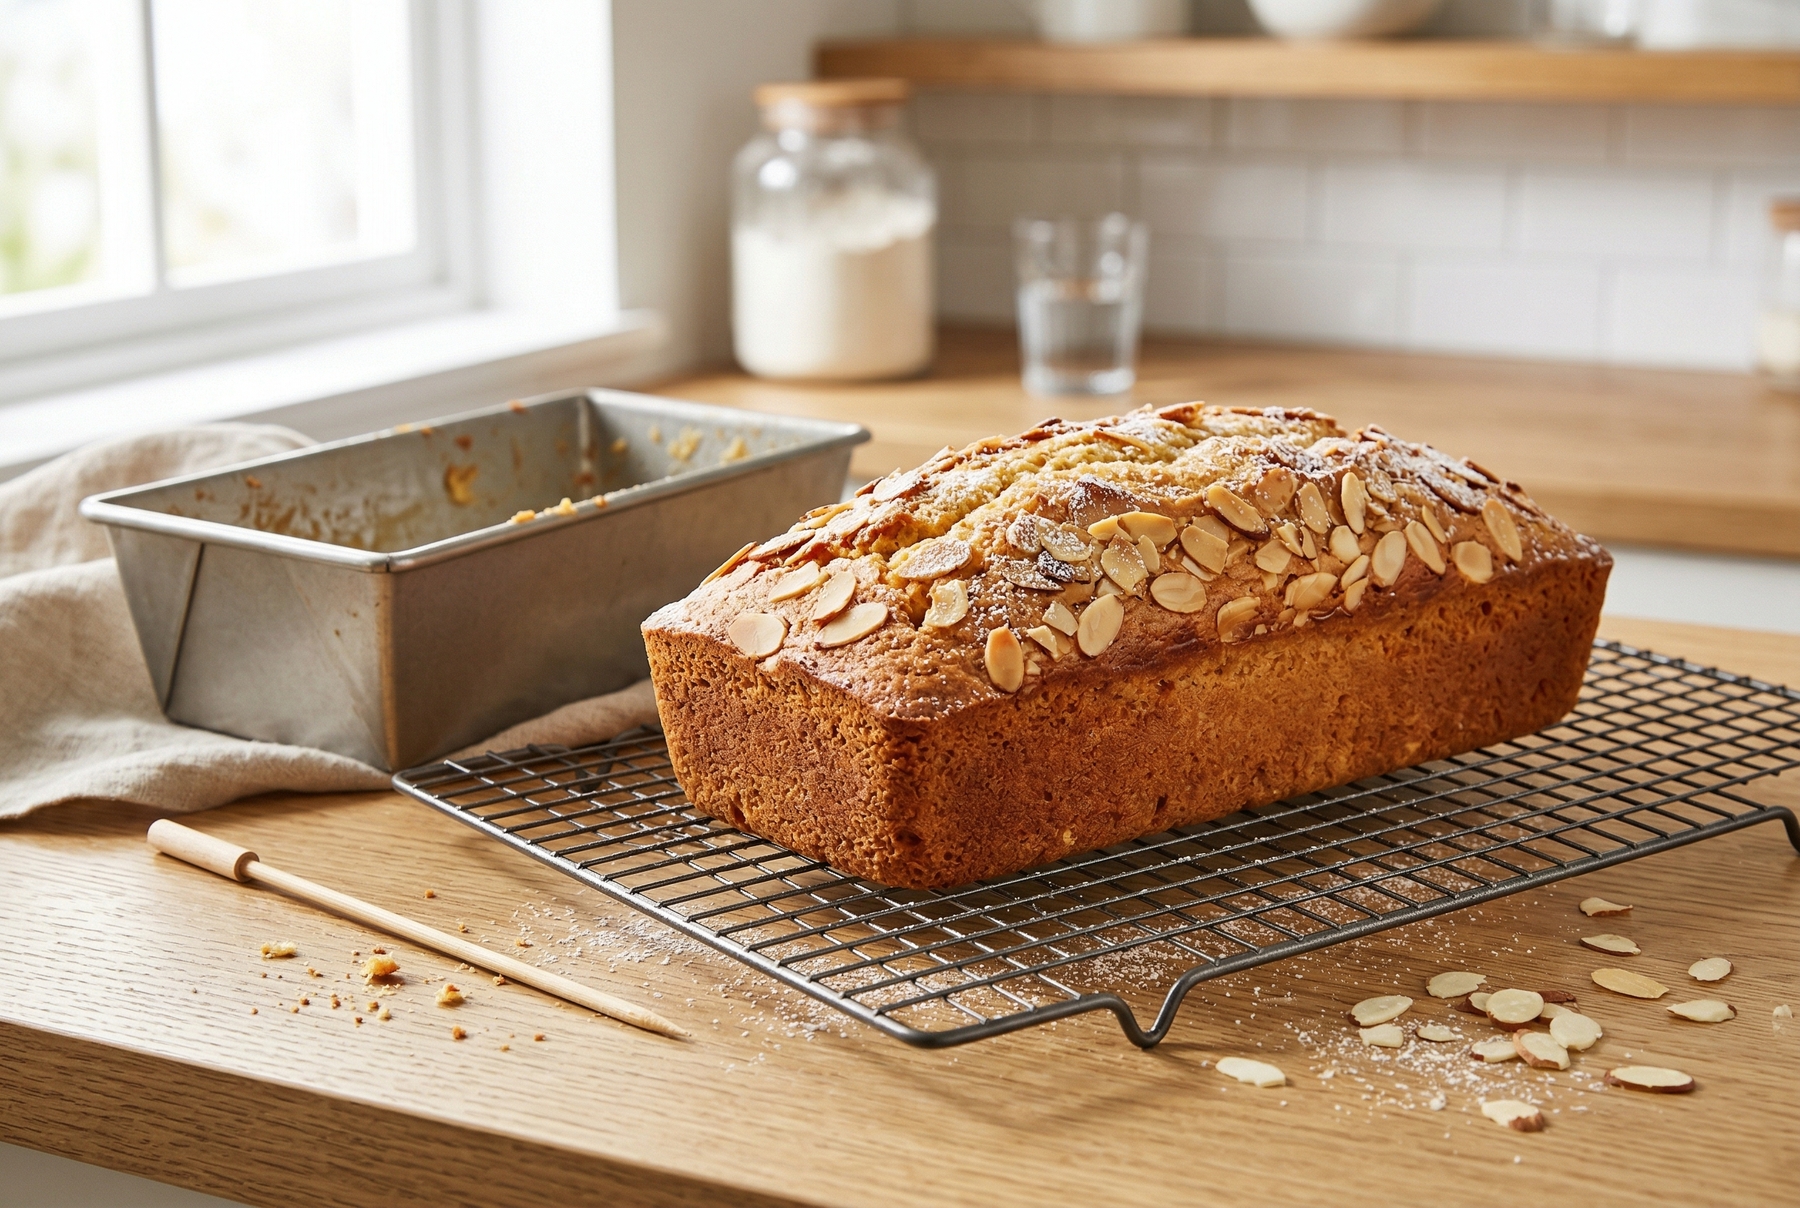
Allowing the cake to cool completely before slicing is essential for the final stabilization of its internal structure.
What To Do If It Crumbles Anyway
Sometimes things go wrong. Doing everything correctly can still end with the cake crumbling into several shapeless pieces upon removal from the pan. Sometimes the pan takes the blame; silicone pans without a metal rim perform worse with gluten-free dough, as the pastry fails to set before the pan deforms during removal. Sometimes a batch of flour has different moisture levels. Sometimes it simply is not your day.
The main question is whether it tastes good. If yes, the pastry is not lost.
Trifle. Glasses, layers: cake crumbs, a spoonful of custard or whipped cream, berries, more crumbs. The original trifle was invented precisely to repurpose a failed sponge cake. In a glass cup, it looks like an intentional choice—because now it is one.
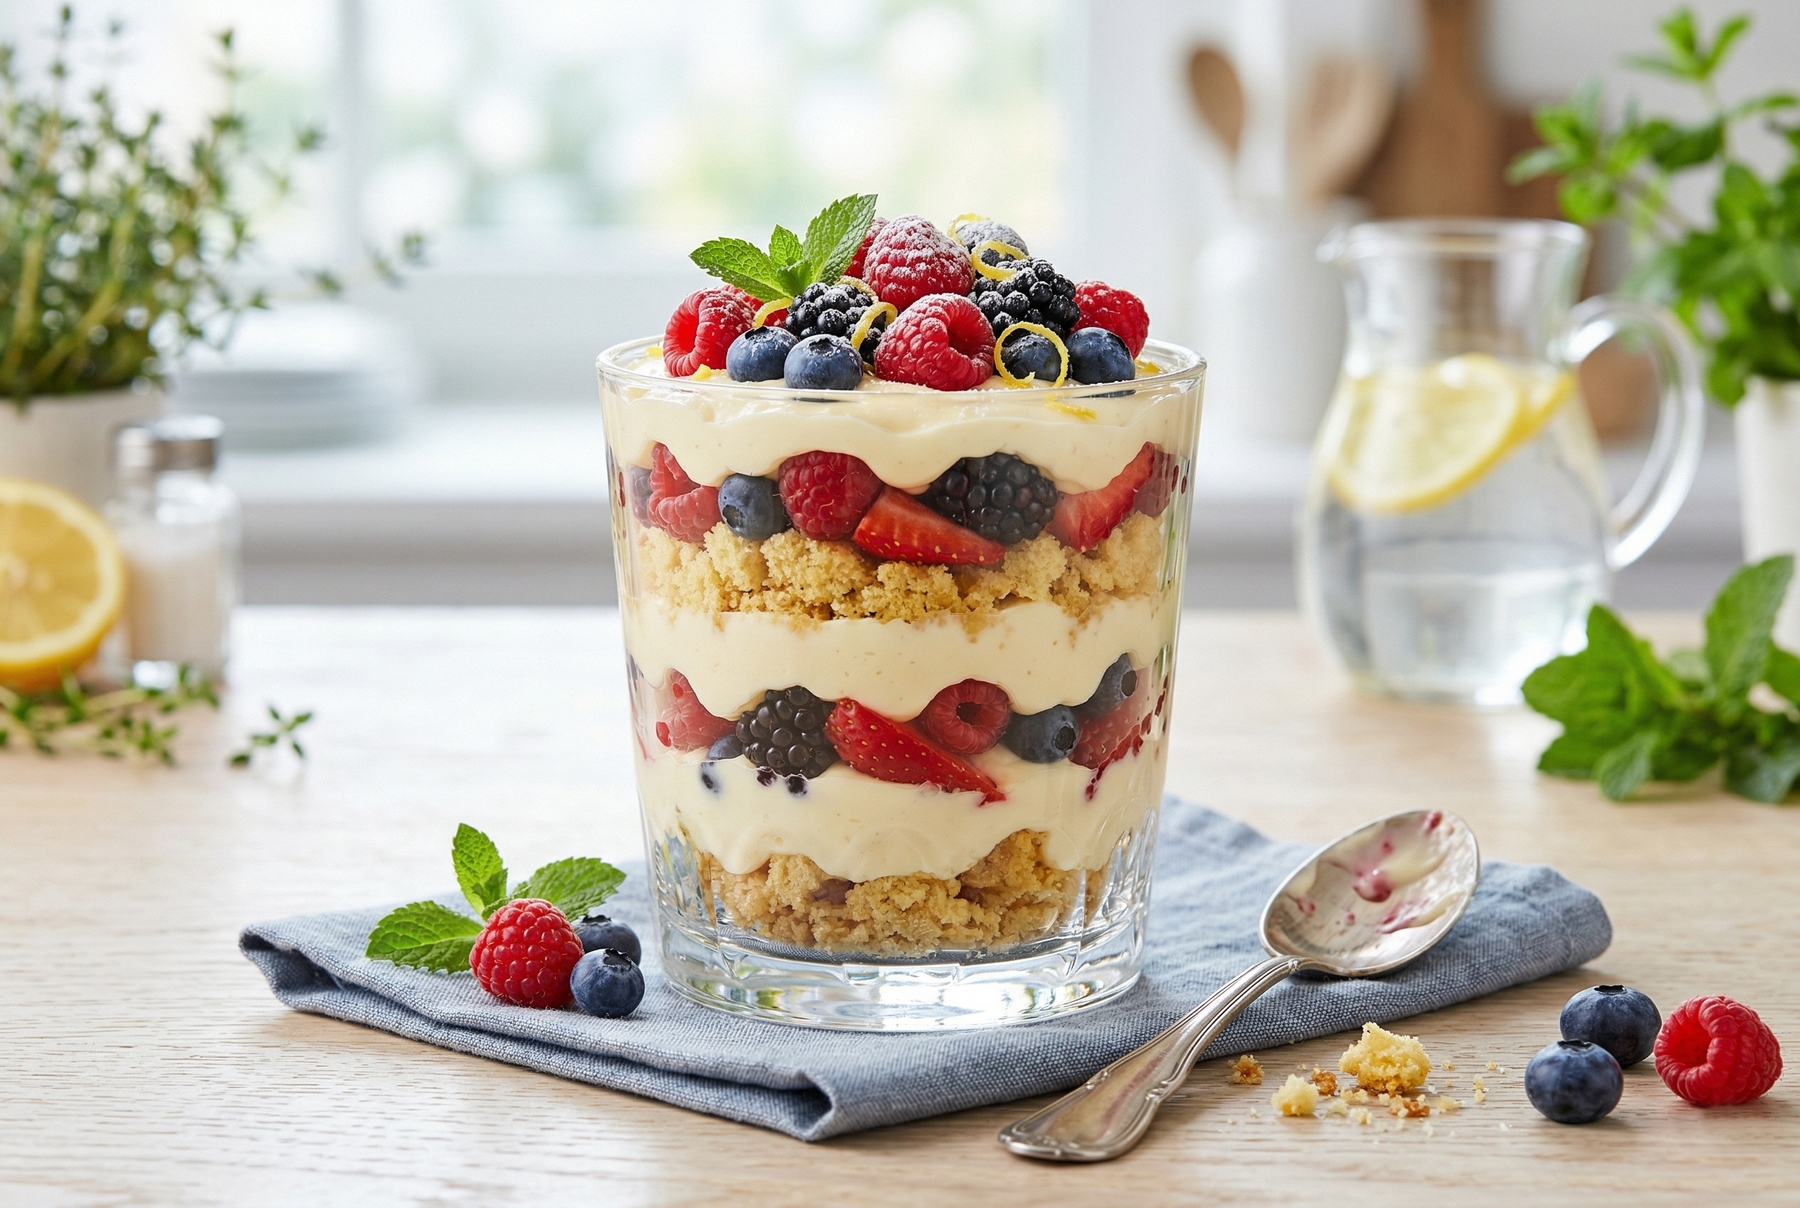
If the cake falls apart anyway, turning it into an elegant trifle with fresh berries and delicate cream is a perfect solution.
Cake Pops. Mixing crumbs with 2–3 tablespoons of cream cheese or ganache yields a pliable mass; rolling them into balls, coating them in melted chocolate, and refrigerating for 30 minutes produces treats that look like they came from a bakery, and no one will guess the secret.
For those feeling purely philosophical, Plan C involves pouring the crumbs into a deep bowl, dropping a scoop of vanilla ice cream on top, and presenting it with a straight face as a “deconstructed crumble.” Trendy restaurants currently charge good money for such a presentation, incidentally.
In all seriousness, the first gluten-free cake often turns out lumpy. Next time, measuring the xanthan more accurately, avoiding an oven temperature above 170°C (340°F), and leaving the knife alone until the pan completely cools on the rack will yield better results. For today, brewing tea, calling the family, and enjoying your magnificent crumble is the perfect plan. Good luck in the kitchen; success is bound to follow!
0 comments