
Masha cooks exceptionally well. She simmers her chicken broth for hours, caramelizes onions for forty-five minutes rather than the five suggested by recipes, and never buys pre-grated Parmesan in a bag. When she called me last Tuesday, I expected a dinner invitation, not a culinary question. Instead, she asked what chefs add to the water when boiling vegetables to keep them so… green. She had seen it at a restaurant: the asparagus on her plate was incredibly vibrant. She cooked hers exactly the same way—same asparagus, same water, same stove—but always ended up with something grayish-olive and soft.
I asked if she immediately transfers the vegetables to an ice-water bath. A pause followed. “What ice-water bath?”
That is exactly the point. There is no secret ingredient: the vibrant color comes from a short boiling time and rapid cooling, not an additive. A single chemical reaction drains the color. Interrupting it at the right moment keeps the vegetables bright.
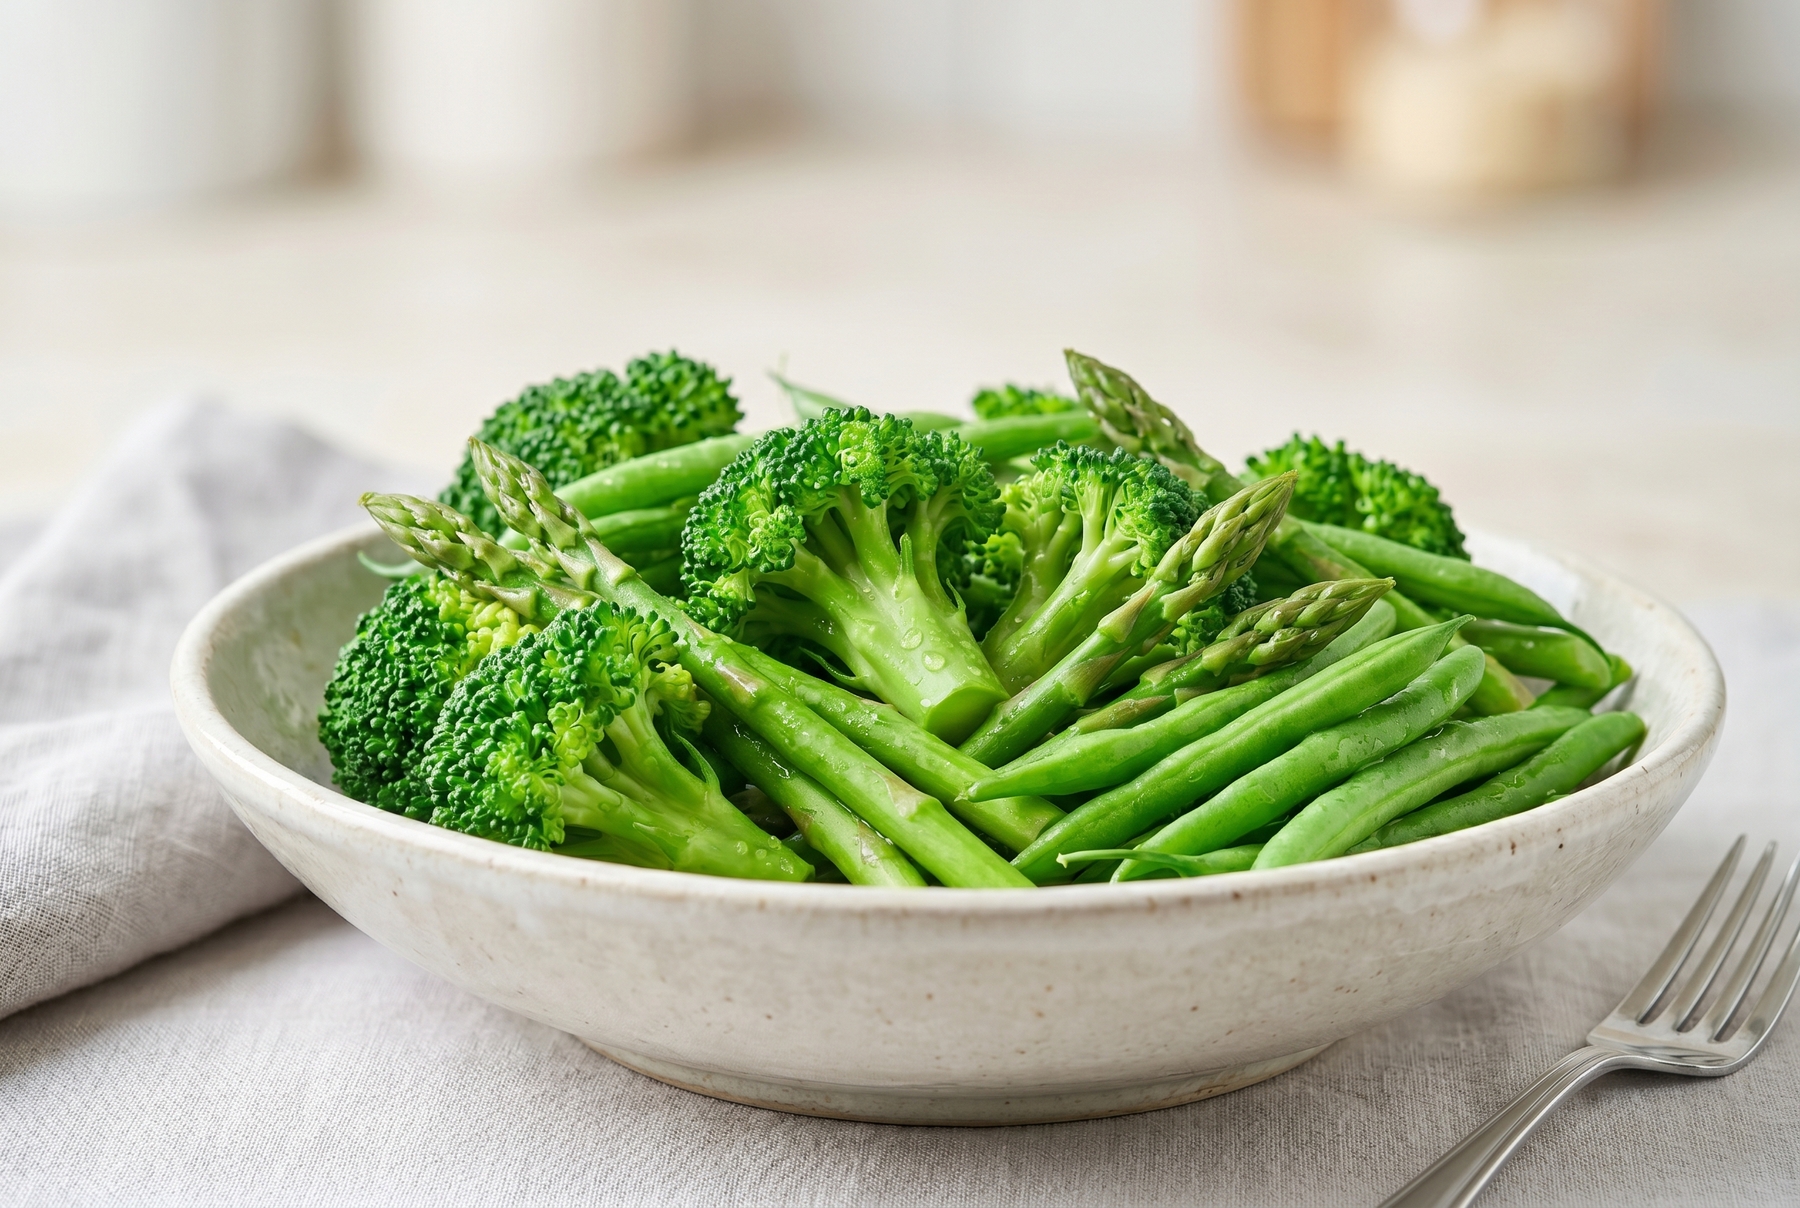
Proper blanching helps vegetables retain their natural bright green color and appetizing appearance.
Table of Contents
What Happens in the Pot While You Look at Your Phone
The green color of fresh vegetables relies on chlorophyll, a pigment residing inside the cells that absorbs sunlight for photosynthesis. A magnesium atom sits at the center of its molecule, and it is responsible for that signature green hue.
When raw broccoli hits boiling water, something interesting happens in the first few seconds: the color intensifies. It becomes almost unrealistically bright. The air trapped between the cells expands and escapes upon heating. As this air layer vanishes, light stops scattering and hits the pigment directly. The chlorophyll operates at full capacity.
The cells contain organic acids, such as citric and oxalic acids. In a living vegetable, these acids are isolated inside vacuoles (intracellular reservoirs). As the heat breaks down the cell walls, the vacuoles burst, releasing the acids. They attack the chlorophyll molecule at its most vulnerable spot, displacing the magnesium from the center and replacing it with hydrogen. This process creates pheophytin, a pigment with a dull, swamp-gray color.
This is exactly why overcooked greens look the way they do.
Why Blanch Vegetables at All
Blanching is a brief treatment in boiling water followed by immediate cooling in an ice bath. The goal is not to cook the vegetable completely, but to stop the cooking process at the precise right moment.
There are two primary objectives here. The first is to inactivate the enzymes. Fresh vegetables contain enzymes that continuously degrade color and flavor even at room temperature—this explains why cut greens gradually yellow on the counter. A quick burst of heat stops them. The second objective is to preserve the color and crunch by halting the cooking before the heat and the acidity of the cell juice begin to destroy the chlorophyll.
Time is the crucial parameter. It cannot be guessed by waiting until the vegetables become soft. Softness arrives precisely when the color is already destroyed.
The main guideline is that the bright color does not last long, and after that, the process starts working against you. Removing the vegetable when it is piercingly bright but still springs back when pressed is the best approach.
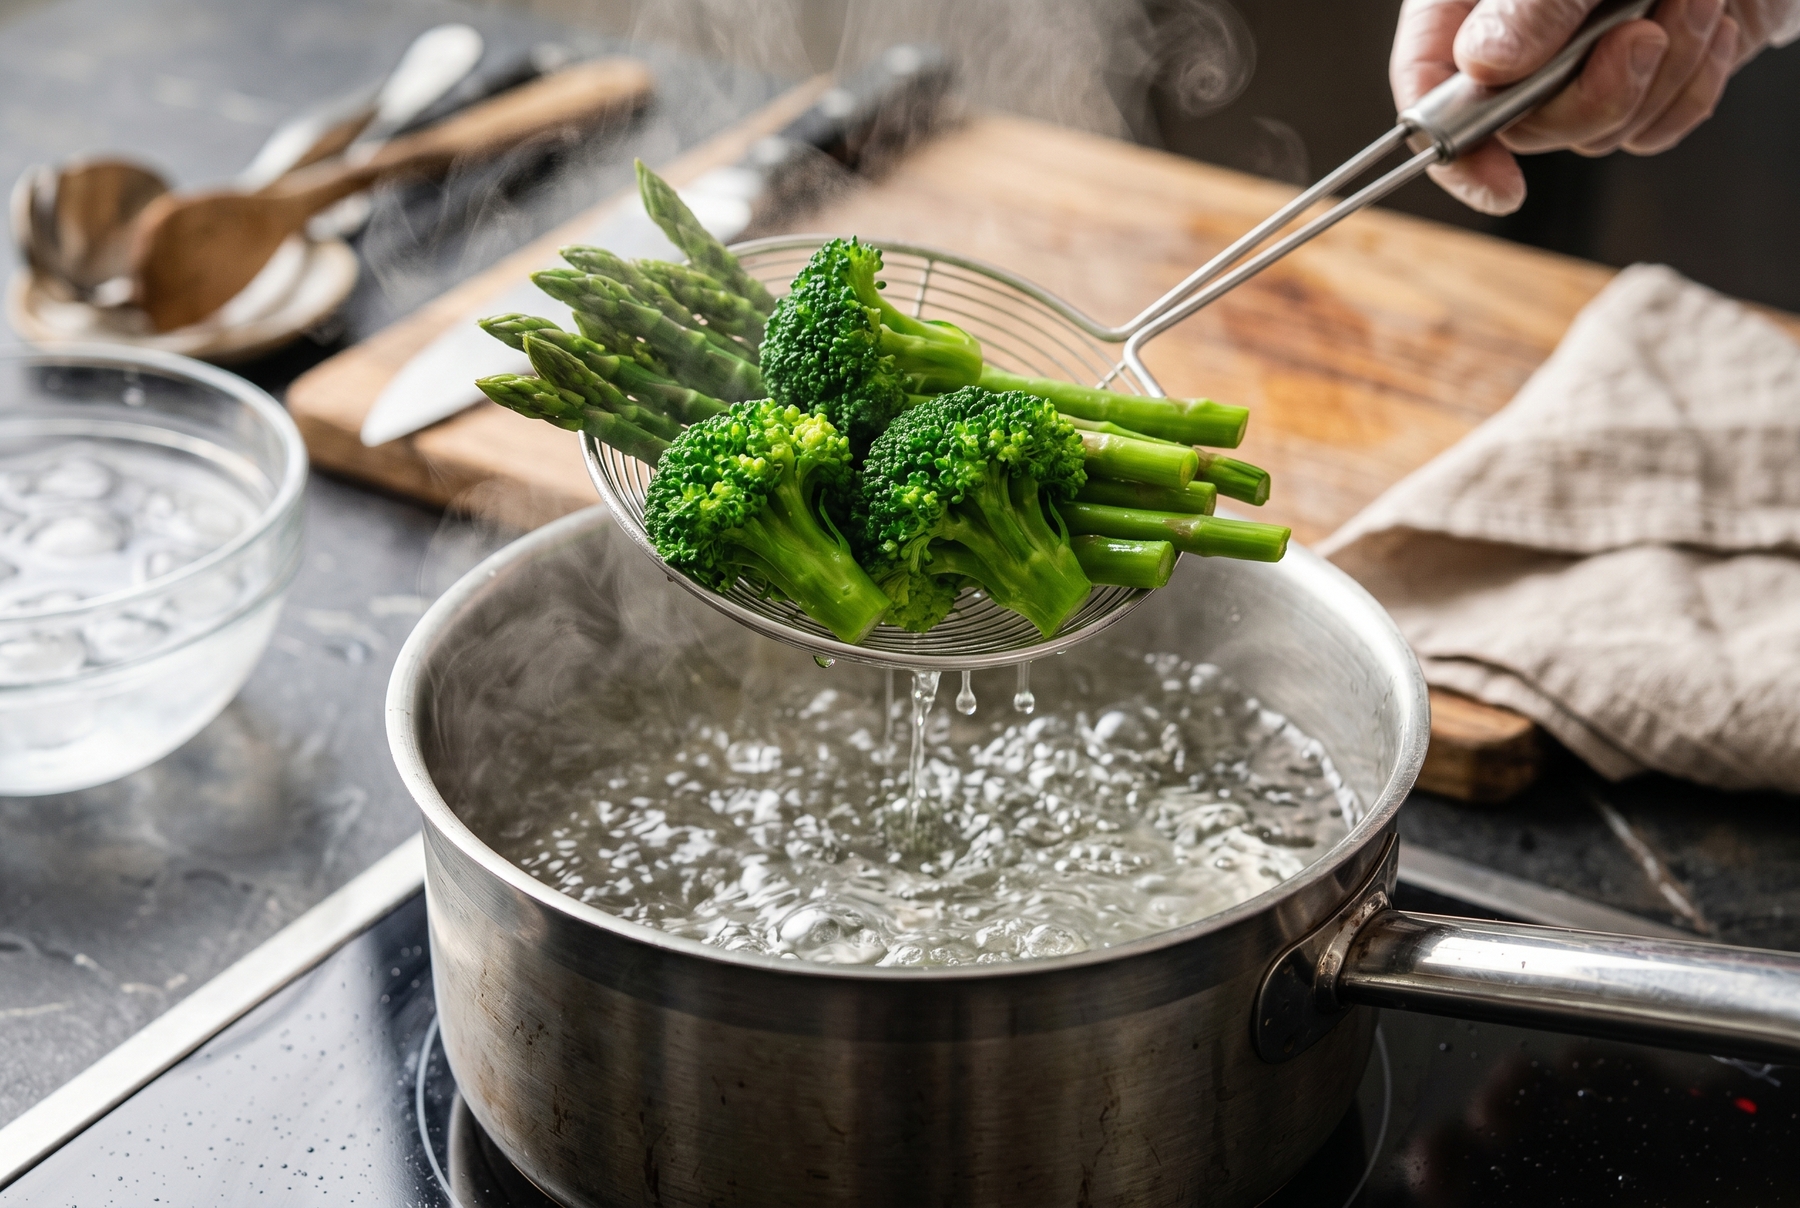
Removing the vegetables from the boiling water at their peak brightness is crucial, right before acids begin to break down the chlorophyll.
Why ‘Letting It Cool Down’ Does Not Work
It is easy to make a mistake at this stage.
You take the vegetable out of the boiling water, toss it into a colander, and walk away to set the table, feeling quite satisfied. Meanwhile, the broccoli continues to cook. The internal temperature of a floret the moment it leaves the water is around 90°C (194°F). This residual heat does not just vanish; it continues to travel inward from the hot exterior to the core for several more minutes. The chlorophyll perishes, and swampy pheophytin rapidly forms in its place. By the time you return to the colander, the recently vibrant florets will have faded.
An ice bath instantly severs this process. It extracts heat roughly twenty times faster than air, rapidly cooling the vegetable and abruptly slowing down any further cooking. This is precisely why both the color and a firmer texture survive.
A bowl of ice water might seem like a minor detail. Without an ice bath, however, you are just boiling vegetables with pretensions.
How to Blanch Vegetables at Home
The boiling water must maintain a true, rolling boil, with large, rapid bubbles across the entire surface, rather than a modest simmer at the edges. Plunging cold vegetables into the pot inevitably drops the water temperature. A larger volume and a more active boil ensure the temperature returns to 100°C (212°F) faster, which makes the timing more precise. Using no less than three liters (about 3 quarts) of water for a 300-400 gram (10.5-14 oz) portion is highly recommended.
Salt serves more than just flavor. Salted water reduces the osmotic gradient, slightly reducing the leaching of minerals and water-soluble vitamins into the pot. A concentration of about 10 grams (0.35 oz) of salt per liter (about 1 quart) works best. It should taste slightly saltier than a regular soup, almost like a mild sea broth.
Timing guidelines:
- Spinach and leafy greens — 30-40 seconds
- Tomatoes — 30-60 seconds (for peeling)
- Asparagus — 1-2 minutes (thinner stalks closer to one minute)
- Green peas — 1-2 minutes
- Zucchini and summer squash — 1-2 minutes
- Green beans — 2-3 minutes
- Broccoli and cauliflower (florets) — 2-3 minutes
- Carrots (sliced) — 2-3 minutes
- Corn (on the cob) — 4-5 minutes
Moving them from the boiling water straight into a bowl of ice water is essential. Keeping them there until completely cooled, usually 1-2 minutes, finishes the process. Removing them and drying them on a towel is the final step.
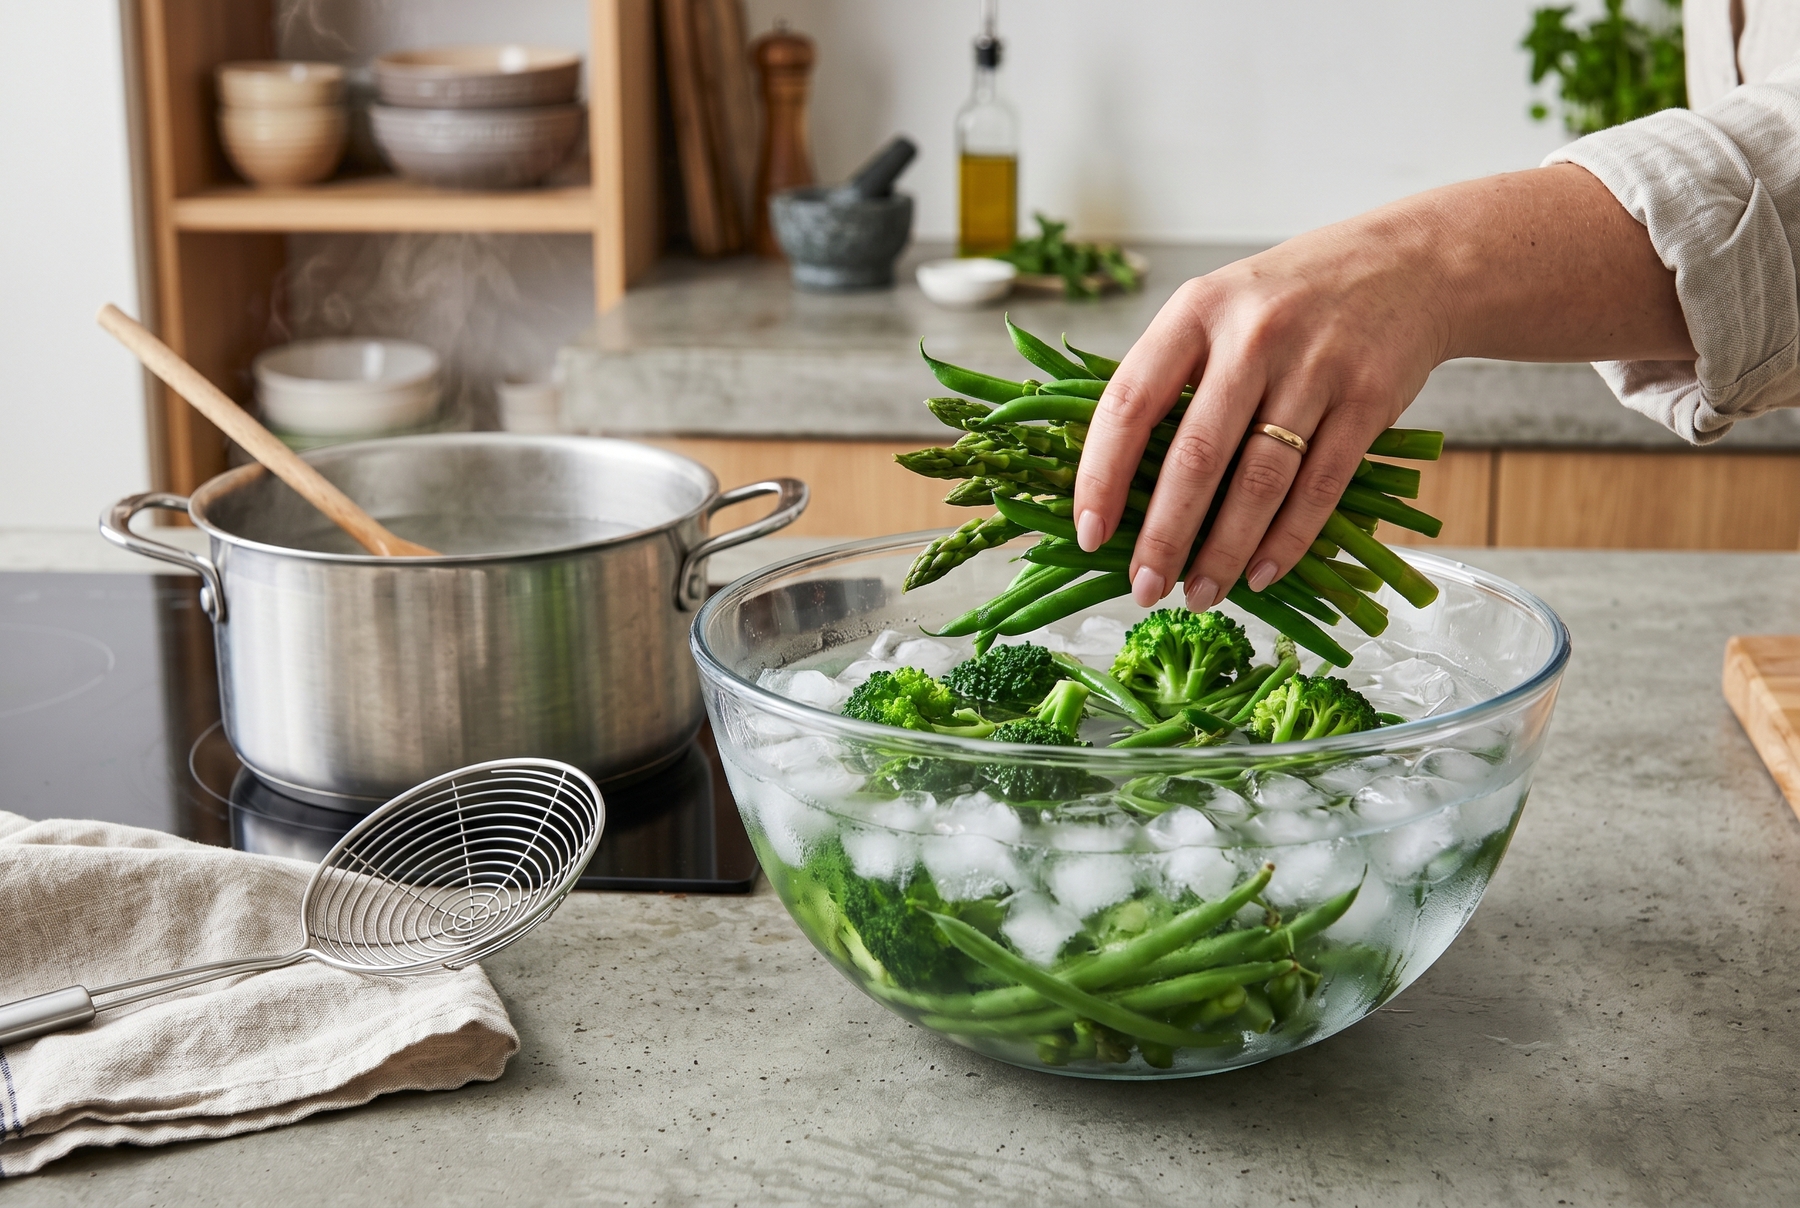
Shock cooling in ice water instantly stops the cooking process, preserving the crunch and vibrant color.
What to Do If You Have No Ice
Finding an empty freezer when you never planned for ice is nothing unusual.
Placing the colander under a stream of icy tap water while constantly stirring the vegetables offers a solution. It is less effective than an ice bath because tap water rarely drops below 15-18°C (59-64°F), but the cooling still happens. In this scenario, reducing the boiling time by 30-40 seconds helps: pulling the vegetables out slightly earlier, just before that piercing brightness sets in, allows the residual heat and the slow-running cold water to balance each other out.
A practical life hack is to toss a sealed bag of frozen vegetables directly into a bowl of cold water. Frozen peas, corn, or any other frozen item works perfectly, as long as the packaging is airtight. The water will become cold enough to instantly stop the cooking process.
What to Do With Overcooked Vegetables
If the broccoli has already turned a swampy hue, its fate as a standalone side dish is sealed. Throwing it away, however, makes no sense.
Blending the florets with a clove of garlic, a spoonful of butter, a splash of heavy cream, and grated Parmesan works beautifully. It produces a dense, rich cream sauce that serves as an excellent bed for a steak or a base sauce for pasta. The color might be lacking, but the flavor remains largely unaffected.
Overcooked spinach or green beans can easily disappear into the batter for green crepes or join the cheese in an egg tart or quiche. The color simply fades into the background and no longer demands center stage.
0 comments