
Avocados and expensive cheese alone do not make a good toast. The bread itself must be delicious first, and only then should you think about what to put on top. This sounds trivial right until the moment you try two toasts side by side: one with a perfect topping on a pale, under-toasted slice, and the second with a thin layer of butter on properly toasted bread. The latter always wins.
A good, properly prepared toast crunches on the surface but never scratches the roof of your mouth. It smells nutty, like slightly roasted flour. The inside remains alive: soft, warm, with a slight moisture that has not yet turned into either rubber or a hard crouton. Crafting a delicious toast comes down to mastering three things: dryness, heat, and fat. Finding their balance ensures the topping will only enhance the final masterpiece.
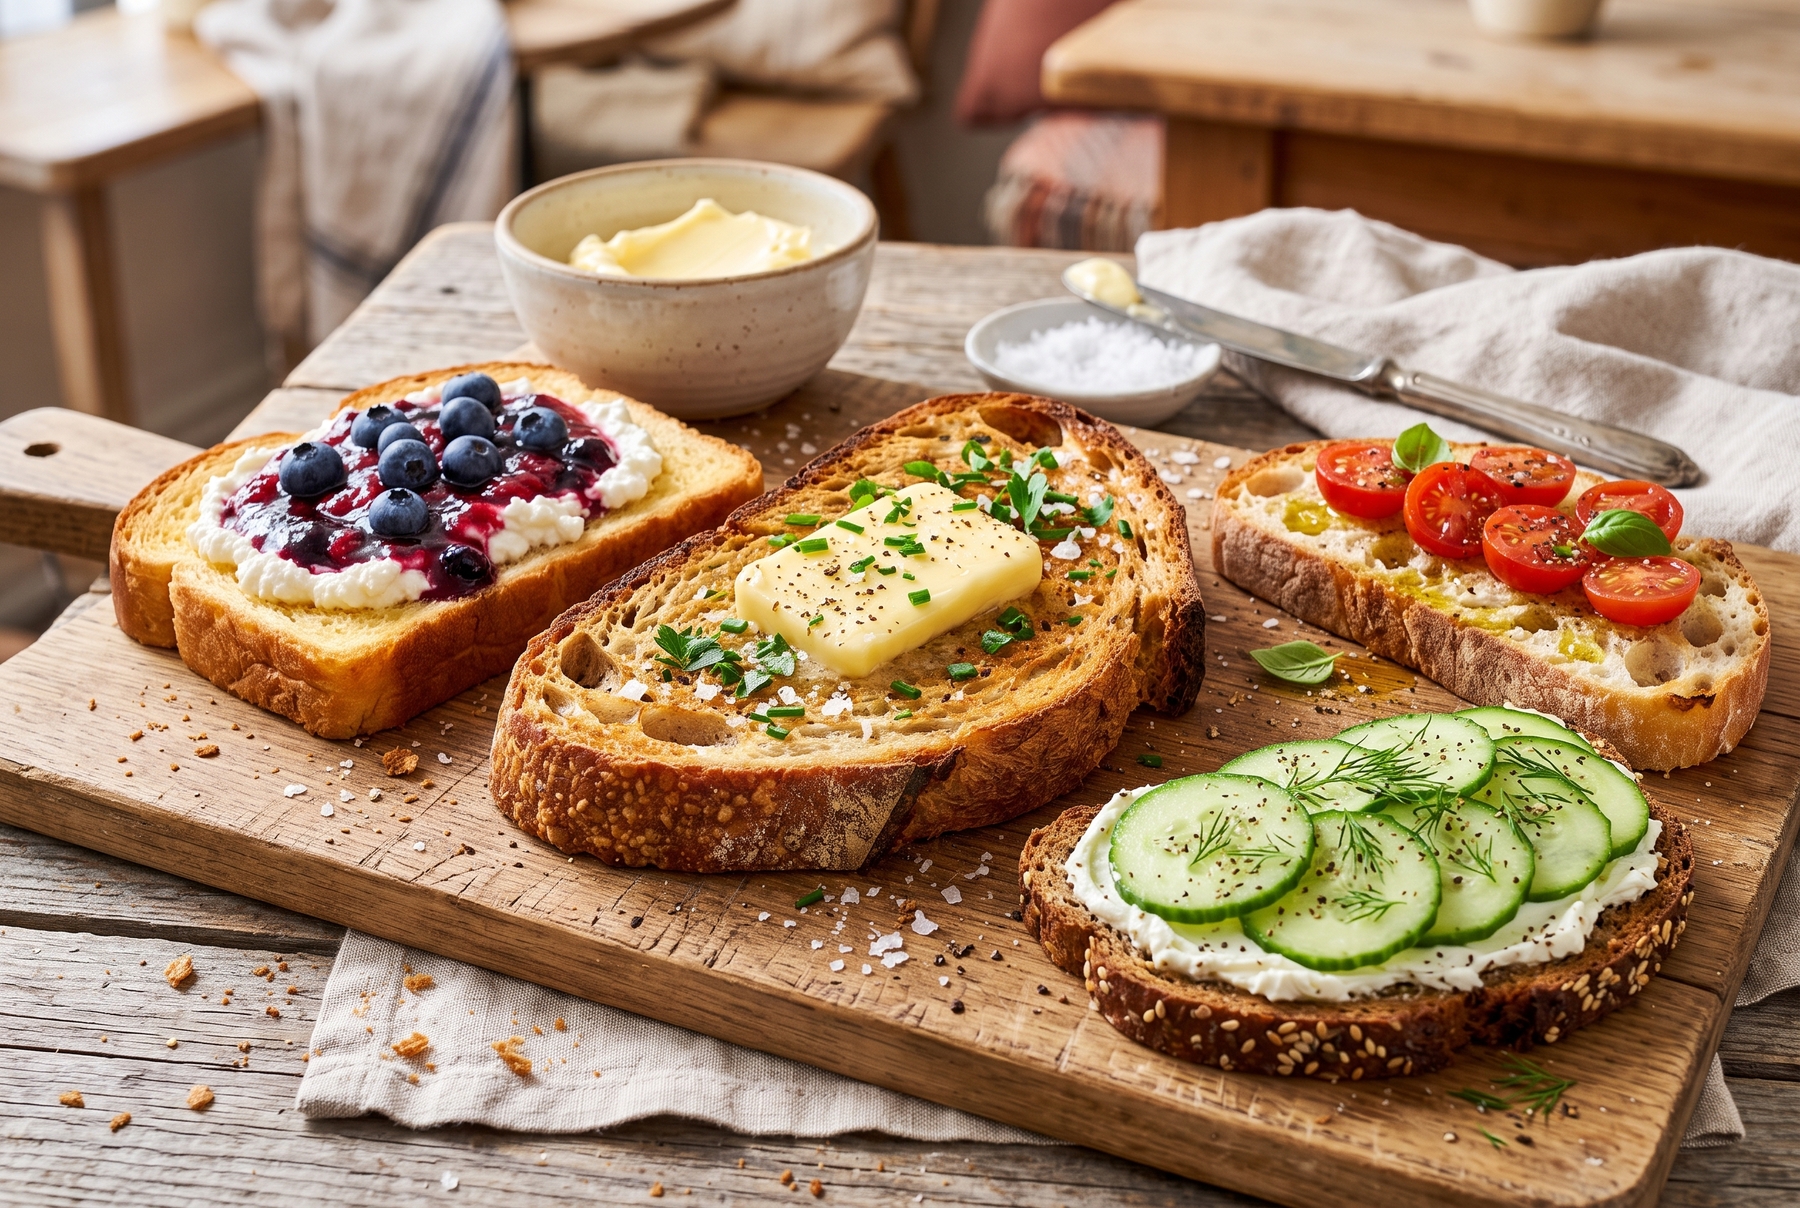
An ideal toast is a balance of a crispy base and properly chosen toppings, ranging from classic butter to fresh vegetables and sweet berries.
Table of Contents
Which Bread Is Best For Toasting
Not Every Bread Can Handle The Heat
The best toast comes from bread with a dense but not rubbery structure. Tin-baked wheat bread, sourdough, brioche, rye mixed with wheat, ciabatta, and day-old baguettes work wonderfully. They all possess a framework that holds its shape under the heat and yields an even crust.
Fluffy packaged sandwich bread also works but behaves differently: it dries out quickly, browns unevenly, and easily burns around the edges. Extremely airy bread with large holes will let the topping seep right through, making the bottom soggy.
Fresh, Day-Old, Or Dried Out
The moisture in the crumb decides everything. Fresh bread, especially when still warm from the bakery, easily becomes rubbery when toasted: the water inside does not have time to escape before the crust sets. Day-old bread toasts more evenly and readily releases excess moisture. A severely dried-out loaf, forgotten for three days, turns into a crouton long before the center warms through.
The ideal state for toasting is bread that has rested for a day under a towel or in paper. It is not rock-hard, but it has lost its damp freshness.
Slice Thickness Is Half The Battle
A thin slice of 1 cm (0.4 inches) is meant for spreads, bruschetta, and light appetizers. A medium slice of 1.5–2 cm (0.6–0.8 inches) serves as the working thickness for breakfast: it has time to warm through while remaining crispy. A thick slice of 2.5 cm (1 inch) or more holds melted cheese, eggs, juicy fillings, and makes excellent French toast. Thicker slices require gentler heat; otherwise, the crust burns before the center is done.
The Main Mistake: Rushing At The Stove
Dark On The Outside, Still Raw On The Inside
Intense heat quickly colors the surface. The problem is that color and doneness are not the same thing. The crust darkens in a minute while moisture is still trapped inside the slice, resulting in a toast that is bitter on the outside and damp on the inside. This is especially disappointing with a thick slice on the toaster’s maximum setting.
Less heat and more time yield a better result. The moisture must have time to escape before the surface reaches the desired color.
What A Proper Crust Looks Like
Relying on color is more dependable than a timer. A pale golden shade means a soft toast that still bends. A deep nutty color, resembling hazelnuts or light caramel, is exactly what you want; it offers the maximum aroma from the Maillard reaction, which gives the toasted crust its distinct taste and smell. Dark brown with black edges signals bitterness, and it is best not to let the bread reach this state. Burnt spots provide a harsh bitterness that cannot be fixed; it is easier to scrape them off with a knife or cut them away entirely, both for flavor and health reasons.
Why A Toast Needs To Breathe
A small trick from restaurant kitchens makes a big difference. After the toaster or the pan, the toast should not be laid flat on a plate immediately. Placing it on a wire rack or leaning it against the edge of the plate for 20–40 seconds allows the hot bread to vent steam from the bottom. If it rests on a cold surface, the steam condenses and makes the bottom crust soggy. A few seconds in the air keeps the bottom perfectly crisp.
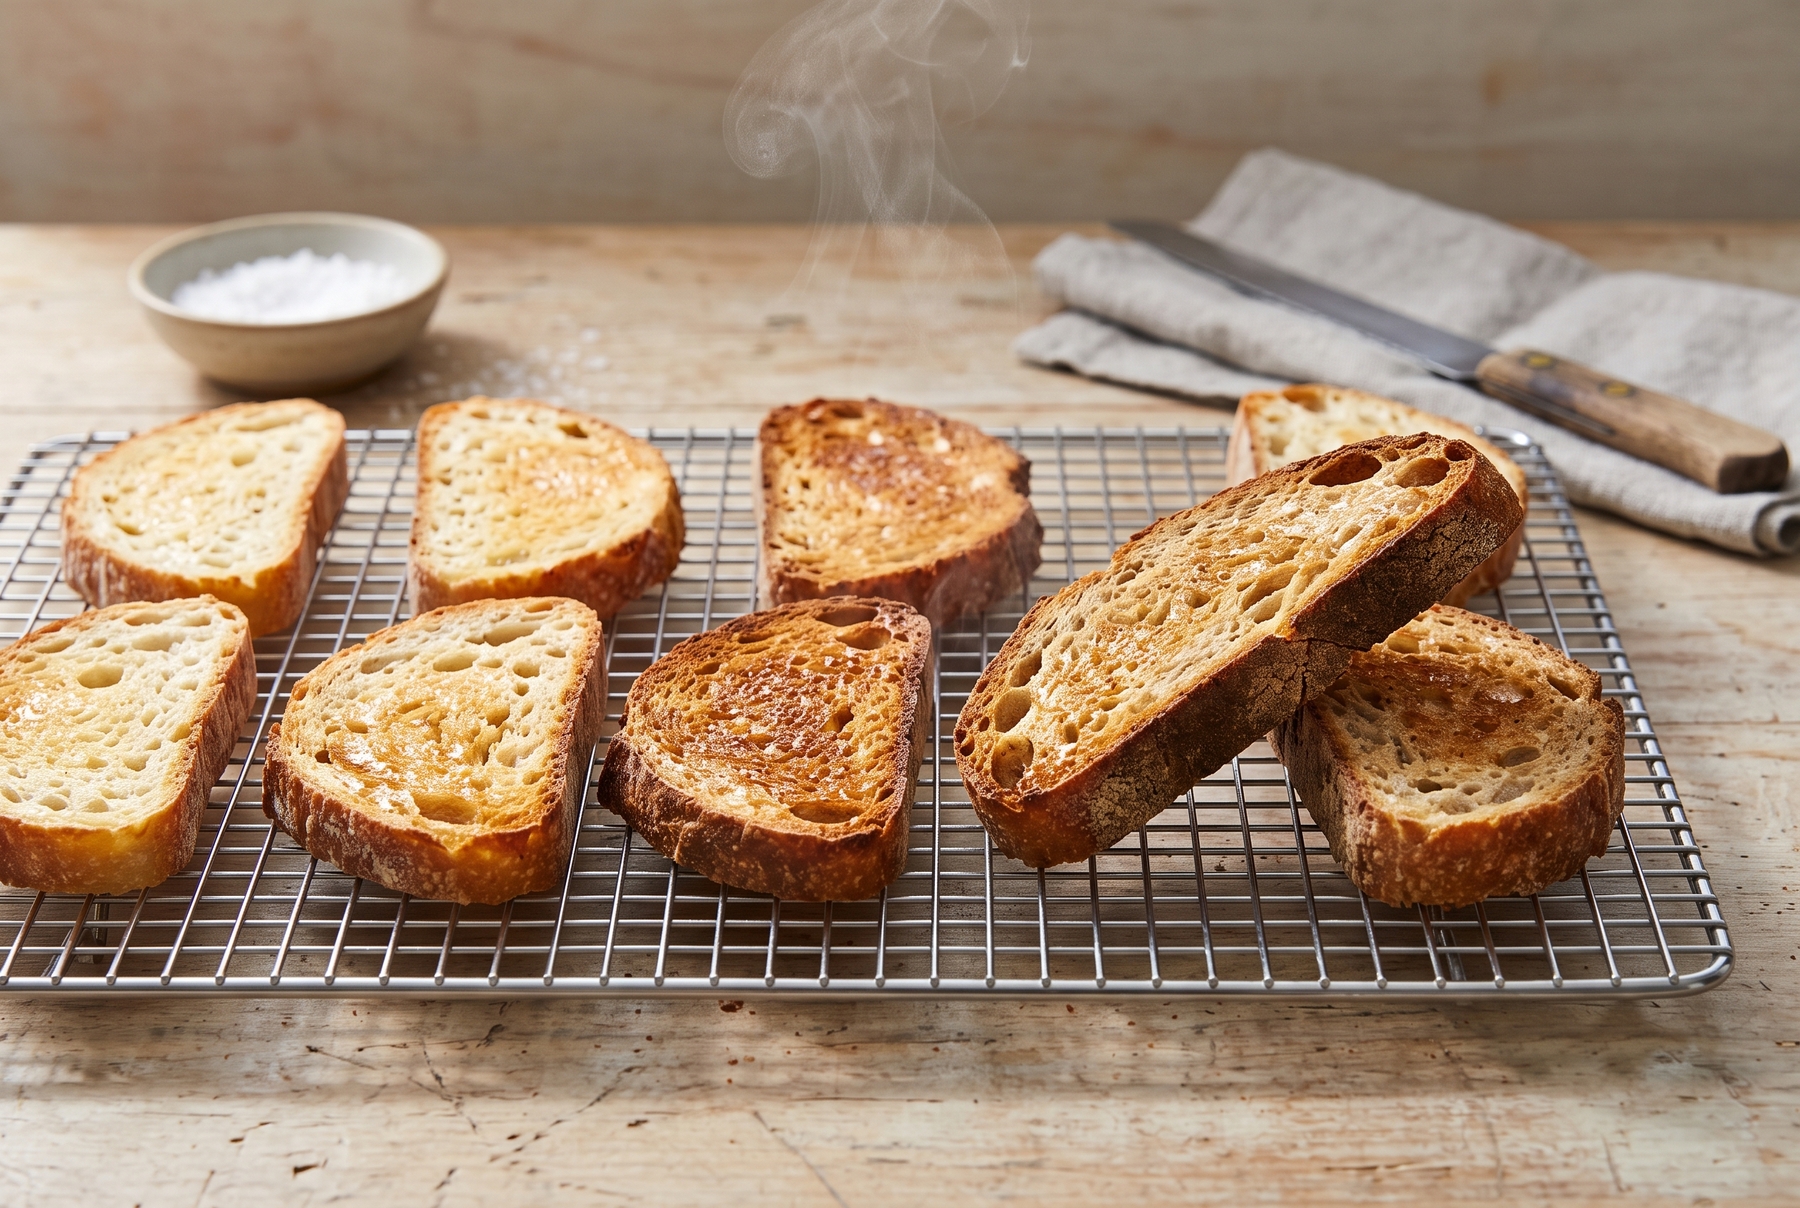
Allowing hot toasts to rest on a wire rack for 20–40 seconds before serving prevents the bottom crust from getting soggy from its own steam.
Toaster, Skillet, Oven, Or Grill
The Toaster: Speed And Consistency
A toaster excels with standard loaf bread, thin to medium slices, and breakfast for one or two people. It heats from both sides simultaneously and delivers predictable results. Setting it to the maximum right away is generally a bad idea. If the bread is moist or thick, running two gentle cycles works better than one aggressive one. Between cycles, the slice cools slightly on the outside, moisture redistributes, and the second pass browns it evenly.
Toasting In A Skillet: Flavor And Control
This is where the magic happens. A dry cast-iron skillet provides a dry crunch and the pure taste of bread. The same skillet with a drop of oil yields a different toast: the fat penetrates the pores, frying the surface rather than drying it, which creates a richer flavor. Placing the slice on a preheated surface and pressing it down with a spatula after half a minute ensures the bread touches the metal evenly. The bottom is ready when a golden rim appears along the edge and a toasted aroma wafts up. Flipping it is the next step. If the crust darkens too quickly while the inside remains cool, lowering the heat to medium and covering the pan with a lid for 10 seconds helps the steam heat the center.
Oven Toasting: When You Need A Large Batch
When serving toast to the whole family or a group of guests, the oven is the most convenient tool. Arranging the slices on a wire rack or baking sheet, placing them in an oven preheated to 200 °C (400 °F), and drying them out with one flip halfway through works perfectly. A wire rack is superior to a baking sheet because air circulates underneath, preventing the bottom from sweating. Keeping an eye on the color is crucial, as it is easy to get distracted and end up with a batch of hard croutons instead of toasts.
The Grill: A Light Touch Of Smoke
A grill or a ribbed grill pan leaves attractive marks and a smoky aroma. However, this is not always appropriate. For a tomato bruschetta, melted cheese, roasted vegetables, fish, or meaty toppings, grill marks add character. For a delicate sweet toast with jam, the smokiness becomes an unnecessary distraction.
Fat: Before, After, Or None At All
Butter Before Toasting
Spreading butter on bread and placing it in the pan leads to a rich, almost pastry-like toast. The butter soaks into the surface, browning deeply and creating a deeply creamy flavor. There is only one risk: the milk solids in butter burn quite quickly, and scorched butter imparts bitterness and dark specks. Maintaining a medium heat and never walking away from the stove is essential.
Butter After Toasting
The most reliable method involves drying the bread bare, without fat, until a good crust forms, and applying the butter to the hot surface afterward. It melts, partially soaks in, remains fragrant, and never has a chance to burn. This approach means less risk and more of that fresh butter aroma. This is the preferred technique for a standard weekday breakfast.
Olive Oil, Ghee, Mayonnaise, And Cheese
Different fats behave differently, and choosing the right one depends on the goal. Extra virgin olive oil shines on bruschetta: drizzling it over hot bread allows the heat to release its full bouquet. Clarified butter or ghee withstands high temperatures without burning, making it convenient for consistent frying. Mayonnaise, spread on the outside of a closed sandwich, delivers an evenly browned crust; it sounds unusual, but the fat emulsion and egg yolk in mayonnaise work wonders. Cheese acts as both fat and flavor, either grated over a hot toast or fried until its edges turn into a crispy lace.
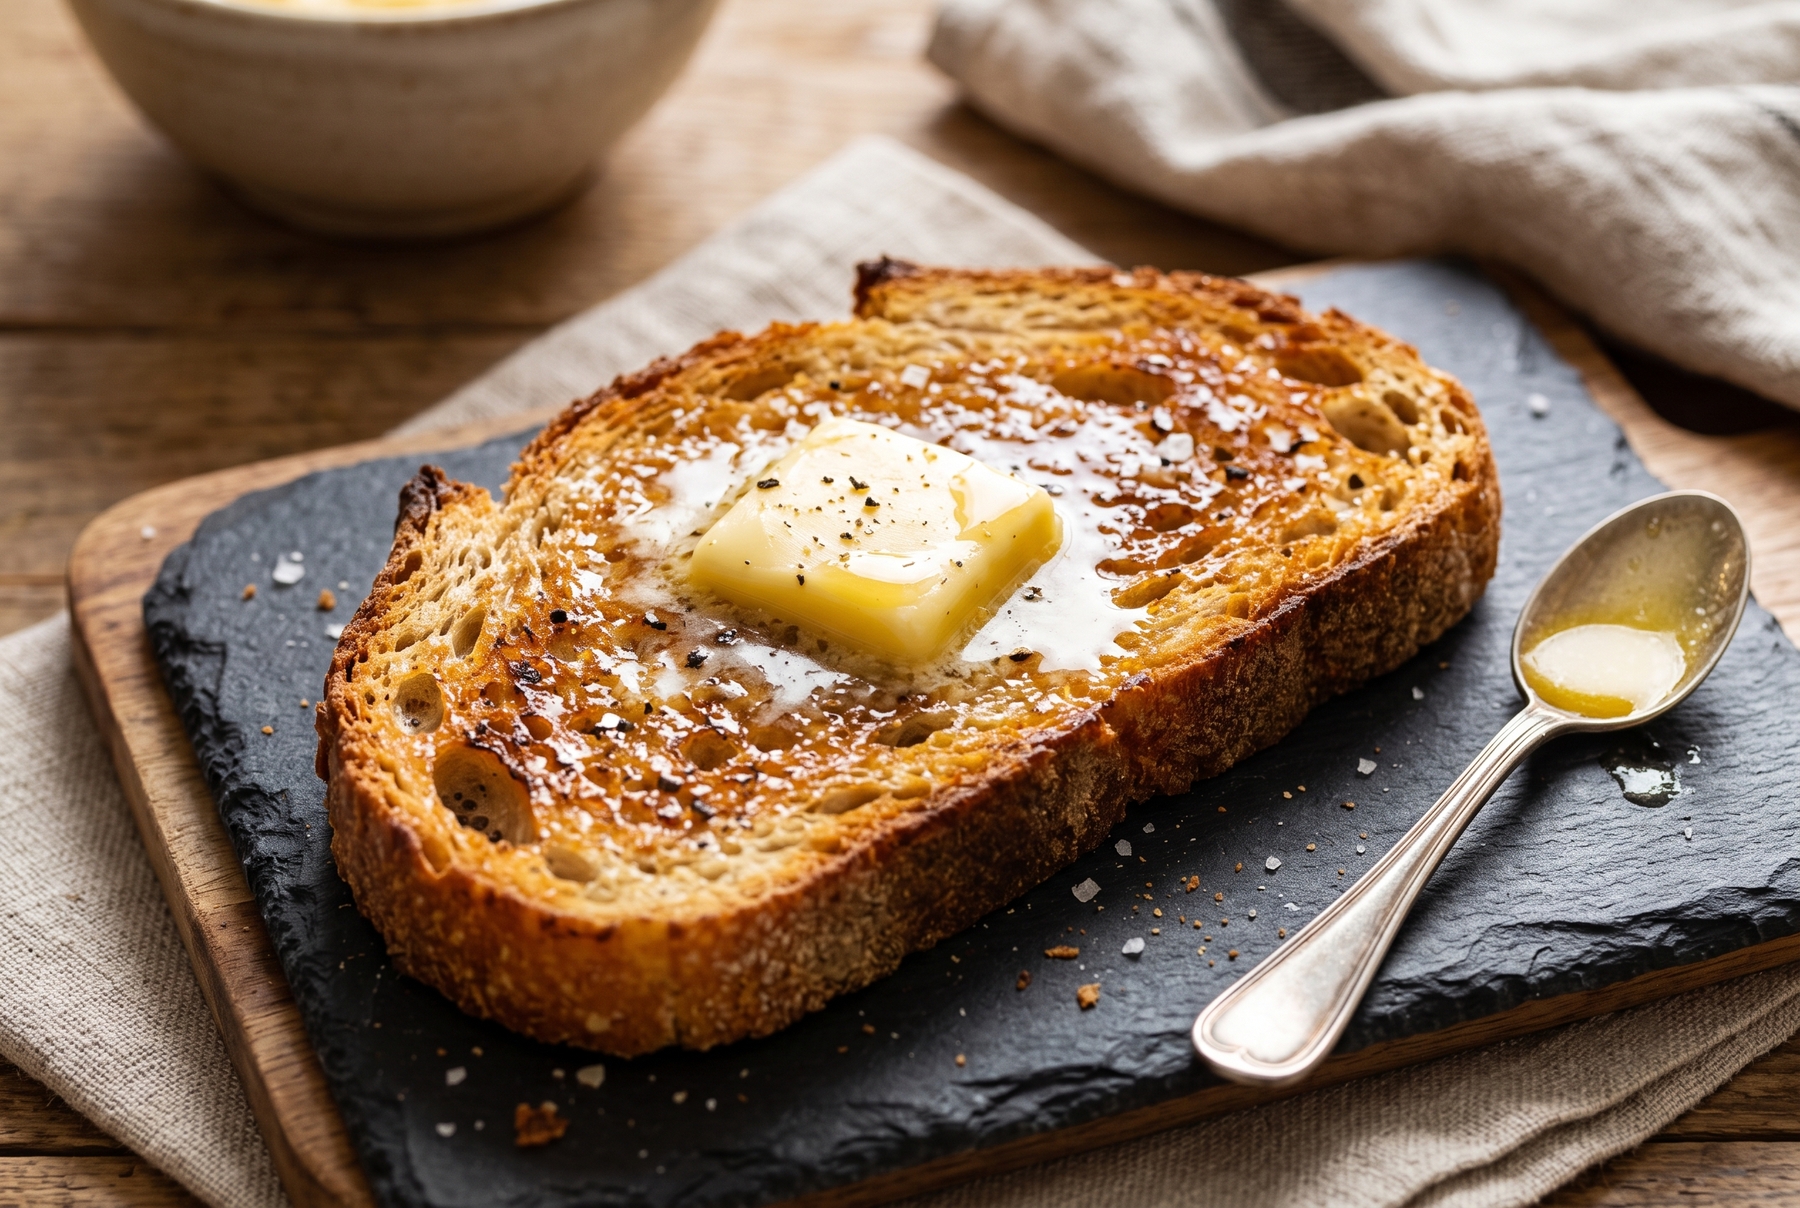
Butter added immediately after toasting melts on the hot bread, soaking it with a uniquely delicate aroma.
Toppings That Do Not Destroy The Crunch
Toast Toppings: Barrier First, Juiciness Second
A fatty or dense layer is required between the bread and a wet topping to prevent water from entering the pores. Butter goes under jam. Cream cheese goes under cucumbers. Hummus goes under tomatoes. Cheese goes under an egg. This barrier holds up for a few minutes, which is just enough time to bring the toast to the table while it remains crispy.
Juicy Ingredients Love Salt And Time
Tomatoes, cucumbers, berries, mushrooms, and roasted vegetables release juices, and these juices make the bread soggy from the bottom. Salting sliced tomatoes in advance, letting them rest for 5 minutes, draining the expelled liquid, and patting them with a paper towel is a smart move. The salt draws out excess water while coaxing the natural sweetness out of the tomato. If time is short, placing juicy ingredients on the toast right before serving is the best approach.
The Assembly Formula: Fat, Acid, Salt, Crunch
Keeping a simple blueprint in mind prevents the toast from tasting flat: bread, a fatty base, a main ingredient, acid or salt, and a fresh or crunchy accent on top. This formula easily adapts to local ingredients. Cream cheese, lightly salted fish, a cucumber slice, and dill make a classic combination. Bryndza (a brined sheep’s milk cheese), roasted beets, a drop of honey, and walnuts offer a delightful contrast. An egg, sprats, pickled cucumber, and green onions create a savory bite. Homemade jam layered over cream cheese with a pinch of salt provides a perfect balance.
Sweet Toasts Follow The Rules Too
Why Jam Needs Butter Or Cheese
Sweetness on its own makes a toast flat. Bare jam on dry bread quickly becomes cloying: it is sweet, and nothing else. Giving the sweetness some support is vital. A layer of butter or cream cheese under the jam adds fat and a touch of saltiness, instantly giving the flavor more depth. The same trick works brilliantly with honey.
Honey, Banana, And Chocolate Spread
Adding contrast ensures a sweet toast does not devolve into a sticky, unstructured mass. Walnuts provide crunch, a spoonful of yogurt or quark brings acid and freshness, and a pinch of salt introduces a sharp flavor contrast. Lemon zest shines over chocolate spread. Bananas benefit from a quick sear in a dry pan: the sugars caramelize, making the flesh firmer so it does not turn into mush.
Brioche And Milk Bread
Brioche and milk bread provide the ultimate foundation for sweet toasts: the dough already contains butter, sugar, and eggs, the crumb is tender, and the crust is thin. However, there is a flip side to this. The sugar and fat in the dough brown and burn much faster than standard bread, demanding gentler heat and closer attention. Lowering the heat is almost always necessary when working with brioche.
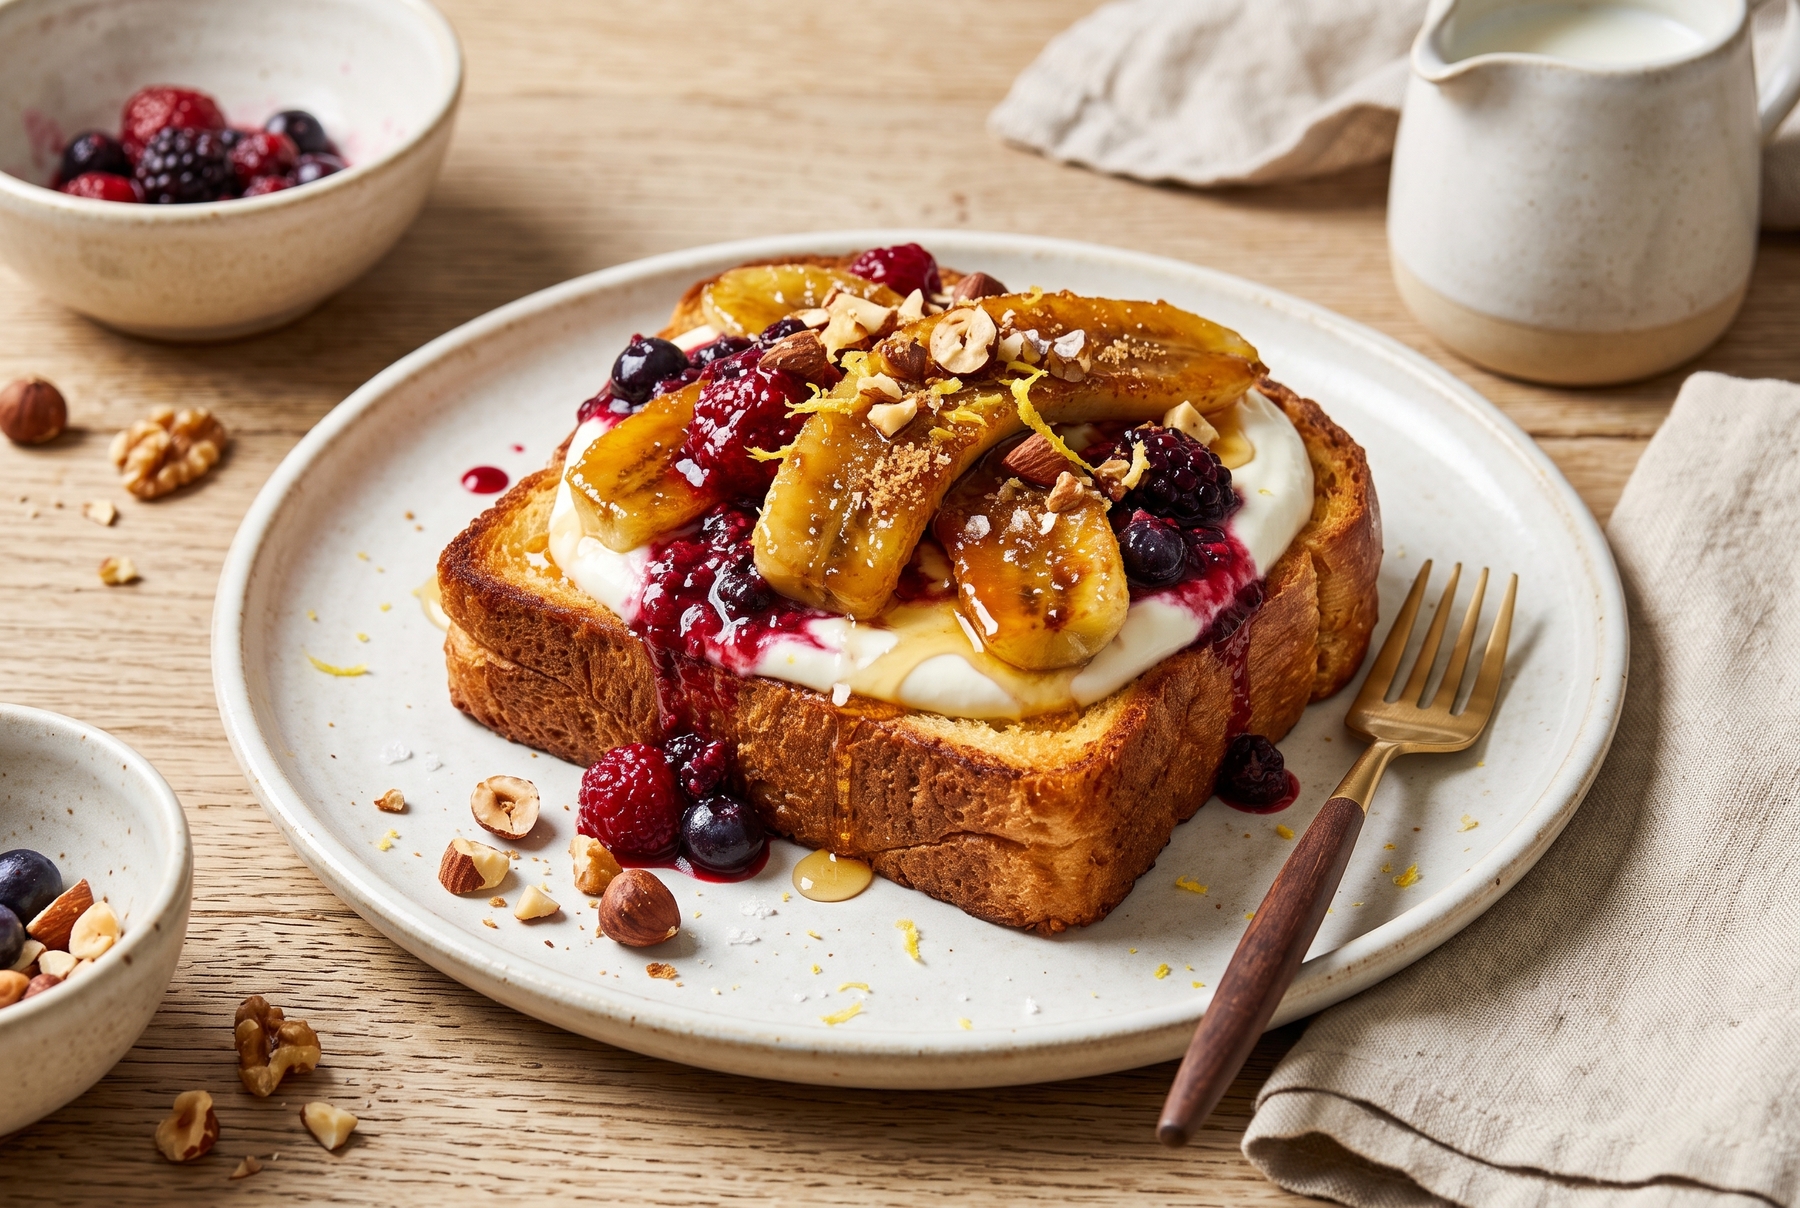
For a perfect sweet toast, using brioche is highly recommended, while the sweetness of bananas and berries is balanced by a creamy base and a pinch of salt.
Quick Everyday Scenarios
A Five-Minute Breakfast Toast
Drying a medium-thick slice of bread in the toaster or a dry skillet is the first step. Tossing butter onto the hot surface immediately after prepares it for the toppings. An egg or a slice of cheese, salt, freshly ground pepper, and a few herbs complete the dish in no time.
Toast For Soup Or Salad
A dry, crunchy base is essential here. Drying the slice in a dry skillet or oven without any fat achieves this texture. Drizzling olive oil over the already hot bread, rubbing the surface with a cut clove of garlic (the warm bread grates exactly the right amount), and finishing with a pinch of salt creates a robust side. This type of toast will not turn to mush when sitting on a plate next to a bowl of soup.
Toast For Guests
Preparing the base in advance, keeping the toppings separate, and assembling right before serving is the best strategy. Drying a batch of slices in the oven and leaving them on a wire rack keeps them crisp. Setting the toppings out in bowls allows for a one-minute assembly when everyone sits at the table, ensuring each guest receives a crunchy, fresh toast rather than a stale one.
Toast From Day-Old Bread
Rescuing dried-out bread is quite simple. Flicking a few drops of water onto the surface (literally dampening a palm and running it over the bread) and warming it in a skillet under a lid allows the steam to bring the crumb back to life. Removing the lid, adding fat, and letting the crust set completes the transformation. A bold topping like garlic, cheese, or high-quality salt takes care of the rest.
Cheat Sheet: What To Check Before Serving
Running through a short checklist before bringing the toast to the table ensures perfection:
- the bread is crunchy but does not crumble into dust;
- the bottom is dry, not sweaty;
- the topping stays put and does not leak all over the plate;
- there is an element of salt;
- there is acidity or a fresh component;
- the toast is served immediately, rather than waiting around for 10 minutes.
Toast acts as a brief culinary exercise where almost all kitchen fundamentals converge. Heat dries and colors, moisture must be managed properly, fat carries the flavor, salt elevates it, and timing determines whether the result is crunchy or rubbery. It all starts with a slice of day-old bread quietly crackling along the edges in a medium skillet.
0 comments