
You stood by the stove for half a day. You bought good bones, maybe even asked the butcher to chop them correctly. You covered them with cold water and put them on the heat. And then, a few hours later, you open the lid, and instead of an amber, slightly oily liquid, you see grayish, cloudy water with greasy swirls. The taste is not bad, but it feels empty.
This is a familiar scenario for almost anyone who has ever seriously attempted to make broth. The thought that usually arises at this moment is that something went wrong, but it is unclear what.
A good broth is not the result of getting lucky with the bones or guessing the cooking time, but rather of understanding a few specific things: what happens to the bones in the oven, why the liquid turns cloudy, and exactly when to add the vegetables. Over many years in the kitchen, I have distilled this down to a few rules that are not particularly complex but do require precision.
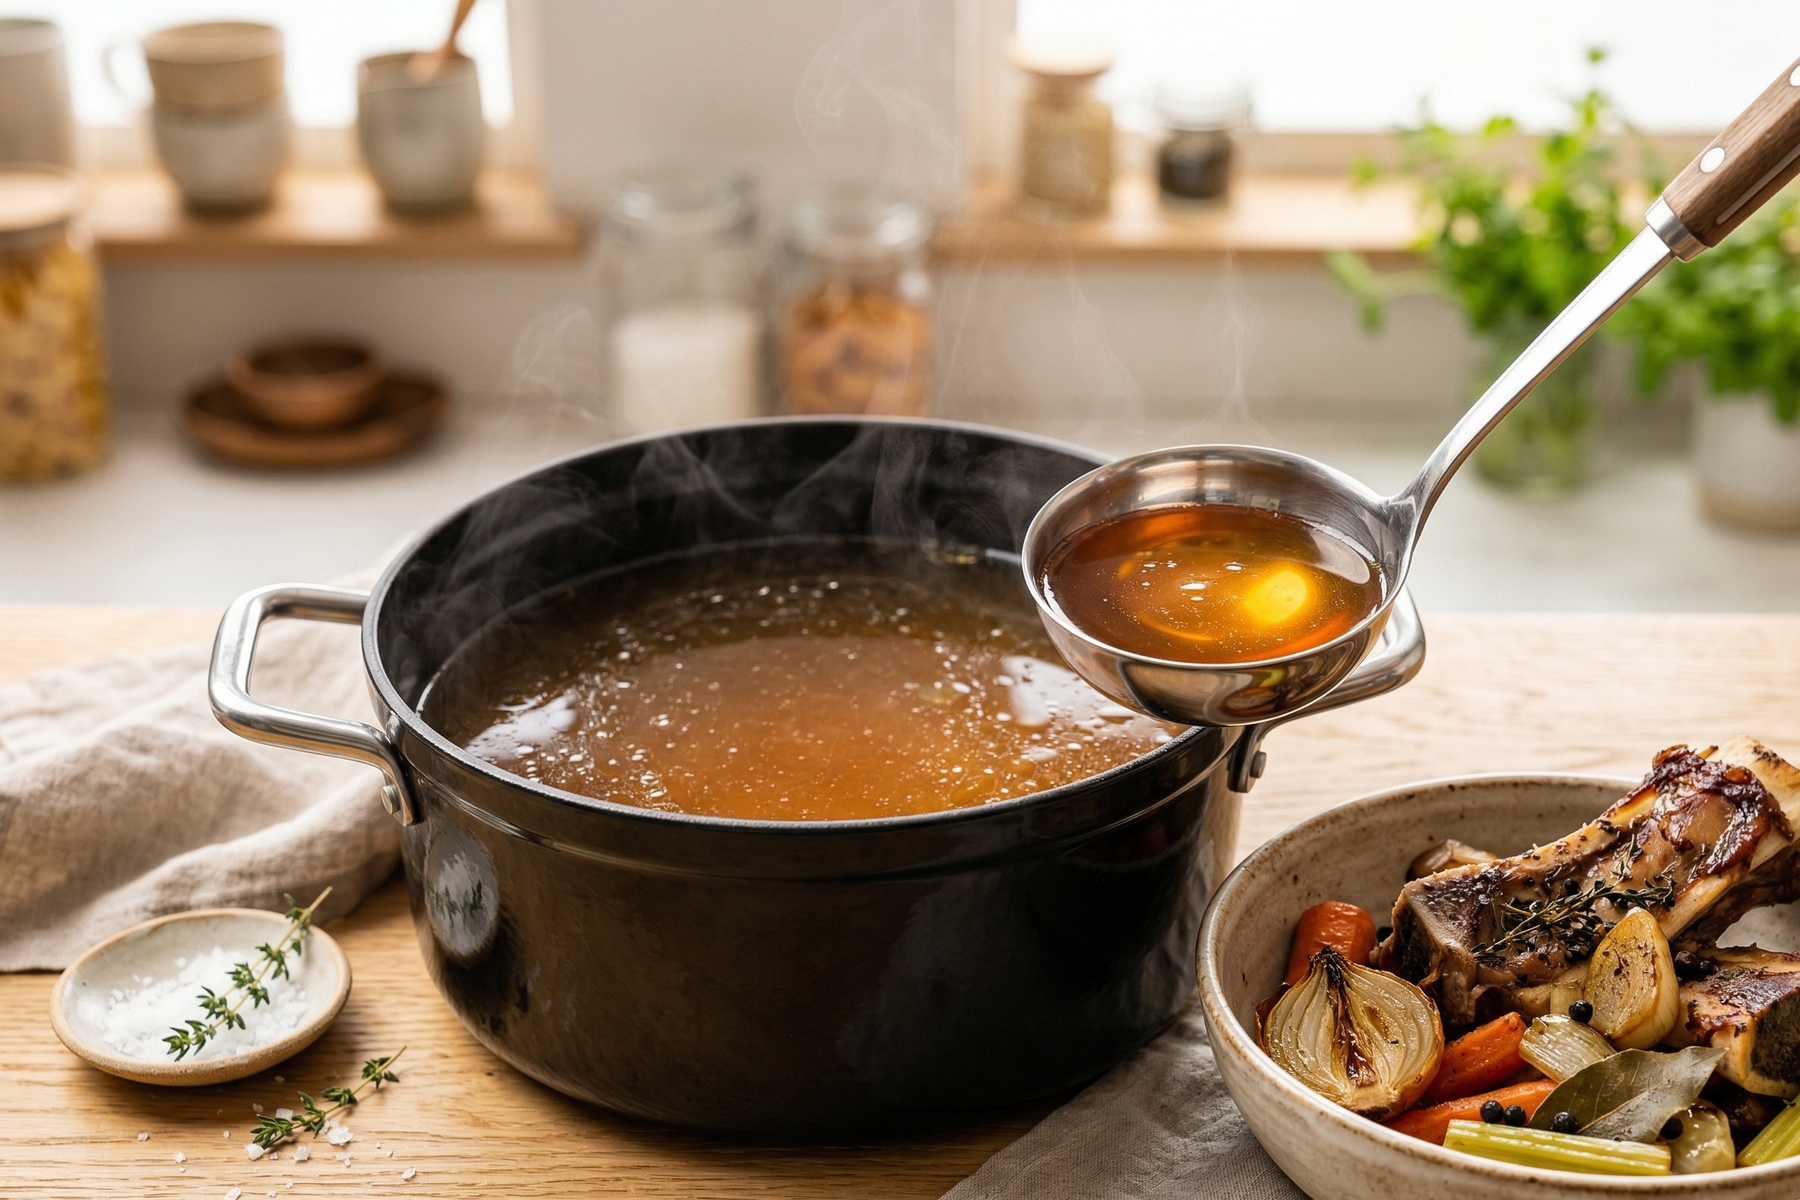
A properly cooked beef broth should be crystal clear and boast a deep amber hue.
Table of Contents
Let’s Start With the Bones
Before reaching the stove and the pot, we begin with selecting the bones, preparing them, and understanding why a rich broth does not start in the water.
Which Bones to Choose
Buying ‘just beef bones’ is like buying ‘just wine’. It is technically correct, but the result will be drastically different.
Different bones perform different jobs in the broth:
- Joint and knuckle bones act as a source of gelatin and body. They are what turns the broth into a soft jelly after cooling. If a viscous, coating broth is the goal, joint bones are mandatory. A shank with cartilage works in the same direction.
- Marrow bones (sometimes called sugar bones) provide richness, creamy density, and a deep, savory aroma. The marrow renders out during boiling and enriches the broth. They are the key to achieving richness and an almost buttery texture on the palate.
- Meat trimmings, oxtails, and meaty shanks deliver the meaty aroma. Clean bones without meat will yield collagen and fat, but the broth will remain somewhat characterless, lacking that distinct beefy flavor you taste from the very first sip.
Relying on just one type is a mistake. A mix of joint bones, a couple of marrow bones, and meat trimmings or a piece of oxtail creates the ideal working foundation.
Preparation: To Wash or to Blanch?
Before placing them in the oven, the bones need a thorough wash under cold running water to remove blood, small bone fragments from the butcher’s block, and leftover meat. This washing must happen before roasting. Rinsing them afterward would wash away all the flavor developed in the oven.
If the bones are very ‘dirty’—meaning there is a lot of blood and the water remains pinkish for a long time during washing—there is a more radical method. This technique is called a ‘cold start’ with blanching. You cover the bones with cold water, bring it to a boil, and let it boil for 5 to 7 minutes. Then, you drain the water, rinse the bones, and wash the pot. This eliminates the gray residue that would otherwise disrupt the entire process. Even after blanching, the bones still go into the oven.
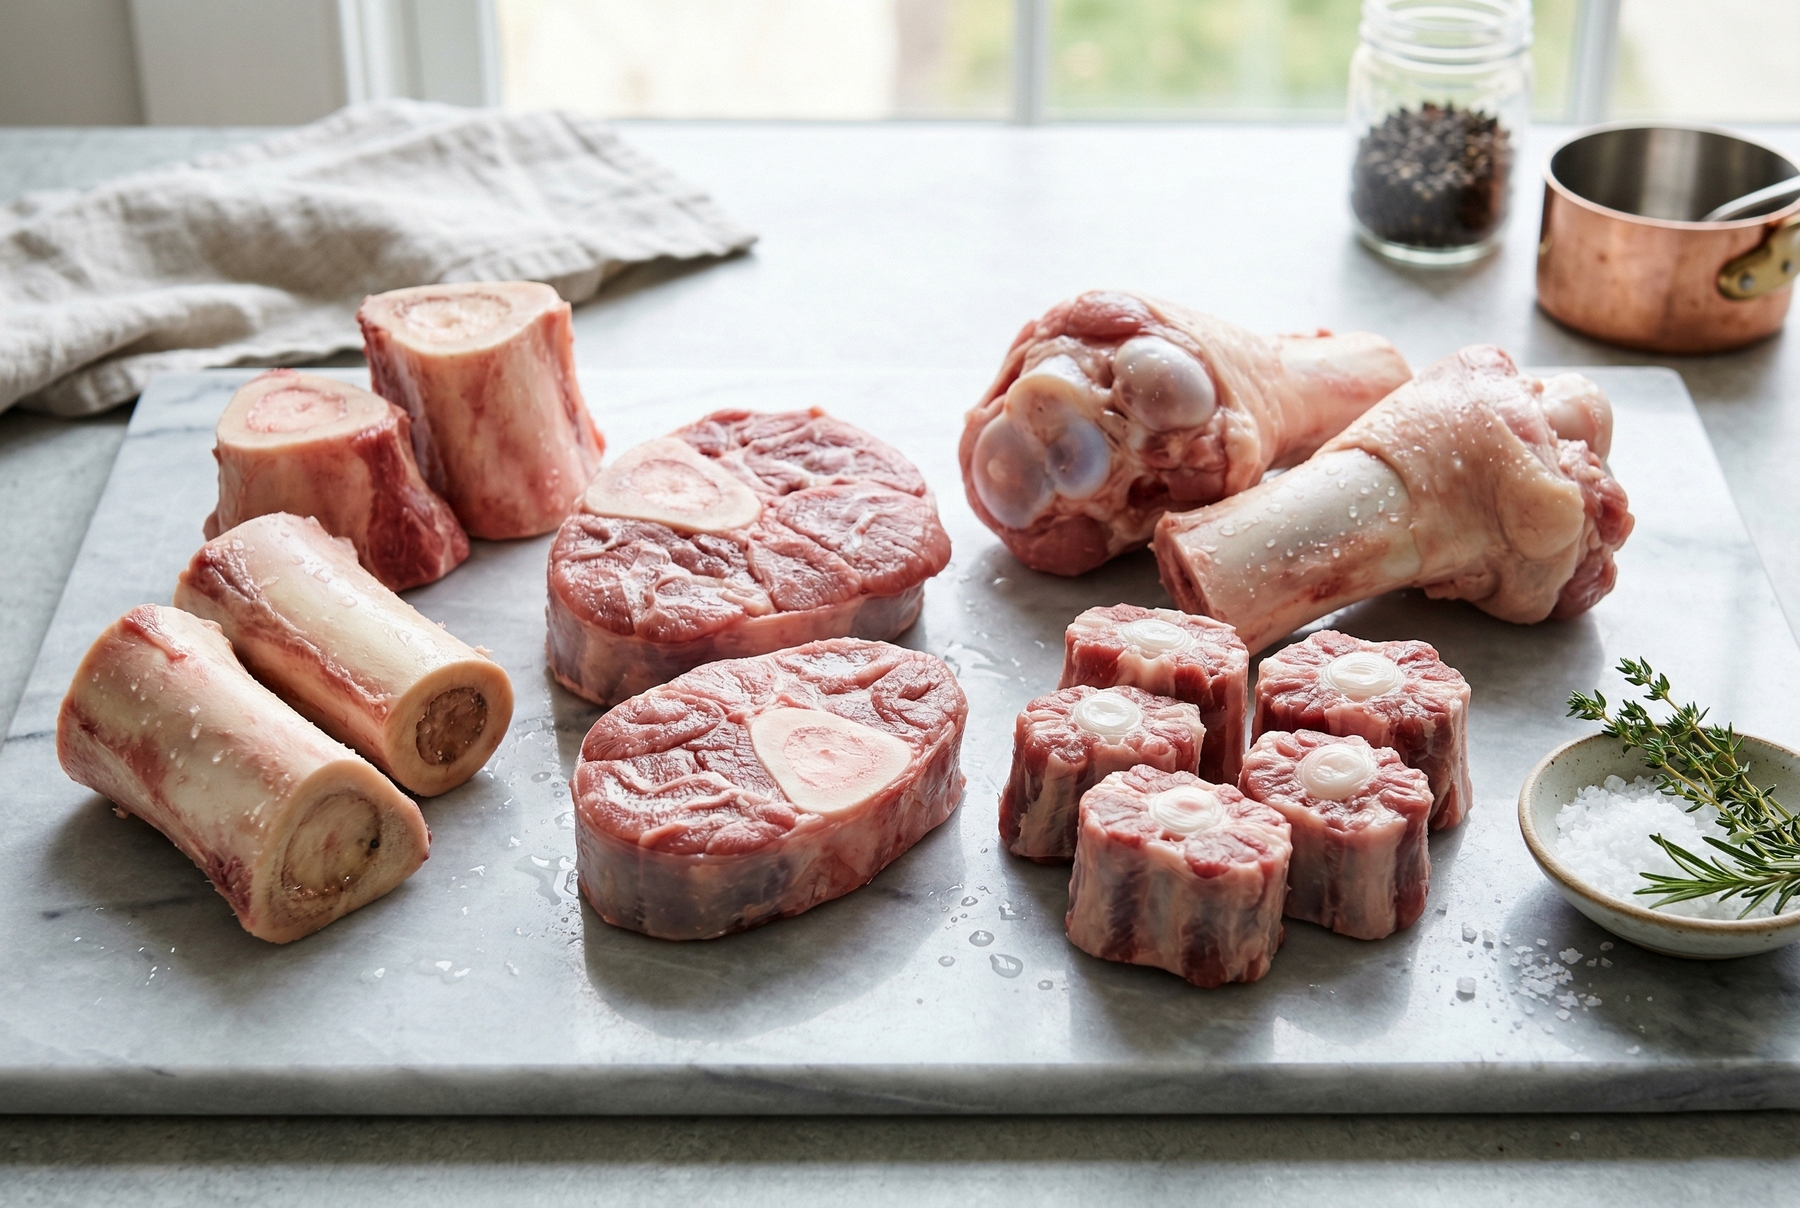
For perfect balance, utilizing a mix of joint bones for gelatin, marrow bones for richness, and meat trimmings for aroma is ideal.
The Oven Before the Pot
Most people start their broth in a pot. They put the bones in water, turn on the heat, and wait. The result is usually the same: there is liquid, but it lacks flavor.
The reason is simple. If you place raw bones in cold water and heat them, everything they contain is washed out: protein, collagen, and fat. You get a broth, but it has no depth. It lacks that caramelized, slightly smoky note, without which it remains just ‘meat water’.
This depth emerges through the Maillard reaction, which is what happens when the surface of the bone comes into contact with high temperatures in a dry environment. Proteins and sugars react to create a crust, color, and aroma. This is impossible in water, which boils at 100°C (212°F), whereas the Maillard reaction begins around 140–150°C (285–300°F). No matter how long it boils, you cannot achieve that flavor in boiling water.
The bones and meat trimmings go onto a baking sheet in a single layer and are roasted in an oven preheated to 220–230°C (430–450°F) for 40 to 50 minutes. They should be flipped after about 20 minutes. The goal is a confident dark brown color on all sides, avoiding both black and pale gray. Black creates bitterness, while pale means the reaction barely occurred.
One indicator that is hard to describe but easy to remember is that properly roasted bones smell like roasted meat with a caramelized note. If the smell starts veering toward burnt, it is time to take them out.
Vegetables—onions, carrots, and celery—can be roasted on the same baking sheet. They will be ready sooner, in about 25 to 30 minutes, when a caramel color and a slight char appear on the edges. They should be removed (right around the time you flip the bones) and set aside on a plate. They will only go into the pot three hours after the boiling begins, not immediately with the bones.
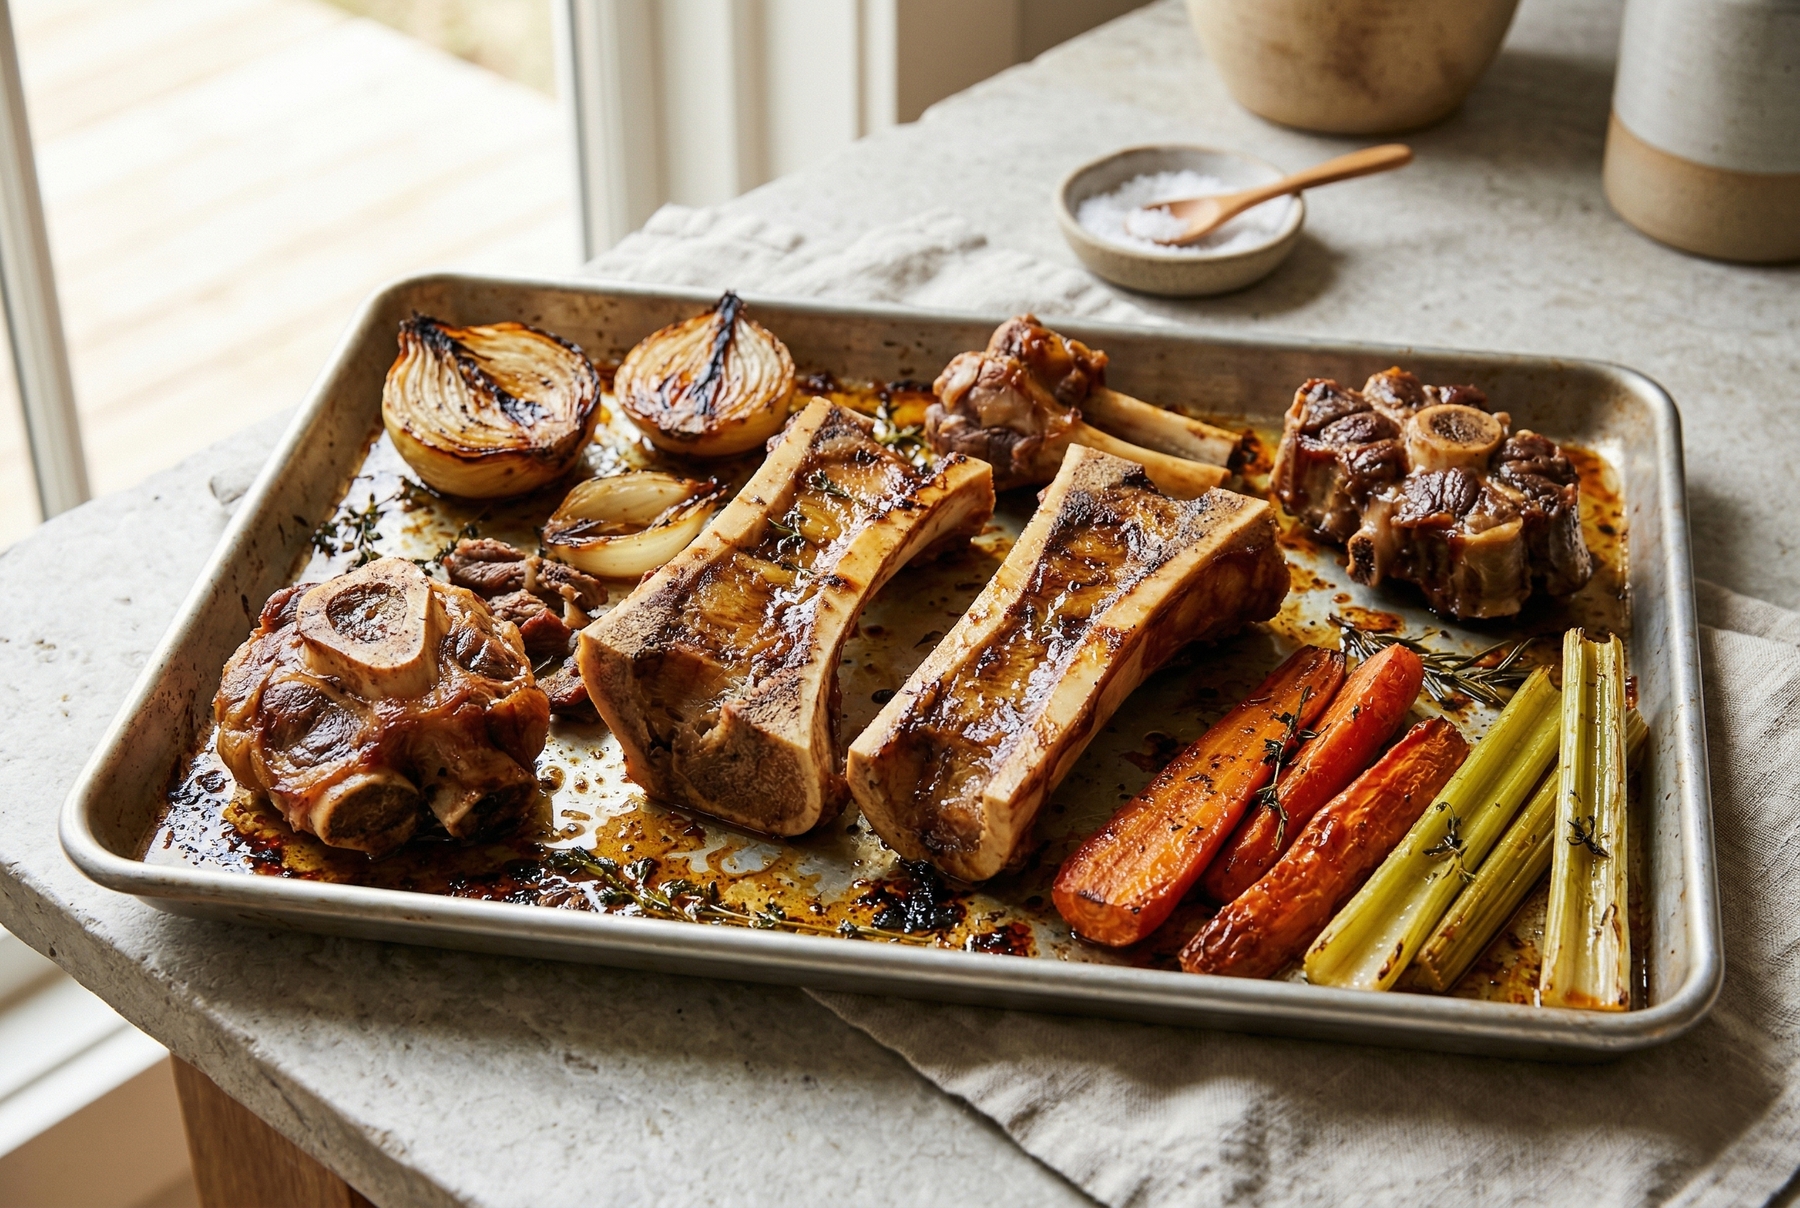
Roasting bones to a dark brown color triggers the Maillard reaction, which grants the broth a unique caramelized aroma.
Deglazing: Do Not Wash This Down the Sink
Once the bones are ready, they are transferred to the pot. The baking sheet should not be washed immediately.
Dark, almost black browned bits remain on the bottom and sides. This is not burnt fat; it is an umami concentrate made of caramelized protein and reduced juices. This is where a portion of the flavor is most often lost by simply washing the baking sheet in the sink.
While the baking sheet is still hot, pouring 100 to 150 ml (about 3 to 5 oz) of water or dry red wine over it will make the liquid hiss and lift the browned bits from the surface. Scraping everything with a wooden spatula and pouring the dark liquid into the pot with the bones is essential. This step is called deglazing, and skipping it is a missed opportunity.
3 Rules for a Clear Broth
The boiling stage is where clarity is most often lost. Usually, it is a series of minor oversights rather than one massive mistake.
Rule 1: Foam Is Not a Trifle
There are remnants of blood and protein on the surface and inside the bones. Upon heating, they coagulate and float to the top as a gray foam. If it is not skimmed off in time, the foam settles back down, and the broth turns cloudy. Once that happens, it cannot be fixed.
During the first 30 to 40 minutes, staying near the pot and skimming the foam with a slotted spoon is crucial, as this is when the most foam is released. After that, the process subsides on its own.
If the bones were washed thoroughly, there will be little foam. A lot of foam means the washing was insufficient or the bones required blanching.
Furthermore, stirring the broth with a spoon is ill-advised. Any stirring lifts settled particles from the bottom and makes the liquid cloudy again.
Rule 2: Absolutely No Boiling
A rolling boil is a bad idea for broth, although many people cook it exactly that way.
When the broth bubbles vigorously, the fat breaks into tiny droplets and mixes with the water to form an emulsion. Protein particles from the bottom are stirred up. This creates a persistent cloudiness that cannot be removed by letting it settle.
A proper broth cooks in such a way that the surface barely moves. One bubble rises from the bottom, lazily pops at the top, followed by another—about once per second. This is simmering. The temperature in this mode is around 85–90°C (185–195°F). Checking it once with a thermometer helps you remember what it looks like, allowing you to gauge it by eye later.
Keeping the lid slightly ajar is necessary; otherwise, the pressure will raise the temperature, and the simmer will turn into a boil. Shifting it by an inch or two is enough.
If you step away and the broth boils, removing the pot from the heat, letting it calm down, lowering the heat, and then continuing to cook is the right approach. A pot with a heavy bottom is very helpful here.
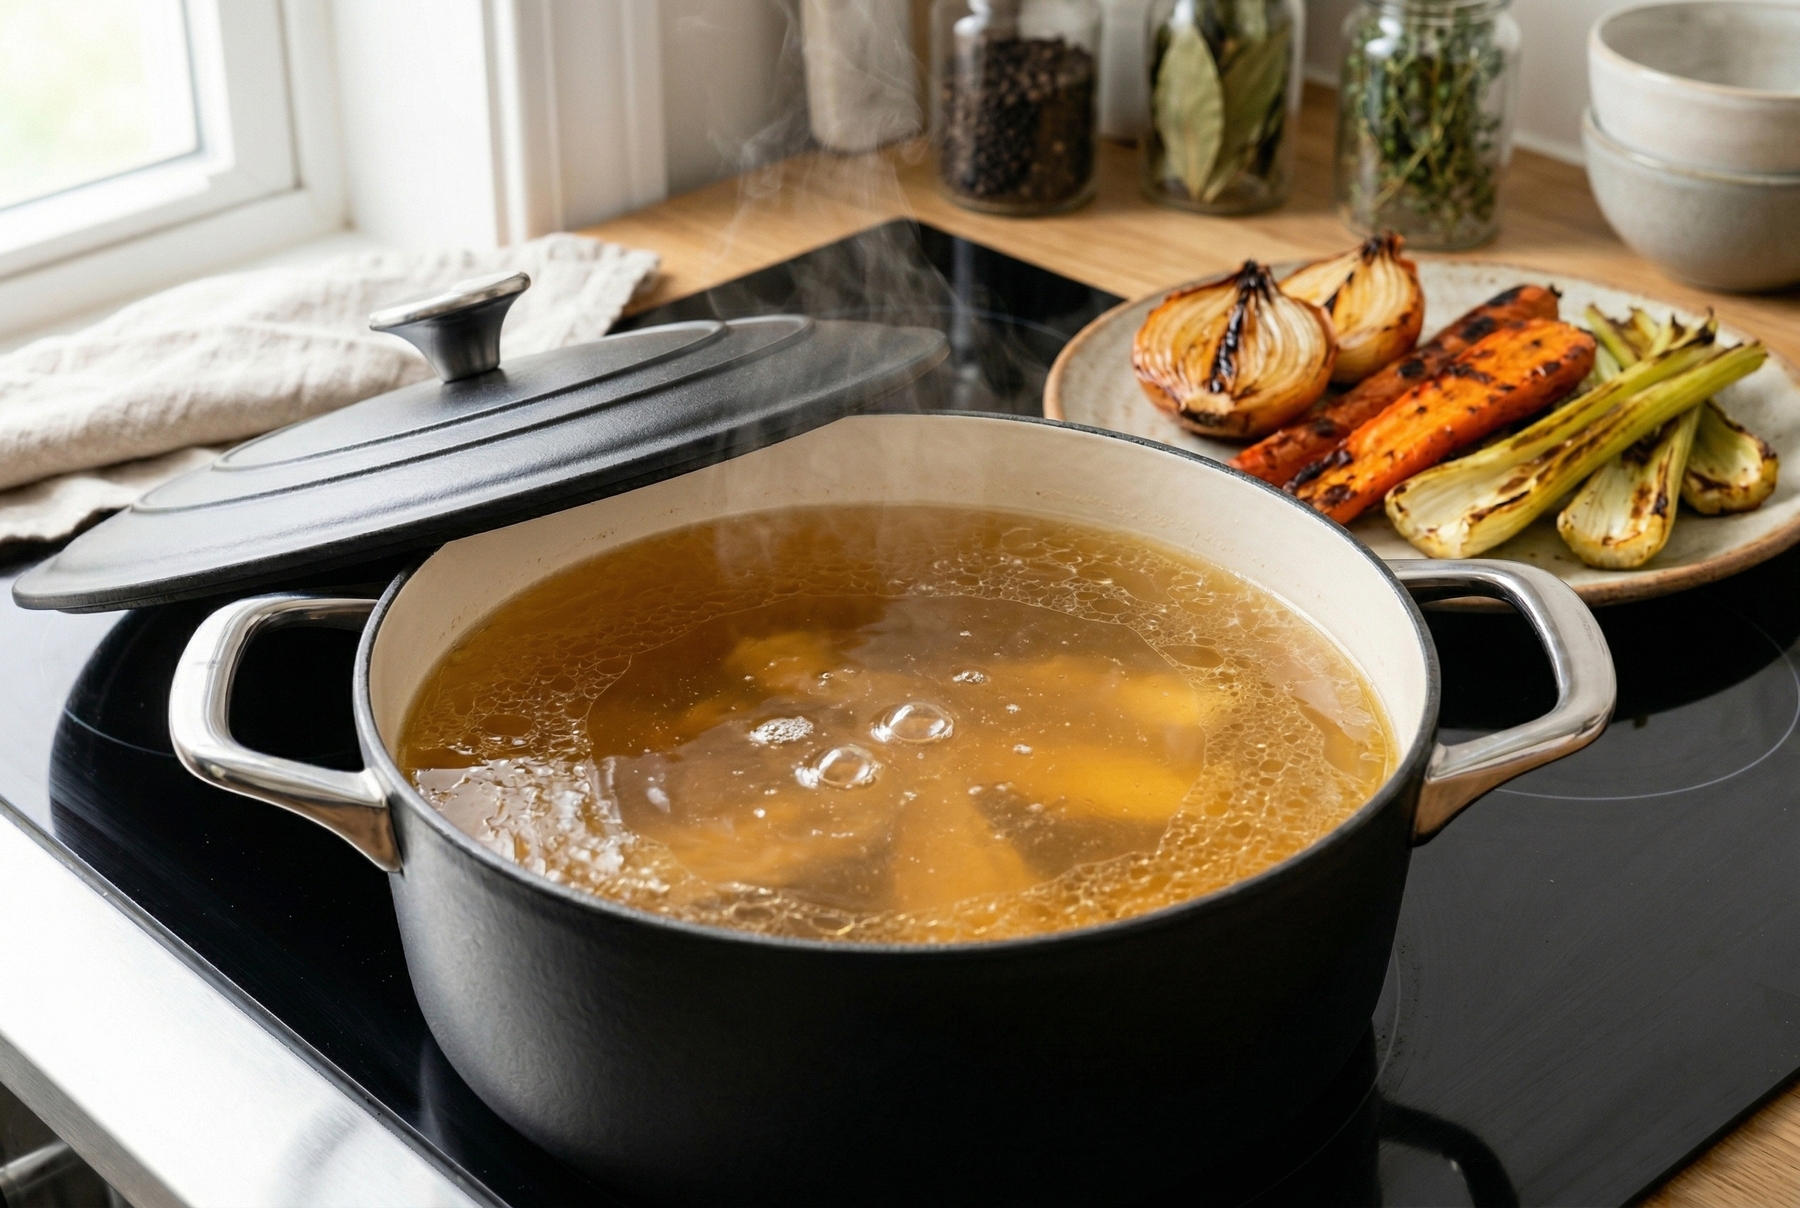
The secret to clarity is the absence of a rolling boil. The broth should barely simmer at a temperature of around 85–90°C (185–195°F).
Rule 3: Vegetables With a Char
A meat broth without vegetables ends up flat. Onions, carrots, and celery provide the necessary sweetish depth.
However, raw vegetables offer flavor without complexity. That is why they are roasted alongside the bones and set aside. Three hours after the boiling begins, the vegetables are added to the pot. By this time, the bones have already released their main collagen, the broth has gained body, and the vegetables will complement it without turning to mush prematurely.
Another option is placing an onion cut in half, cut-side down, on a dry, hot skillet without oil and holding it there until the cut surface blackens. This adds a slight bitterness to the broth that balances the richness. I often used this method in restaurants when the oven was occupied.
Proportions and Timing
| Parameter | Guideline |
|---|---|
| Bones (mix: joint, marrow, meat trimmings) | 1.5–2 kg (3.3–4.4 lb) |
| Cold water | 3–3.5 liters (3.2–3.7 quarts) |
| Finished broth yield | 2–2.5 liters (2.1–2.6 quarts) |
| Roasting bones | 220–230°C (430–450°F), 40–50 minutes |
| First boiling stage (only bones and water) | First 3 hours at 85–90°C (185–195°F) |
| Adding roasted vegetables | 3 hours after boiling begins |
| Adding bay leaf and peppercorns | 4–4.5 hours after boiling begins (1–1.5 hours before the end) |
| Total cooking time | 5–6 hours |
| Salt | Only at the very end, or do not salt at all |
| Storing in the refrigerator | Up to 5 days |
| Storing in the freezer | Up to 3 months, portioned |
The Devil Is in the Details
Why Layering Ingredients is Necessary
Each ingredient has its own endurance limit. Cooking vegetables and spices for too long causes them to impart a stewed, overcooked taste rather than a fresh aroma.
The first three hours belong solely to the bones and water. This is the time for skimming the foam and bringing the broth to a gentle simmer. Introducing vegetables and spices at this point would turn them into mush and result in a cafeteria-like smell.
After three hours, the roasted vegetables make their entrance.
An hour to an hour and a half before the end is the time for the bay leaf and black peppercorns. Bay leaf turns bitter during prolonged cooking, while pepper loses its sharpness and begins to impart an earthy note. An hour and a half is just right.
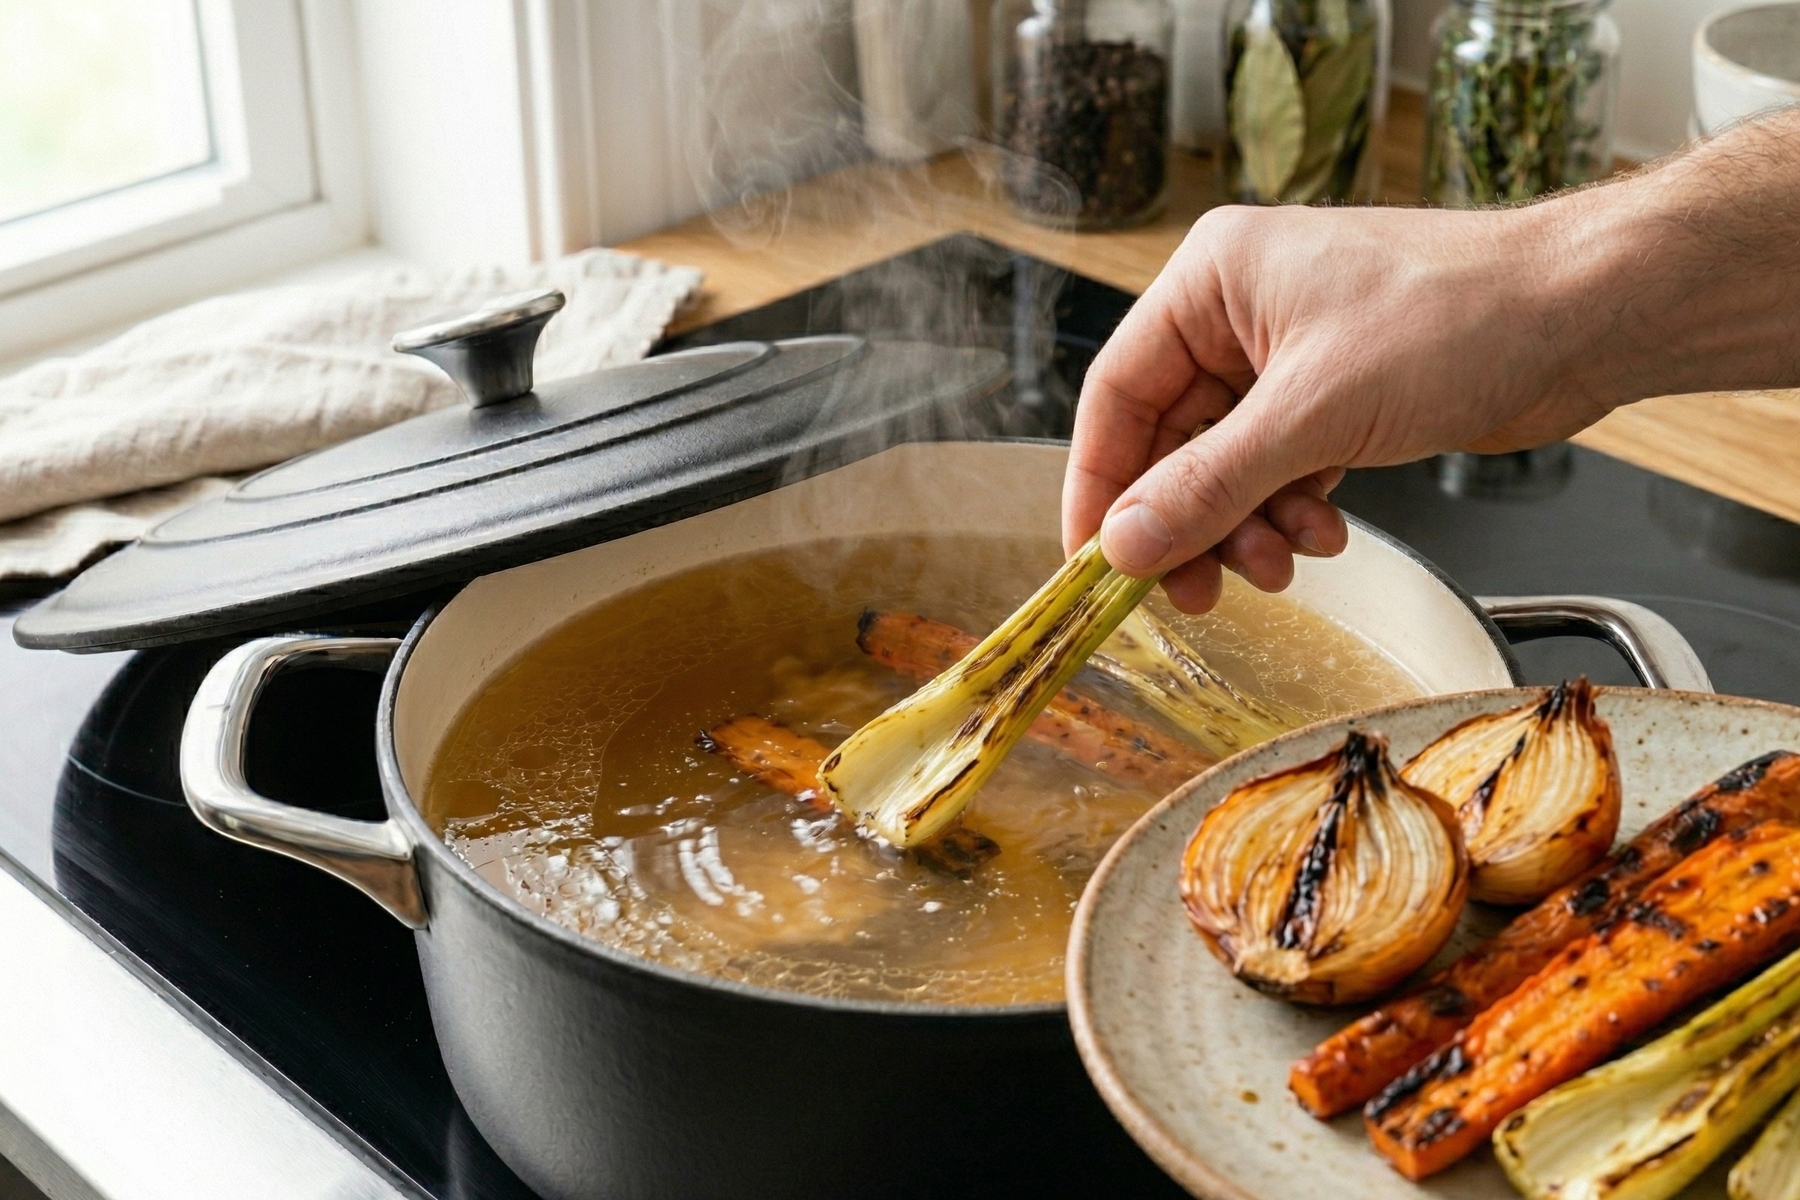
Vegetables are added in the second half of the cooking process so they have time to release their flavor without turning into an unstructured mass.
About Salt
Most recipes say ‘salt to taste’ without specifying when. However, broth reduces by about a third over 5 to 6 hours. Salting at the beginning results in an oversalted concentrate by the end.
Generally, leaving the base broth completely unsalted is the best approach, especially if it will be used in sauces or soups where it will be reduced again. Unsalted broth is versatile. The finished dish can be salted later, once the final volume and taste are known. If salting the broth is absolutely desired, it should only be done at the very end when the volume will no longer change.
About Fat
After chilling in the refrigerator, a layer of fat will solidify on the surface. It is dense, yellowish, and aromatic. Most people skim it off and throw it away, which is a mistake.
As long as the fat remains, it protects the broth, preventing the surface from oxidizing. But more importantly, over hours of cooking, it has absorbed the aroma of roasted bones, vegetables, and spices. Essentially, it is a confit—an infused fat that has long been used as a standalone ingredient in French cuisine.
It is excellent for frying potatoes, giving them a deep meaty aroma with minimal effort. It works well for a soup base or for sautéing onions for a sauce. Skimming it, placing it in a container, and storing it in the refrigerator for up to two weeks or freezing it in cubes is highly recommended.
How to Properly Cool Broth
This is a step that is almost always ignored at home.
A large pot of hot broth cannot simply be left on the stove to cool until morning. With slow cooling in a warm environment, the broth begins to sour: a sourish smell appears, the flavor becomes dull, and in the summer, the broth can spoil completely by morning.
The correct method is an ice bath. Pouring the broth into several smaller containers increases the cooling surface area. Alternatively, placing the pot directly in a sink filled with cold water and ice, and periodically changing the water as the ice melts, works perfectly. A well-chilled broth should end up in the refrigerator within an hour to an hour and a half after cooking is complete.
This is precisely when the fat sets properly on the surface, and the broth retains a clean flavor. The next day, you open exactly what you cooked, rather than something that managed to sour overnight.
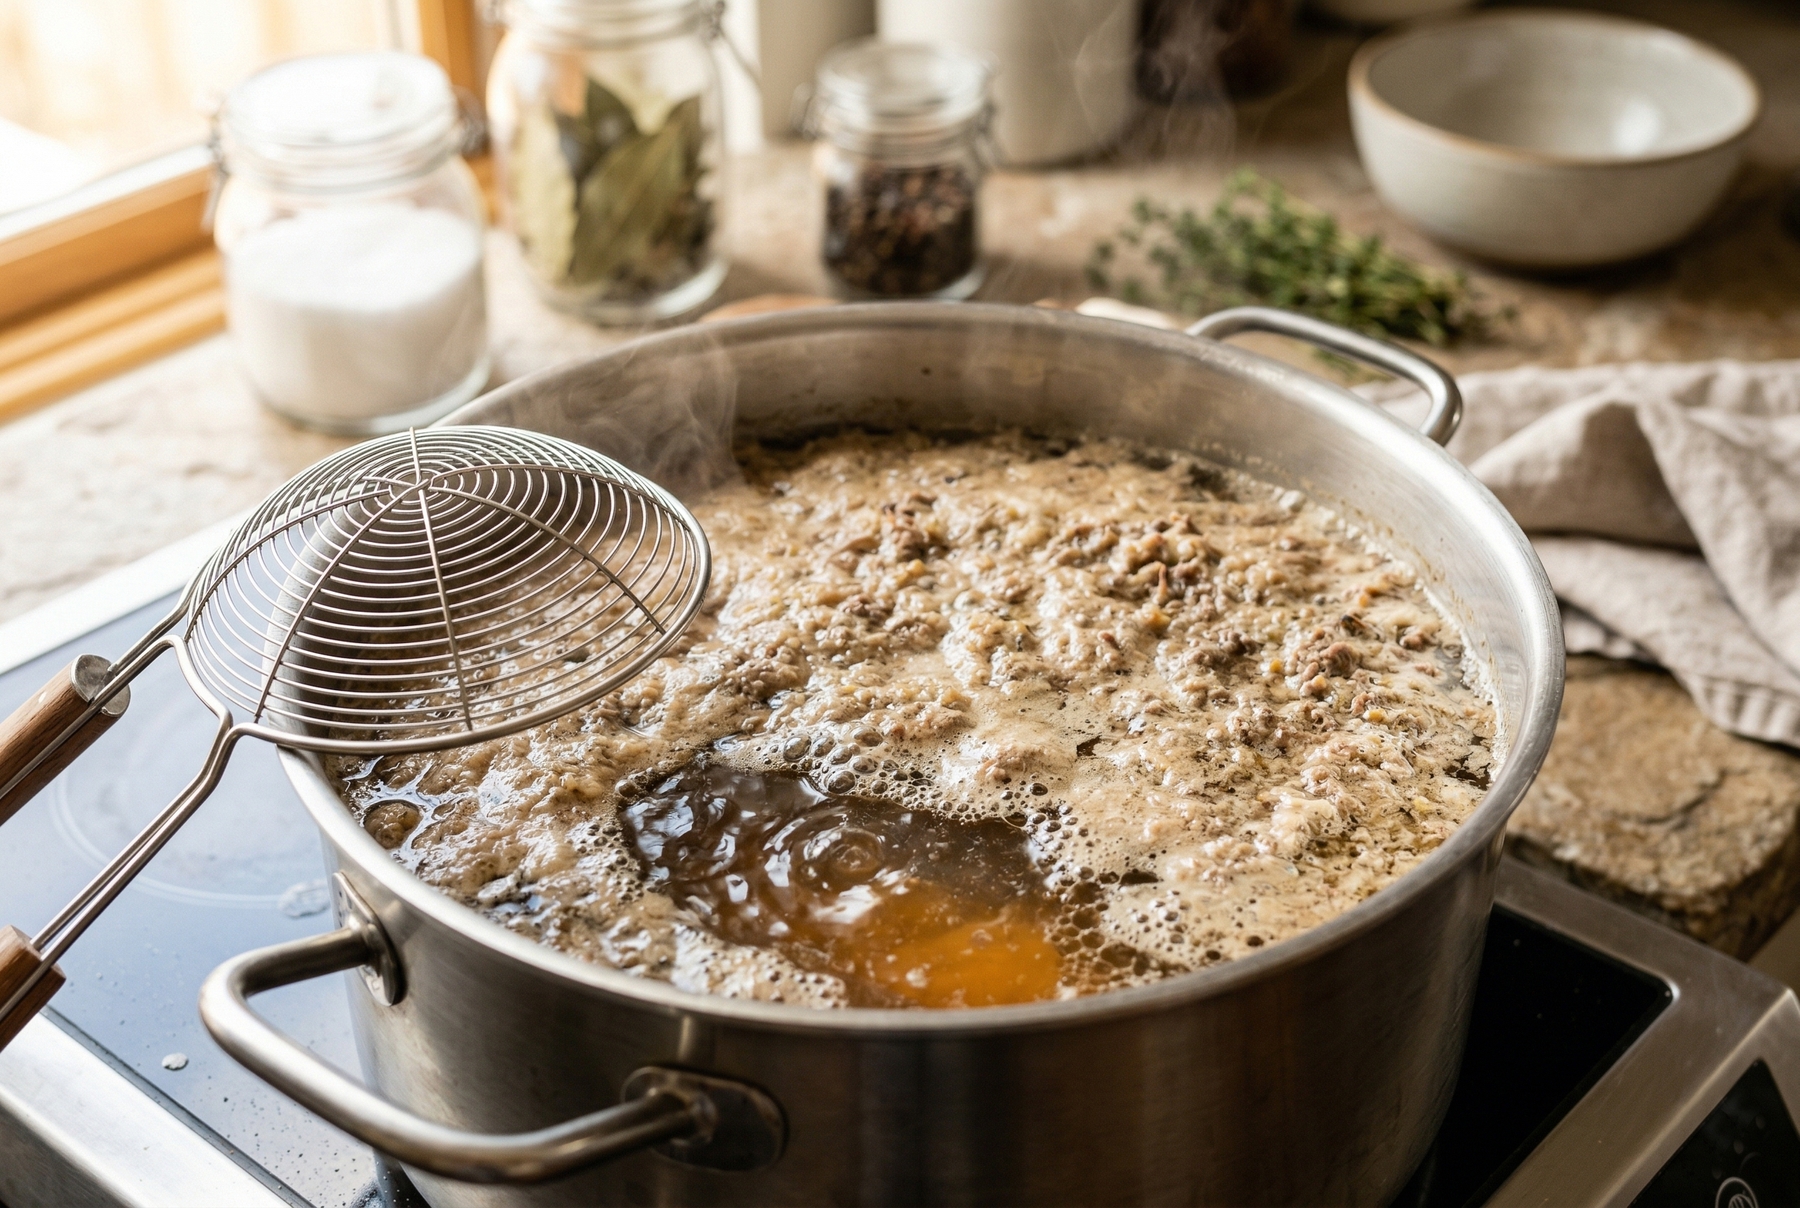
If the broth turns cloudy, a protein raft will help gather all the fine particles and restore the liquid’s clarity.
If the Broth Still Turns Cloudy
It happens. Stepping away for five minutes might result in a boiling pot. Or perhaps skimming the foam was forgotten. In any case, you are left with a cloudy liquid. What now?
Clarification (Raft)
This is a restaurant technique I use for consommé—a perfectly clear broth that is served on its own or used as a base.
Whisking egg whites with a small amount of cold water or ice and finely ground lean beef creates the clarification mixture, often called a raft. For one liter (about 1 quart) of broth, 2 to 3 egg whites and about 150 to 200 grams (5 to 7 oz) of ground meat are needed.
Mixing the clarification mixture with cold or warm (but not hot) broth, placing it over low heat, and heating it slowly with occasional stirring is the process. The protein will begin to coagulate and rise, trapping the impurities. A dense ‘raft’ will form on the surface. At this point, stirring must stop, the heat should be reduced to a minimum, and the raft should be allowed to form for about 20 to 30 minutes.
The raft is then removed with a slotted spoon, and the broth is strained through several layers of cheesecloth or a fine sieve. Letting it drain by gravity without pressing is crucial.
The result is a clear amber broth. Along with the raft, some fat and a bit of flavor are removed, so it is essential to taste it at the end and add salt if necessary.
From experience: the clarification method works better with a completely cooled broth. A hot broth coagulates the protein too quickly, the raft forms unevenly, and some of the cloudiness remains in the liquid.
The Rustic Approach
If fussing with a clarification raft is unappealing or the broth is going into a cooked dish anyway, adding a spoonful or two of tomato paste that has been sautéed in the pot for about three minutes until darkened is a great solution. It adds color, umami, and density, behind which the cloudiness is no longer as noticeable.
Such a broth works wonderfully in borscht, stews, onion soup, and ragouts. In those dishes, clarity is not needed at all. Tomato paste brings glutamates, acidity, and caramelized sugars, making it an excellent working tool.
Broth requires more time than fuss. Tossing the bones into the oven is the first step, and after that, it is just a matter of occasionally checking the temperature and skimming the foam.
And if cloudiness does appear, you know what to do. A clarification raft will save almost any situation.
0 comments