
Butter at 82.5% fat. A heavy-duty steel tart pan. Flour weighed to the exact gram (or ounce). Following a recipe perfectly can still result in a crust that comes out dense, tough, and lacking any hint of flakiness.
A tough shortcrust pastry is a common pitfall. Furthermore, it usually happens precisely when everything seems correct. Classic sweet shortcrust pastry for tarts (pâte sablée) and savory pastry for quiches and pies (pâte brisée) look deceptively simple, requiring just butter, flour, salt, an egg yolk, or a splash of water. This apparent simplicity hides the biggest trap.
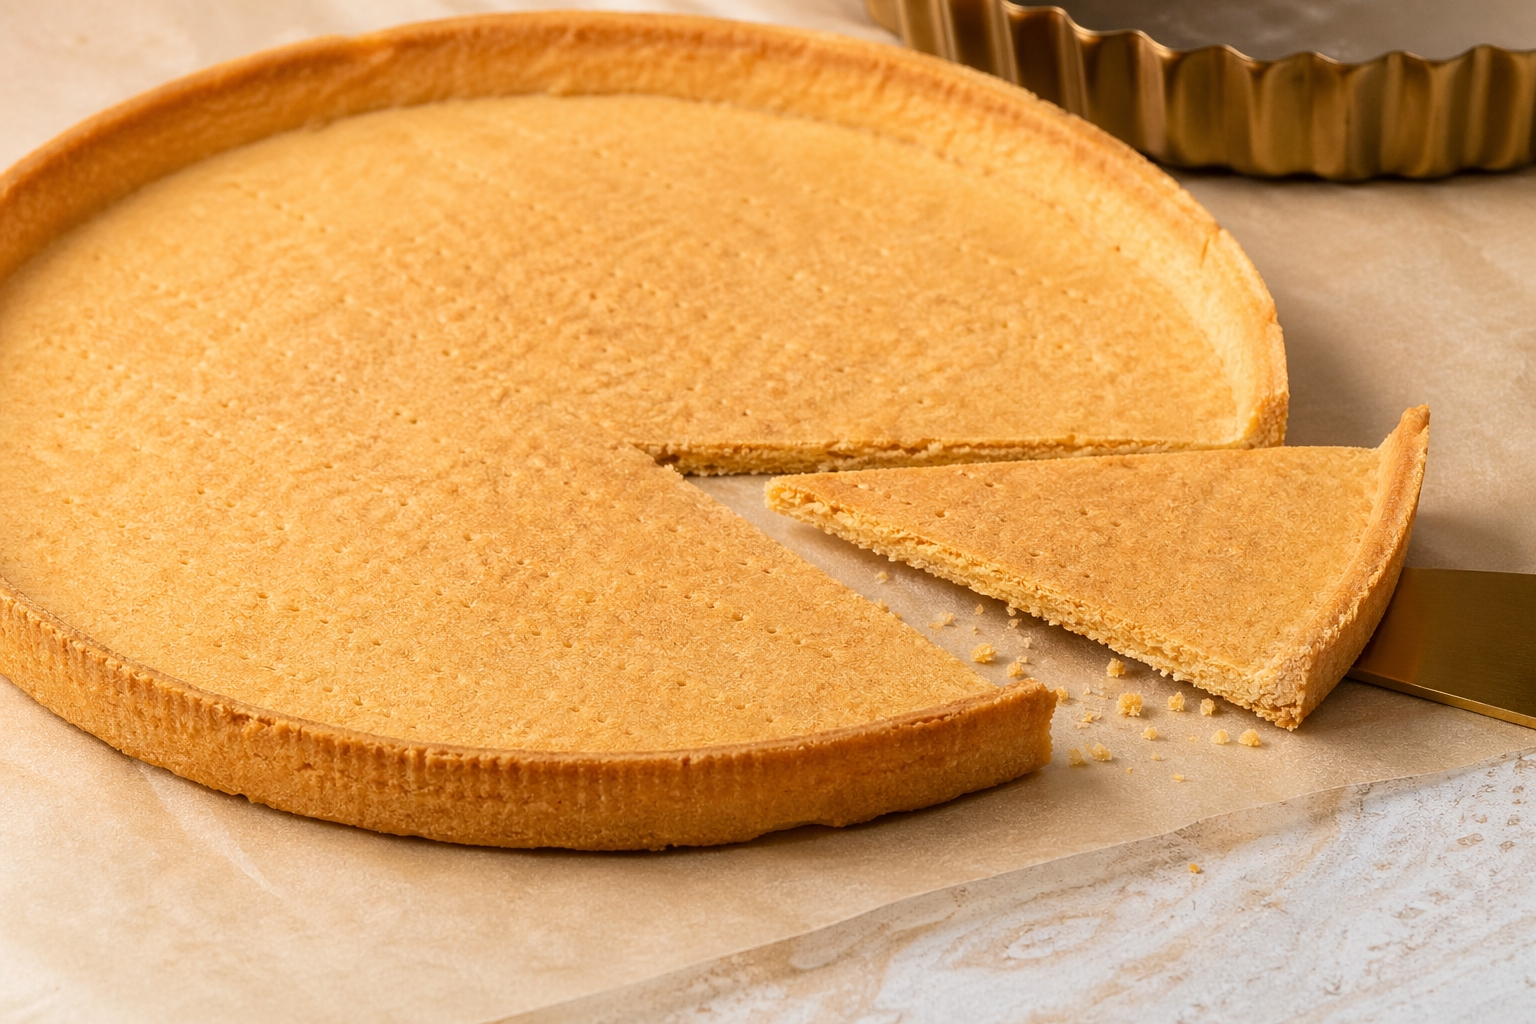
A finished tart shell needs an even golden color and a fragile, flaky structure to elevate any dessert.
Table of Contents
The Gluten Trap: Why Shortcrust Pastry Gets Tough
Wheat flour contains proteins that form gluten—elastic strands—upon contact with water. For yeast bread or dumplings, this is exactly what is needed, as gluten holds the shape, traps gas inside the crumb, and provides a springy texture. For shortcrust pastry, these same strands act as a death sentence.
Working the dough with warm hands triggers a chain reaction. The butter warms from the heat of the palms and loses its firmness. Flour, stripped of its fat protection, eagerly pulls moisture from the egg or water. Gluten forms rapidly after just a few minutes of intense mixing. During baking, these strands harden completely. The crust refuses to crumble or flake, and instead, it merely breaks.
The main goal during mixing is coating the flour particles with fat before water can reach them. Fat creates a barrier, making it harder for moisture to bind the proteins, ensuring that gluten barely forms.
How To Make Flaky Shortcrust Pastry: Three Golden Rules
Rule One: Cold Is Crucial
The butter needs to be rock-solid, straight from the refrigerator. The same applies to the water or egg yolk. If the kitchen temperature rises above 20°C (68°F), placing the bowl and knife in the freezer for ten minutes makes a significant difference. It sounds pedantic, but in reality, this is the dividing line between a tender crumb and a rubbery crust.
Cold butter resists melting upon contact with flour. A knife chops it into pieces, and the flour coats them on the outside while they remain fatty and solid on the inside. During baking, these pieces melt, leaving tiny air pockets within the structure. These pockets deliver a layered, flaky texture, allowing the crust to yield under a fork instead of bending or springing back.
Rule Two: The Rubbing-In Technique
This process is called sablage (from the French sable, meaning ‘sand’), where butter gets rubbed into the flour until it resembles coarse crumbs. Working with the fingertips, swiftly and with minimal pressure, mimics sifting coarse salt between the hands. Another method involves chopping with a chilled knife on a cutting board previously kept in the freezer. Alternatively, pulsing the mixture in a food processor for short bursts—three to four seconds, followed by a pause—achieves the same excellent result.
The ultimate goal is achieving the texture of wet beach sand, featuring visible pea-sized butter pieces. The mass should actively avoid uniformity. If the mixture turns smooth and begins clumping together on its own, it means the process went too far, and the butter has already started melting.
Adding cold liquid in small portions comes next. Pressing the dough together gently works best, rather than heavily kneading it. The process concludes as soon as the mass stops crumbling and forms a cohesive ball.
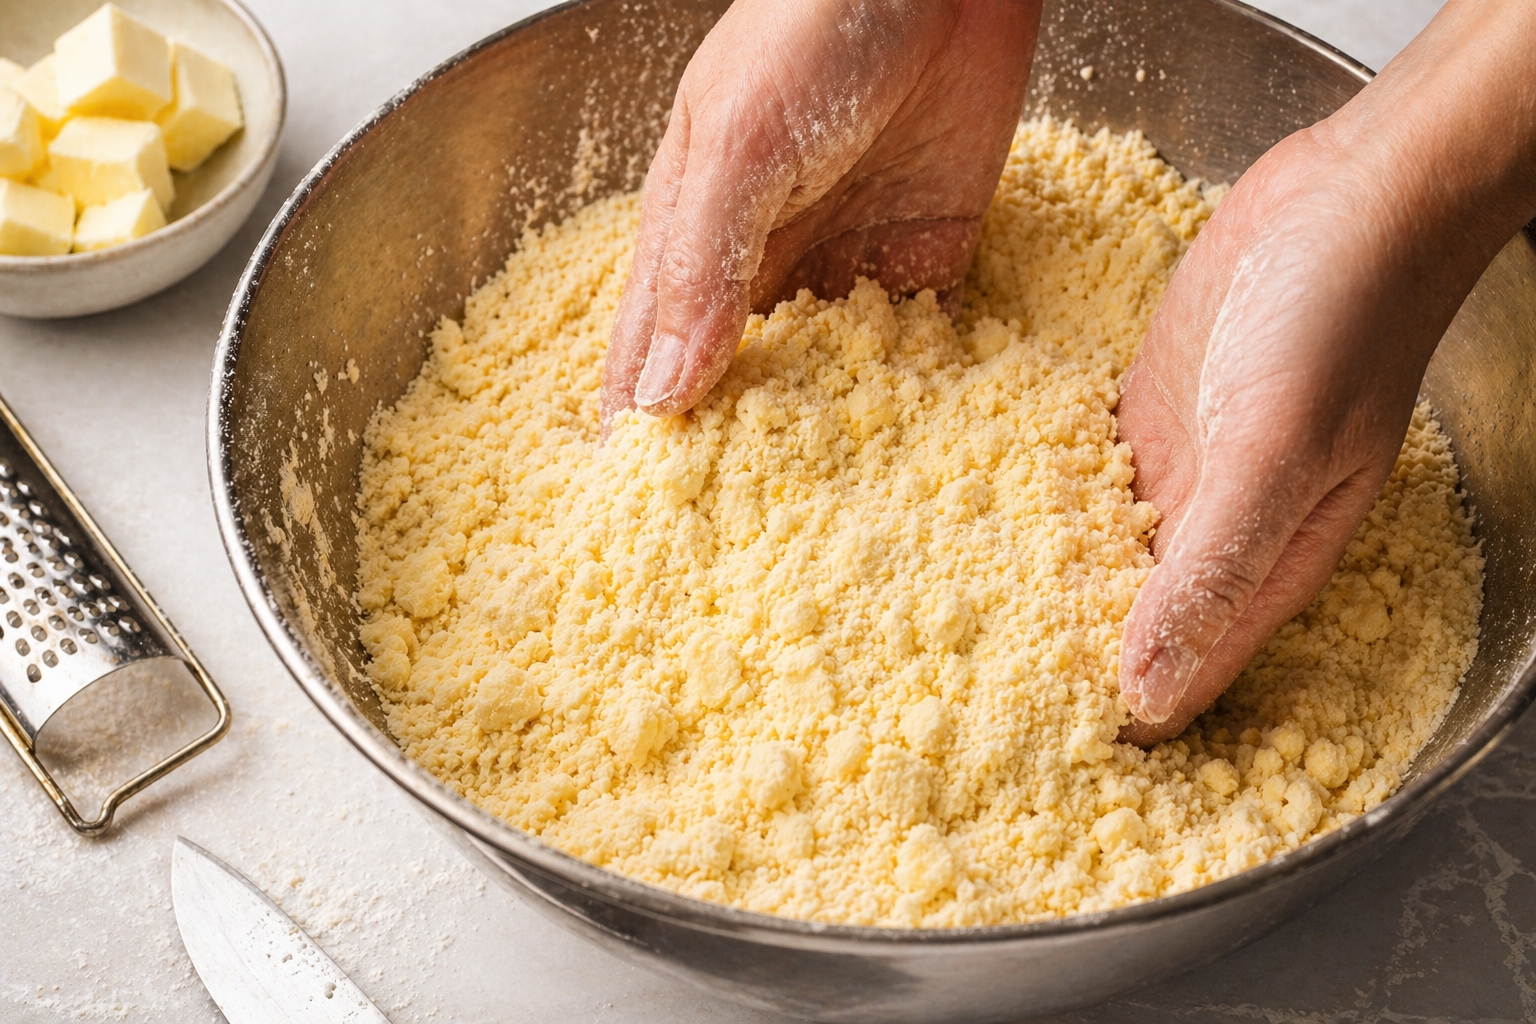
The sablage technique involves rapidly rubbing ingredients together, allowing fat to coat the flour and preventing toughness.
Rule Three: Vodka
Yes, ordinary vodka, straight from the freezer.
Replacing a portion of the water with vodka offers a clever trick, as alcohol interacts poorly with flour proteins compared to water. This makes the dough easier to bring together while significantly lowering the risk of over-developing the gluten. Sometimes one tablespoon is enough, sometimes two. The alcohol mostly evaporates during baking, leaving no noticeable flavor or aroma in the finished crust. The resulting pastry comes out flaky, light, and remarkably layered. Professional pastry chefs have relied on this technique for years.
Common Mistakes: What To Do If The Pastry Dough Melts
When the dough warms up, becomes sticky, looks shiny, and starts stretching from the hands, adding more flour remains a terrible idea. The dough will become denser, but its structure will not improve.
Transferring the ball of dough to the freezer for twenty minutes provides an excellent solution. It must be the freezer, not the refrigerator, as the butter needs to harden quickly again. Afterward, rolling it out requires quick work on a cold surface.
If the situation seems entirely hopeless and rolling out becomes impossible, grating the frozen block of dough on a box grater directly over berries or jam works wonders. This creates a fantastic British-style crumble featuring a crispy top crust and a juice-soaked base.
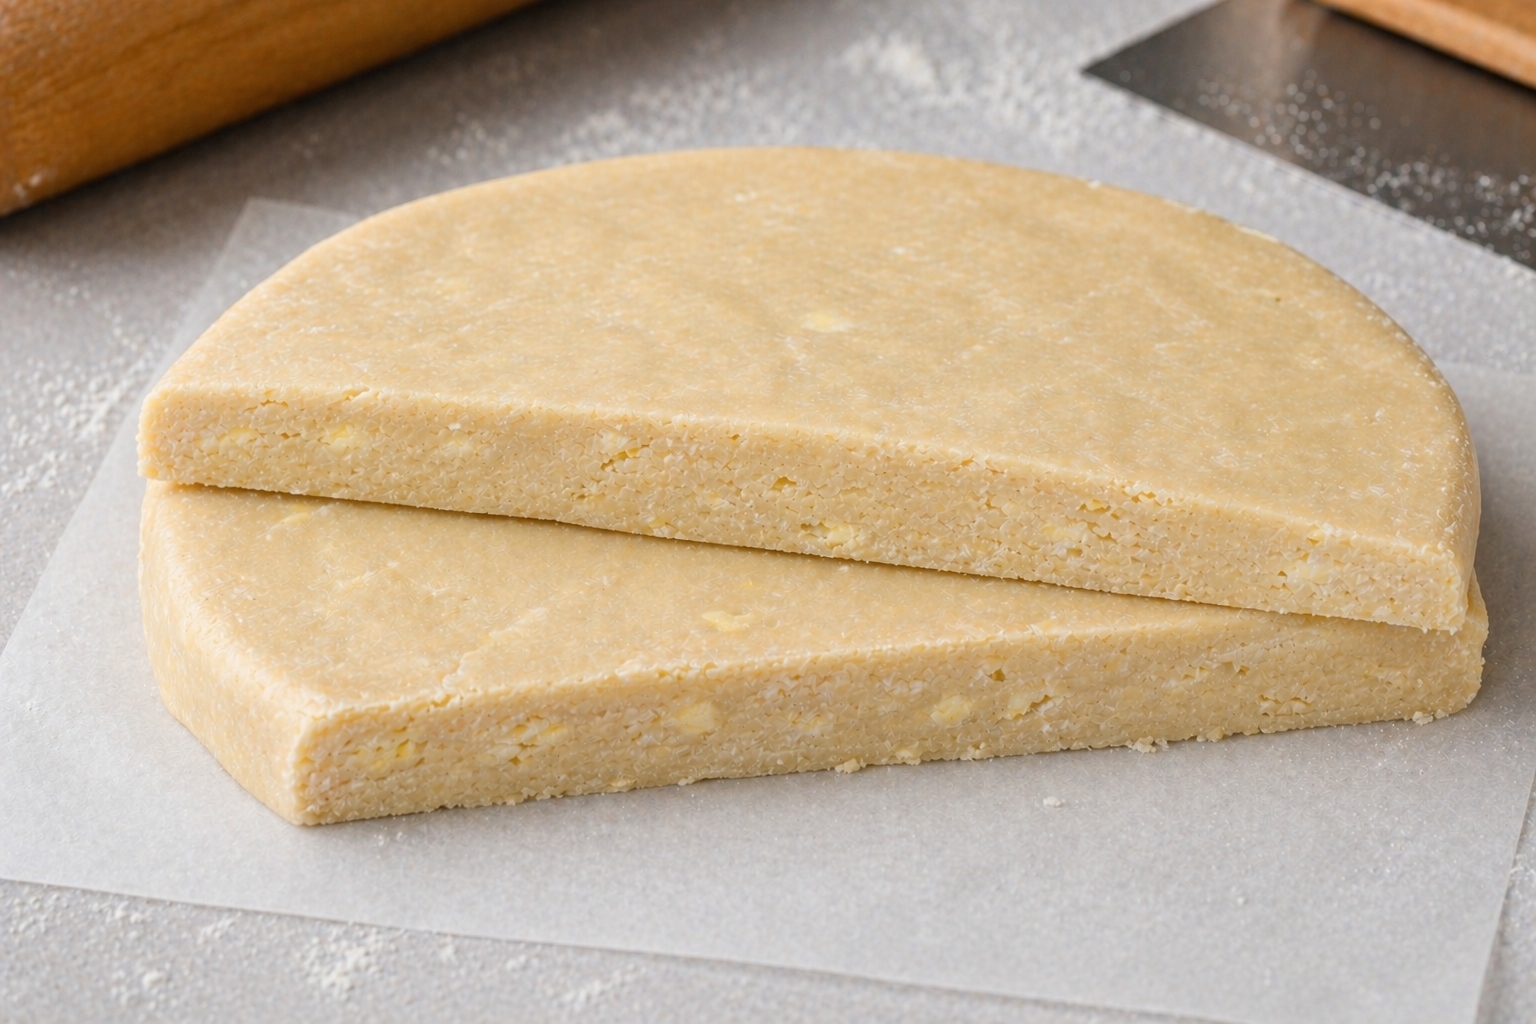
A cross-section of perfect dough clearly reveals pieces of cold butter, which create essential air pockets during baking.
What The Perfect Dough Looks Like
The finished raw dough must lack uniformity. A marbled pattern should be visible inside, displaying irregular pale flecks of butter against a lighter flour background. The cross-section reveals flakiness, almost resembling wood with very fine annual rings.
To the touch, it feels cold and pliable, holding its shape without sticking to the hands. Rolling it out might cause slight crumbling around the edges. Small edge cracks remain acceptable, often indicating that the dough has not been overworked. However, severe tearing and crumbling might suggest a lack of moisture or an excessively cold temperature.
After baking at 175–185°C (345–365°F), depending on the thickness and filling, the crust achieves a pale golden hue, reminiscent of old parchment. Pressing it with a spoon instantly confirms success, as it shatters into delicate layers rather than springing back or bending.
0 comments