
Spending three hours in the kitchen results in a perfectly executed cake: straight sides, clean corners, and a flawless top. Placing it in the refrigerator, taking it out, and stepping back with a phone to find the right angle take just a moment. Meanwhile, something quietly begins happening to the sides. The frosting starts to shift. It moves slowly, almost imperceptibly, but inevitably downward.
By the time the guests sit down, the cake looks as though it spent the night in an awkward position. Smiling, slicing, and serving happen on the outside, but a quiet, almost physical disappointment settles inside.
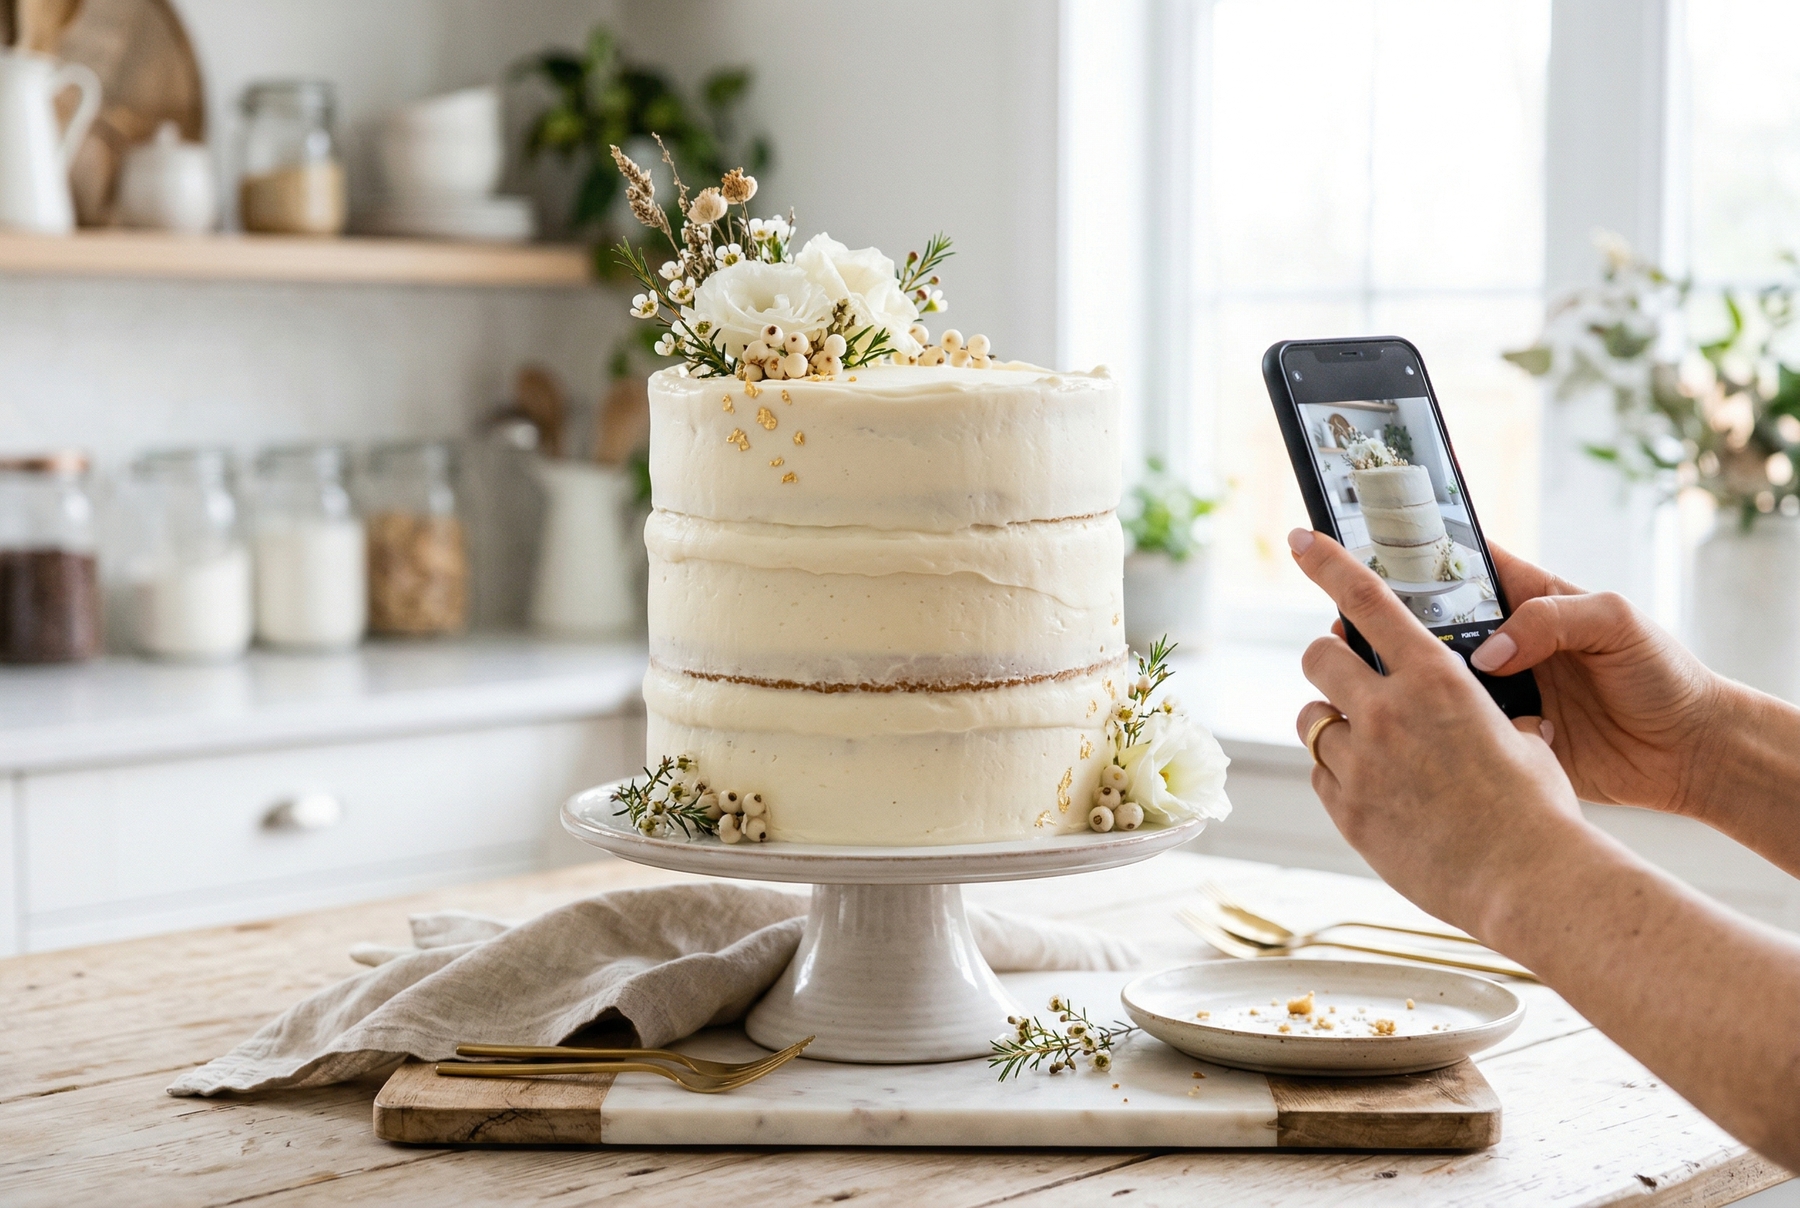
Even perfectly whipped cream can lose its structural integrity without additional stabilization, especially when left at room temperature during a photoshoot.
Knowing this feeling comes from experience. My first frosting disaster happened at a private dinner: twenty guests, late June, Lyon, and a broken air conditioner. Whipping the cream correctly and maintaining the proportions did not matter. The dining room sat at twenty-eight degrees Celsius (82°F), and no technique could hold pure whipped cream at that temperature. The hostess showed tact. I did not afford myself the same grace.
Understanding thickeners became a serious pursuit after that incident, simply to prevent a repeat performance. This article compiles years of working with frosting: in restaurants with combi-steamers and at home with just a refrigerator and a desire for perfection. It covers the physics of the process and several specific control points.
Table of Contents
Why Cream Holds Its Shape — And Why It Collapses
Whipped cream functions as a foam: air trapped in a network of fat particles. Whipping the cream deforms the fat, allowing the molecules to align around the air bubbles and lock them in place. This structure maintains its shape exactly as long as the fat remains solid.
Heat softens fat. Understanding this structure on a mechanical level, rather than just remembering that ‘cream must be kept cold,’ makes the frosting’s behavior predictable. Frosting slides down because the fat matrix relaxes from the heat.
Whipped cream without additional stabilization has a temperature ceiling: approximately eighteen to twenty degrees Celsius (64–68°F). Beyond this point, it begins to deflate. The speed of this process depends on the fat content, whipping technique, and humidity.
A thickener does not rescue poorly whipped cream; instead, it expands the working range for cream that has been prepared correctly.
Understanding 20% Cream and the Eternal Supermarket Question
Whipping 20% fat cream into a stable foam is impossible. The issue lies entirely in the fat concentration, not in technique or effort. At twenty percent, there are too few fat particles to build a stable matrix around the air. A foam forms, but it remains liquid and collapses immediately.
The absolute minimum for whipping stands at thirty-three percent, though thirty-five percent performs better. Looking for ‘whipping cream’ (or ‘heavy cream’) on the packaging guarantees the right product. Light cream (20% fat) works beautifully in custards, sauces, and crème brûlée, but it fails in this application.
Temperature. Three elements require an icy chill simultaneously: the cream, the bowl, and the whisk. Placing a metal bowl in the freezer twenty minutes before starting sets up a successful whip. Pulling the cream from the refrigerator right before whipping is essential. When working in a hot kitchen, nesting the cream bowl inside a larger bowl filled with ice provides the perfect environment. Warm cream means the fat has already partially softened, resulting in a weaker matrix that a thickener can only partially compensate for.
Whipping Stages. Relying on a timer falls short here: mixer power, cream temperature, and fat content all vary. Relying on visual markers ensures accuracy:
- The Beginning Phase. The cream thickens slightly, and the trail from the whisk barely appears before vanishing. No peaks form yet.
- Soft Peaks. The whisk leaves a trail that holds for a second or two before slowly sinking. Lifting the whisk creates a ‘wave’ that gently folds downward. Introducing thickeners and powdered (icing) sugar happens at this stage, as the texture remains fluid enough to incorporate everything evenly.
- Stiff Peaks. The trail appears sharp and refuses to settle. The lifted whisk holds its shape firmly. The frosting stands up in the bowl without sliding. Stopping at this point is crucial.
Proceeding further enters the danger zone, which is addressed later.
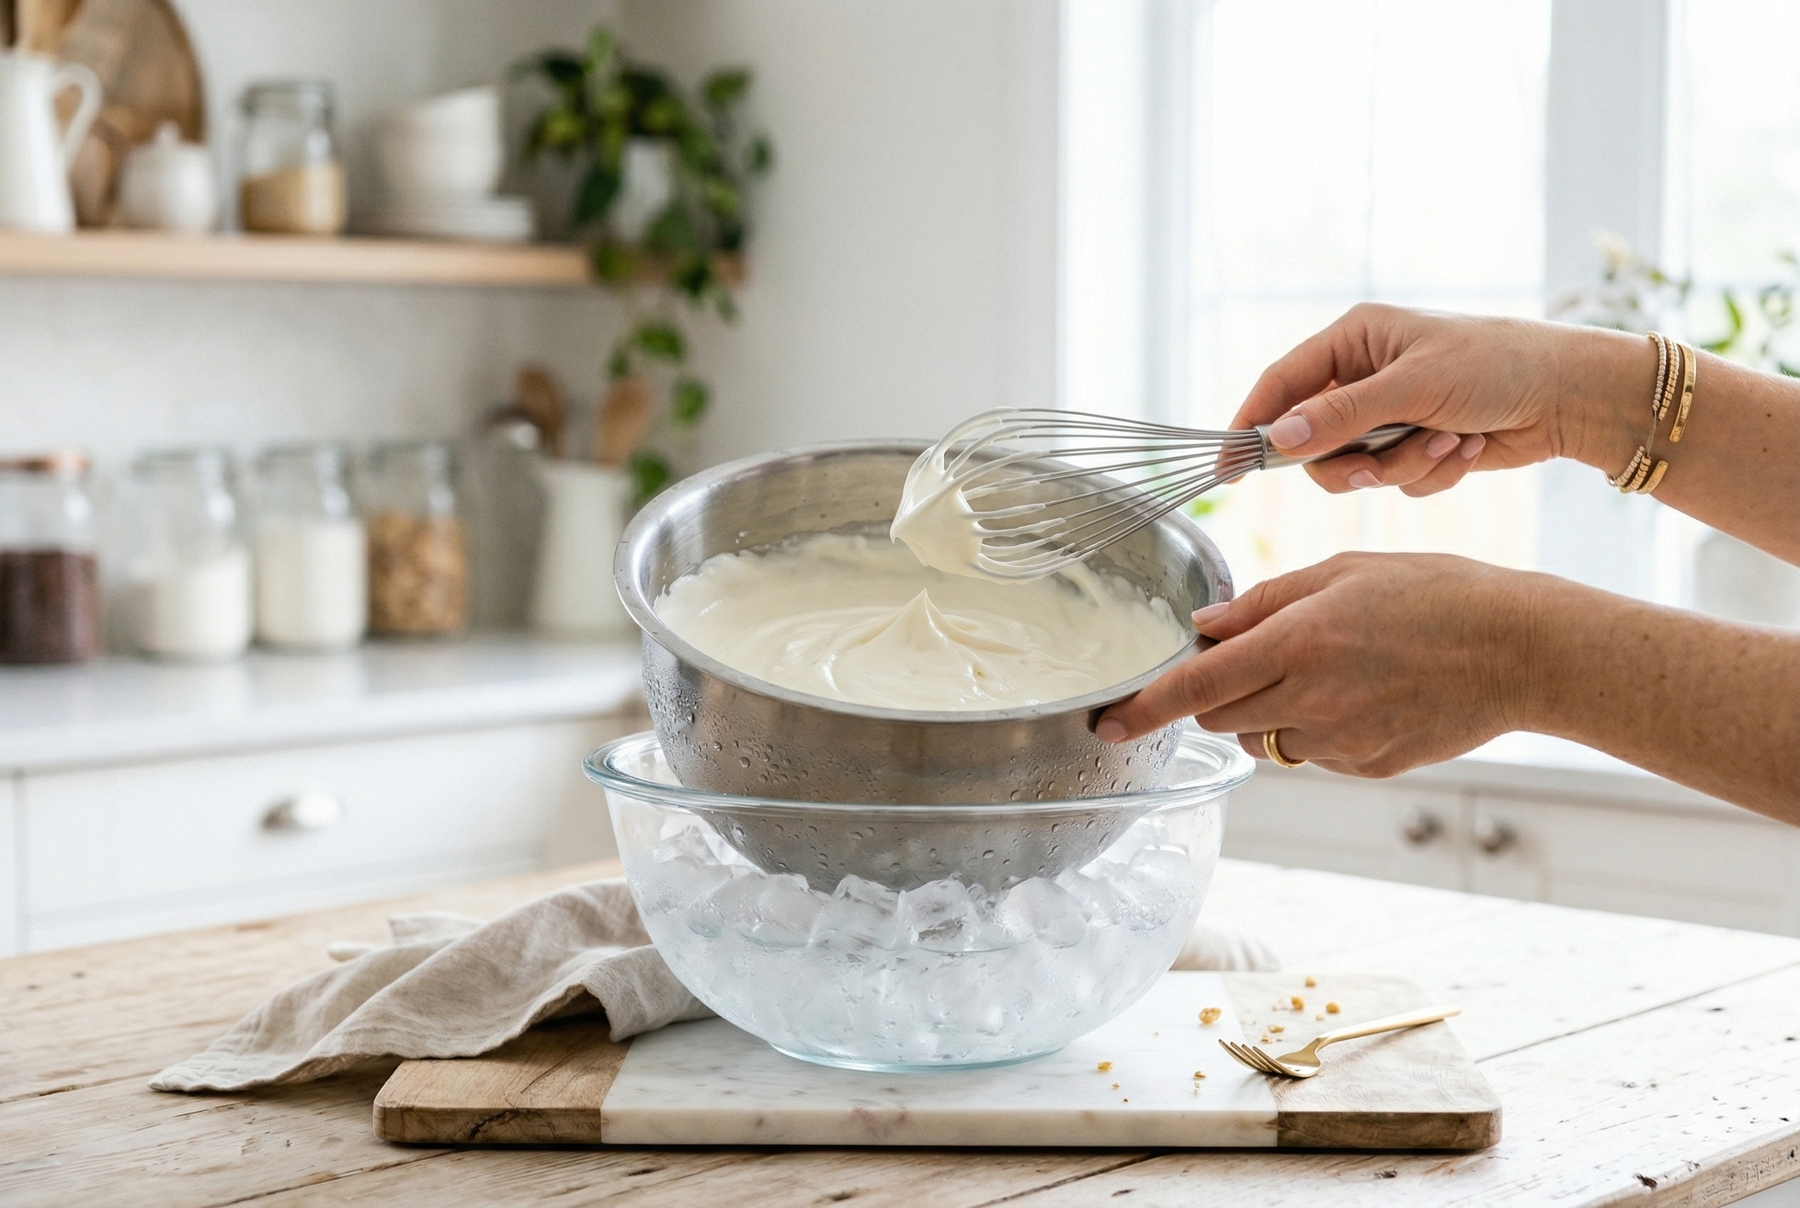
Utilizing an ice bath helps maintain the butterfat in a solid state, which plays a critical role in building a resilient frosting structure.
Choosing the Right Fix: Gelatin, Cheese, or Commercial Thickeners?
To be completely honest, working with gelatin in restaurants with precise scales and temperature control happens just as often as relying on a standard packet of supermarket thickener on a Sunday evening. Both options work brilliantly when the underlying mechanics are understood.
Commercial Thickener Packets: Inside the Bag and Application Techniques
Supermarket shelves generally carry a few standard commercial brands. The ingredient list looks nearly identical across the board: modified starch mixed with powdered sugar, occasionally featuring silicon dioxide to prevent clumping. It contains nothing exotic.
Modified starch binds the free water within the cream, reducing the amount of liquid that could potentially destabilize the foam. Starch does not build a structural framework like gelatin, nor does it add fat density like cheese. It simply provides a mechanical thickening effect. The frosting becomes denser and deflates much slower.
Timing the Addition: Incorporating the thickener must happen exactly at the soft peak stage. Adding it earlier prevents the starch from distributing evenly, leaving lumps behind. At the stiff peak stage, the structure has already formed, and the thickener will fail to integrate.
Incorporation Method: Pouring the thickener in a thin stream while the mixer runs on medium speed yields the best results. Dumping the entire packet in at once creates problems.
Proportions. Packaging instructions typically recommend ‘one packet per 200 ml (6.7 fl oz)’—a functional ratio, but slightly inadequate for truly stable frosting. Using one and a half packets for 500 ml (16.9 fl oz) provides a better hold. Using two packets risks creating a ‘rubbery’ texture with an unpleasant pull.
Limitations. Temperatures exceeding twenty-two degrees Celsius (71°F) cause this thickener to fail. An outdoor summer party or a cake that will sit on a table for three hours demands a different strategy.
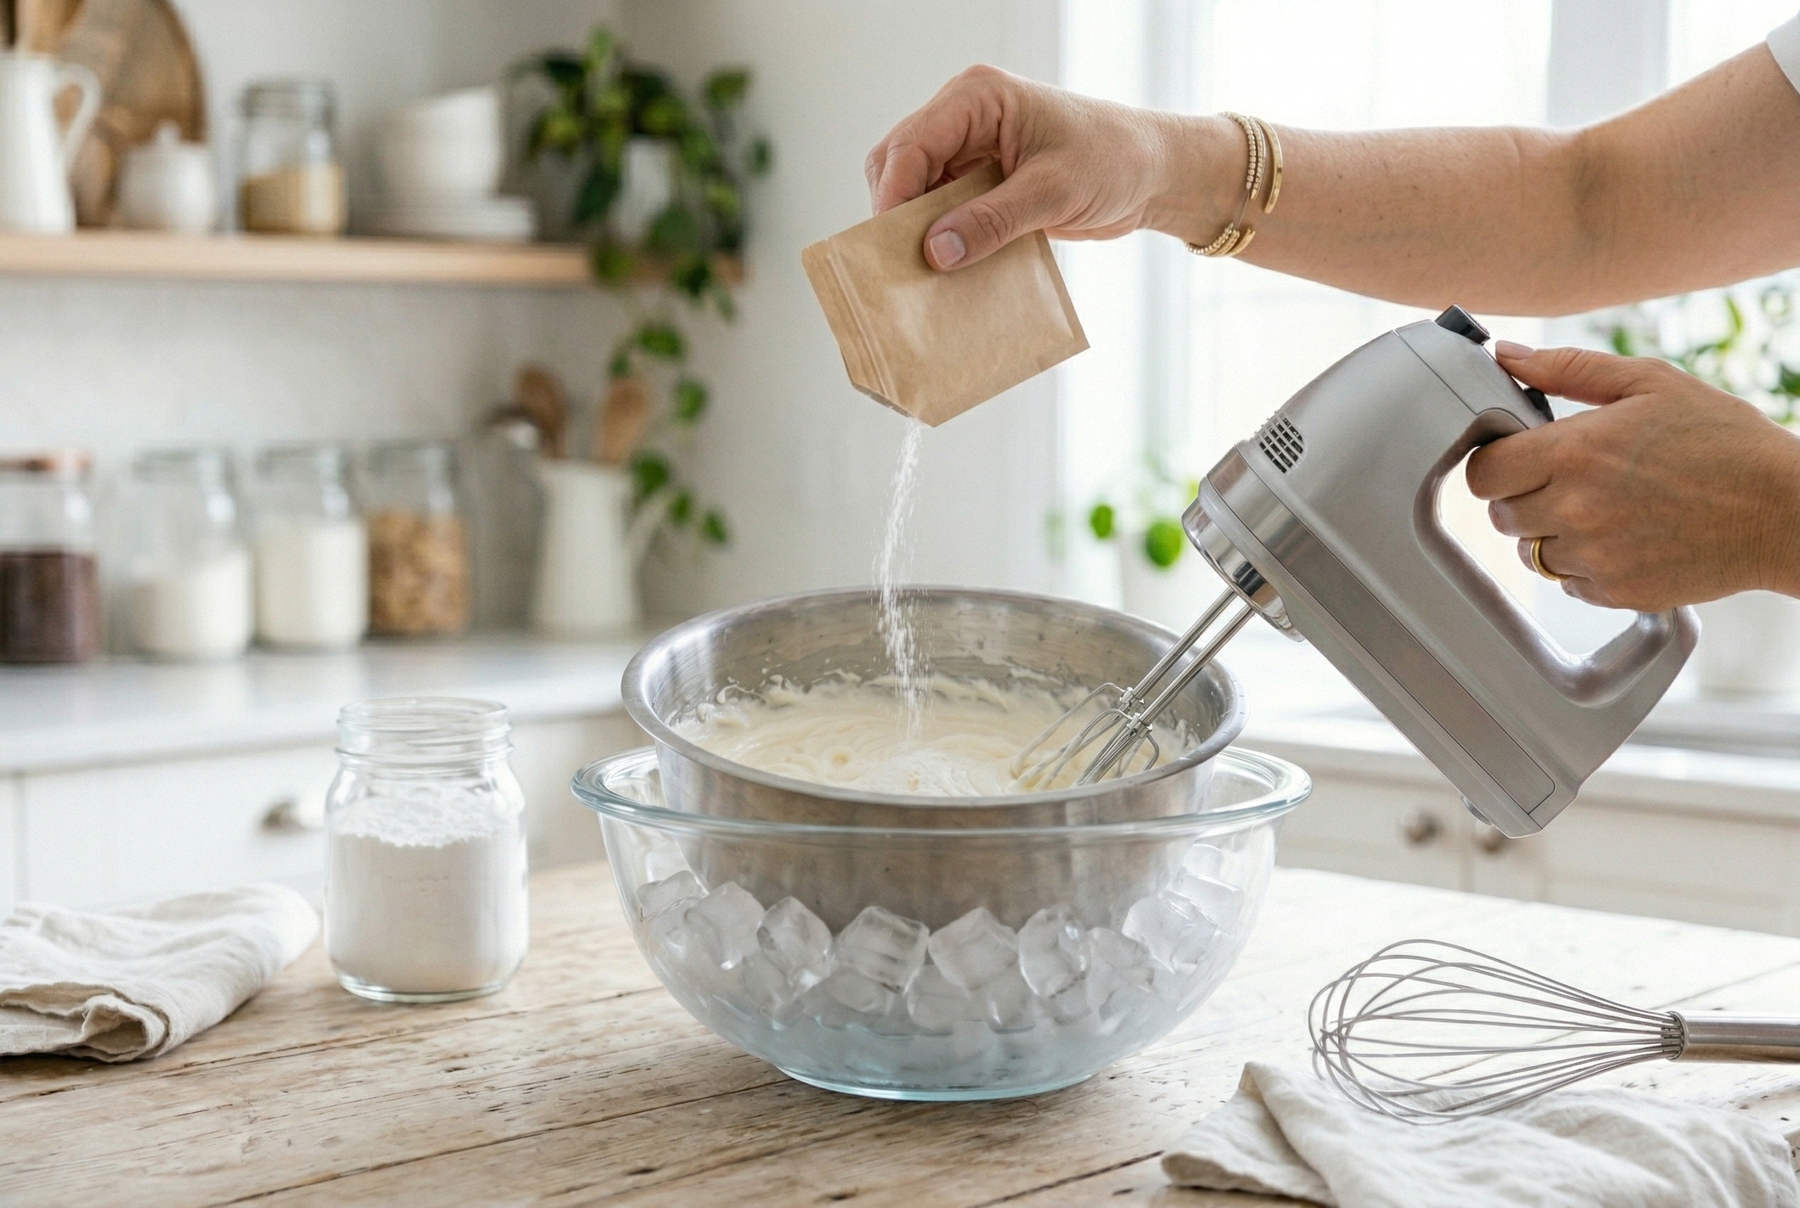
Starch-based thickeners must be introduced during the soft peak stage to guarantee even distribution throughout the foam mass.
Why Cream Cheese Replaced Pure Whipped Cream
Fifteen years ago, coating a cake with pure whipped cream was standard practice. Today, most bakeries rely on cream cheese blended with heavy cream. This shift has nothing to do with trends: the fat in cream cheese remains dense and stable at low temperatures. It provides an additional structural framework that maintains the frosting’s shape exactly where pure cream would begin to collapse.
The resulting texture feels denser and slightly heavier. This offers a distinct advantage for coating cakes: the frosting spreads smoothly with a spatula, holds sharp edges, and does not pull away with the tool. For filling layers, it resists squeezing out under the weight of the cake. When piping on cupcakes, it holds the star tip definition perfectly.
Proportions: Combining 200–250 g (7–8.8 oz) of cream cheese with 500 ml (16.9 fl oz) of heavy cream (33–35%) creates a reliable base. Adding more cheese yields a denser, more stable texture with a pronounced tangy flavor. Reducing the cheese lightens the mouthfeel.
Workflow. Whipping the cold cream cheese separately until smooth breaks up any lumps—this takes just a minute on medium speed. The heavy cream gets whipped separately to soft peaks. Introducing the cream cheese into the whipped cream (never the reverse) and mixing on low speed for five to ten seconds completes the process. Mixing any longer initiates separation.
Both the cheese and the cream must come straight from the refrigerator. If the cheese has warmed up, returning it to the cold for ten minutes before starting is mandatory.
Gelatin: Achieving True Structural Stability
Gelatin remains the only home-accessible thickener that provides a genuinely thermostable structure. It goes beyond being ‘more stable’—it actually holds its shape at temperatures where everything else has melted away.
The mechanism differs entirely: gelatin creates a network of protein strands that physically locks the foam structure in place. Until the gelatin melts (which happens around thirty-five degrees Celsius or 95°F), the frosting holds its shape flawlessly.
Since the availability of sheet gelatin (often called leaf gelatin) and powdered gelatin varies by region, this guide focuses on powdered gelatin as a widely accessible option.
Proportions: Using 7–8 grams (0.25–0.28 oz) per 500 ml (16.9 fl oz) of cream produces a dense, stable frosting. Dropping to 5–6 grams (0.17–0.21 oz) yields a more delicate texture. Anything under five grams per half-liter provides too weak an effect.
Application. Pouring the gelatin into a small bowl and blooming it with cold water at a 1-to-6 weight ratio (48 ml/1.6 fl oz of water for 8 g of gelatin) starts the process. Allowing it to bloom for five to eight minutes is necessary. The visual marker of readiness shows the gelatin having absorbed all the water, turning into a firm, jelly-like mass.
Next, melt the mass over a water bath or in the microwave in fifteen-second bursts. The mixture must transform into a clear liquid. Boiling it ruins the gelling properties completely.
This exact point represents where things most commonly go wrong.
Pouring hot gelatin into ice-cold cream is disastrous. The sudden temperature drop causes it to seize instantly into strings and lumps that cannot be fixed. Tempering the mixture prevents this: whisking three to four tablespoons of the already whipped cream into the gelatin mass, one at a time, equalizes the temperatures. Once the gelatin cools to twenty-five to thirty degrees Celsius (77–86°F), pouring it in a thin stream into the running mixer on low speed ensures perfect integration.
Next, chill the mixture in the refrigerator for at least an hour. The gelatin network does not form instantaneously. Frosting that initially seemed slightly loose will transform into a dense, stable mass after an hour in the cold.
Gelatin serves as the primary choice for mousses and cupcake swirls. A piped swirl maintains its shape for four to five hours at room temperature without noticeable deformation.
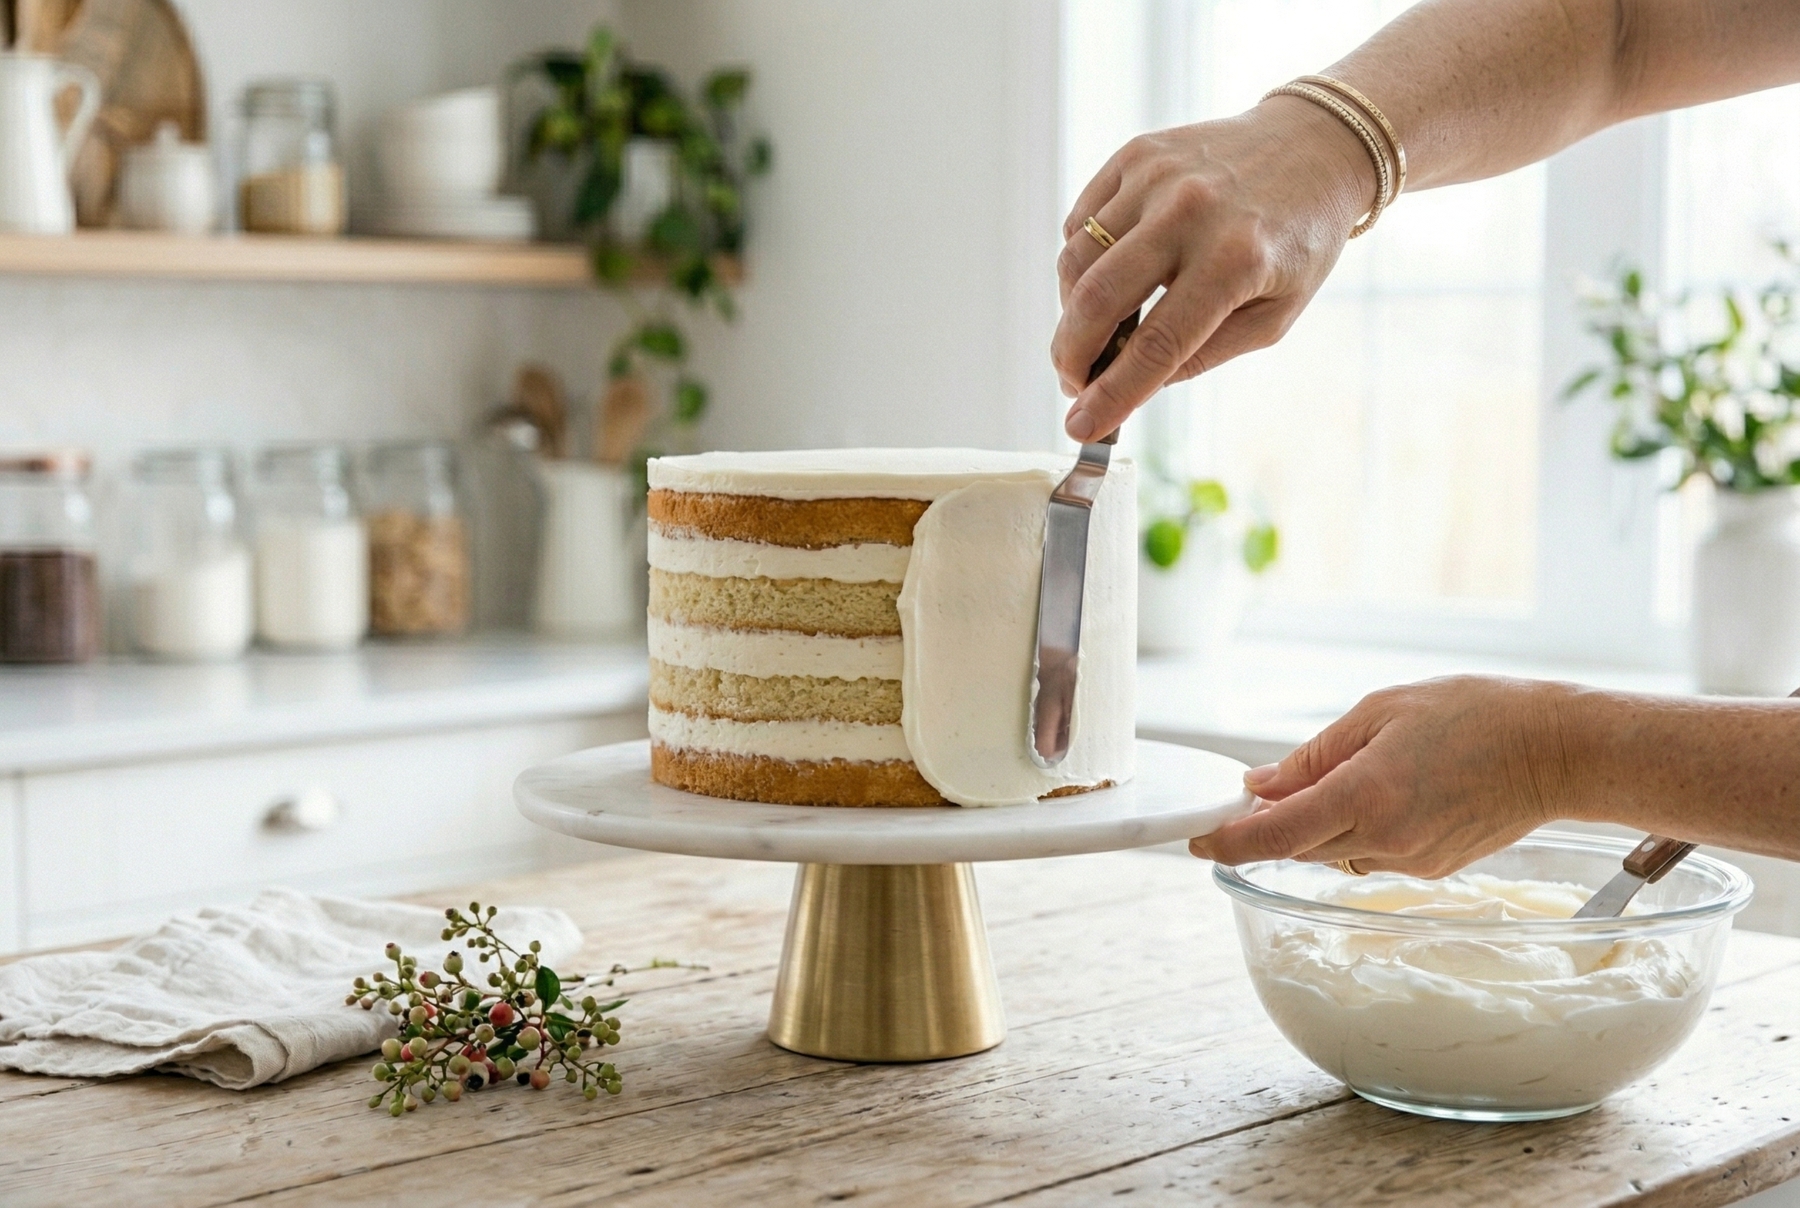
Stable frostings formulated with gelatin or cream cheese help achieve a perfectly smooth exterior that will not slide down over time.
Starch and Powdered Sugar: The Last-Minute Pantry Fix
Powdered sugar in small quantities absorbs some of the free moisture in the cream and slightly densifies the structure. The stabilization remains weak, but functional.
Proportions: Using 50–60 grams (1.7–2.1 oz) of powdered sugar per 500 ml (16.9 fl oz) establishes both the standard sweetness level and a minimal thickening effect. Adding more sugar fails to increase stability and only results in an overly sweet product.
Cornstarch (cornflour) amplifies the result: blending 1 level teaspoon per 500 ml with the powdered sugar, introduced at the soft peak stage, provides noticeable improvement.
A Crucial Warning: Substituting potato starch for cornstarch introduces an unpleasant, gummy mouthfeel—faint but distinctly noticeable in a neutral sweet cream. It leaves behind a confusing, off-putting texture. Cornstarch remains the only viable option. Checking the packaging carefully prevents this error.
When to Use: This method works exclusively when the dessert will be consumed within two to three hours in a cool environment. Heat, transportation, or overnight storage strictly demands gelatin.
The Cheat Sheet
| Thickener | Proportion per 500 ml (16.9 fl oz) of Cream | Best Applications |
|---|---|---|
| Commercial Thickener Packets | 1.5 packets | Quick frosting, piping, fillings. Up to 22°C (71°F) |
| Cream Cheese | 200–250 g (7–8.8 oz) | Cake coating, fillings. More stable than pure cream |
| Powdered Gelatin | 7–8 g (0.25–0.28 oz) bloomed in 48 ml (1.6 fl oz) water | Mousses, piping, hot weather, transportation |
| Cornstarch + Powdered Sugar | 1 tsp cornstarch + 50–60 g (1.7–2.1 oz) powdered sugar | Same-day consumption, cool environments |
Fixing Split and Grainy Cream
This happens incredibly fast, almost always due to momentary distraction: thirty seconds of over-whipping turns a smooth mass into something resembling cottage cheese. Grains appear, watery liquid pools at the bottom of the bowl, and the texture turns entirely granular.
Panic serves no purpose here: essentially, this marks the halfway point to making homemade butter.
If you catch the split at the very beginning, you can salvage it: gently fold in two to three tablespoons of cold, liquid heavy cream straight from the refrigerator using slow, circular motions with a silicone spatula. The frosting can partially regain its smooth texture—not flawlessly, but well enough for filling cake layers (where texture proves less critical than on the exterior).
When the separation progresses further and the whey noticeably separates, continuing to whip purposefully transforms it entirely. This yields a dense, fragrant butter made from high-quality heavy cream. Draining the buttermilk (which works beautifully in pancakes or baking), washing the butter with cold water, and storing it in the refrigerator extends its shelf life to a week.
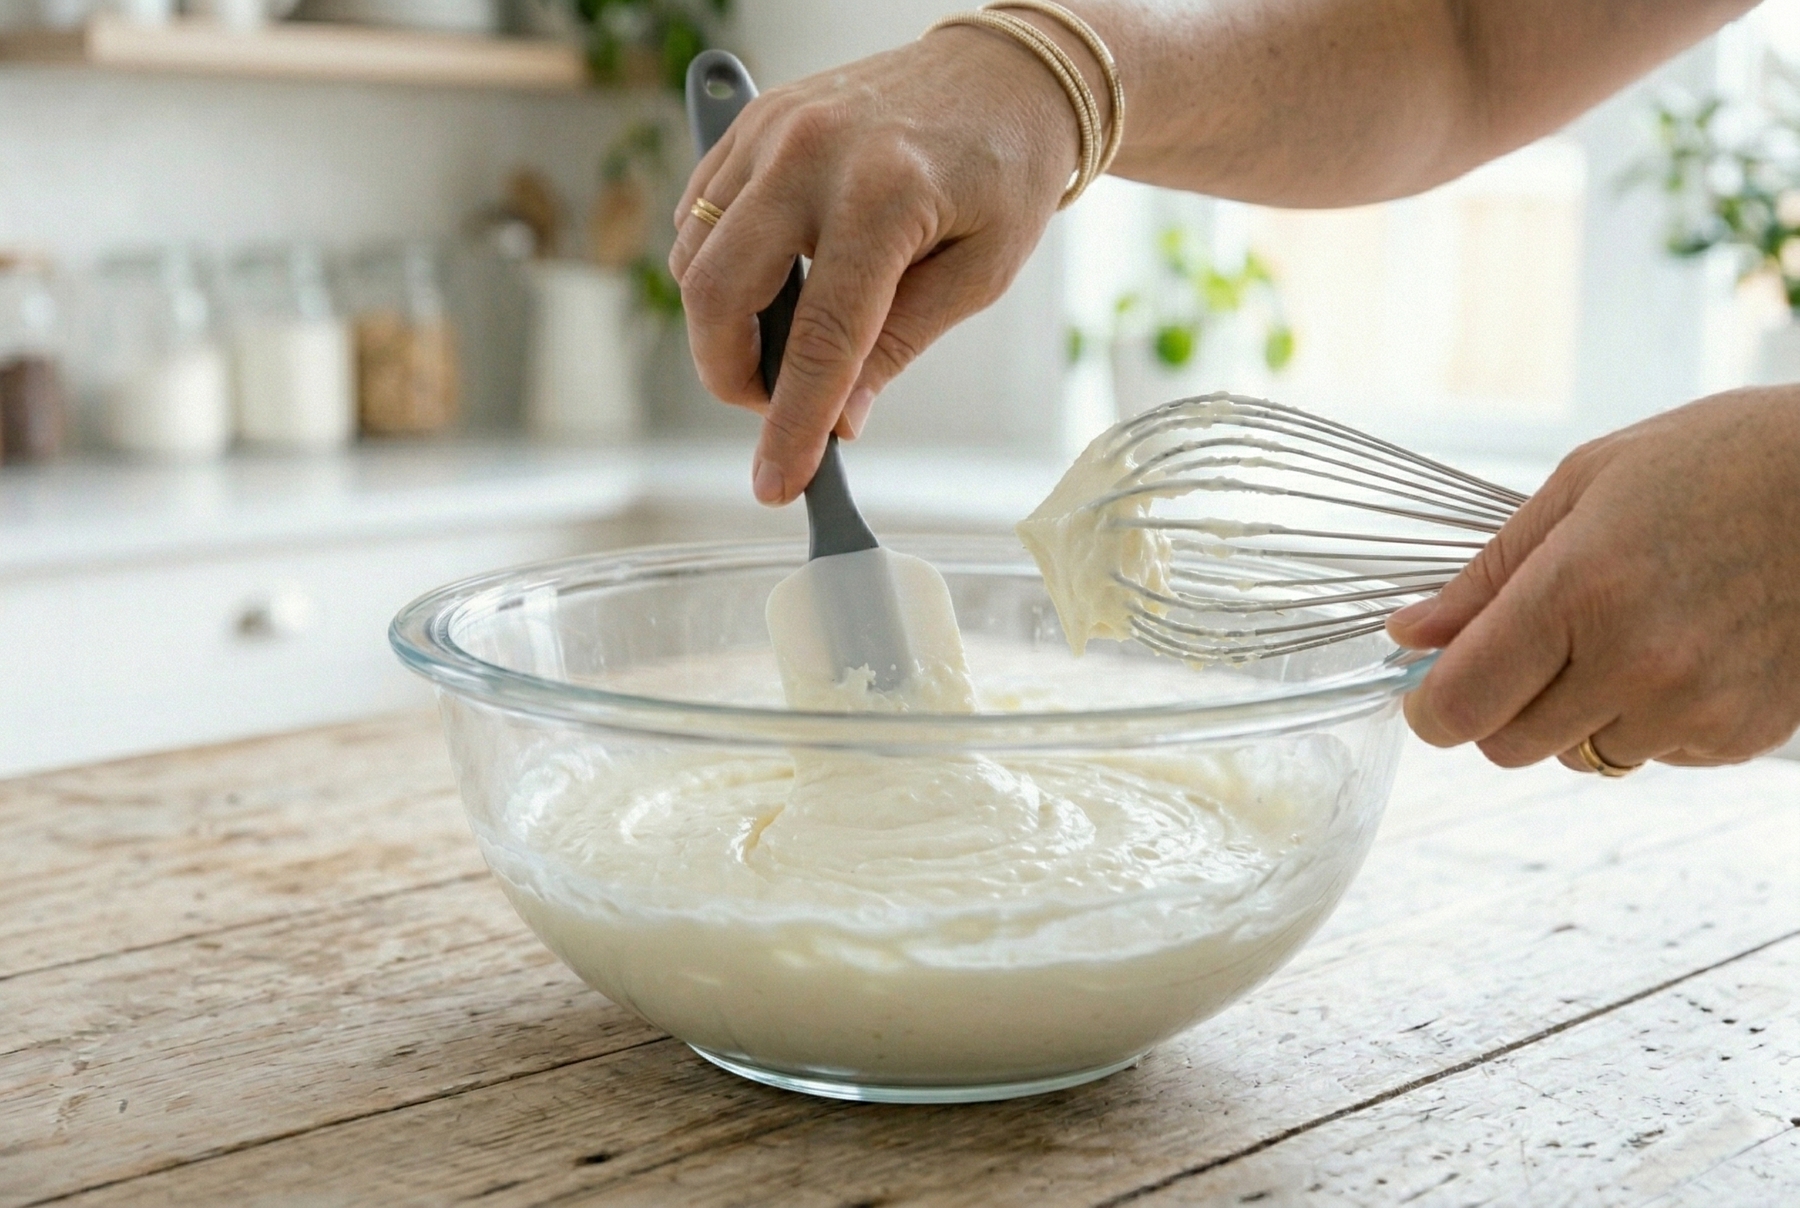
When cream begins to separate and turn grainy, gently folding in a few tablespoons of cold, unwhipped heavy cream can sometimes restore its smooth texture.
Why the Refrigerator Plays a Role Before the Cake is Finished
The refrigerator acts as a crucial tool during every assembly stage, not just for the final presentation.
After Whipping — Letting the thickened cream rest in the refrigerator for twenty to thirty minutes before application stabilizes the structure. The frosting becomes firmer and spreads onto the cake with greater ease.
After Coating — Returning the cake to the refrigerator for a minimum of one hour, preferably two, locks everything in place. The smoothed exterior layer needs to set in the cold before facing the ambient room temperature.
Before Transportation — Chilling the cake until it feels rigid right before leaving ensures safe transit. At room temperature, a well-chilled cake retains its internal cold for about an hour, assuming it avoids direct sunlight. Gelatin noticeably extends this safety window.
One crucial detail frequently gets overlooked: a cake placed on a display table begins warming up the second it leaves the cold. In a warm room, this happens rapidly. If guests are not eating immediately, keeping the cake chilled until the absolute last moment preserves its integrity. Bringing it out, slicing it, and serving it immediately guarantees the best experience.
Thinking about that cake in Lyon still happens occasionally. Not out of embarrassment, but because ever since that summer evening, packing gelatin has become an absolute rule.
0 comments