
Craft tonic in a good bar costs so much that one begins to count every sip. And what is sold in a regular supermarket nearby is overly sweet, with an aftertaste that lingers on the palate for ten minutes after the glass has been washed. I have been brewing my own tonic for several years. Every time I serve it to someone for the first time, they inevitably ask where I bought it.
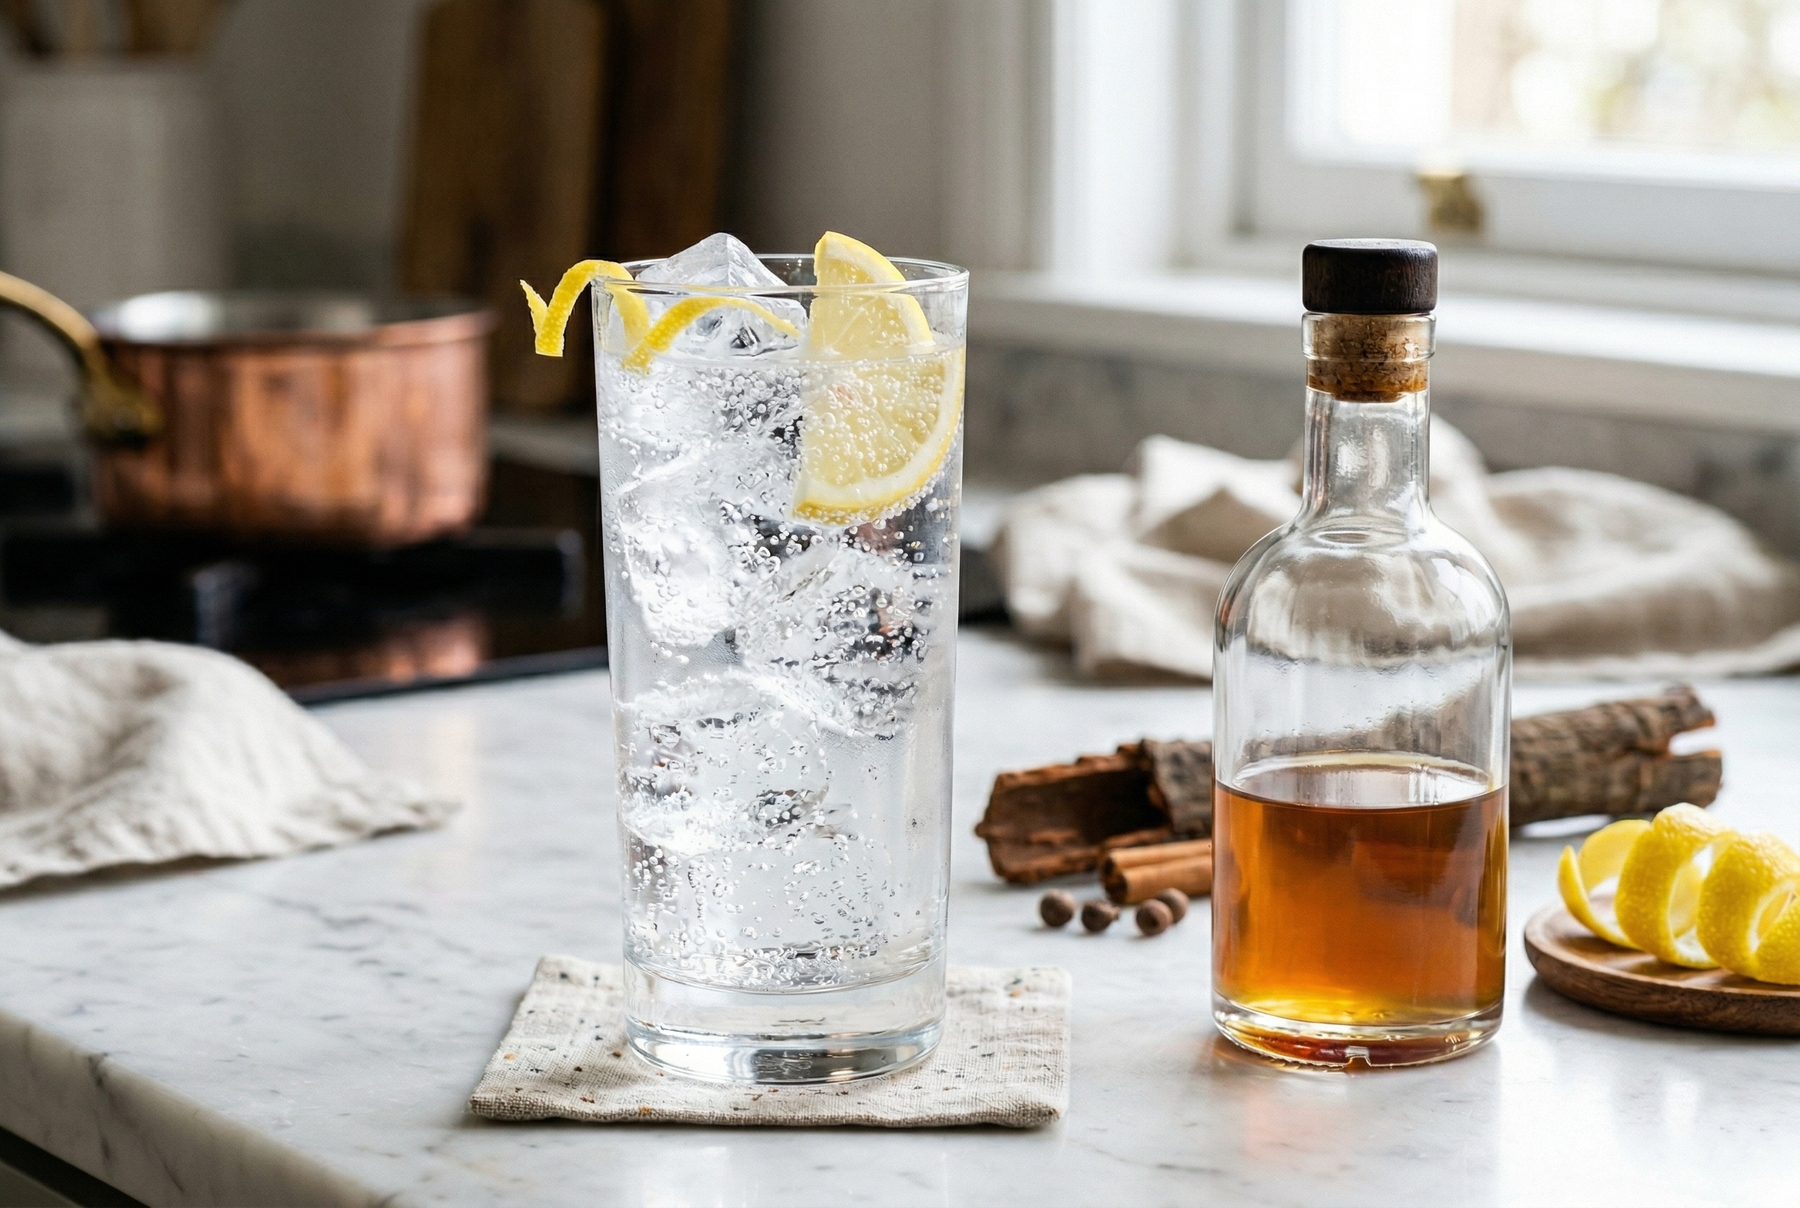
Homemade tonic boasts a noble amber color and a complex aroma that cannot be found in a store-bought beverage.
Brewing tonic is about as complex as steeping ginger tea with lemon. Yes, it involves cinchona bark, which sounds a bit medicinal, but the process itself is much simpler than it appears. The bark is easily ordered on any major marketplace: it is sold in small portions, costs little, and one pack yields several liters of syrup. The main work takes at most half an hour at the stove, plus a night of resting before straining.
The main mistake almost everyone makes on their first try does not involve the ingredients. It lies in the heat.
Why Tonic Becomes a Potion: What Happens to Cinchona When Heated
Cinchona bark contains quinine and a whole set of accompanying alkaloids. They provide the very bitterness that enthusiasts seek. However, the bark also holds other compounds: substances that, upon harsh heating, begin to make the flavor harsher and drier. This is not the astringency one wants to taste in a tonic, but an oppressive, mouth-puckering bitterness that produces that ‘medicinal’ effect.
In my experience, the difference in the result directly ties to exactly how the mixture is heated. With a gentle, slow heat without active boiling, the flavor generally comes out cleaner and more delicate. Rough boiling causes the bitterness and astringency to noticeably coarsen. I will not attempt to explain the exact chemistry of why this happens, but the observation is consistent and verified through dozens of batches.
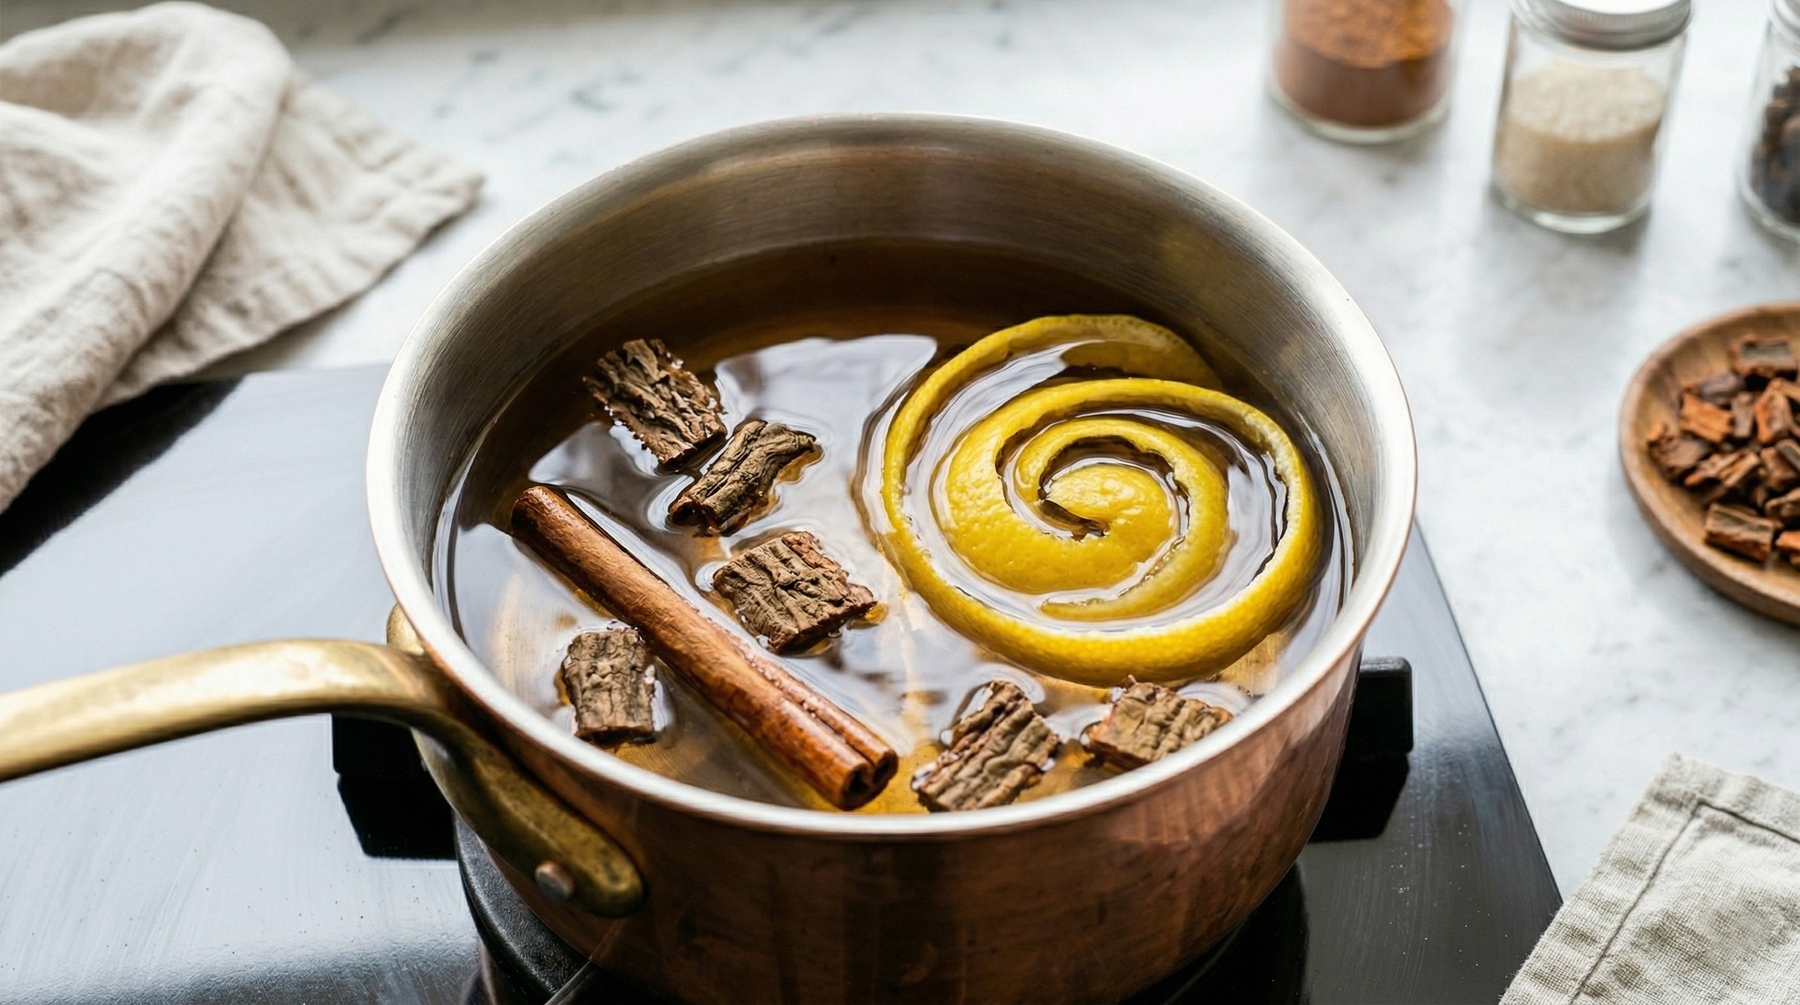
The secret to a clean flavor lies in the slow simmering of the bark and spices without active boiling.
The guideline for the stove is specific: the surface of the liquid should barely quiver. This means no bubbles and no active movement—just a slight ripple. The color slowly transitions from pale yellow to a deep amber, almost honey-like. If the liquid begins to brown and darken rapidly, the heat is too high. The heat needs to be reduced to a minimum.
Using a culinary thermometer is my practice. This is not out of pedantry, but because ‘low heat’ on a gas stove and ‘low heat’ on an electric glass-ceramic cooktop are physically different things. I personally aim for 80–85°C (175–185°F) in the pot: in my experience, this range delivers clean bitterness without unnecessary harshness. This is my working benchmark, not a chemical law.
Another aspect concerning cinchona bark is that it needs time to steep after heating. The pot is removed from the stove after 20 minutes of simmering and left overnight under a lid. During these hours, the syrup develops a depth that cannot be achieved in a few minutes of intense boiling.
The Base Formula: A Cheat Sheet for the First Try
Below are the proportions for 500 ml (17 fl oz) of finished tonic syrup. This yields approximately 15–20 servings of the beverage (the syrup is diluted with sparkling water in a ratio of about 1:5 or 1:6, according to taste).
| Ingredient | Amount | Note |
|---|---|---|
| Water | 600 ml (20 fl oz) | Filtered or bottled |
| Cinchona bark | 15 g (0.5 oz) | Ground or crushed |
| Sugar | 200 g (7 oz) | Regular white, cane sugar is also fine |
| Citric acid | 5 g (0.17 oz) | Or juice of 1 large lemon |
| Lemon zest | 1 pc. | Only the yellow part, the white pith is bitter |
| Allspice | 4–5 berries | Or cardamom (3 pods) |
| Cinnamon | 1 small stick | Can be skipped for a cleaner taste |
There is no need for exotic specialty stores. All of this is available in any grocery store. Cinchona bark is the only item that is ordered in advance, and even that takes a minute.
A brief note before starting: homemade syrup with cinchona bark is not an industrial tonic, where the quinine content is standardized and strictly controlled. The concentration in the bark can vary significantly from batch to batch. Therefore, one should start with a small amount of syrup per serving and avoid eyeballing generous pours. Quinine is not merely a culinary bitter: it can cause unwanted reactions in sensitive individuals. Tonic is not suitable for pregnant women, people with quinine intolerance, or those taking medications with which it might interact.
How the process works step-by-step:
Water is poured into a heavy-bottomed pot. A thin pot holds temperature poorly, resulting in fluctuations rather than an even simmer: it jumps from 70°C (160°F) to 95°C (200°F). The bark, spices, and zest are added. The pot goes on the stove. The mixture is brought to 80–85°C (175–185°F) and held there for exactly 20 minutes without allowing it to boil. Afterward, it is removed from the heat, covered with a lid, and left to steep for at least 8 hours, preferably overnight.
In the morning, the mixture is strained through a fine sieve, then again through several layers of cheesecloth. A slightly cloudy syrup is normal; it is not a defect, just suspended particles. The cheesecloth will remove them. Sugar is added to the strained liquid and stirred until dissolved (no heating is necessary: the sugar dissolves in the syrup on its own with 3–4 minutes of stirring). Citric acid is added at the end; the syrup is tasted and adjusted.
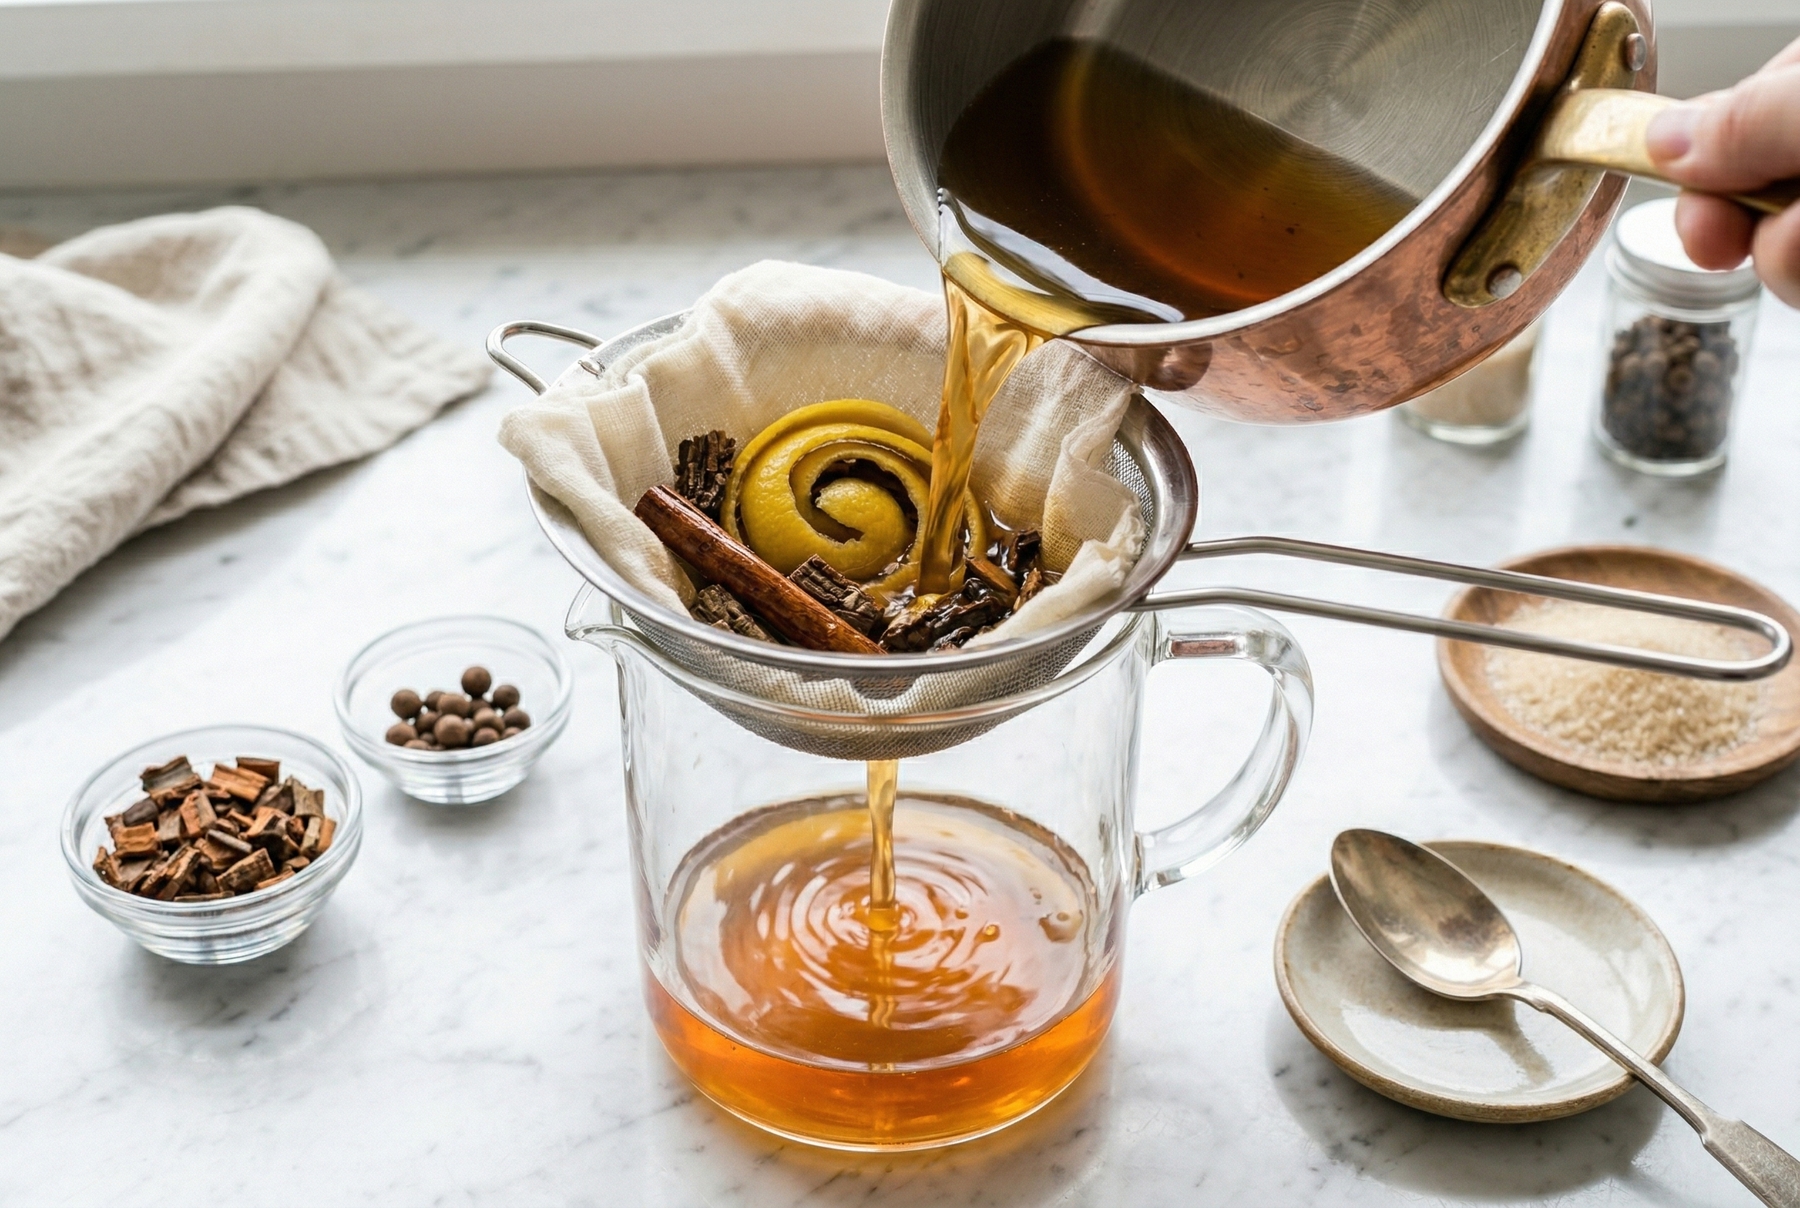
Double filtration through a fine sieve and cheesecloth removes the finest bark particles, making the syrup clear.
Regarding sugar: recipes using agave syrup or coconut sugar exist and work, and they are worth trying for those interested. However, I brew with regular white sugar, as it yields the cleanest cinchona flavor for me. Cane sugar adds a slight molasses note, which is sometimes welcome and sometimes not. This depends on what the tonic will be mixed with.
The cranberry variation. If color and an extra tartness are desired: 80–100 g (2.8–3.5 oz) of fresh or frozen cranberries are tossed into the pot along with the other ingredients at the very beginning. The syrup will come out a rich ruby color and slightly more acidic: the amount of citric acid must be adjusted accordingly, reducing it by half and tasting along the way. Cranberries are quite tart on their own.
What to Do If the Syrup Turns Out Too Bitter
Suppose attention slipped, the temperature crept up, and the syrup boiled. It happens. The flavor turned out a bit harsh: not a pleasant astringency, but something pressing on the back of the tongue. Pouring it down the drain is the last resort.
Such a concentrate can work as a homemade bitter—used literally drop by drop. Three or four drops in a mug of morning black coffee give it a depth and a bitter complexity that one does not expect. A few drops in a glass of cold mineral water with ice can transform it into a standalone beverage with character. The result depends on the specific syrup and personal taste, but the idea is sound—and in a good bar, people pay a premium for such concentrated bitters.
The syrup is stored in the refrigerator: it usually keeps well for about one to two weeks if the container is clean and sealed tightly. A small amount of strong alcohol (a tablespoon of vodka per 500 ml / 17 fl oz) can slightly extend the shelf life, but this does not replace the refrigerator and careful handling of the container.
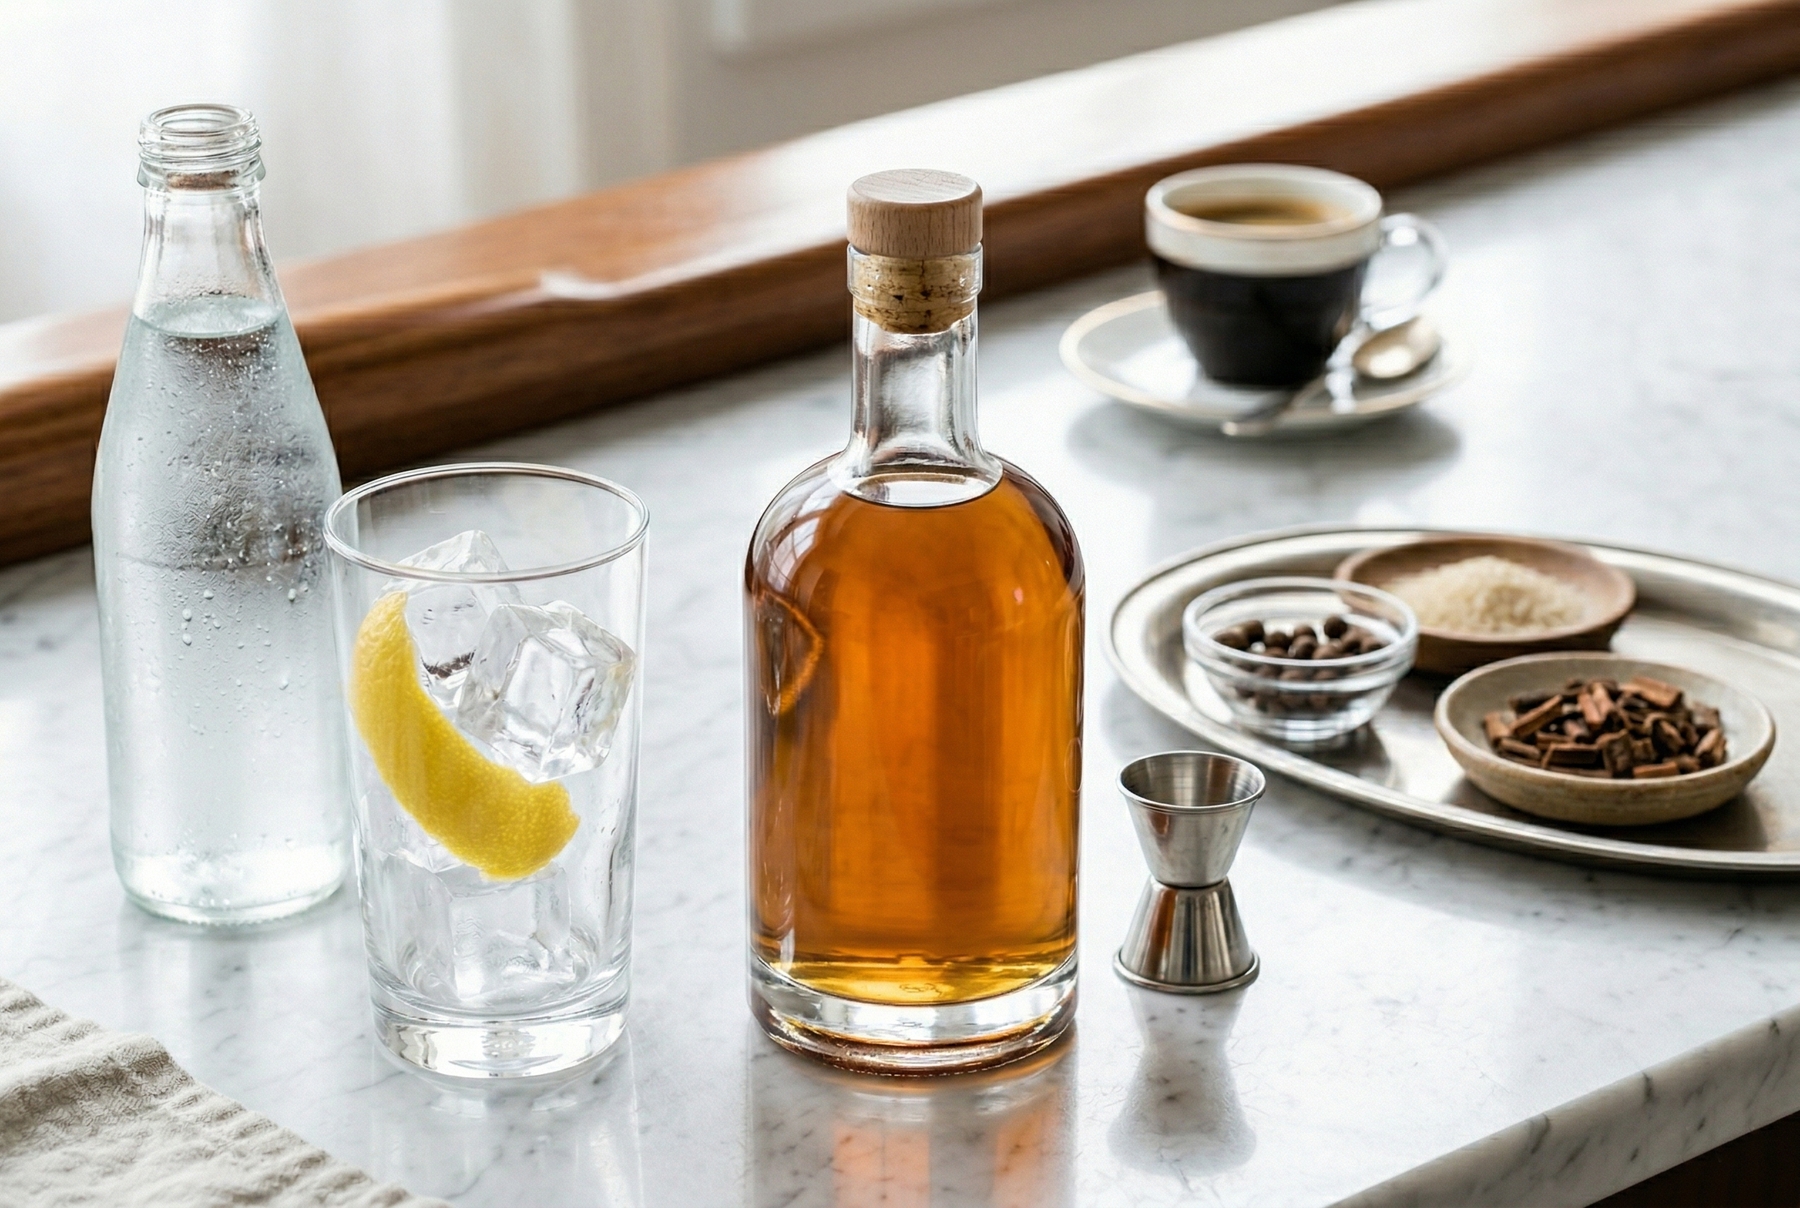
Concentrated syrup serves not only for classic tonic but also as an aromatic bitter for coffee or mineral water.
Carbonation: The Final Step That Is Often Forgotten
The syrup is ready—this is the foundation. The sparkling water used for dilution must be very cold and highly carbonated. CO₂ remains in solution better at low temperatures, so using warm, weakly carbonated water will result in a flat and lifeless drink. Keeping the glass in the freezer for fifteen minutes beforehand is a good practice.
The syrup is poured first, followed by carefully pouring the sparkling water down the side of the glass to avoid knocking the bubbles out. A single gentle stir from the bottom up is all it takes. There is no point in stirring for a long time, as the gas will escape faster than desired.
The proportion for the first try: 25–30 ml (0.8–1 fl oz) of syrup to 150–180 ml (5–6 fl oz) of water. From there, one can adjust according to personal taste—towards less syrup if the bitterness seems sharp.
0 comments