
You fill the reservoir with water, add expensive coffee from a trendy roaster, place the moka pot on the stove, and begin to wait. Then comes the familiar rumble, followed by a hiss. Pouring it into a cup yields a liquid with a burnt rubber aftertaste instead of a velvety drink. Many coffee lovers are familiar with this disappointment.
The issue does not lie with the beans or a defective coffee maker. The real problem is that a moka pot operates under a harsh temperature regime, making it easy to ruin everything without understanding the process. The good news is that understanding and controlling this extraction is quite simple.
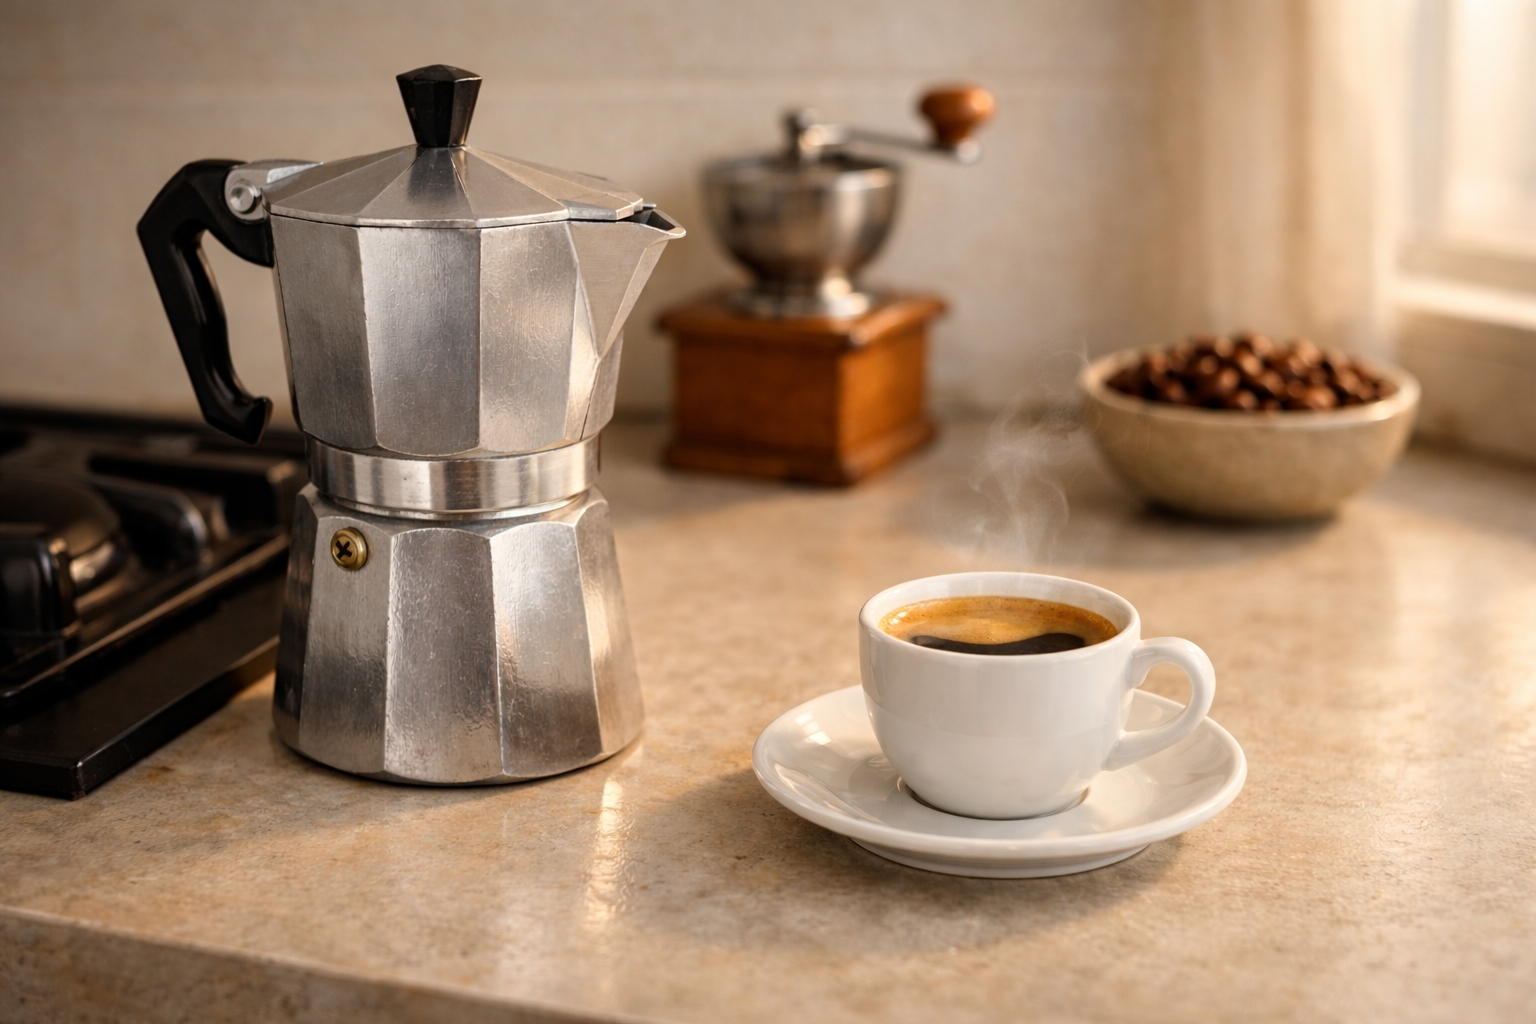
A moka pot yields a dense cup, but the grind size, hot water, and the exact moment it is removed from the heat determine the final flavor profile.
Note: A moka pot (or “Italian coffee maker”) is a three-part device: a lower water reservoir, a filter basket for ground coffee, and an upper collection chamber for the brewed drink. The mechanism relies on steam pressure: water boils at the bottom, rises through the coffee, and flows into the upper section. The moka pot’s popularity stems from its simplicity, affordability, and ability to brew a rich, dense coffee without complex machinery. In Italy, almost every household owns one.
A moka pot heats water to 90-95°C (194-203°F) and creates a pressure of about 1.5 bar, pushing it through the coffee bed. This is gentler than an espresso machine but harsher than a cezve (Turkish coffee pot). When the process drags on or the metal becomes excessively hot, the beans release bitter tannins and combustion byproducts instead of aromatics and sweetness, completely killing the flavor.
The critical factor here is that extraction in a moka pot cannot be stopped midway—all the water will push through regardless. This means the brewing parameters must be set before turning on the stove. Grind size, water temperature, and the exact moment of removing the pot from the heat are three parameters that decide everything. In this context, the grind size is vastly more important than the origin of the beans.
A Few Words About Roasting
Light roasts do not work well for a moka pot for a simple reason: the beans are dense, and the acidity does not have enough time to mellow during the short contact time with the water. The result is a grassy, sour cup without a hint of sweetness.
Very dark roasts also fail, albeit for different reasons. The sugars have turned into carbon, and the oils have oxidized, resulting in rancidity. Under the high-temperature conditions of a moka pot, these substances wash out first, allowing bitterness to dominate and overshadow any remaining nuances.
Medium and slightly darker roasts (Full City, Vienna) work beautifully because their sugars have caramelized without burning. The bean structure is porous but not completely broken down. Water easily penetrates, extracting sweet notes of caramel and chocolate while leaving the harsh bitterness behind.
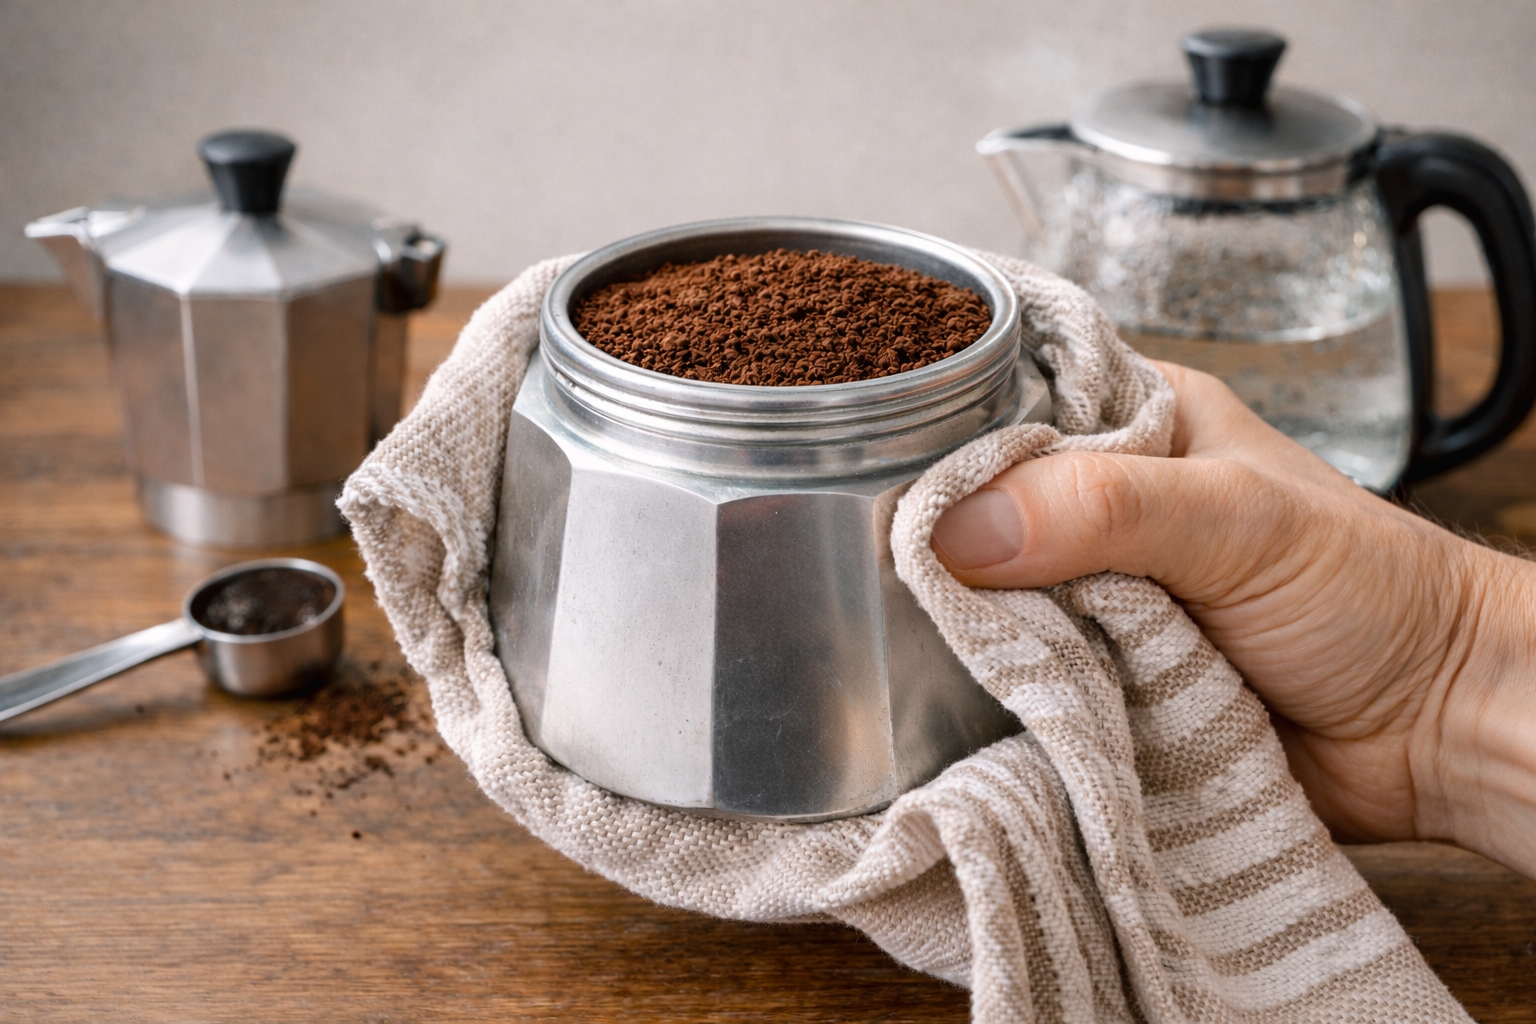
Pouring hot water into the bottom reservoir helps the moka pot reach brewing temperature faster, preventing the ground coffee from baking and overheating.
Three Parameters You Can Control
The Grind Size
Taking a pinch of ground coffee and rubbing it between the fingers should reveal a texture similar to fine sea salt, not flour. If it resembles flour, extraction problems begin immediately.
An excessively fine grind clogs the filter, causing pressure to build dangerously in the lower chamber. The coffee maker begins to hiss, sputter, and sometimes eject boiling water through the safety valve. Simultaneously, the fine particles extract instantly, releasing bitterness much faster than sweetness, resulting in an overly concentrated, bitter drink lacking body.
A coarse grind (similar to French press) creates another issue: water passes through too quickly and fails to dissolve the aromatic oils. The result is a watery, slightly sour liquid lacking character, density, and the rich flavor that moka pots are known for.
When buying pre-ground coffee, looking for a “moka” or “stovetop espresso” label is advisable. When grinding at home, the burr setting should be slightly finer than for pour-over, but noticeably coarser than for true espresso.
Boiling Water in the Bottom Chamber
Many people skip this step, which is a major oversight. Starting with cold water means it takes 4-5 minutes for extraction to begin, allowing the metal to heat up to 100°C (212°F) and above. The coffee in the filter begins to roast and bake before the water even touches it, evaporating volatile aromatics and leaving only bitterness for the final cup.
The proper approach involves boiling the water separately and pouring it in hot, around 90-95°C (194-203°F). Handling the coffee maker with a kitchen towel during assembly is necessary, and care must be taken to avoid burns. However, the result is worth the effort because the heating time drops to under two minutes. The metal does not have time to overheat the coffee bed, extraction happens quickly and evenly, and the resulting flavor is cleaner, sweeter, and free of burnt notes.
When to Remove From Heat
Listening to the coffee maker and observing the process is essential. A dark, thick stream flows into the upper chamber first, and after 20-30 seconds, the color lightens, and a blonde foam appears. This signals that the primary desirable compounds are already in the cup, and only bitter tannins will follow.
Waiting for the aggressive gurgling and sputtering means the coffee is already overheating. Removing the pot from the stove as soon as the stream lightens allows the residual heat to finish the process without excessive temperature ruining the profile.
For maximum control, place the bottom chamber on a wet towel immediately after removing it from the stove to cool it rapidly. This abruptly stops the boiling and prevents the extraction of those final bitter fractions that spoil the cup.
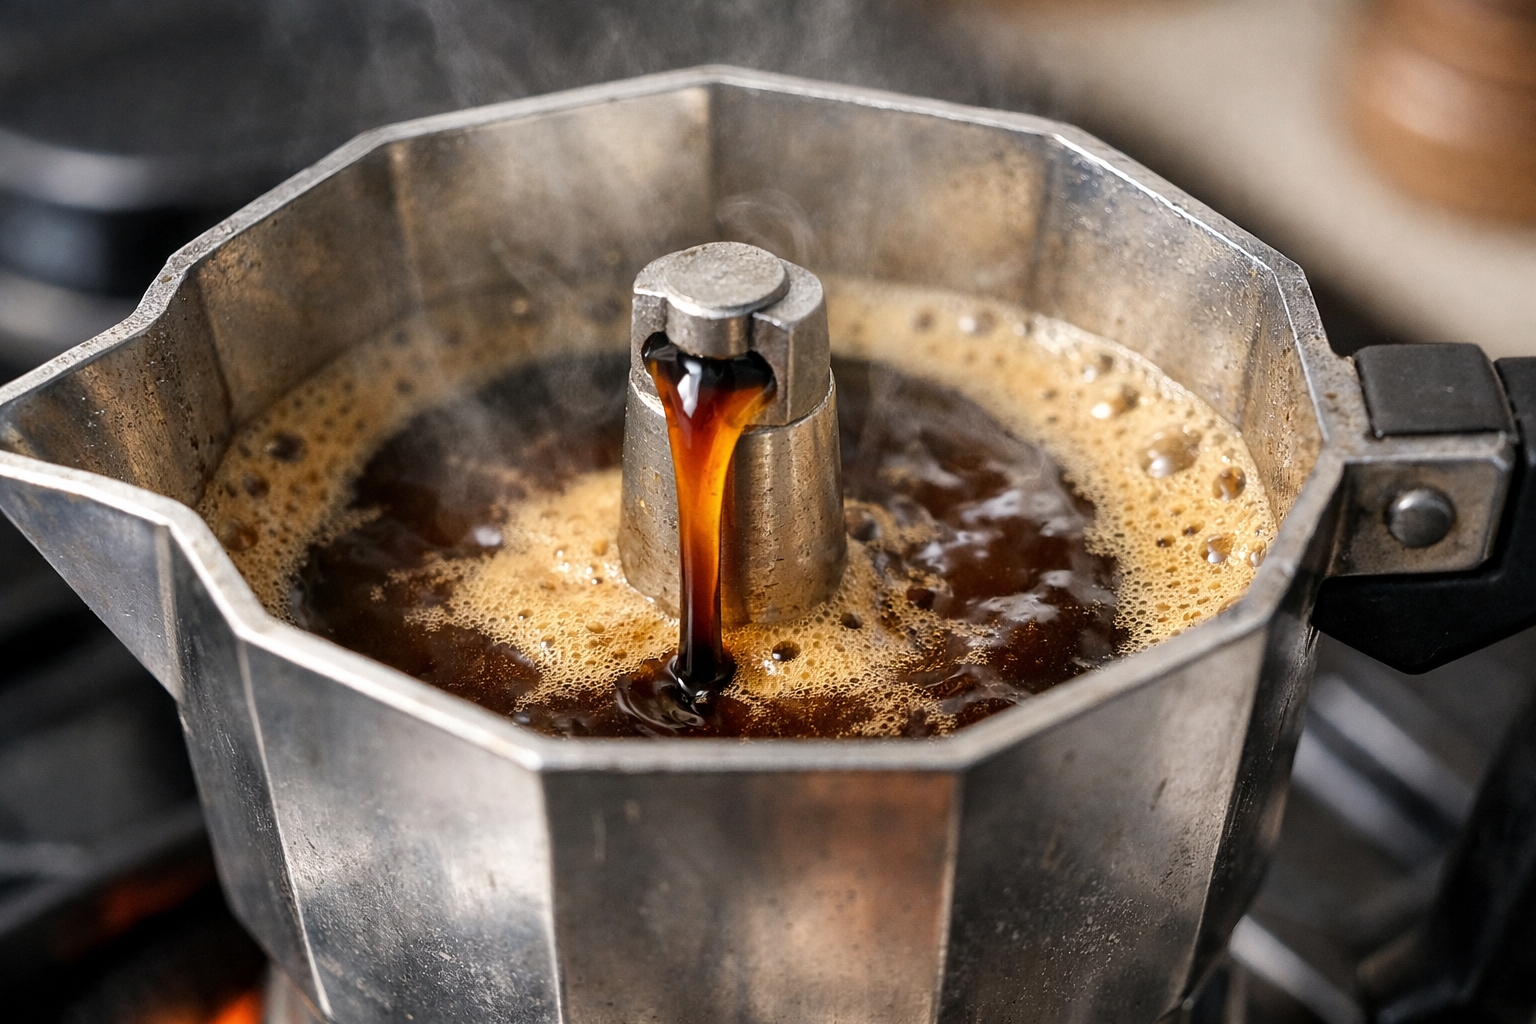
As soon as the coffee stream lightens and a blonde foam appears, removing the pot from the heat prevents bitter fractions from extracting into the cup.
Beans: A Cheat Sheet
The bean variety plays a role, but not the primary one, which is an important concept to grasp. When the grind and temperature are dialed in correctly, even an inexpensive Brazilian Arabica yields a balanced cup. Conversely, poor brewing techniques will make an elite Ethiopian Yirgacheffe taste solely of aggressive acid and bitterness.
Table: What to Buy for a Moka Pot
| Origin | Roast | Flavor Profile |
| Brazil (Santos, Cerrado) | Medium | Nutty, chocolate, caramel. Low acidity, high sweetness |
| Colombia (Supremo) | Medium-Dark | Dark chocolate, almond. Good balance of sweetness and mild acidity |
| Guatemala (Antigua) | Medium | Cocoa, dried fruits, spices. Complex sweetness |
| India (Malabar) | Medium-Dark | Tobacco, cedar, spices. Mellow profile with virtually no acidity |
| Ethiopia (Natural process) | Medium | Berries, florals, light acidity. Requires a very precise grind |
What to Avoid: Kenyan, washed Ethiopian, and Costa Rican coffees in a light roast yield sharp acidity without balance, while ultra-dark Italian blends often leave only ash and bitterness.
When purchasing coffee at a supermarket without specialty regional options, reading the packaging is crucial. Finding a roast date is a good sign; selecting beans roasted within the last month is optimal. If the package only lists an expiration date without a roast date, skipping it is best, as the manufacturer is either uninformed about specialty coffee standards or hiding the fact that the beans have been sitting in a warehouse for six months.
A bag with a degassing valve is a positive indicator, whereas a generic “100% Arabica” label means very little. The presence of Robusta usually indicates a commercial blend that will deliver a flat, earthy taste without complexity.
Ground or Whole Bean? Opting for whole beans and grinding them right before brewing is fundamentally better, as pre-ground coffee oxidizes rapidly, losing its essential oils in a matter of days. Even a vacuum-sealed jar cannot save it from staling. Purchasing an inexpensive manual burr grinder pays for itself within a month through a drastically improved flavor experience.
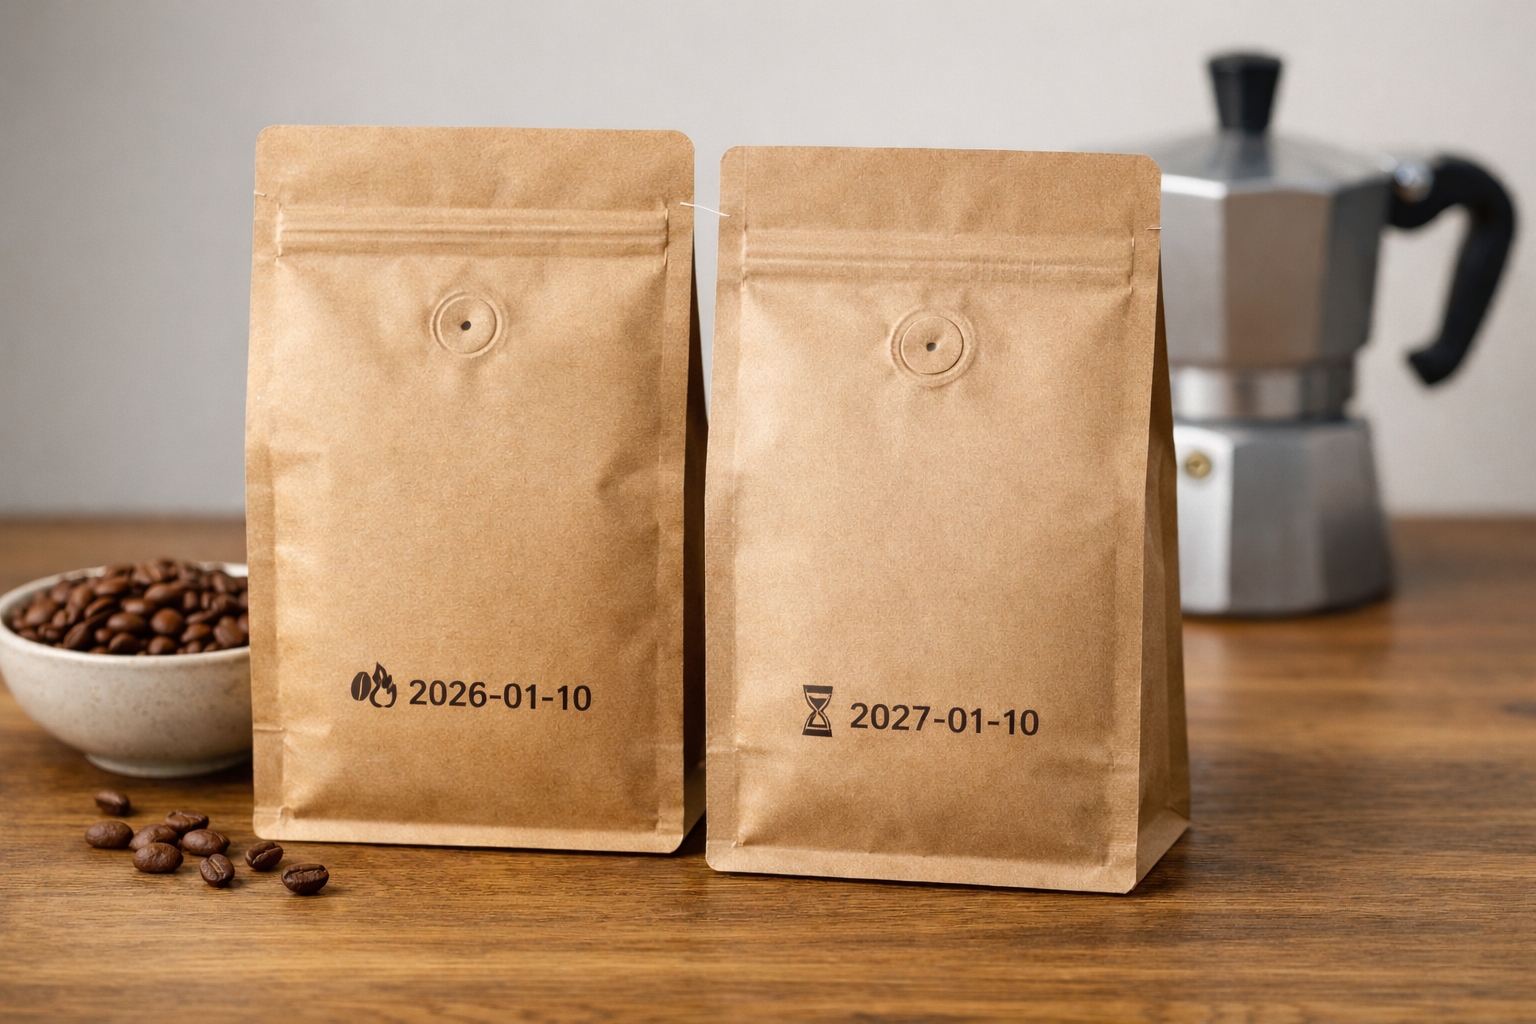
When shopping for a moka pot, checking the roast date and looking for a degassing valve is crucial: freshness impacts flavor significantly more than generic “100% Arabica” labels.
What to Do With Coffee Grounds
Discarding spent coffee grounds immediately is a waste, as they retain nitrogen, potassium, magnesium, and other beneficial elements. Adding them to the soil of houseplants or a small garden improves soil structure, retains moisture, and deters slugs. However, moderation is key: coffee grounds slightly acidify the soil, so they are not ideal for plants that prefer an alkaline environment.
Another excellent use is a natural body scrub. Mixing the grounds with coconut or olive oil and adding a spoonful of honey creates a gentle exfoliating treatment that works mechanically, completely free of harsh chemicals or synthetic additives.
The Essentials of Moka Pot Coffee
A moka pot does not require complex equipment or advanced barista skills, but it does demand an understanding of the brewing dynamics. The grind size remains the most critical variable because it dictates the extraction speed and flavor balance. While important, the bean origin plays a secondary role compared to the proper tuning of the process.
Overheating is the ultimate enemy of good flavor, and defending against it is the main objective. Pouring hot water into the bottom chamber minimizes the metal’s contact time with the coffee, using medium heat prevents the base from reaching critical temperatures, and removing the pot at the first sign of blonde foam stops the extraction exactly when needed.
These three actions separate a magnificent cup from a bitter disappointment. The rest comes down to practice and attention to detail. Dialing in this process transforms the moka pot into a highly reliable method for brewing outstanding coffee without unnecessary complications.
0 comments