
There's nothing quite like the fresh, aromatic scent of dill to brighten up a dish. A staple in Eastern European and Scandinavian cuisines, dill is the flavor of summer gardens and comforting meals. Preserving this wonderful herb for the winter is a long-standing tradition, ensuring that its unique taste can be enjoyed even on the coldest days. This simple oven-drying method is a fantastic way to capture that essence, transforming fresh dill into a fragrant, long-lasting spice for your pantry. It's easier than you think and far more flavorful than store-bought versions!
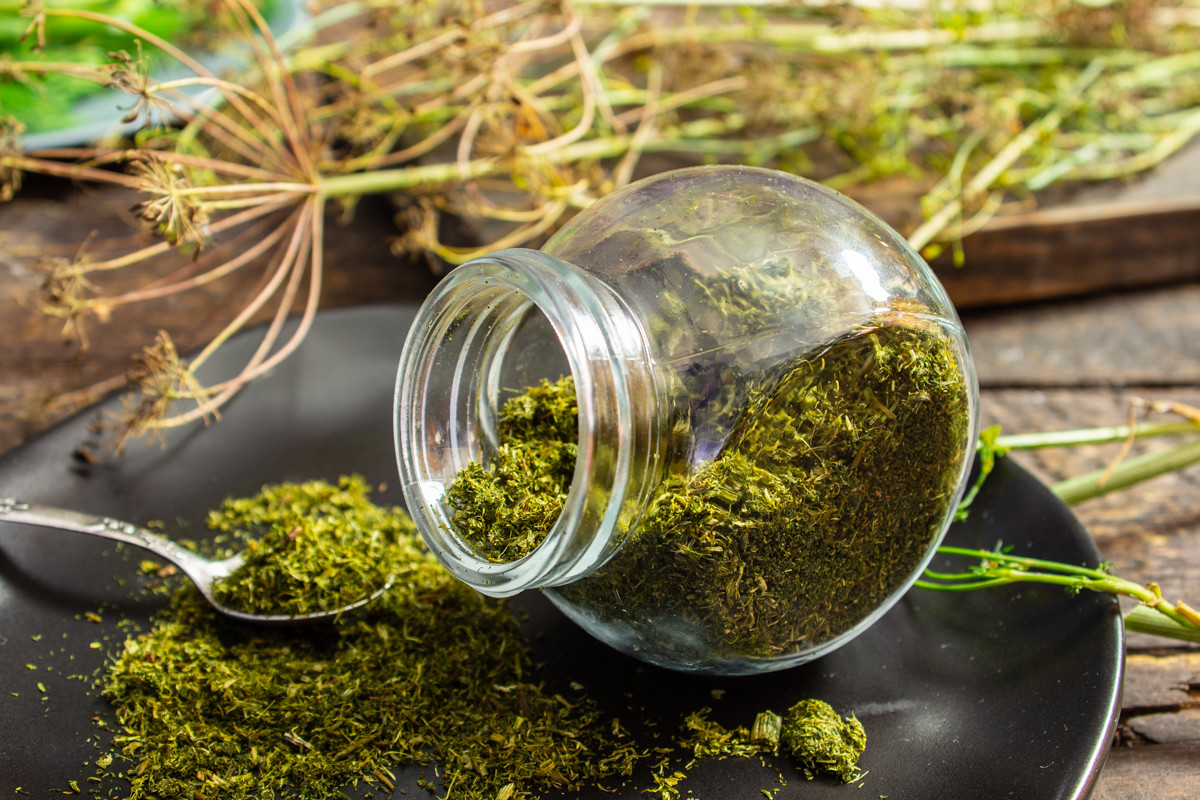
How to dry dill for the winter.
Dried Dill Ingredients
- dill
- baking paper
How to Prepare Dried Dill
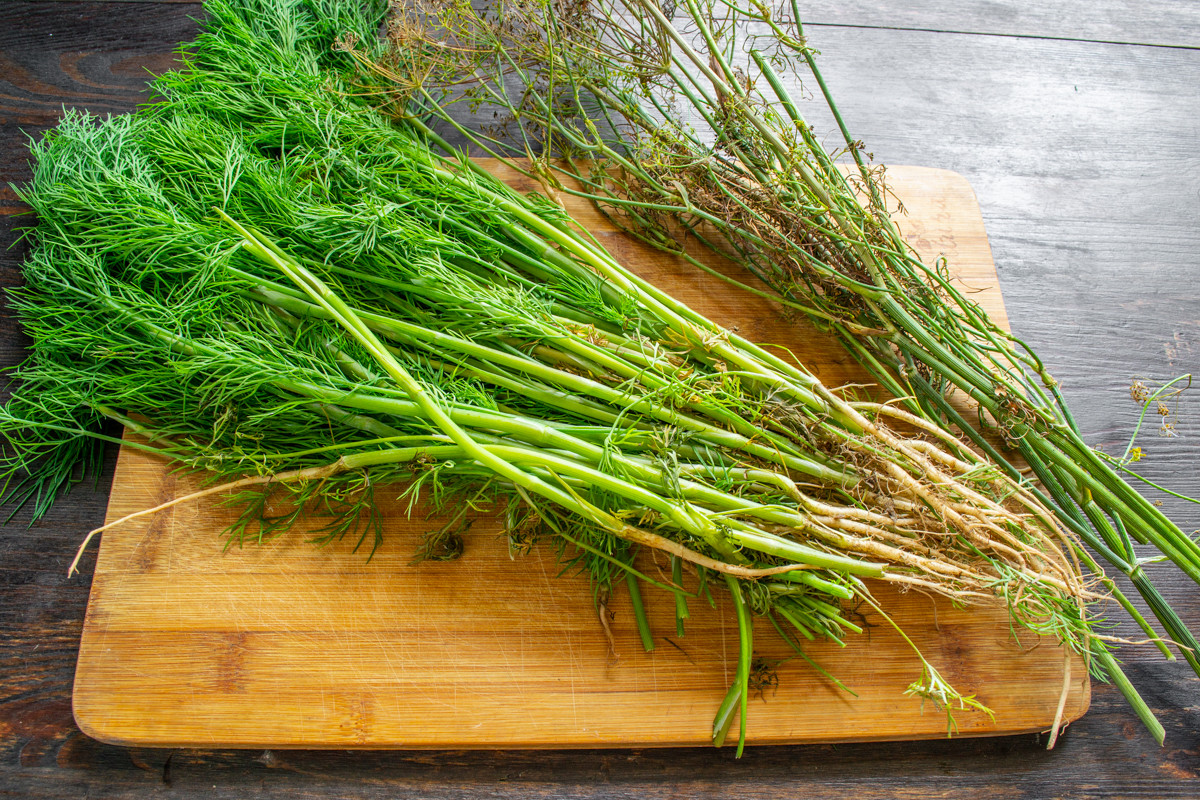
For preserving, we pull up dill without flower heads, only stems with greens.
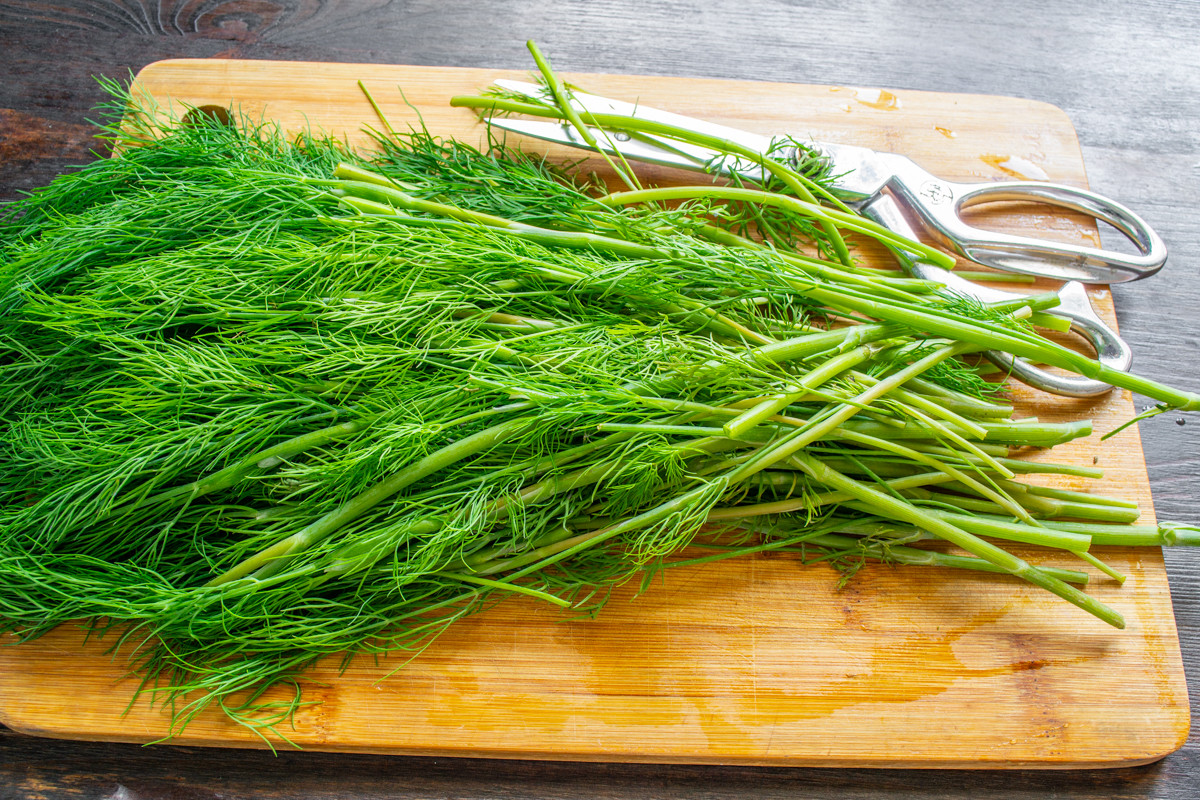
Lay the washed dill on regular or paper towels.
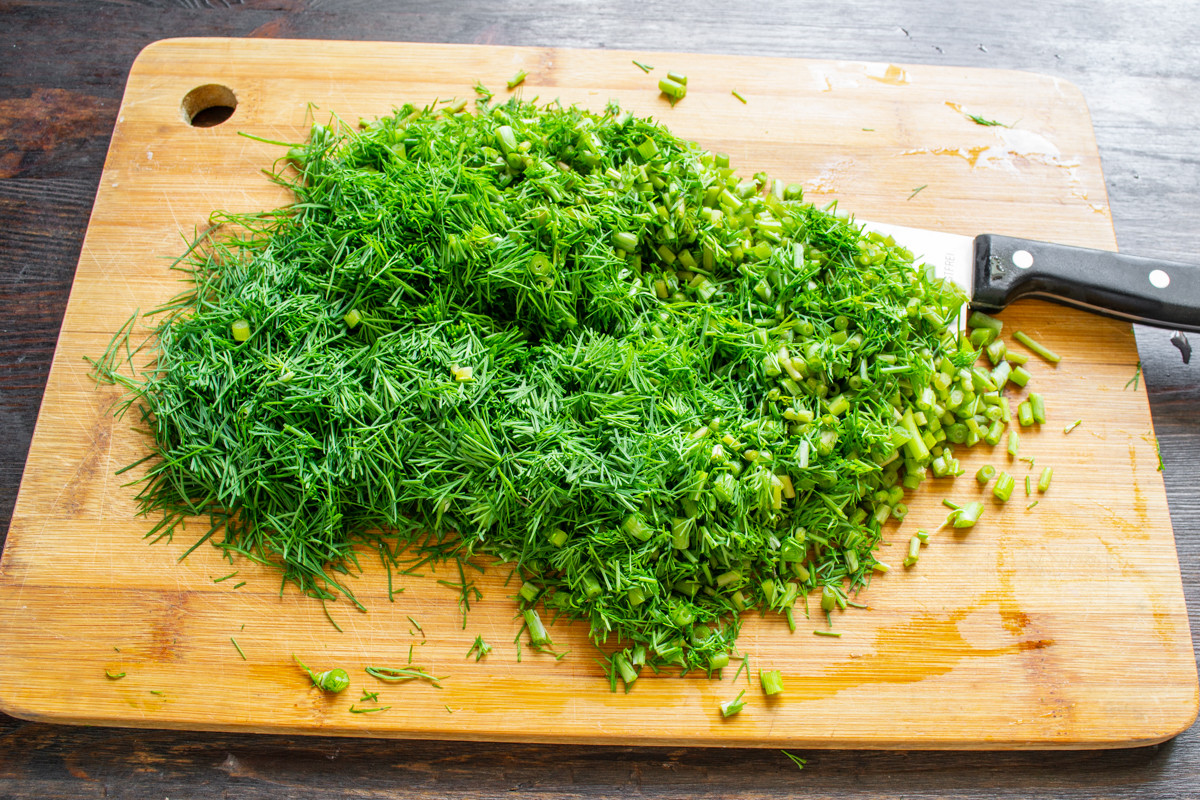
Finely chop the dried dill with a knife.
For preservation, pull up dill without the flower heads, using only the stems and greens. Developed flower heads with seeds are a different story—they are used for pickling. You can also collect the seeds, grind them, and use them to create various spice blends.
Place the dill in a bowl of cold water, wash it thoroughly, and rinse with clean water. Trim off the roots. Lay the washed dill on regular or paper towels to dry. If you are harvesting the greens from your own garden and there is no sand or soil on them, you can skip this step.
Finely chop the dried dill with a knife. Chop both the greens and the stems; the coffee grinder will blend everything together.
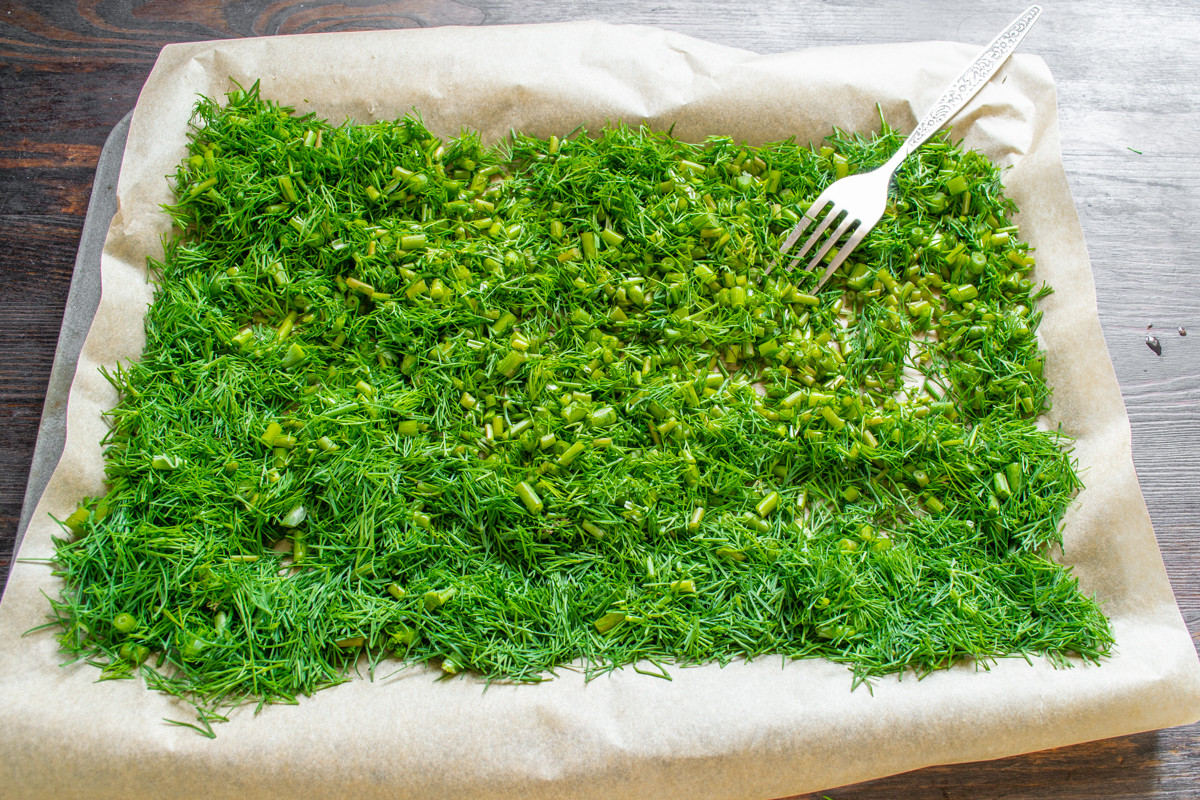
Sprinkle the chopped dill onto the paper.
Line a baking sheet with a piece of baking paper. Sprinkle the chopped dill onto the paper, fluff it with a fork, and spread it in a thin, even layer. The thinner the layer of greens, the faster it will dry.
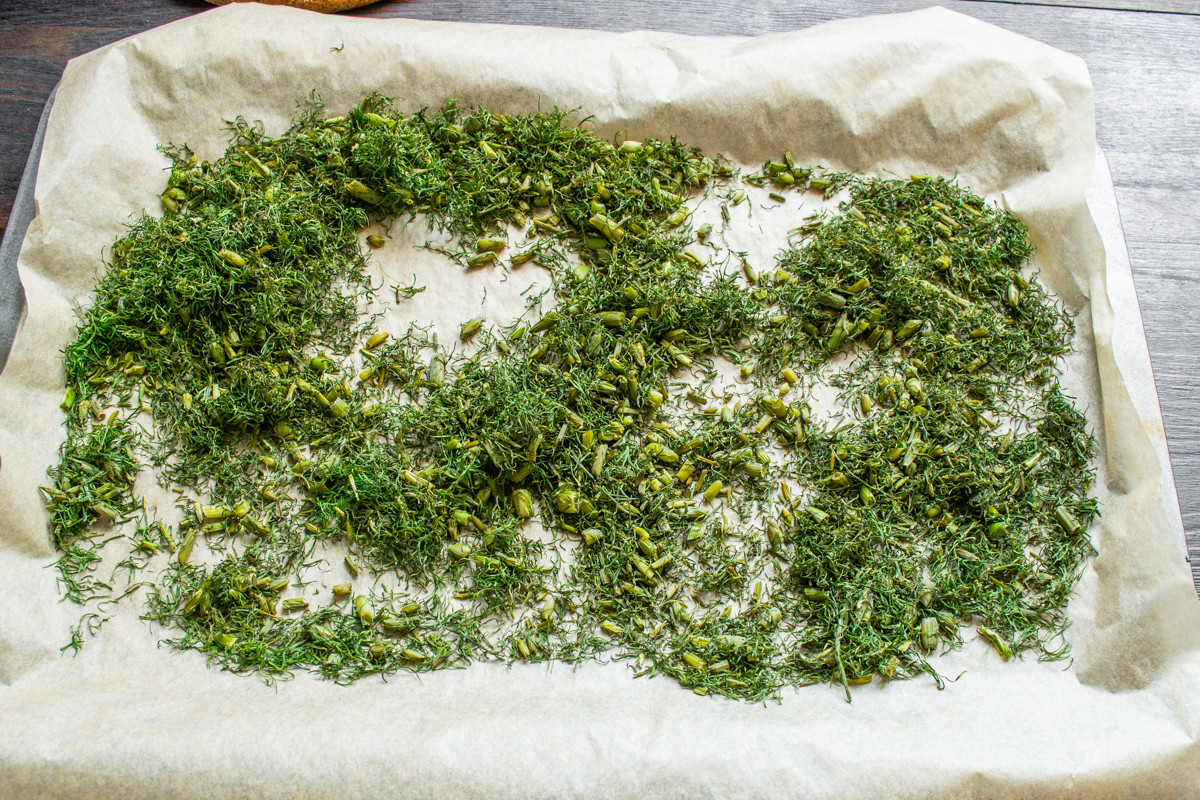
Leave the dill in the oven for 2-3 hours.
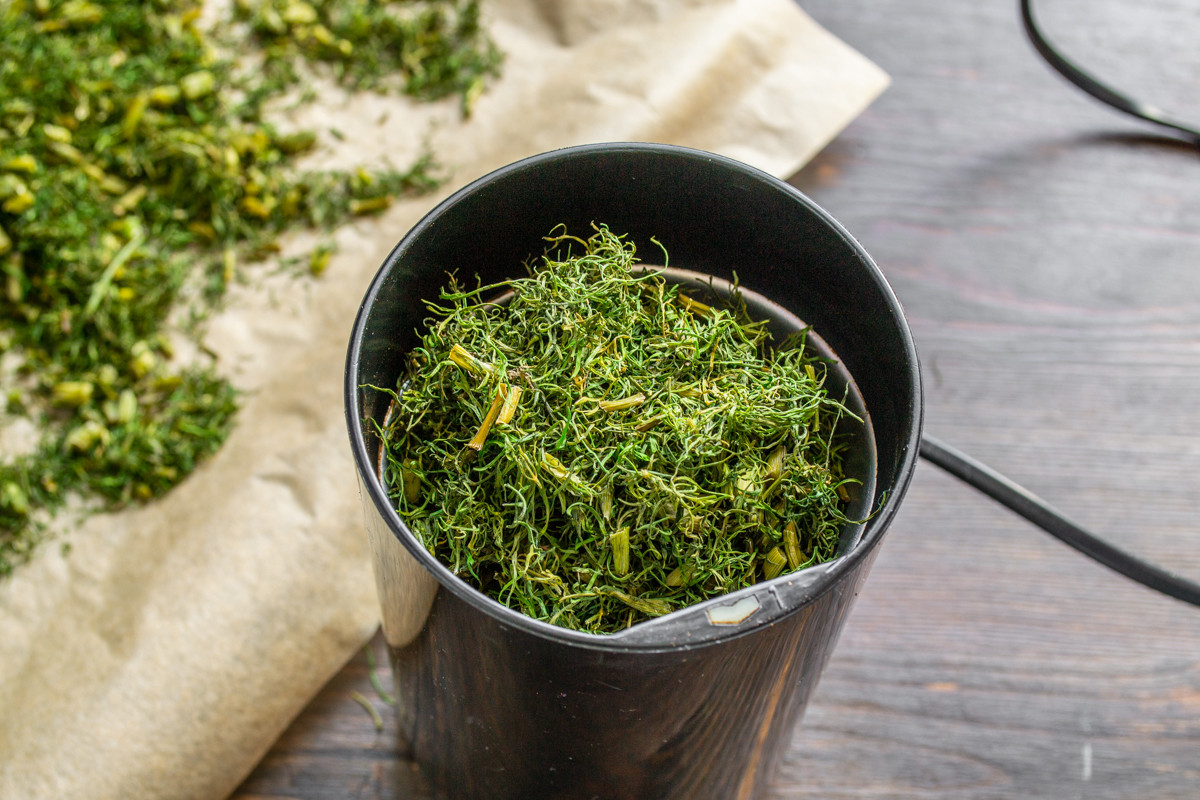
You can make dill powder using a coffee grinder.
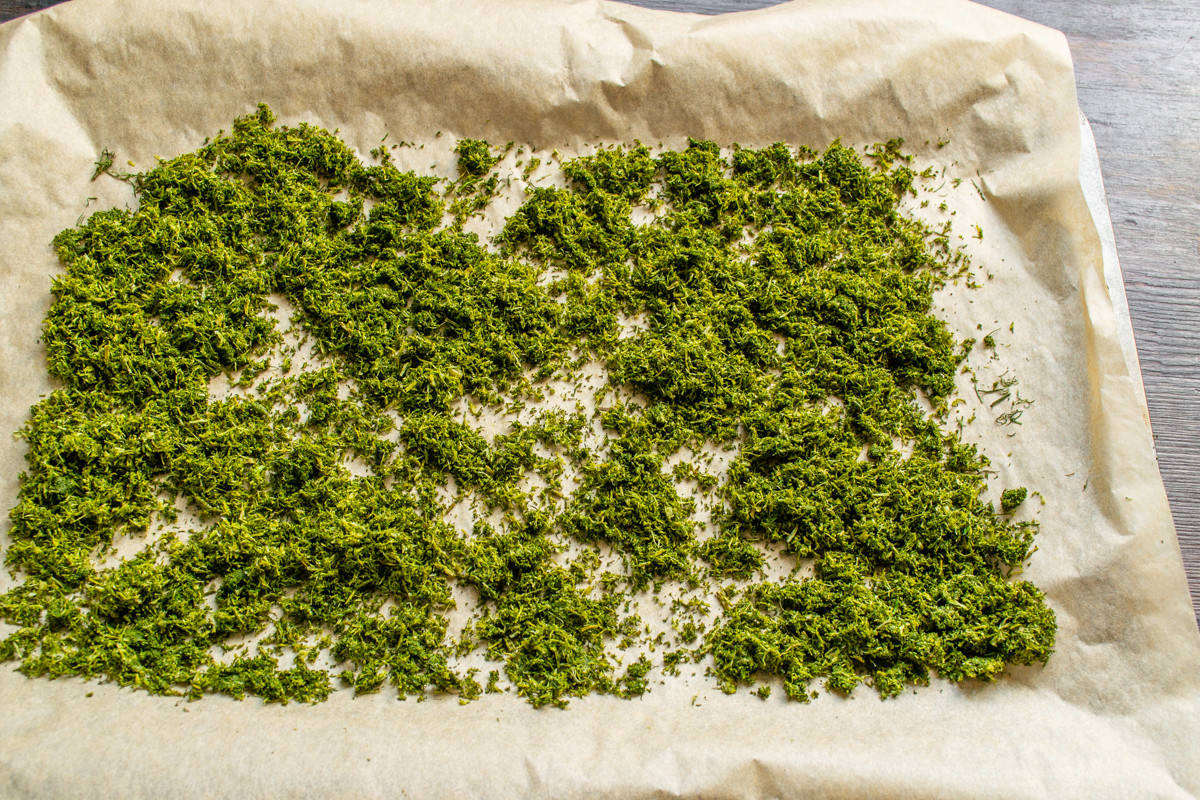
Grind all the dried dill in small batches.
Preheat the oven to 50-60 degrees Celsius (120-140 degrees Fahrenheit). Place the baking sheet on the middle rack of the preheated oven. Leave the oven door slightly ajar; you can insert a wooden spatula or something similar into the gap. Leave the dill in the oven for 2-3 hours. Periodically, about every half hour, pull out the baking sheet and stir the dill to help it dry more evenly.
The dried dill will feel almost weightless to the touch and crumble into dust. You can leave it as is, but using a coffee grinder, you can make dill powder, which takes up less space in your kitchen cabinet. Place portions of the dried dill into the coffee grinder and grind for a few minutes. Don’t open the lid immediately; let the dust settle.
Grind all the dried dill in small batches. You can decide on the consistency yourself. You can grind it into a fine powder or leave some texture.
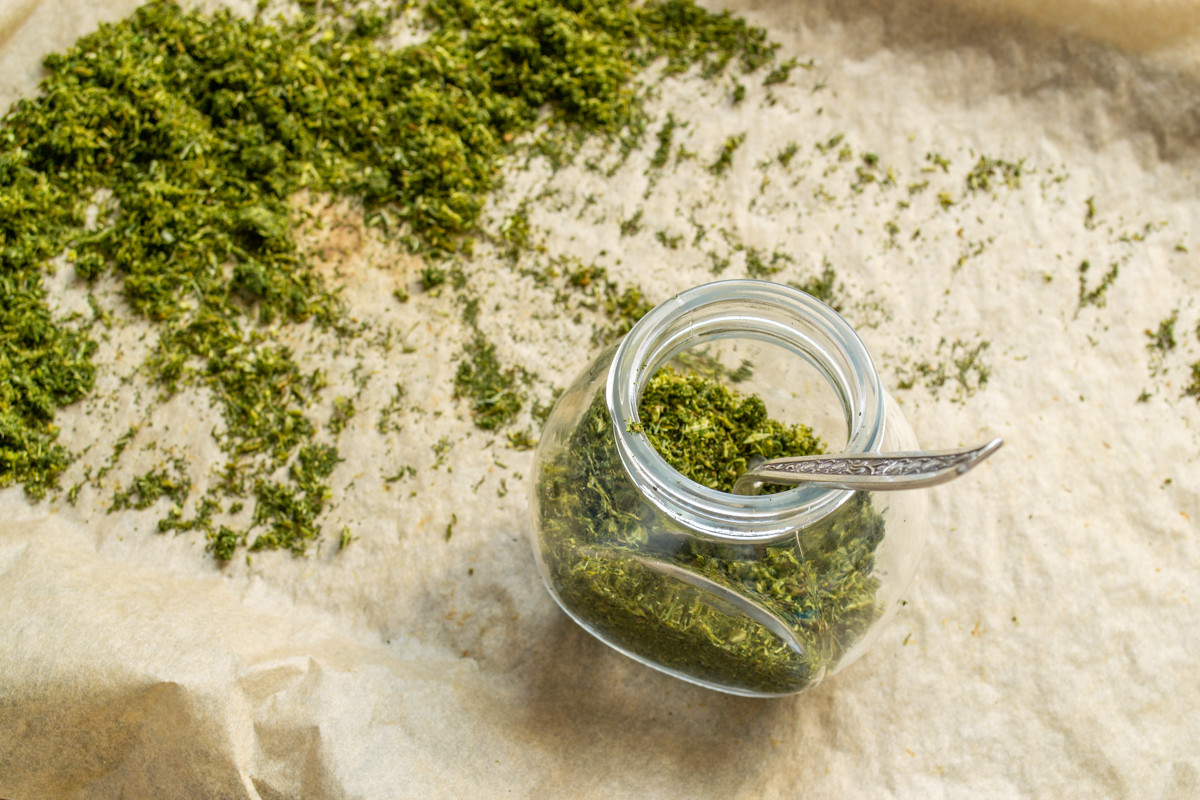
Pour the ground dill into a dry glass jar.
Glass containers are best for storage. Transfer the ground dill into a dry glass jar. Close it and store it in a dry, dark place. If left in the light, the greens will fade over time. This method of drying and preserving dill is suitable for any edible herb. You can also dry parsley, celery, mint, and other herbs this way.
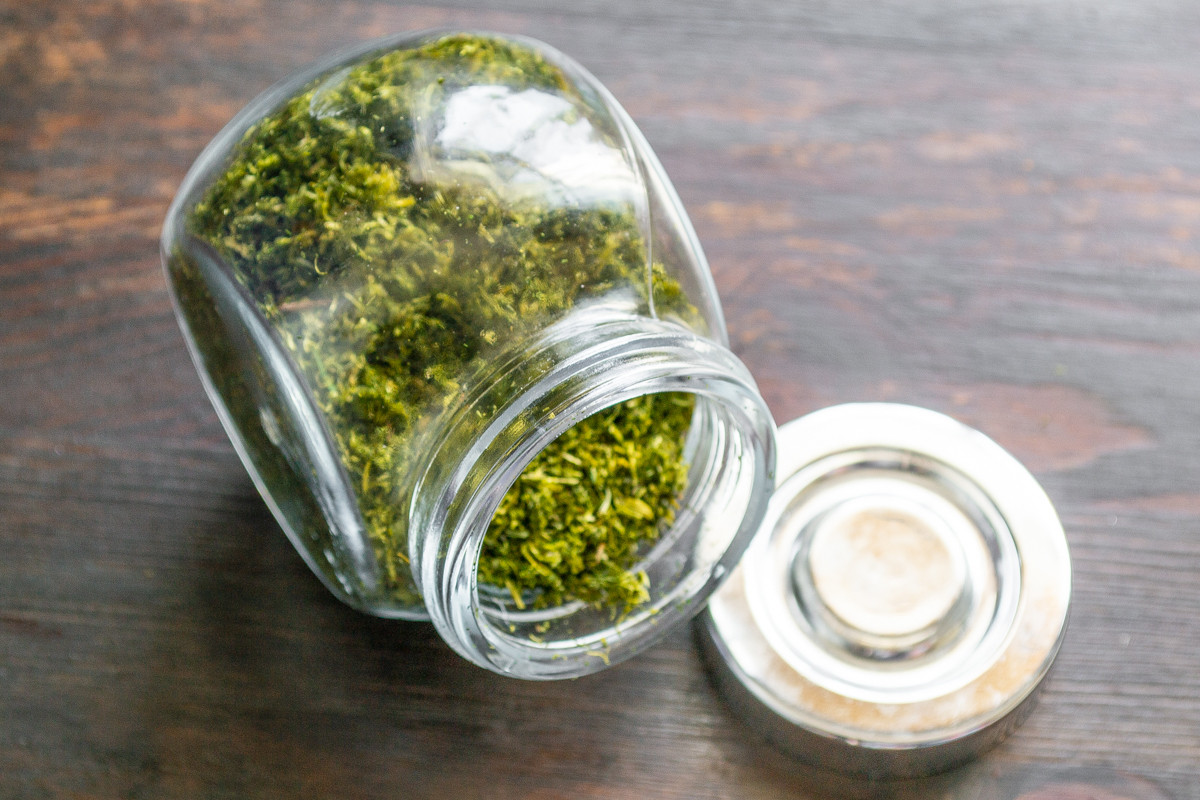
This method of drying and preserving dill is suitable for any edible herb.
And there you have it—your very own homemade dried dill, ready to bring a touch of summer to your winter kitchen! Stored in an airtight jar, this fragrant powder will be your secret weapon for elevating simple soups, roasted vegetables, creamy sauces, and fish dishes. Don't hesitate to experiment by applying this same easy technique to other favorite herbs like parsley, mint, or oregano. Enjoy the satisfaction of preserving the harvest and the incredible flavor it brings to your cooking all year round.
0 comments