
Welcome to a taste of pure comfort! Today, we're baking "Vitushka sdobnaya," a delightful sweet twisted bun that embodies the heart of Eastern European home baking. The name itself tells a story: "vitushka" comes from the word "vit'," meaning "to twist," referring to its beautiful coiled shape. The word "sdobnaya" describes a rich, tender dough, enriched with butter, sugar, and dairy, making it incredibly soft and flavorful. These buns are a beloved classic, perfect for a cozy breakfast, an afternoon treat with tea, or simply to fill your home with the irresistible scent of freshly baked pastry. Let's get started!
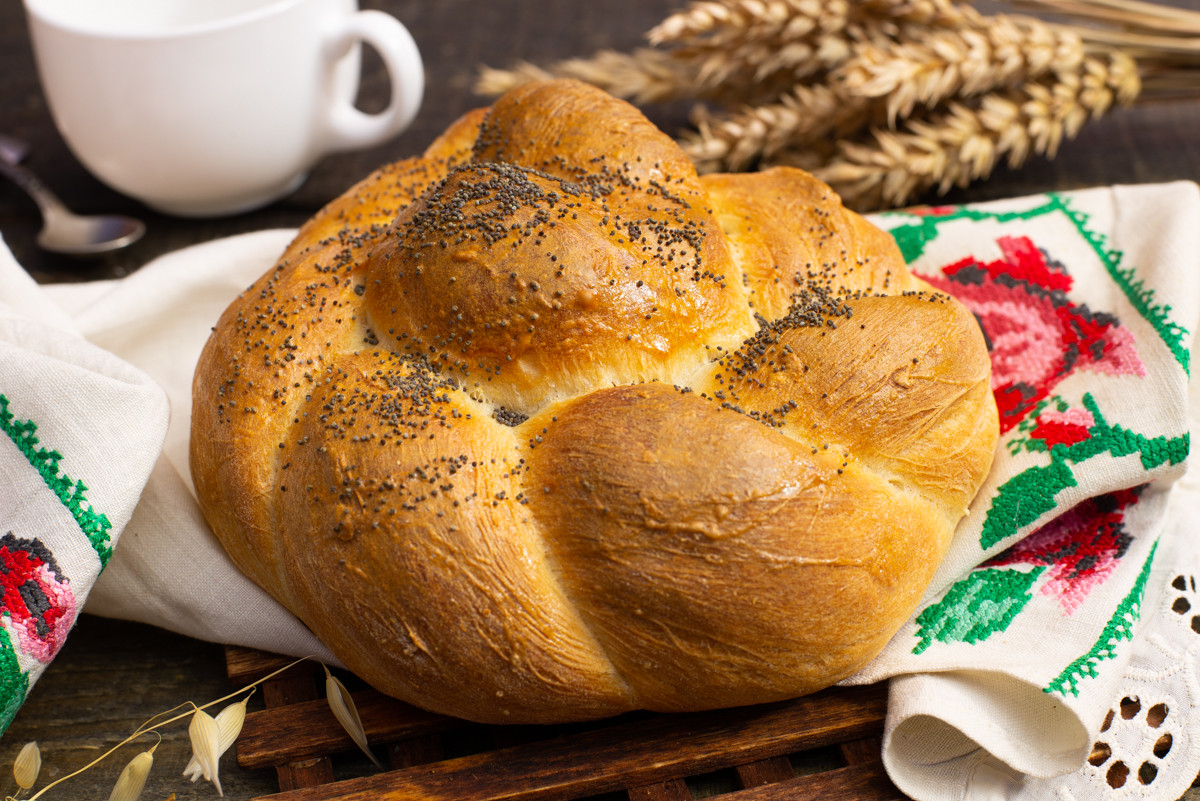
Vitushka sweet bun
Ingredients for Vitushka Sweet Buns
- 400 g bread flour
- 280 g milk whey (the liquid left after making cheese; you can substitute with buttermilk)
- 35 g butter
- 25 g granulated sugar
- 3/4 teaspoon salt
- 1.5 teaspoons active dry yeast
- vanilla sugar or vanillin powder
- 1 chicken egg
- vegetable oil
- poppy seeds
How to Make Vitushka Sweet Buns
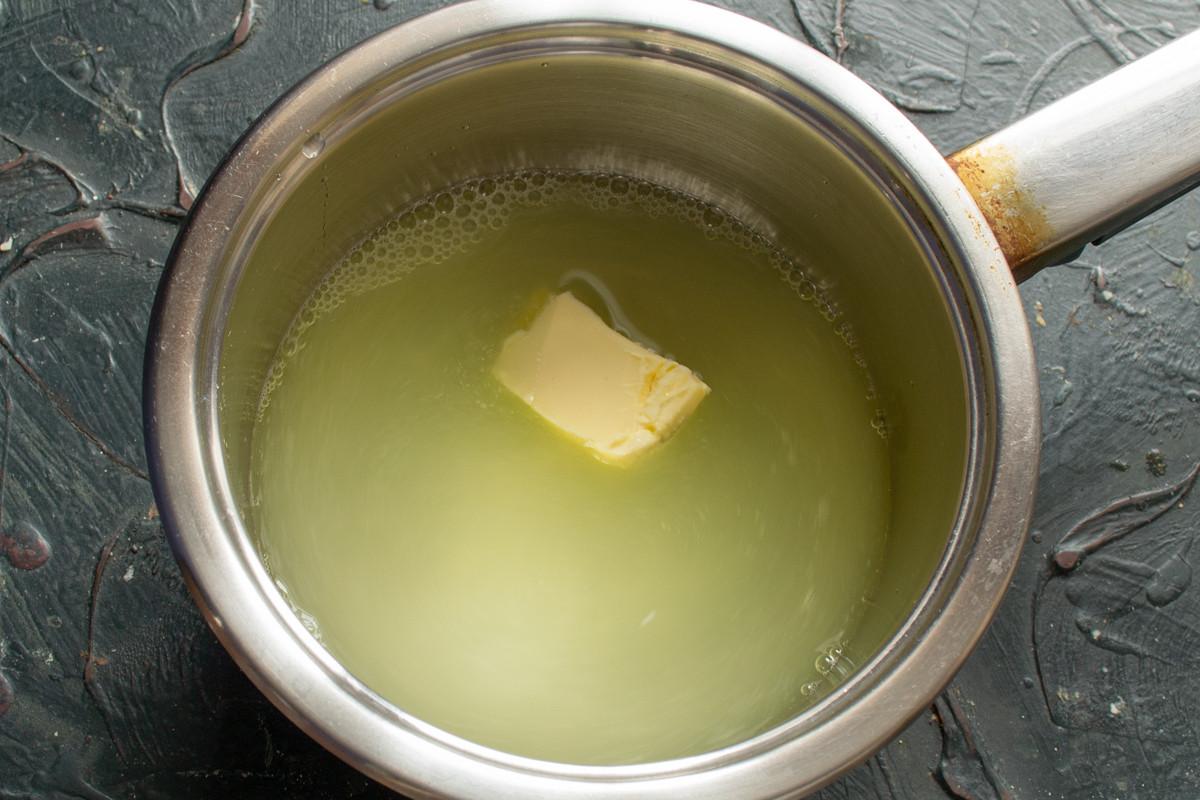
Heating the liquid ingredients until the butter melts.
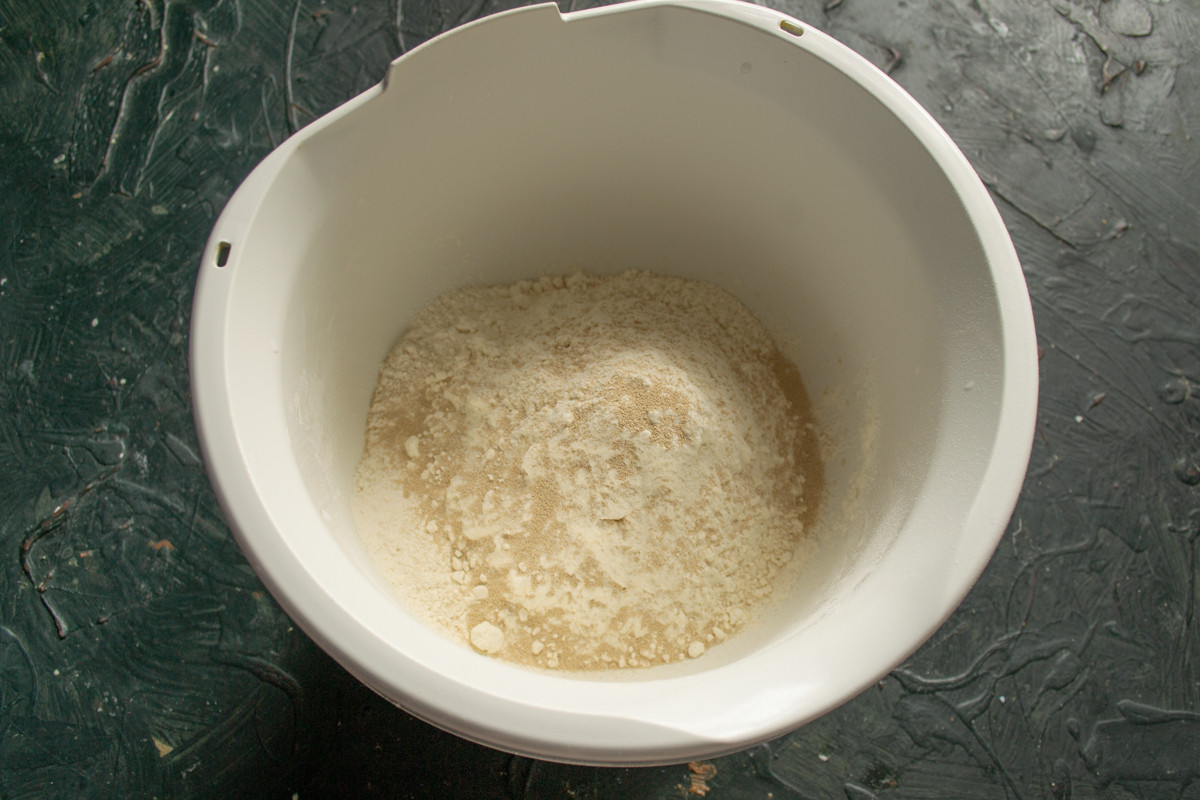
Measuring and sifting wheat flour into a bowl.
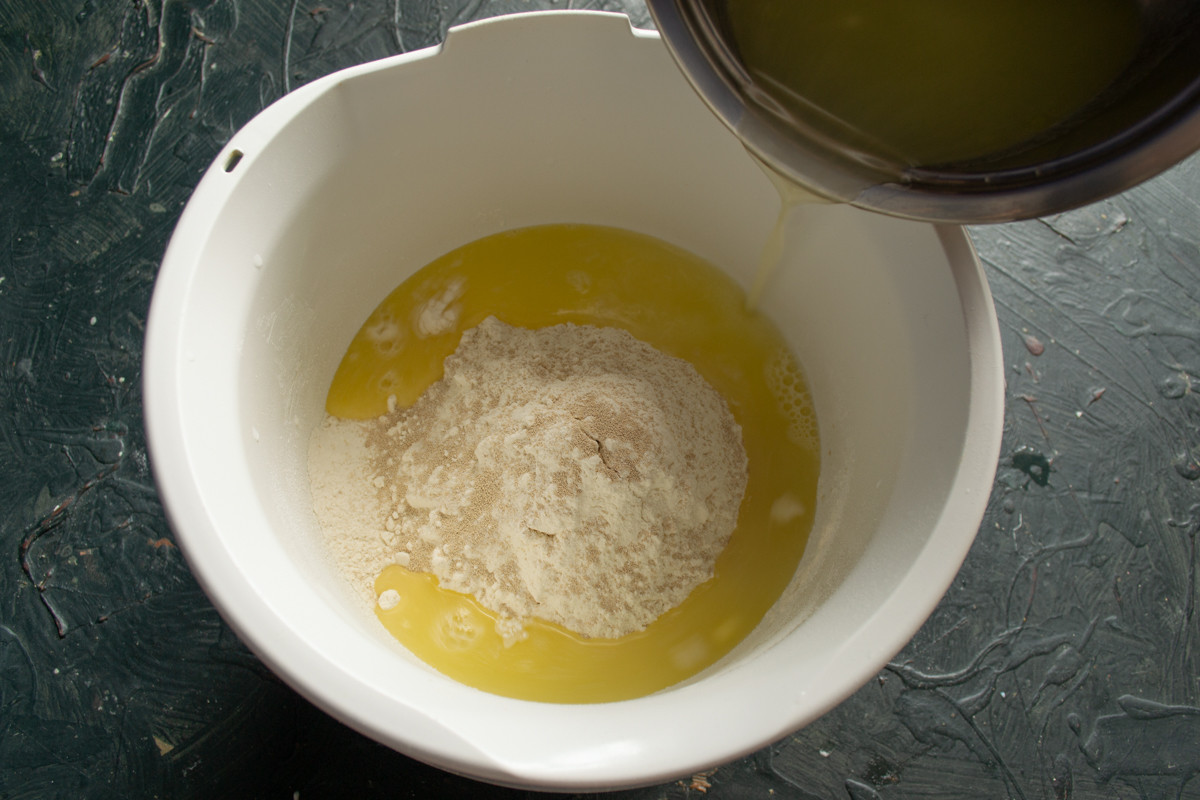
Pouring the liquid ingredients into the bowl with flour.
Pour the milk whey (the liquid remaining after making cheese or cottage cheese; buttermilk is a good substitute) or milk mixed half-and-half with water into a saucepan. Add the granulated sugar and salt. Add a piece of butter. Heat the liquid ingredients until the butter melts. Cool the mixture to about 30°C (86°F). Test it with your finger; if it’s not hot, it has cooled to the right temperature.
Measure the wheat flour and sift it into a bowl. Add the active dry yeast. Mix well. Pay attention to the yeast packaging. Some types of dry yeast require pre-activation. The amount of yeast remains the same, but regular dry yeast should be dissolved in warm water or milk for 25-30 minutes, while instant yeast can be mixed directly with the flour without prior preparation.
Pour the liquid ingredients into the bowl with the flour.
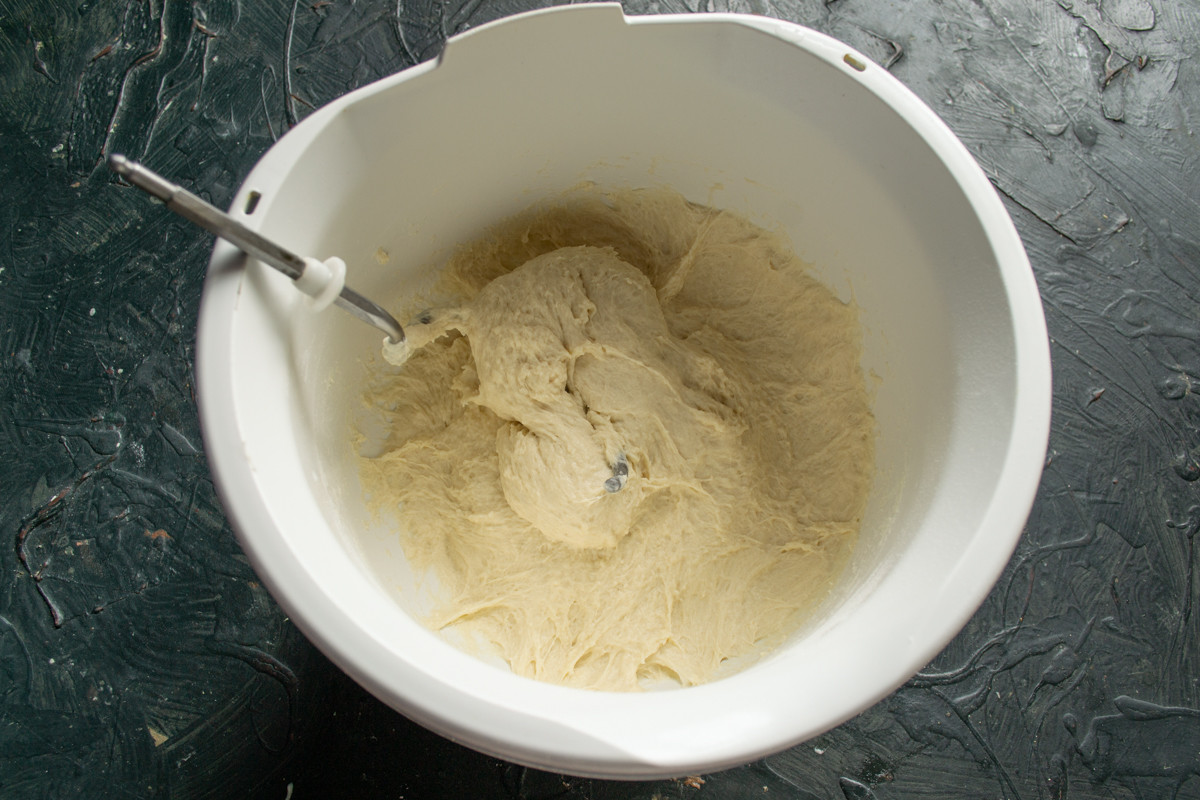
Kneading the dough on low speed for 4 minutes.
Attach the dough hook. Knead the dough on low speed for 4 minutes. Let it rest for 5 minutes, then knead for another 10 minutes on low speed. The finished dough should be smooth, uniform, pleasant to the touch, and should not stick to the sides of the bowl.
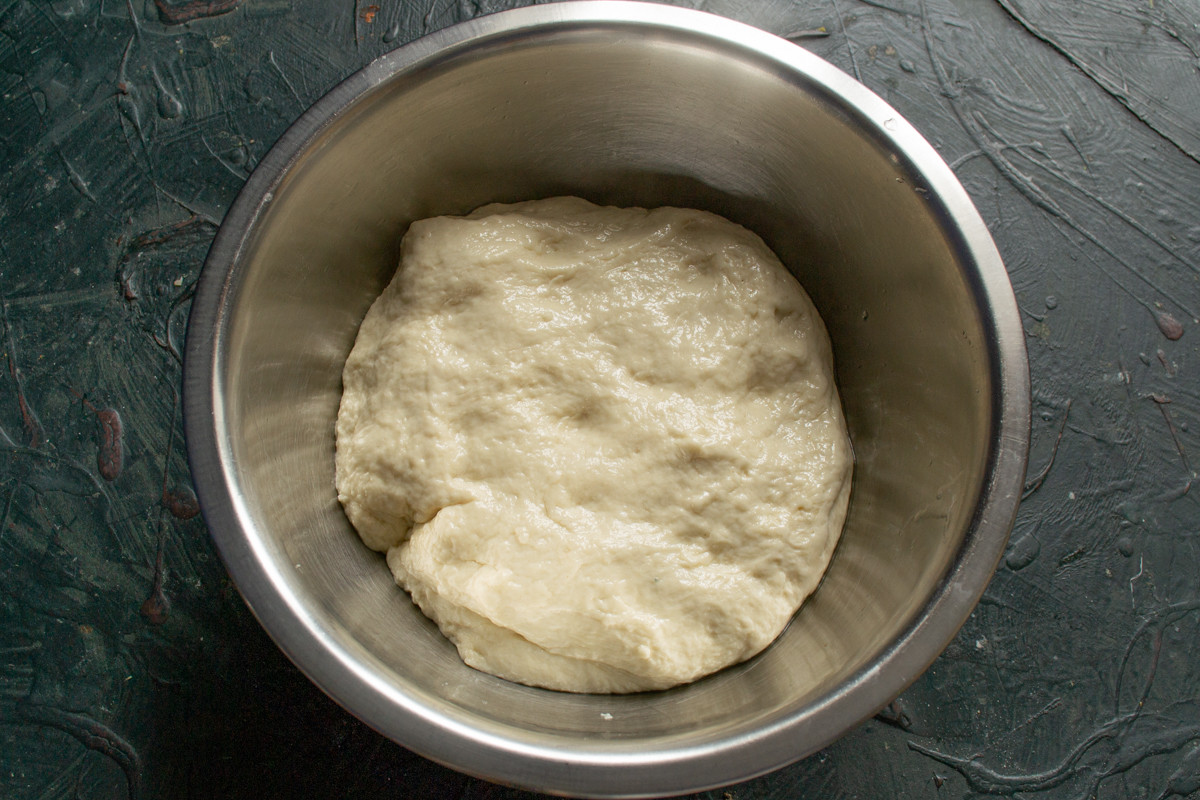
Transferring the dough from the bowl to another bowl and covering with plastic wrap.
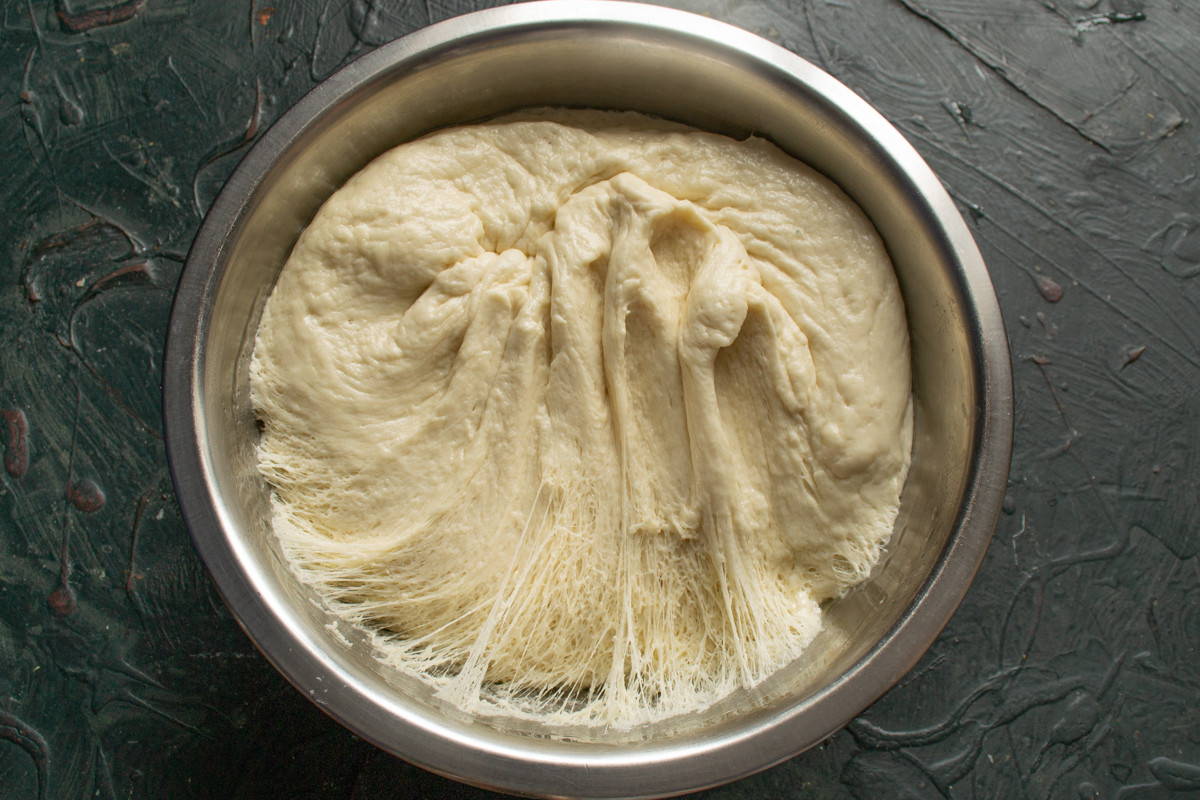
After about an hour, when the dough has risen 2-3 times in volume, punch it down and cover it again.
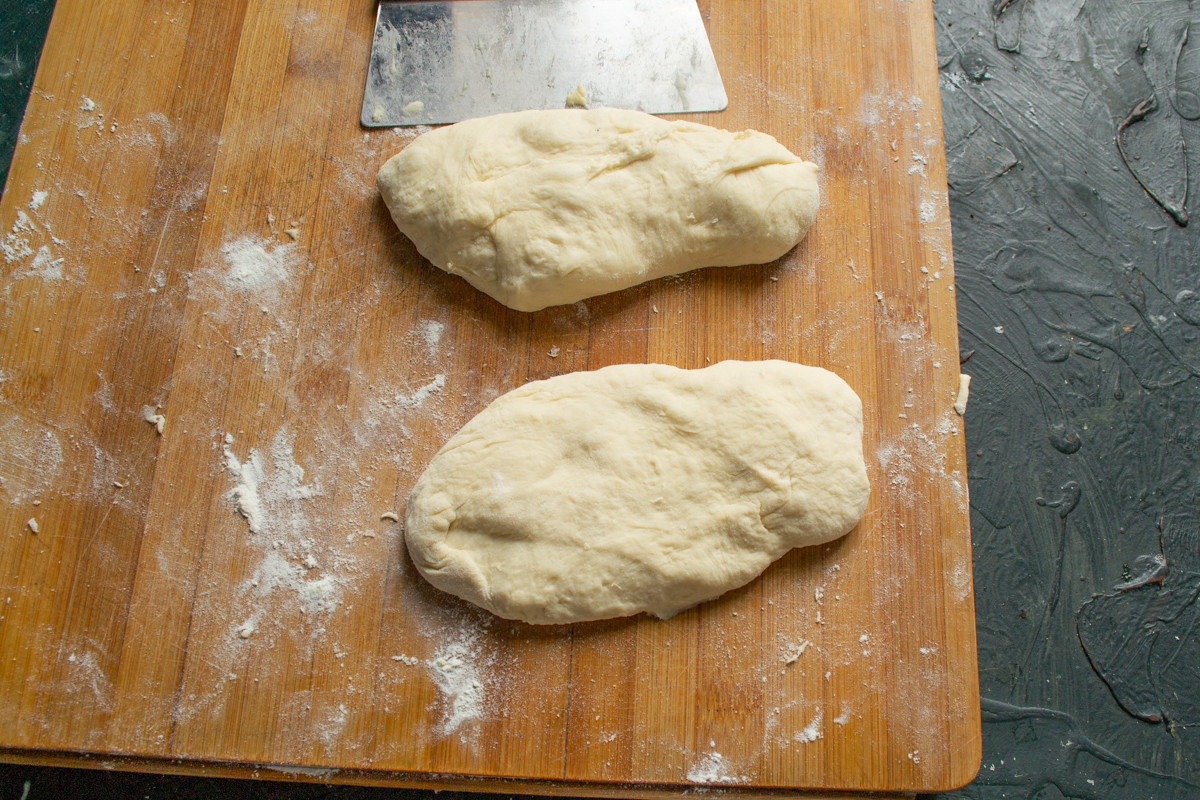
Dividing the dough into 6 pieces of 120 g each.
Grease a deep bowl with a neutral, odorless vegetable oil. Transfer the dough from the mixing bowl to the greased bowl, cover with plastic wrap, or place the bowl in a plastic bag. Leave it in a warm, draft-free place for 1 hour.
After about an hour, when the dough has doubled or tripled in volume, punch it down and cover it with plastic wrap again. Let it rest in a warm place for another hour.
Punch down the dough again on a floured board. Divide it into 6 pieces, each weighing 120 g. This amount of dough will make 3 buns. If you don’t plan to use all the dough, I recommend placing the leftovers in a bag and freezing them.
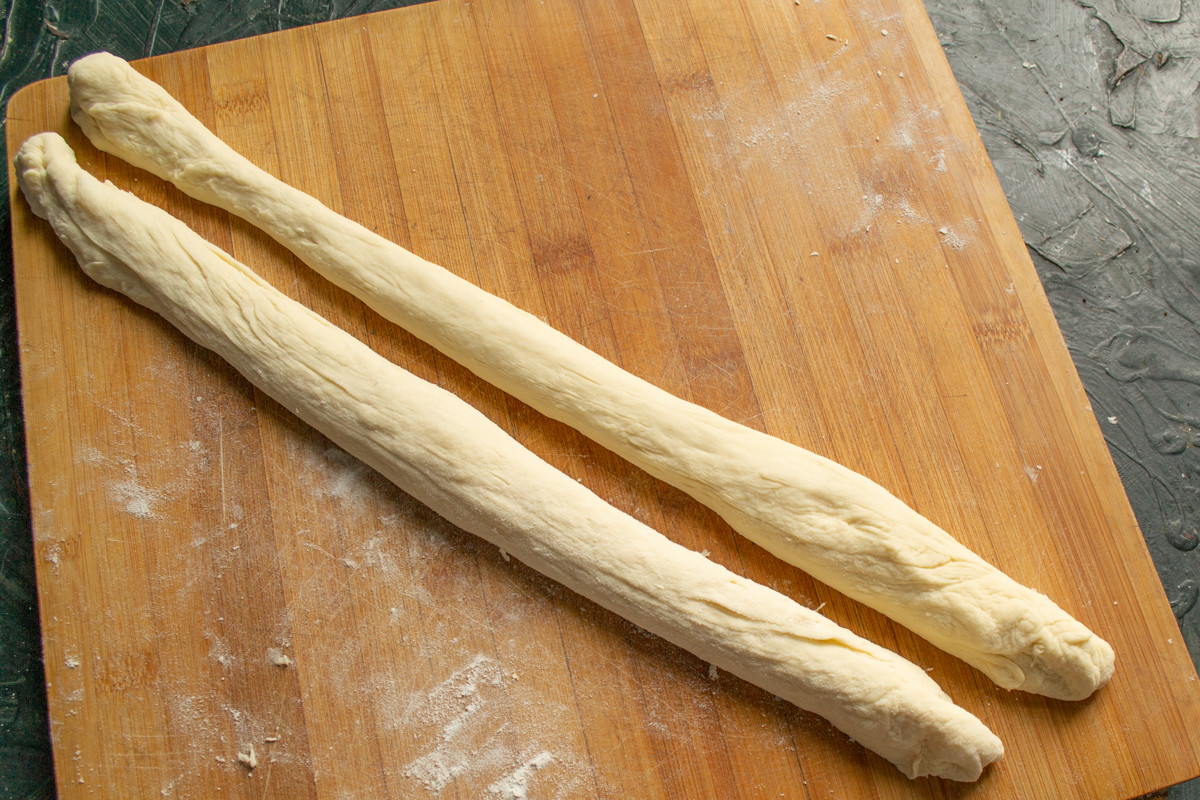
Rolling the dough pieces into sausages.
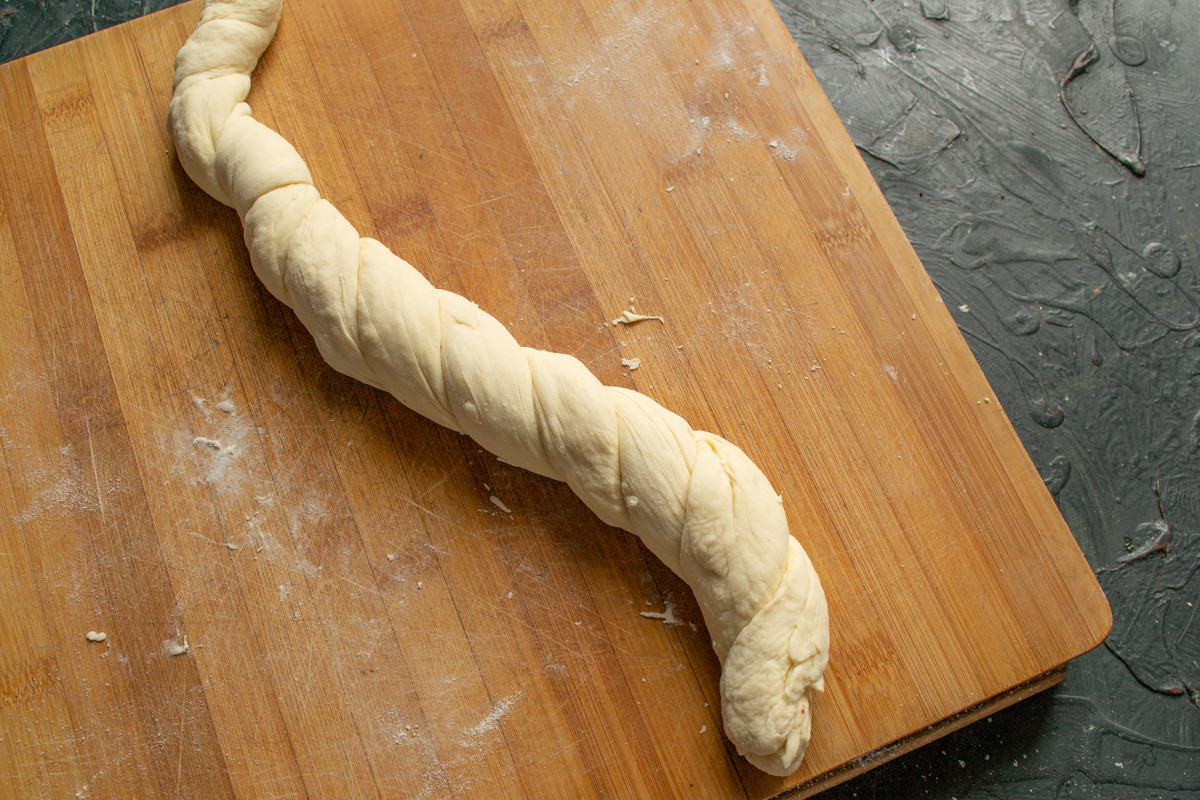
Connecting the ends of two ropes and twisting them into a braid.
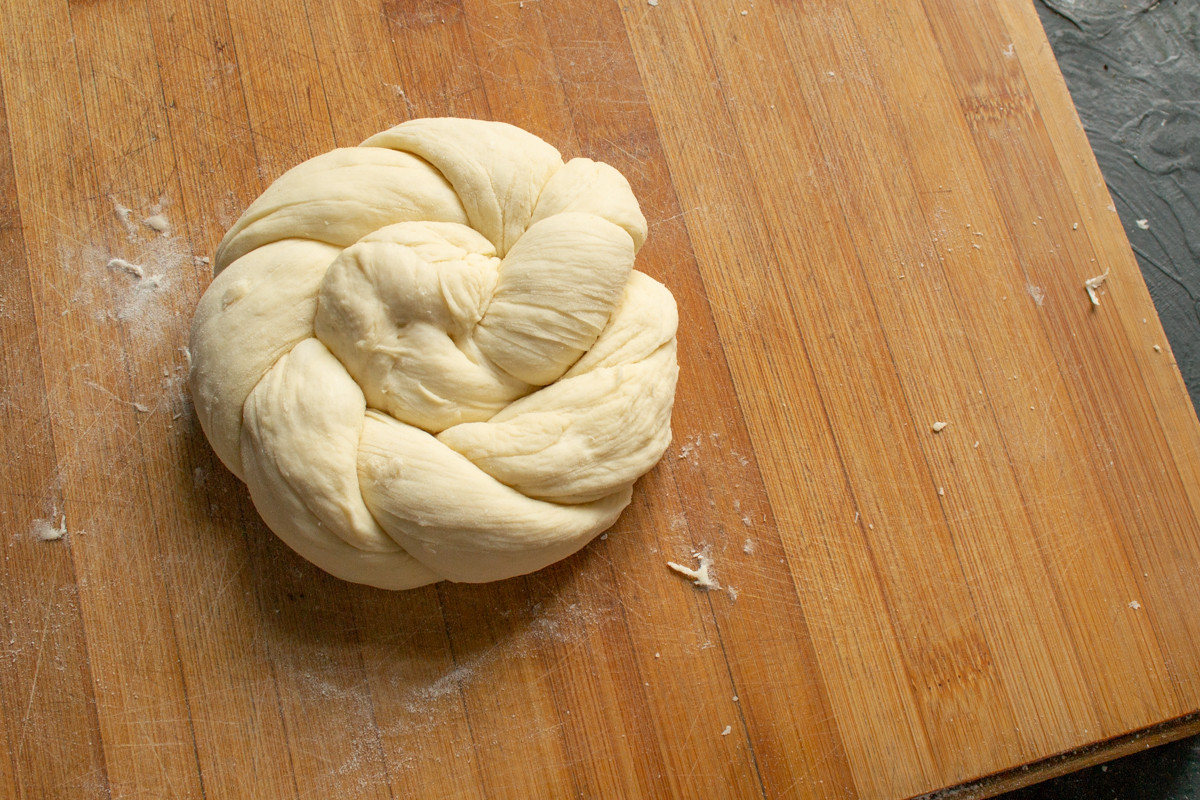
Coiling the braid into a ring, like a snake.
Roll the dough pieces into ropes about 40 centimeters (16 inches) long.
Join the ends of two ropes and twist them together, starting from the top. You can also twist the ends in opposite directions to make the braid tighter and prevent it from unraveling.
Coil the braid into a ring, like a snake. Tuck the tail underneath to help the vitushka hold its shape.
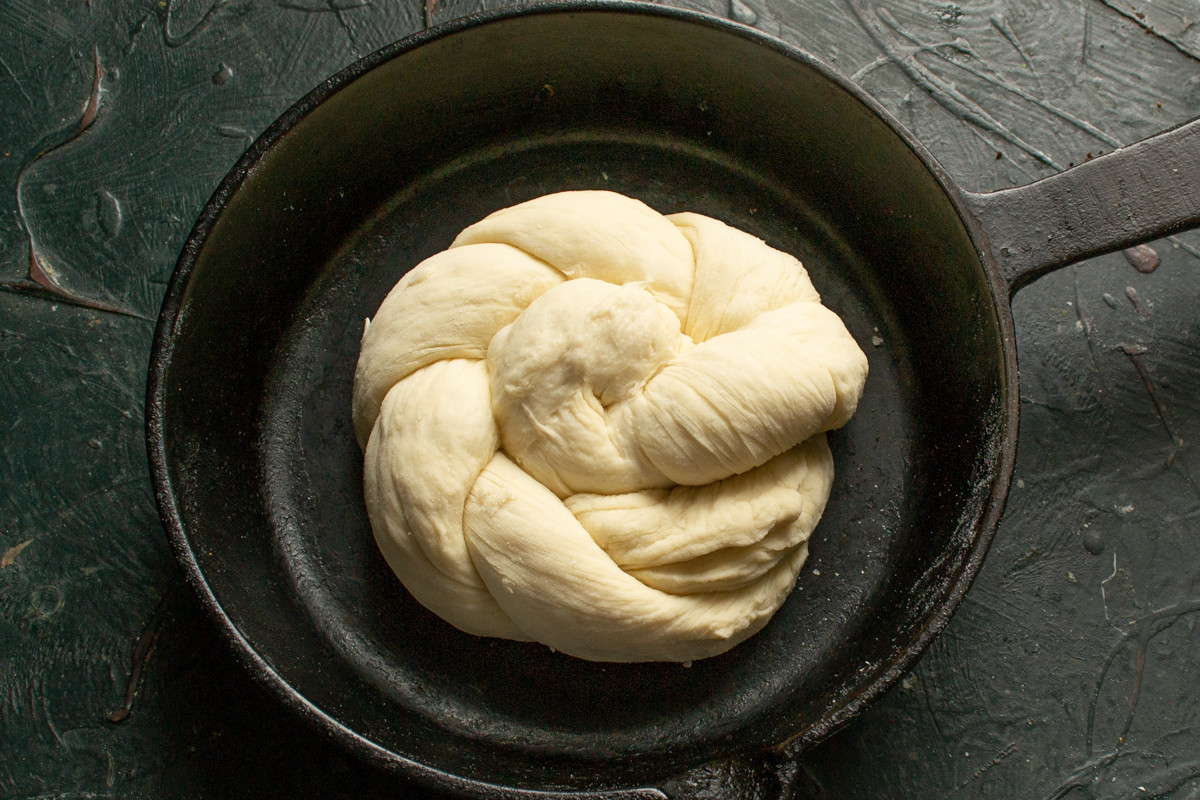
Placing the vitushka on a baking sheet or in a heavy-bottomed skillet.
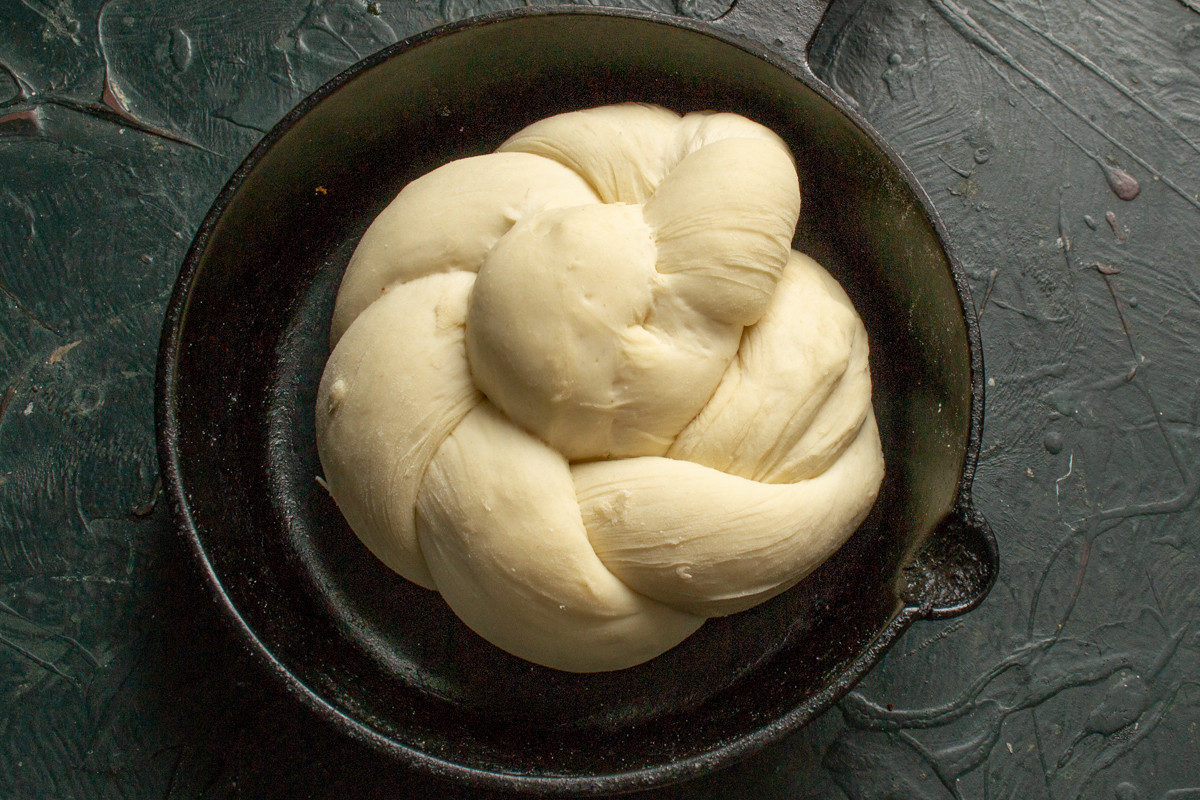
Covering the vitushka with a bag or plastic wrap and leaving it to proof in a warm place.
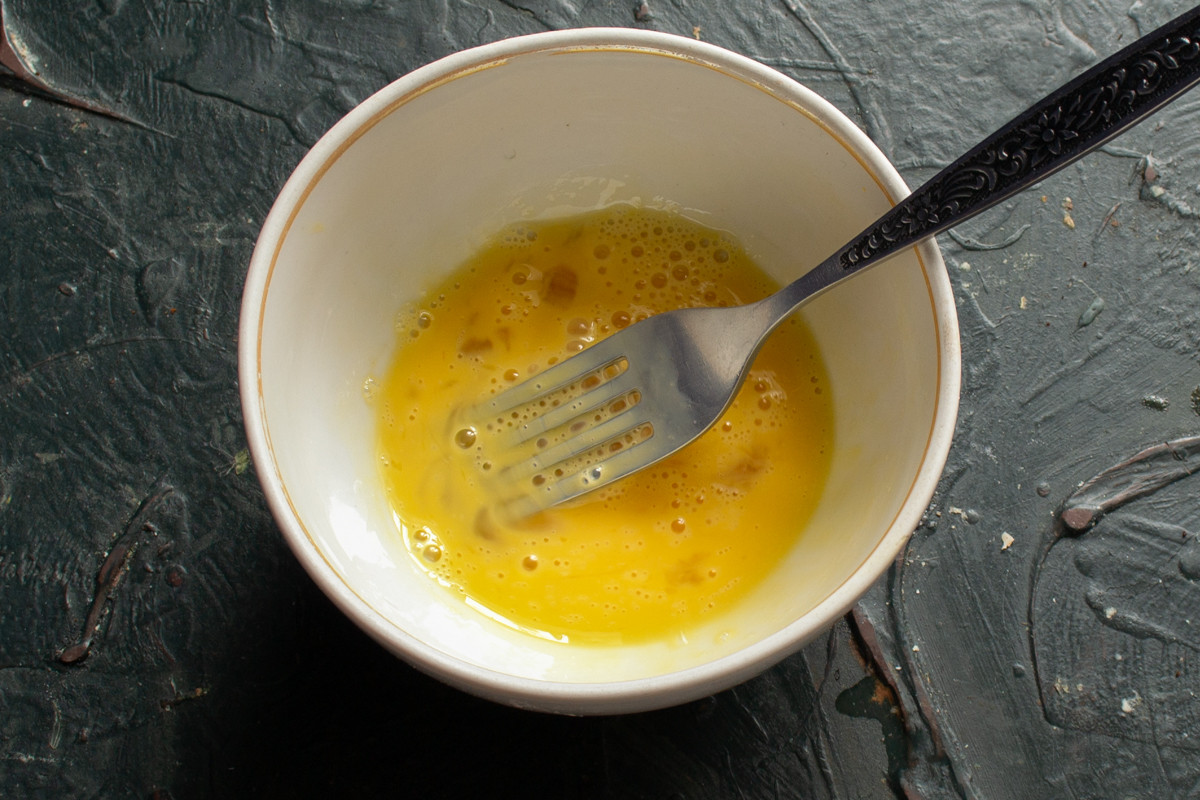
For the glaze, beat a raw chicken egg with a fork.
Place the vitushka on a baking sheet or in a heavy-bottomed skillet, such as a cast-iron one.
Cover the vitushka with a plastic bag or wrap and let it proof in a warm place. The proofing time is 40-50 minutes.
For the glaze, beat a raw chicken egg with a fork.
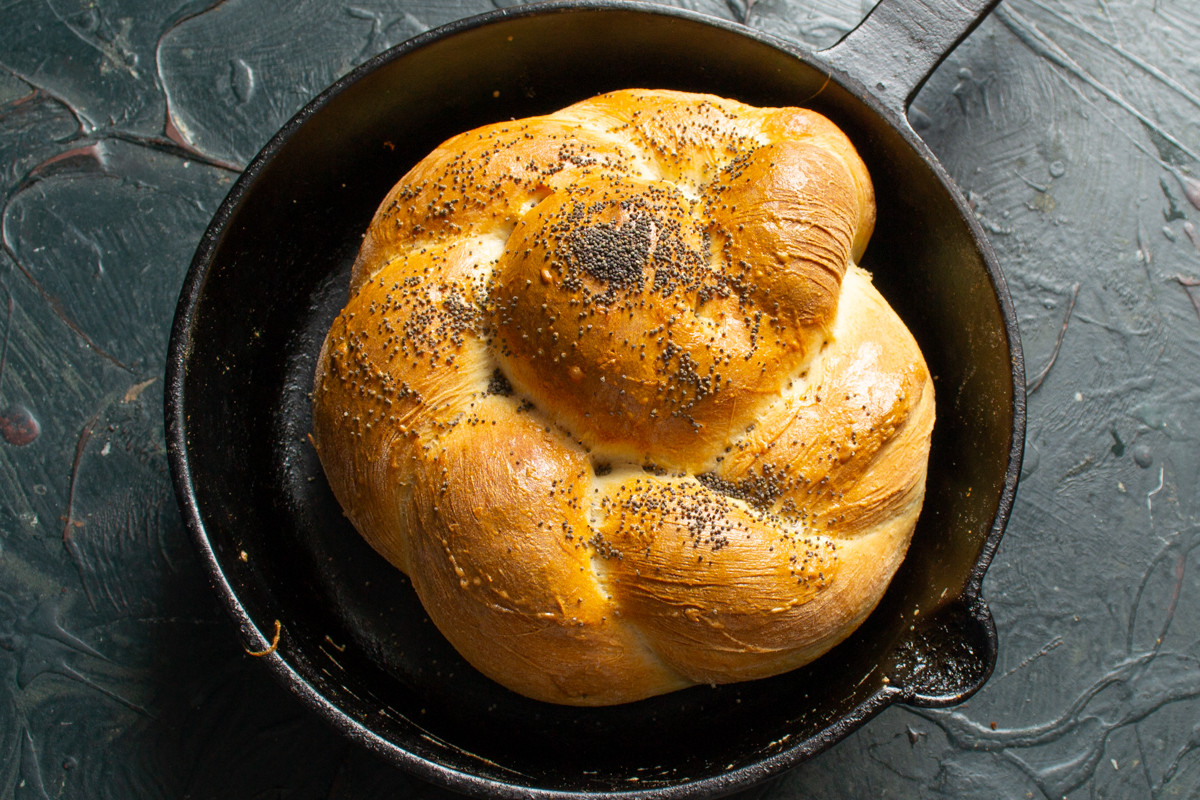
Placing the baking sheet with vitushkas in a preheated oven and baking for 25-30 minutes.
Preheat the oven to 210°C (410°F). Place the baking sheet with the vitushkas in the hot oven and bake for 25-30 minutes. About 7 minutes before they are done, brush them with the beaten egg using a silicone brush and sprinkle with poppy seeds.
And there you have it—beautiful, golden Vitushka buns, fresh from your oven! The soft, pillowy texture and delicate sweetness make them an instant favorite. Enjoy them warm, perhaps with a pat of butter, a dollop of jam, or simply on their own with a cup of hot tea or coffee. These buns are best enjoyed the day they are made, but you can store them in an airtight container for a day or two. We hope this recipe brings a little warmth and tradition to your kitchen. Happy baking!
0 comments