
There's a special kind of magic in pulling a loaf of homemade sourdough bread from your own oven. The crackle of the crust, the incredible aroma filling your home, and the soft, airy crumb are rewards that make the process truly worthwhile. This recipe for rustic sourdough bread is a celebration of simplicity and tradition. Using just a few wholesome ingredients, we'll guide you through creating a beautiful, flavorful loaf that's perfect for any occasion. Whether you're a seasoned baker or new to the world of sourdough, this recipe is designed to be straightforward and satisfying.
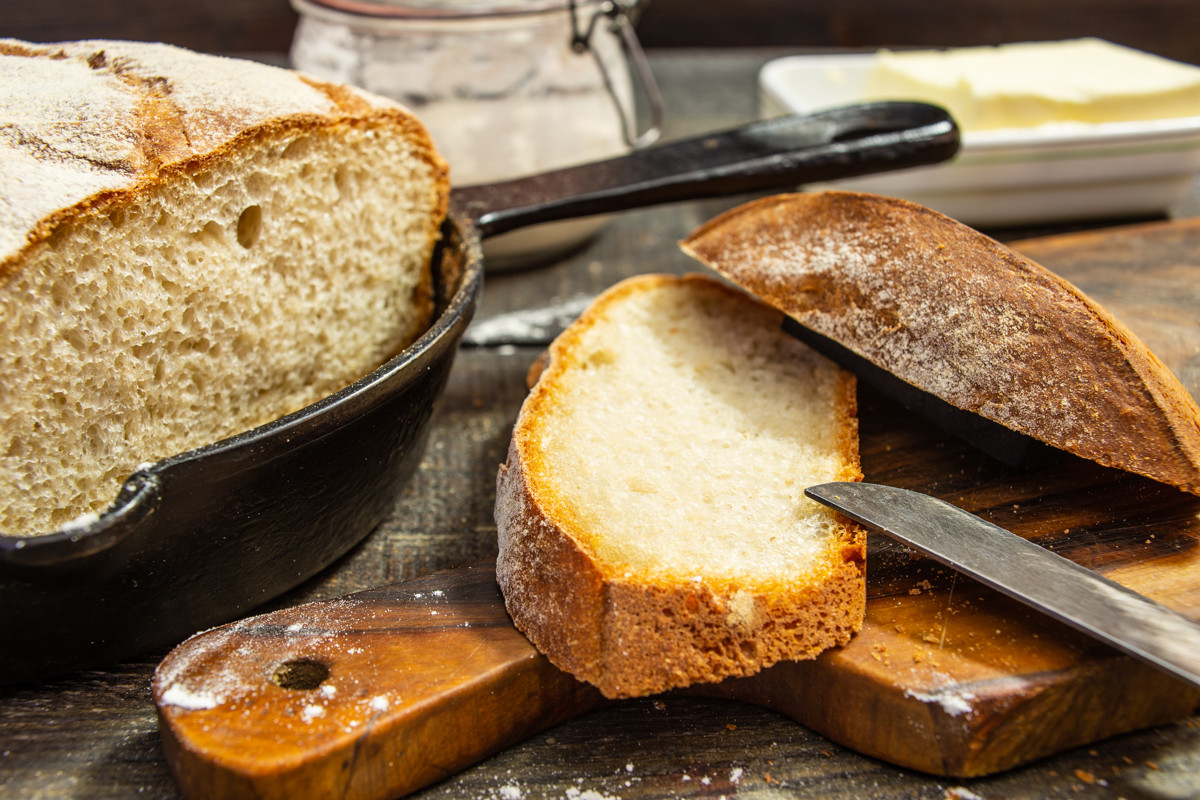
Rustic sourdough bread in the oven.
Ingredients for Rustic Sourdough Bread
- 70 g sourdough starter
- 165 g bread flour
- 200 g first-grade wheat flour (a high-extraction flour; you can substitute with a mix of 80% bread flour and 20% whole wheat flour)
- 5 g salt
- 10 g honey
- 15 g butter
- 250 g filtered water
- flour for dusting
For Feeding the Starter
- 35 g filtered water
- 35 g first-grade wheat flour
How to Make Rustic Sourdough Bread
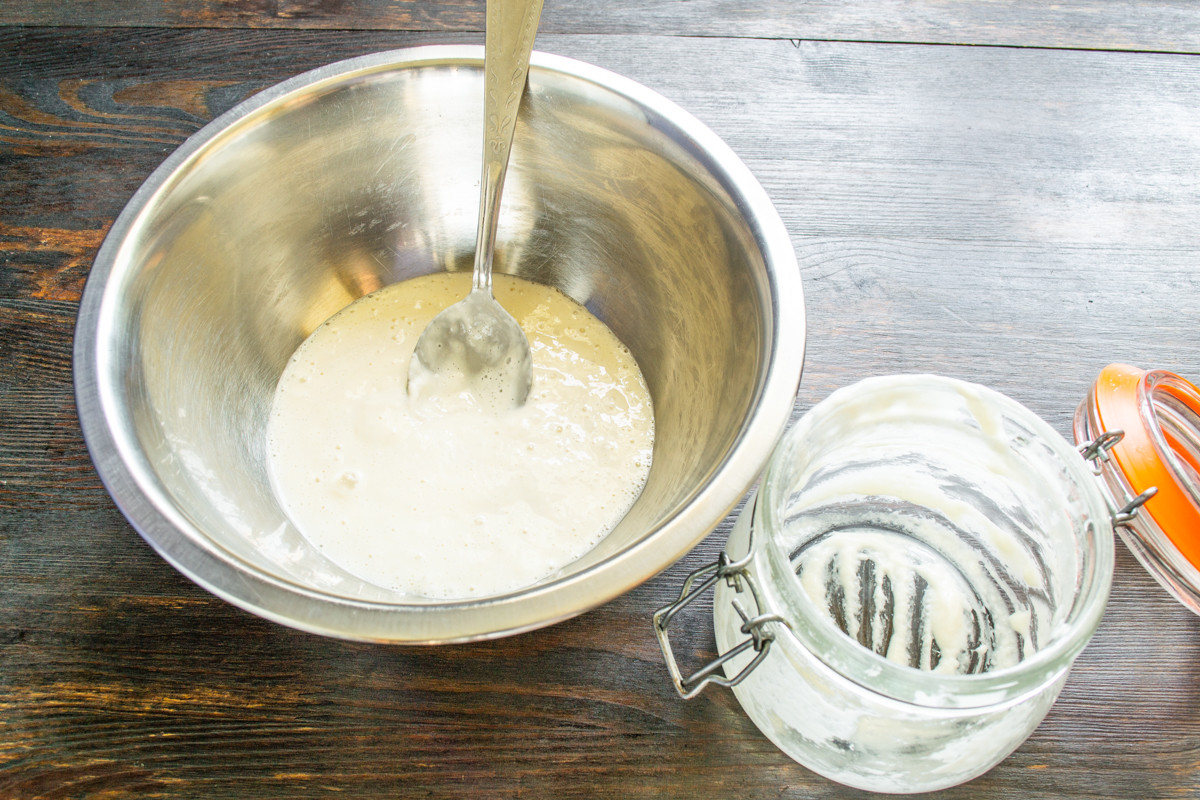
For mixing the bread, place the sourdough starter in a deep bowl.
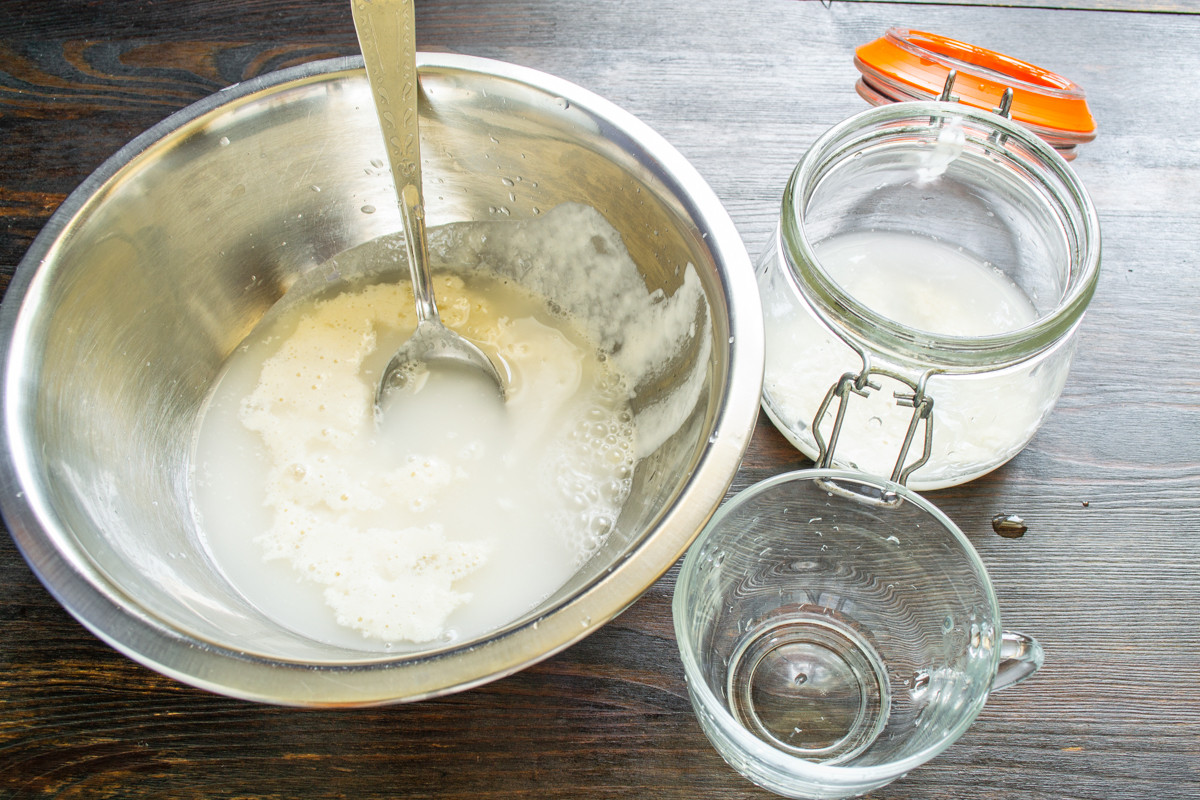
Pour 70g of water into the bowl.
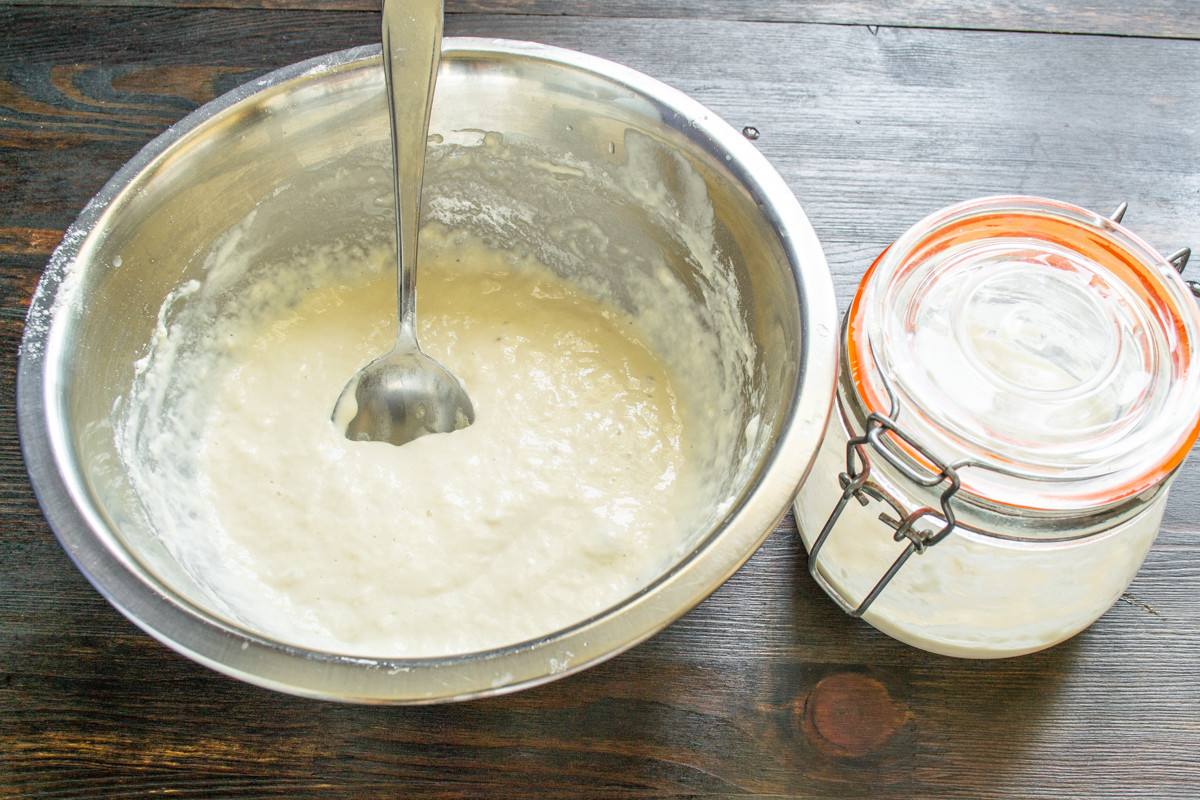
Add 70g of first-grade wheat flour.
I store my sourdough starter (a fermented dough culture used as a natural leavening agent) in the refrigerator. I set the temperature in my fridge to +6°C (43°F), and over three days, the fed starter slowly gains strength.
About 2-3 hours before you plan to start, take the jar with the starter out of the refrigerator. To mix the bread dough, transfer the required amount of starter to a deep bowl. Leave about 10g of starter in the jar, plus whatever is clinging to the sides; this is enough to get the next feeding going.
Pour 70g of water into the bowl with the starter. Pour 35g of water into the jar. The water should be non-boiled and ‘live’—filtered, well, or spring water is ideal. I don’t recommend using bottled water. Note that the recipe lists ingredients for the dough and for feeding the starter separately, so don’t mix them up!
Add 70g of first-grade wheat flour to the bowl. Add 35g of the same flour to the jar. Mix well. If the mixture in the jar is too thick, add a little more water until it reaches the consistency of pancake batter. Leave the jar with the fed starter at room temperature for 1 hour, then return it to the refrigerator. In 3-4 days, it will be ready to use for baking again.
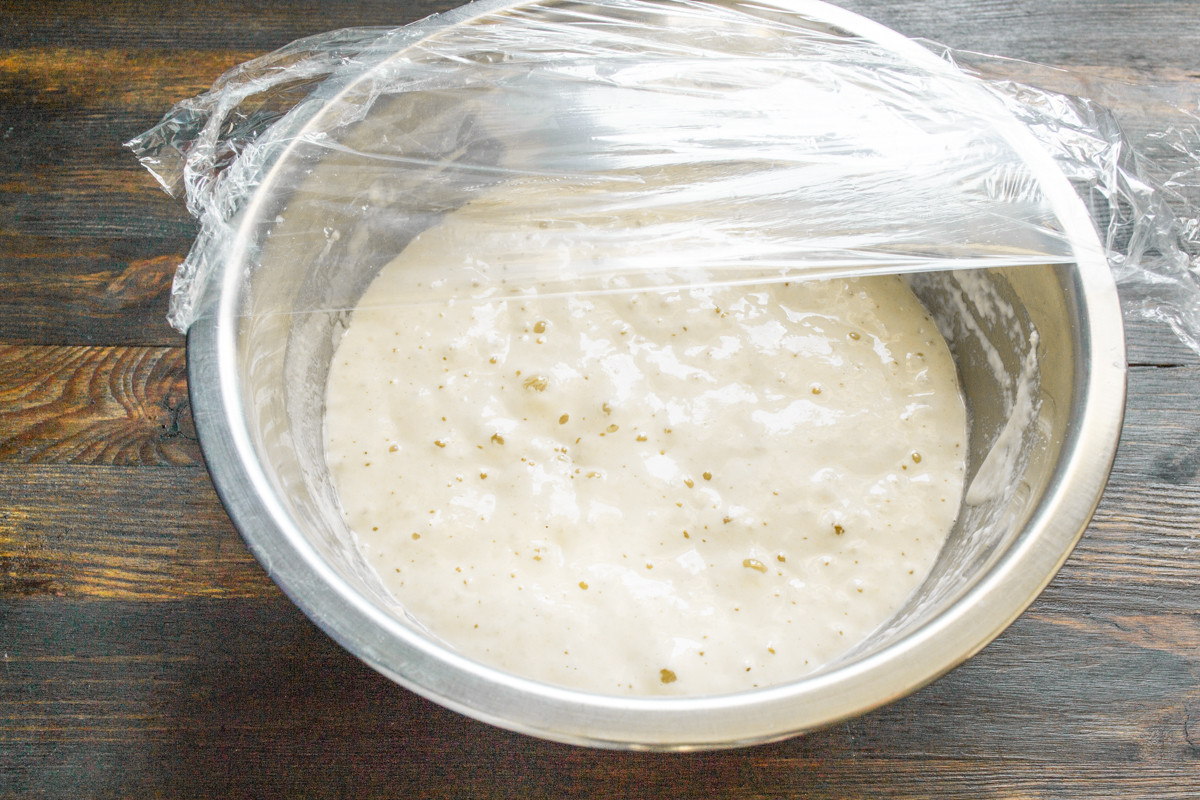
Cover the bowl with plastic wrap.
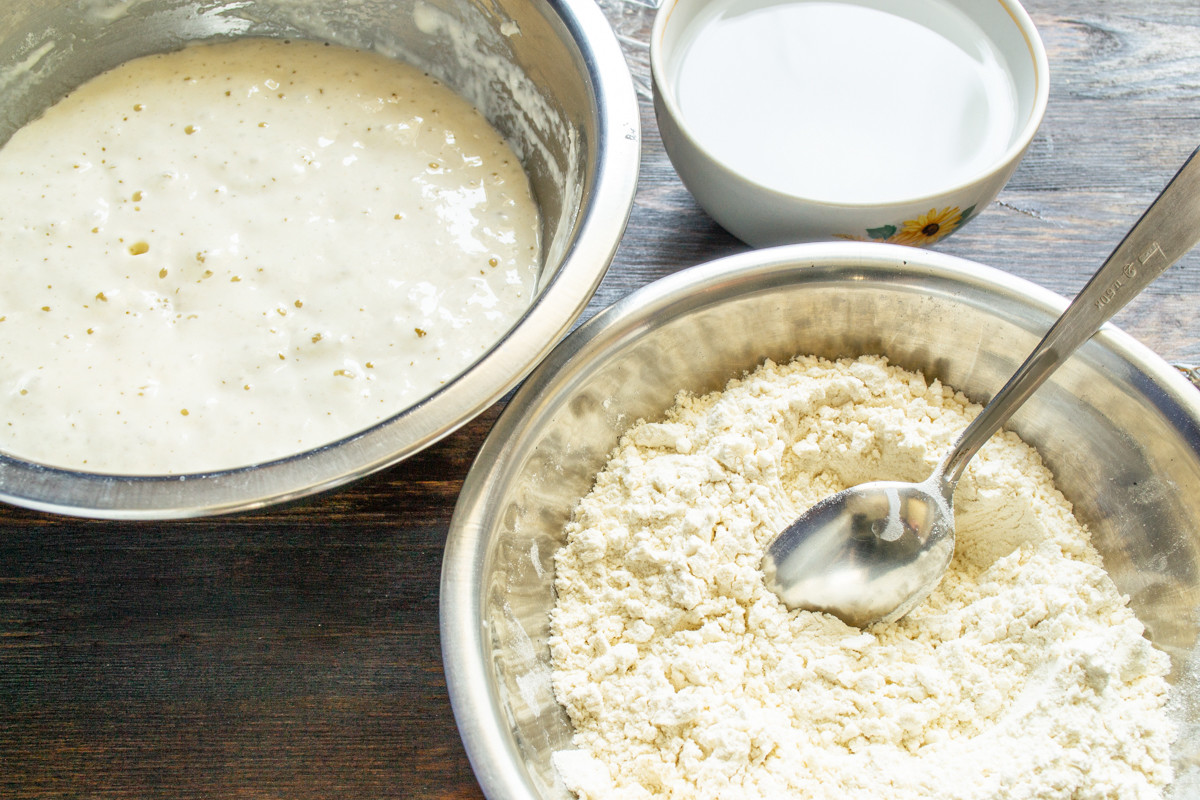
Dissolve honey in the remaining water.
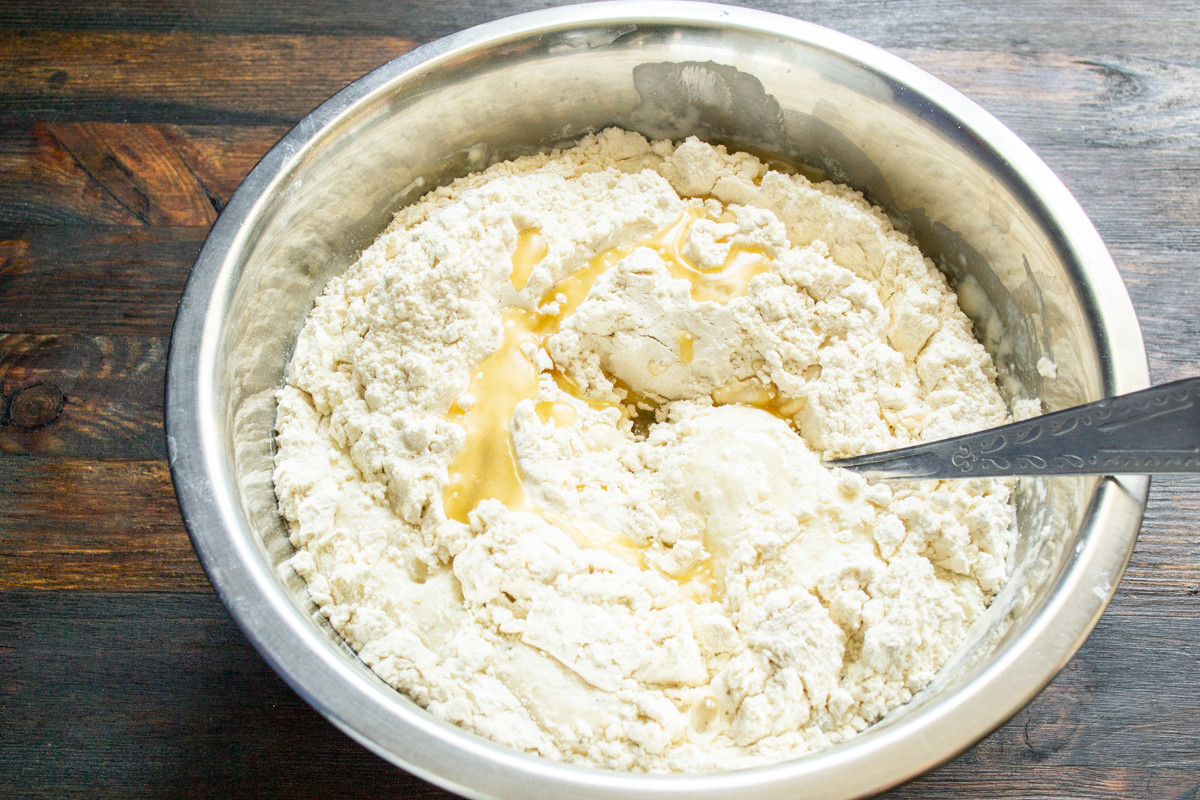
Combine the leaven, flour, honey water, and cooled butter.
Cover the bowl with plastic wrap. Place the leaven (the active starter mixture that will be added to the final dough) in a draft-free spot and leave it for 3 hours at room temperature (22-24°C or 72-75°F).
Combine all the remaining flour with the salt. Dissolve the honey in the remaining water.
Melt and cool the butter. Combine the leaven, flour mixture, honey water, and cooled butter. Mix with a spoon or by hand.
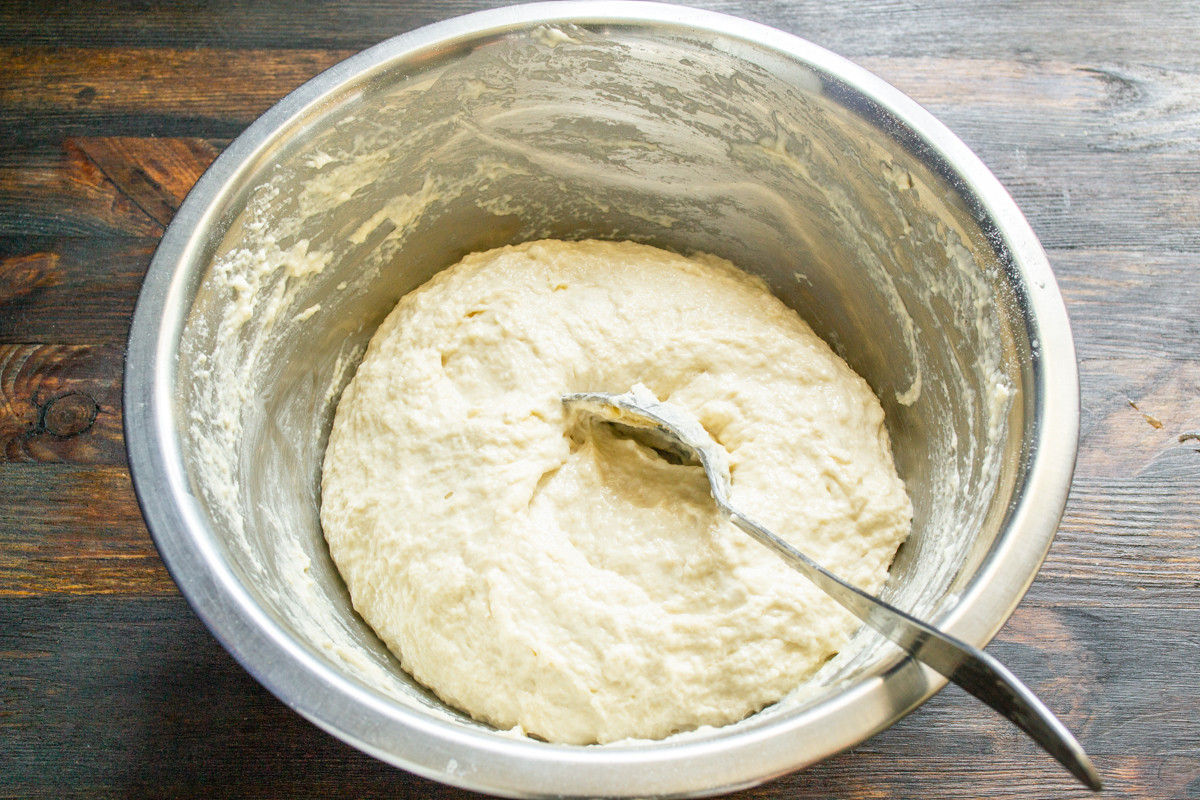
Kneading for about 5-7 minutes is sufficient.
You don’t need to knead it for long, as the dough is quite wet and slightly sticky. About 5-7 minutes is sufficient.
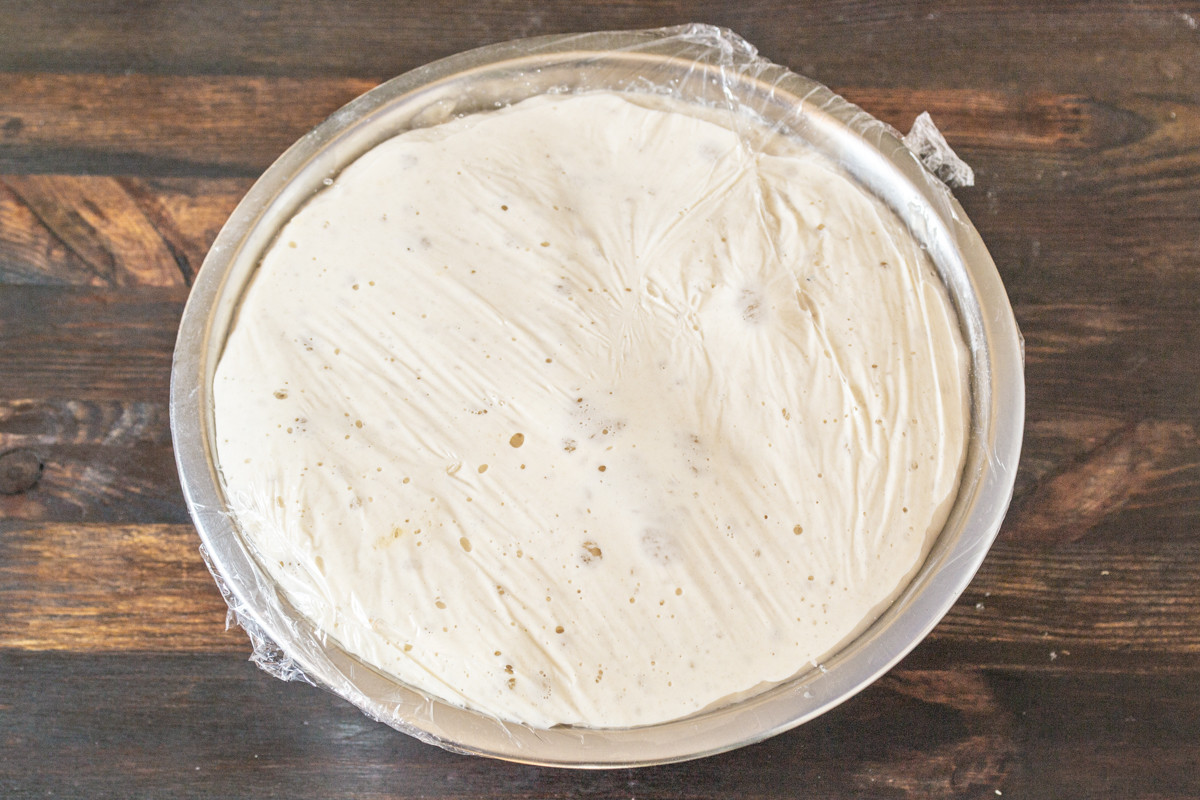
Leave in a warm place for 3-4 hours.
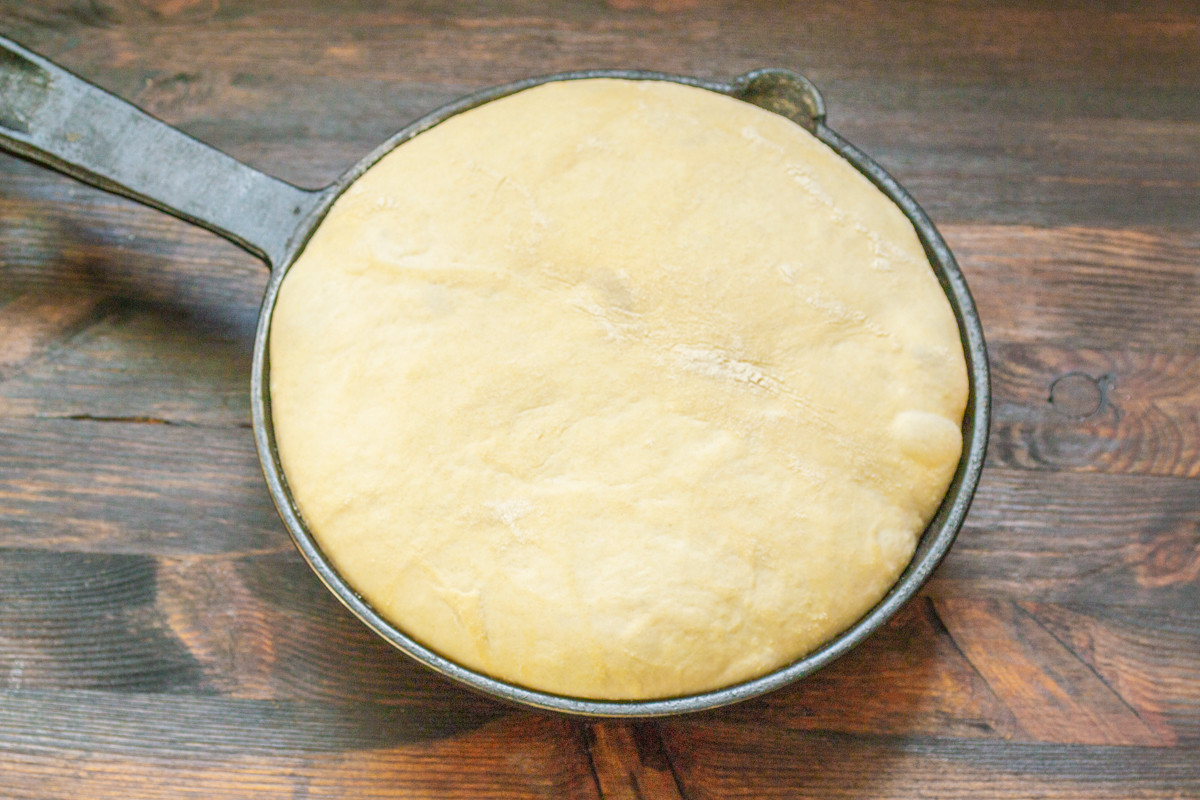
Deflate the dough, shape it into a round loaf, and place it in a skillet or small roaster.
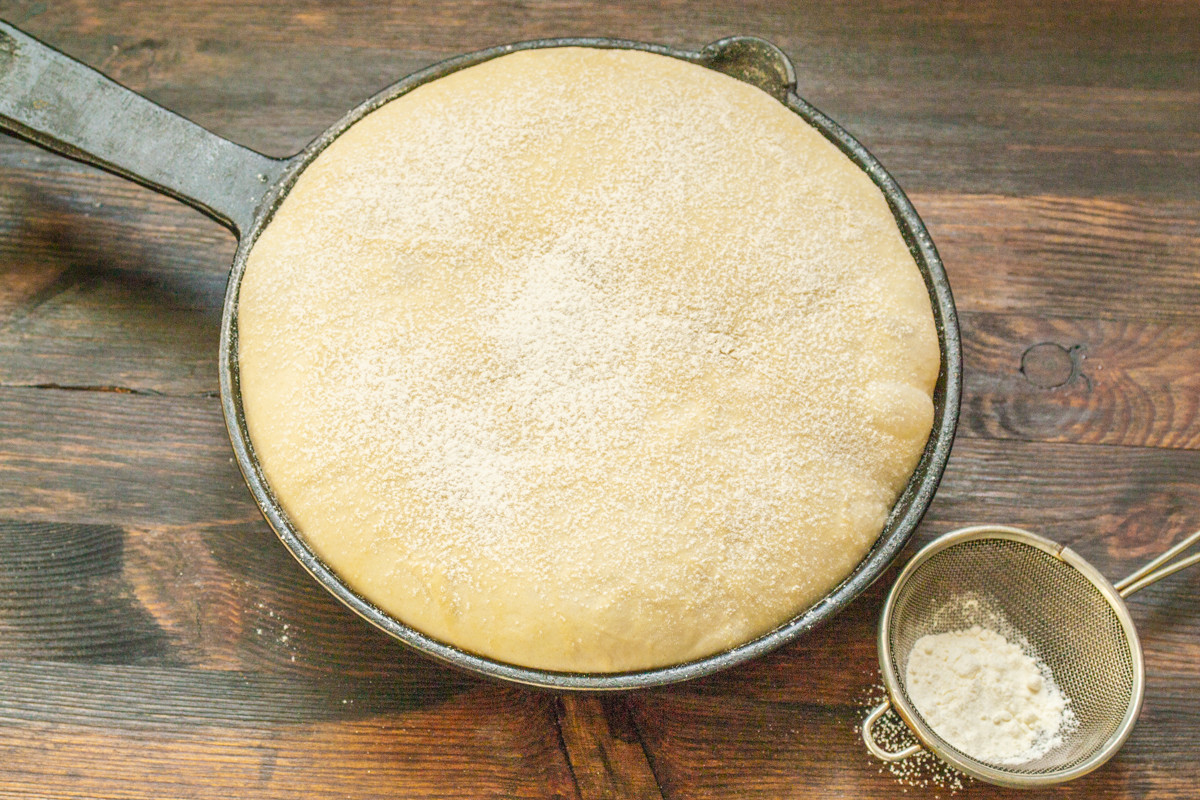
Leave the bread to proof for 2 hours.
Cover the bowl with plastic wrap again. Leave it in a warm place for 3-4 hours. In a warm environment, the dough should, in my experience, triple in size.
Generously flour your work surface. Turn the dough out and dust it with flour as well. Gently deflate it, shape it into a round loaf (kolobok), and place it in a cast-iron skillet or a small Dutch oven. It’s best to use heavy, thick-walled cookware.
Leave the bread for its final proofing for 2 hours. Preheat the oven to 210°C (410°F). Dust the top of the loaf with flour using a sieve.
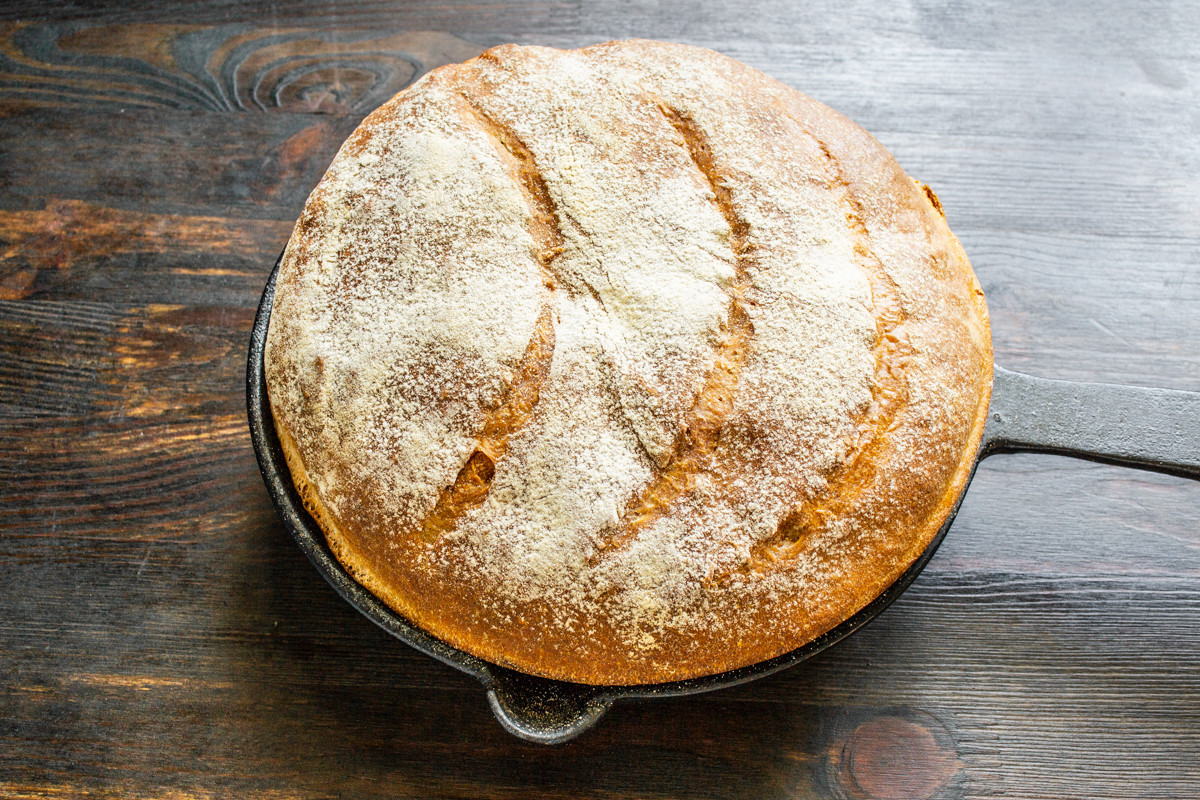
Make a few diagonal slashes on the bread and place it in the preheated oven.
Make a few diagonal slashes on the bread and place it in the preheated oven. Bake for 20 minutes at 210°C (410°F), then reduce the temperature to 180°C (350°F) and bake for another 25 minutes.
Your beautiful rustic sourdough loaf is now ready to be enjoyed! Let it cool on a wire rack for at least an hour before slicing—this is crucial for the crumb to set properly. Serve it warm with a generous spread of butter, use it for sandwiches, or enjoy it alongside a hearty soup. Store your bread in a bread box or a paper bag to keep the crust crisp. We hope this recipe inspires you to continue your baking journey. There's nothing quite like the taste and satisfaction of homemade bread, crafted with your own hands. Happy baking!
0 comments