
Microwaves have occupied kitchen counters for over forty years, yet they still generate more rumors than any other household appliance. They dry out chicken, explode eggs, melt cheap containers, and shoot sparks when a fork stays forgotten in a bowl of rice pilaf. These mishaps happen regularly, and the cause almost always comes down to how people operate the machine.
The list of actual rules remains short. About twenty logical principles exist, and a single sentence explains each one. Everything else belongs to kitchen folklore, right alongside placing a glass of water next to the oven to “absorb radiation.”
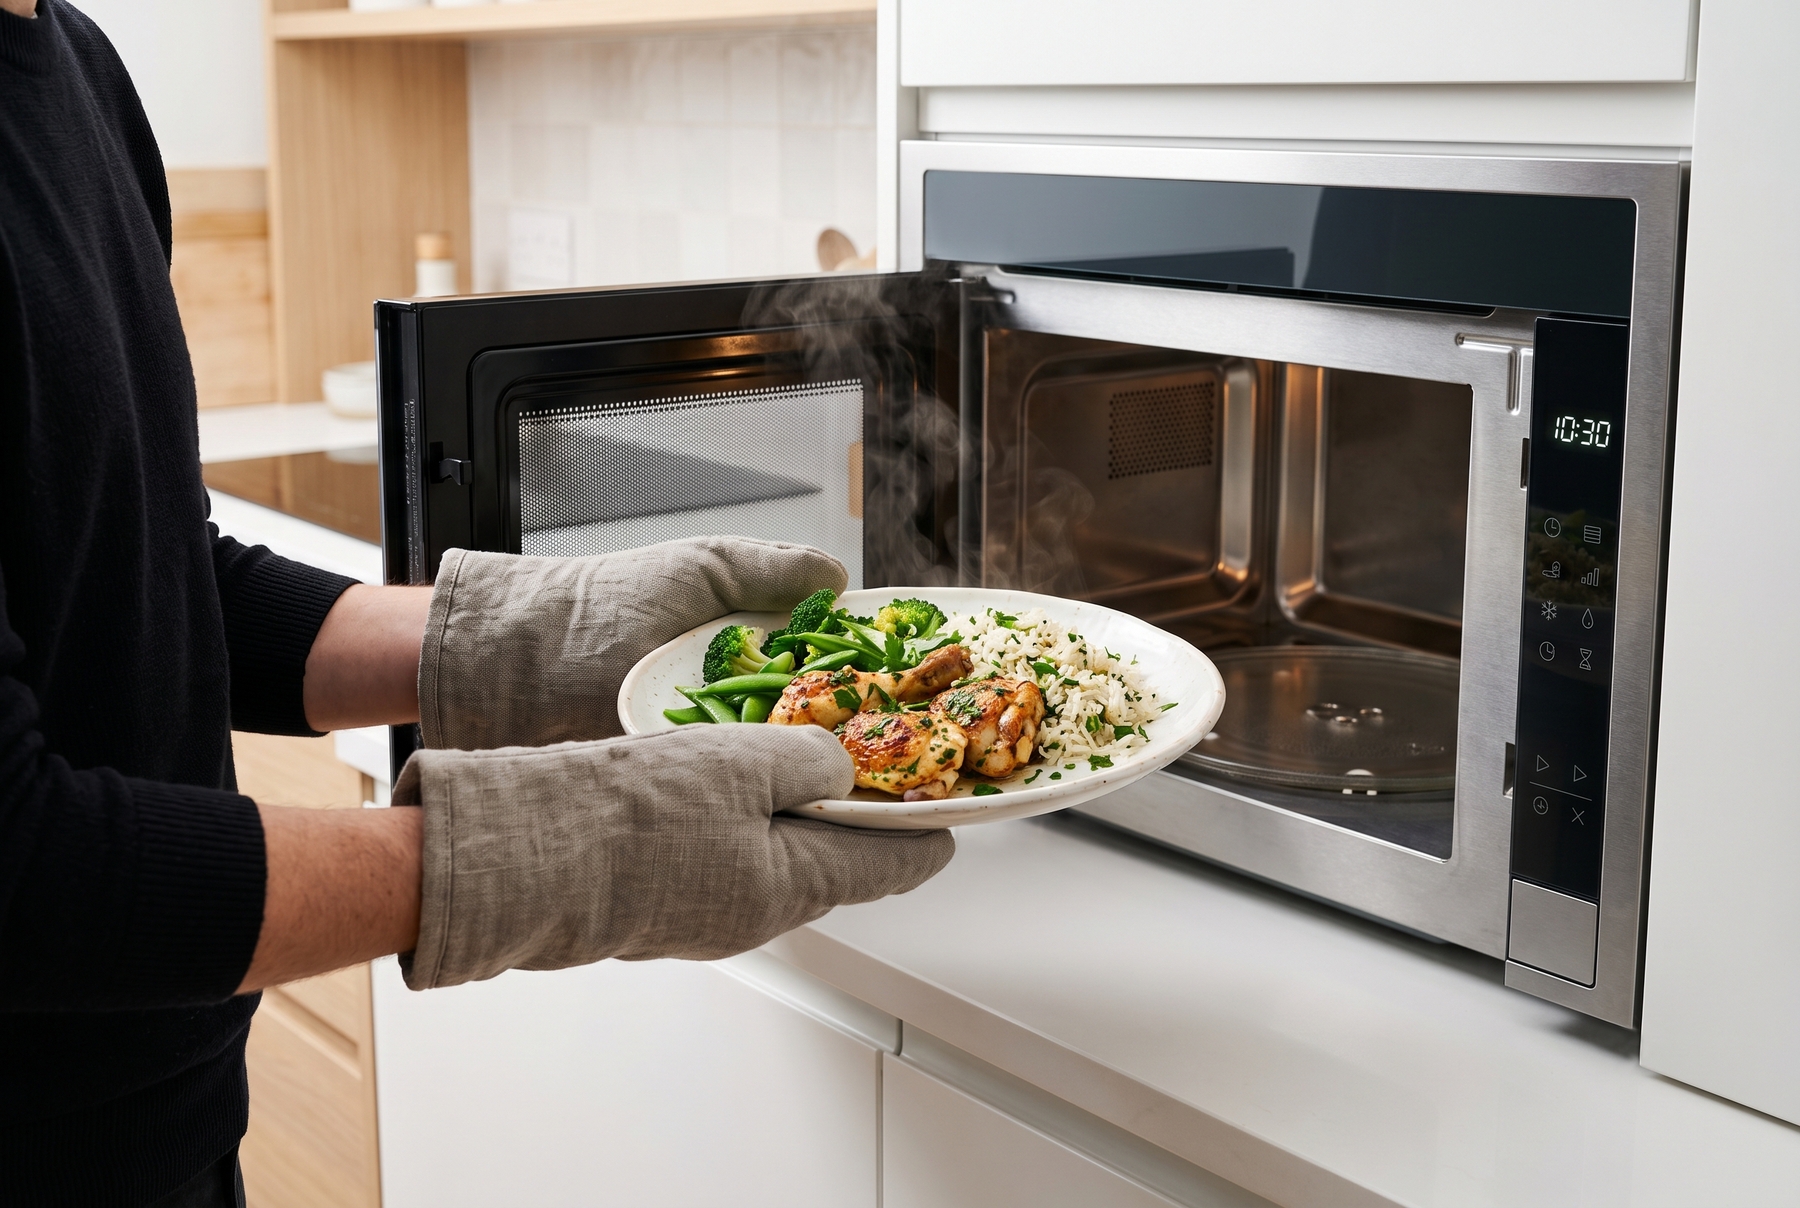
Proper microwave technique warms dishes evenly while preserving their natural moisture.
Table of Contents
Why the Appliance Seems Simple While Mistakes Repeat for Years
Inside the chamber, a magnetron does the heavy lifting. It generates radio waves at a frequency of about 2.45 GHz, which agitate water molecules alongside fats and sugars. As these molecules rub against each other, the food heats up through its own moisture. No heating element sits inside, and the chamber walls stay cool, creating a false sense of security: if the walls remain cold, it seems impossible to get burned.
Microwaves penetrate food to a depth of only a couple of centimeters (about 1 inch). Beyond that outer layer, heat travels via ordinary thermal conduction, moving slowly from the edges toward the center. Along the rim of the plate, sauce already bubbles and splatters onto the ceiling of the chamber, while the center of a meat patty remains icy cold.
Moist foods—such as soups, braised vegetables, and porridge—heat up rapidly. Meanwhile, a dry rusk can spin on the turntable for a full minute and emerge barely warm. Fats and sugars heat up much faster than water, which explains why the filling of a hand pie sears your lips while the pastry feels merely lukewarm. A dense cut of meat warms slowly from the outside in, whereas a loose ground meat patty heats noticeably faster.
Nearly every operational rule stems from this basic physics. Memorizing dozens of arbitrary bans is unnecessary. Understanding three core principles suffices: metal reflects waves, water absorbs them, and internal heat distributes unevenly and requires time.
20 Rules That Actually Work
1. Only Use Microwave-Safe Cookware
Heat-resistant glass, unadorned ceramics, porcelain, and plastics specifically labeled as microwave-safe work best. Using anything else invites kitchen disasters.
Ignoring this rule leads to predictable results: a repurposed sour cream tub warps and folds in half, a thin glass salad bowl cracks from thermal shock, and melamine dishware overheats and blisters. The acrid smell of hot plastic lingering in the chamber is unmistakable, rendering the food completely unappetizing.
Takeout packaging causes the most frequent mistakes. Containers and their lids often consist of different materials: the base might survive the heat while the lid melts along the rim.
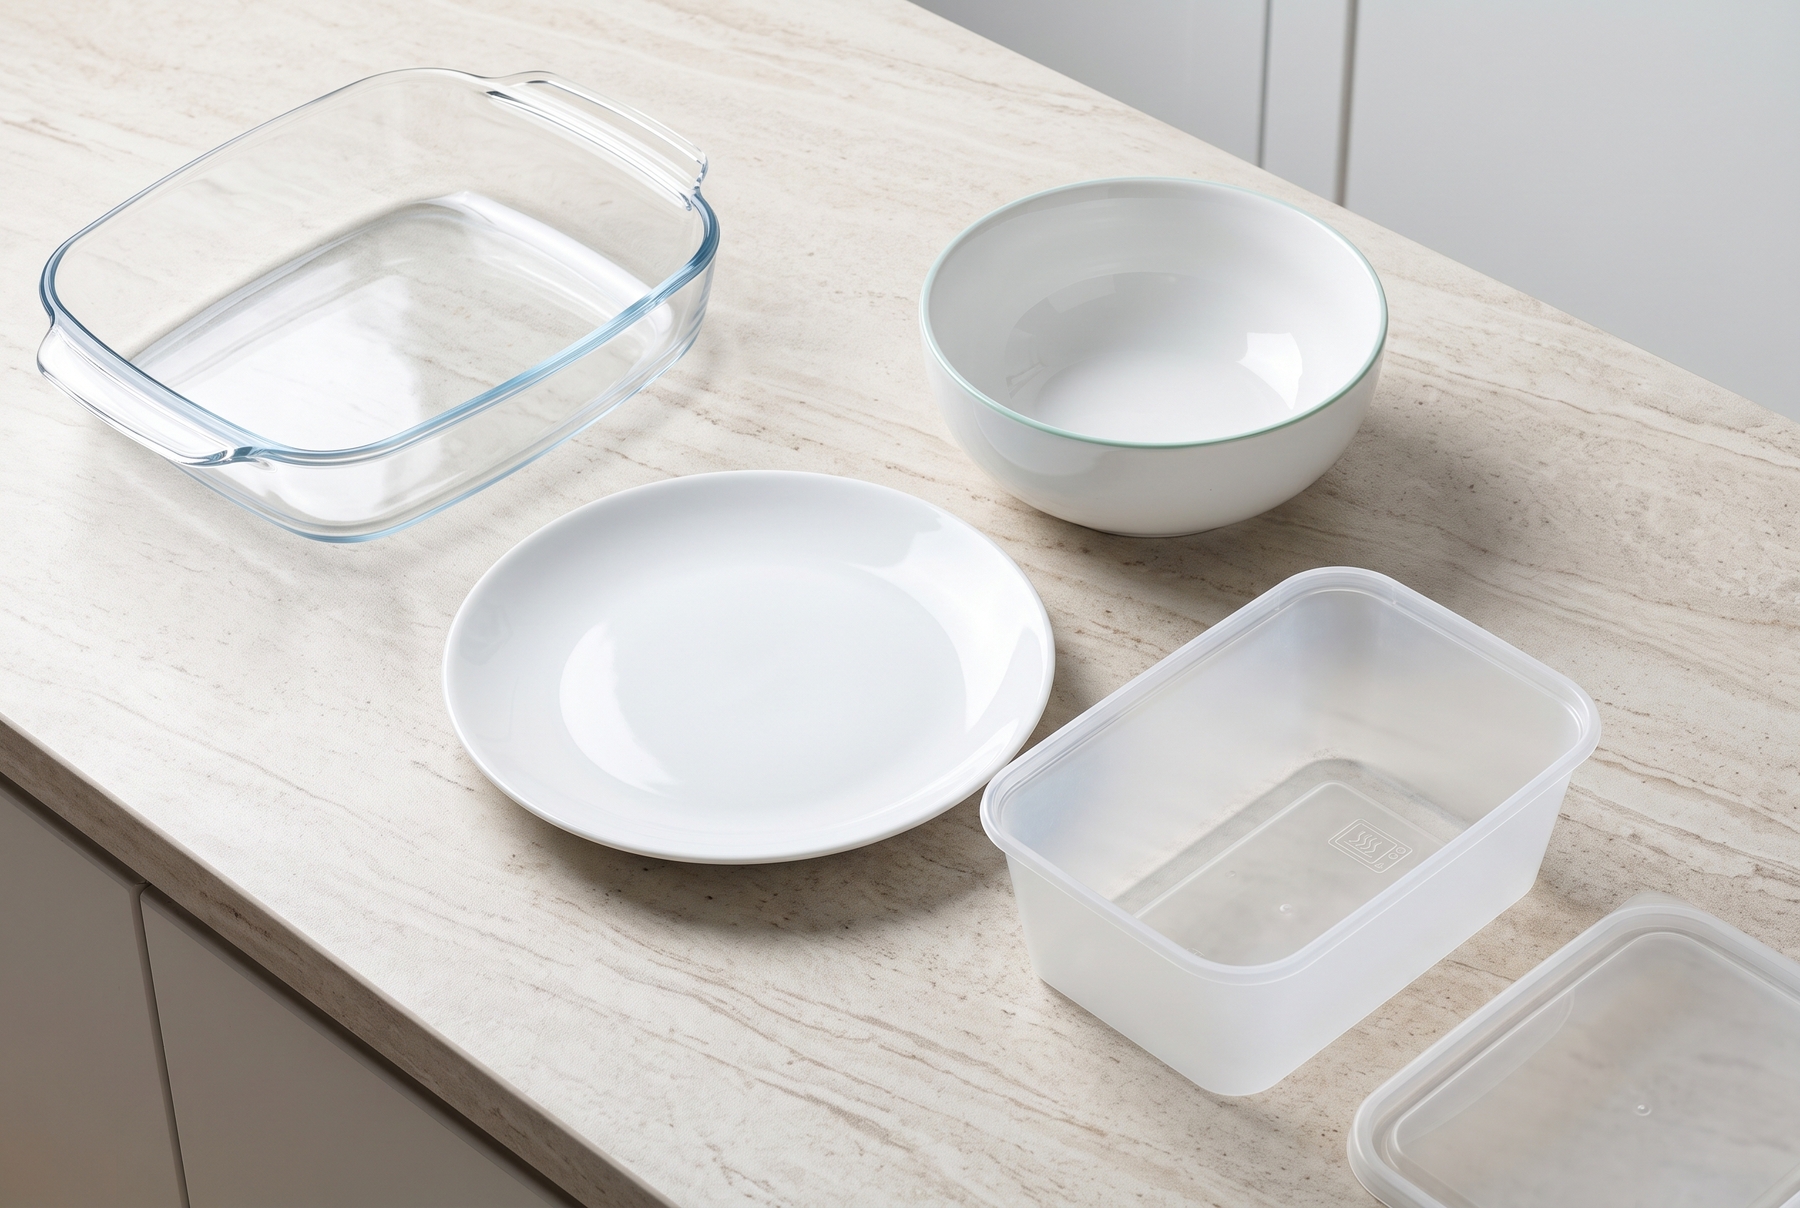
Heat-resistant glass baking dishes, unadorned ceramics, and properly labeled plastics are safe for microwave use.
2. Avoid All Metal, Including Thin Gold Rims on Plates
Metal reflects microwaves. Electrical charges concentrate on sharp edges and thin details, ionizing the air and creating that notorious sparking accompanied by a sharp crackling sound.
Forks are not the only culprits. The gilded rim of a vintage dinner plate, the metal staple on a teabag, a wire twist-tie on a bread bag, a metal skewer inside a wrap, or a foil yogurt lid all pose hazards. A single arc rarely breaks the appliance, but a series of discharges leaves scorch marks on the interior wall and ruins the waveguide cover (the small mica plate inside).
3. Never Run the Microwave Empty
Microwaves require a target to absorb their energy. When nothing sits inside to absorb the waves, the energy bounces back into the magnetron, causing severe overheating. This mistake remains the leading cause of premature microwave failure within the first year of use.
People rarely do this maliciously; they usually run it empty to test the timer after plugging it into a new outlet, or let it run “idle” to air out lingering odors. Testing the appliance safely simply requires placing a mug of water inside.
4. Cover Food, But Leave a Vent
A lid or a dedicated microwave splatter guard traps steam, which helps heat food evenly and prevents the edges from drying out. Meanwhile, the ceiling of the chamber stays clean, saving ten minutes of tedious scrubbing later.
Leaving an escape route for steam is critical. Lids should rest loosely on top without snapping the latches shut, and built-in steam vents on storage containers must remain open. Steam demands an exit; otherwise, building pressure will force one open.
An inverted plate resting on top of another plate works just as well as an expensive plastic dome. Microwave-safe plastic wrap also performs well, provided a small gap remains open along one edge.
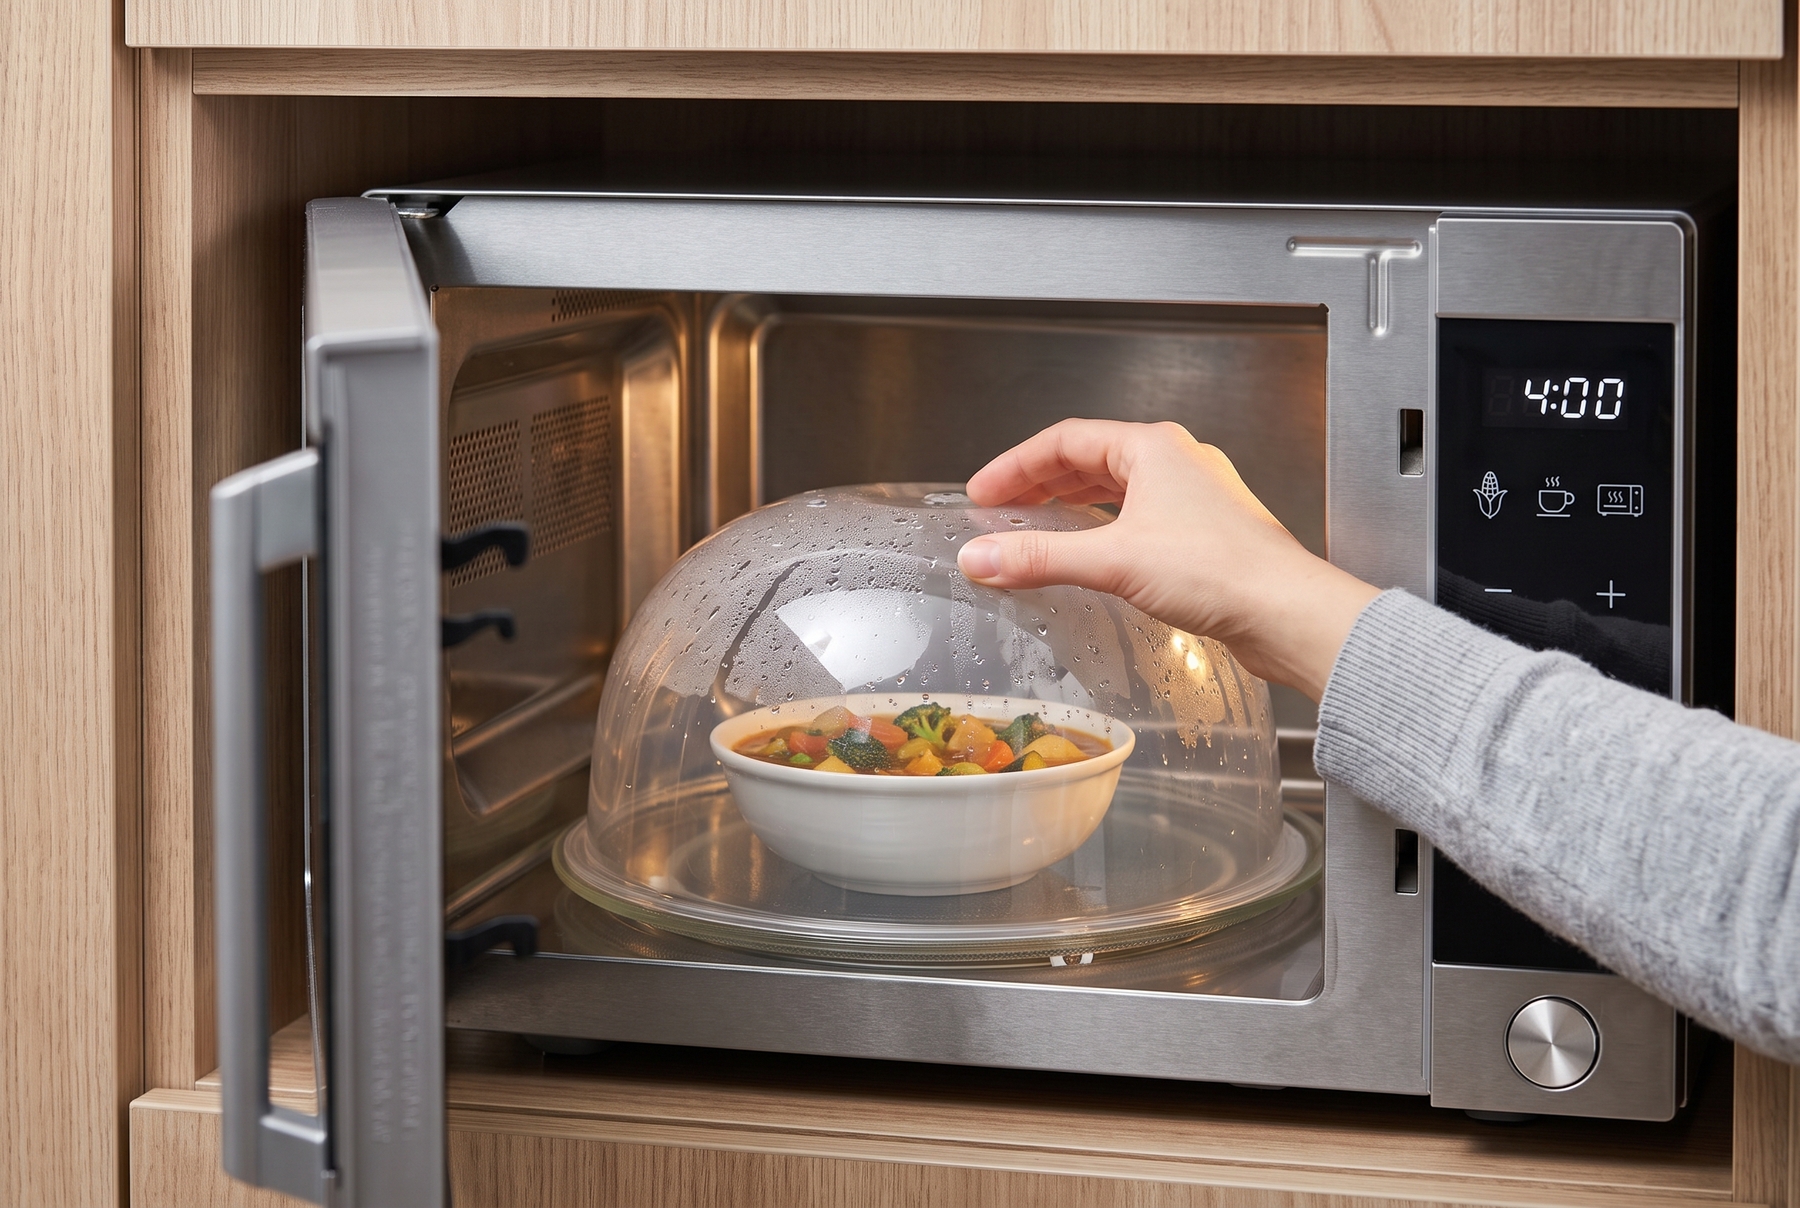
A dedicated splatter guard traps steam for even heating while protecting the interior walls from messes.
5. Stir Halfway Through, Not Just at the End
The electromagnetic field inside the chamber is uneven, and the rotating turntable only partially solves this issue. A bowl of soup always develops cold spots that warm up much slower than the rest.
Pausing the cycle halfway through to stir thoroughly from the bottom up accomplishes far more than adding an extra minute to the timer. This step proves especially vital for thick dishes like stews, porridge, pasta with sauce, and rice with meat.
Soup that reaches 90 °C (194 °F) along the edges while remaining cold in the center is more than just unpleasant. When reheating leftovers, achieving a uniform temperature throughout the entire volume is a matter of food safety.
6. Let Food Stand After the Beep
When the magnetron shuts off, the cooking process continues. Heat keeps migrating from hot zones to cooler areas for another minute or two, allowing the center to catch up with the edges.
Dense dishes—such as casseroles, thick cuts of meat, or boxed frozen lasagnas—especially benefit from this resting period. Pulling the dish out immediately tricks you into thinking the oven failed, prompting another heating cycle. Consequently, the edges turn as tough as shoe leather.
When the timer chimes, leaving the door closed while fetching cutlery gives the food the exact resting time it needs.
7. Never Heat Sealed Jars or Airtight Containers
Inside a sealed vessel, trapped steam builds rapid pressure. Eventually, the lid either blows off inside the chamber, or the superheated contents erupt upward the moment you twist it open.
Glass jars with metal screw-top lids fail on two fronts: they combine reflective metal with an airtight seal. Heating jarred baby food safely requires removing the lid and transferring the portion into a microwave-safe bowl.
Vacuum-sealed pouches and film-sealed ready meals require close attention. When manufacturers design packaging for microwave heating, the label always specifies exactly where to pierce or slit the film.
8. Pierce Anything With a Tight Skin
Potatoes, sausages, tomatoes, eggplants, chicken livers, and egg yolks all feature tight membranes. Steam forms rapidly inside while the outer skin holds the pressure until the very last second, eventually bursting with a loud pop and coating the entire chamber.
Piercing the skin three or four times with a fork prevents explosions, while scoring a sausage diagonally achieves the same result.
Whole eggs in their shells never belong in the microwave. Even a peeled hard-boiled egg can explode during reheating—sometimes waiting until it sits on your plate a few seconds after leaving the oven.
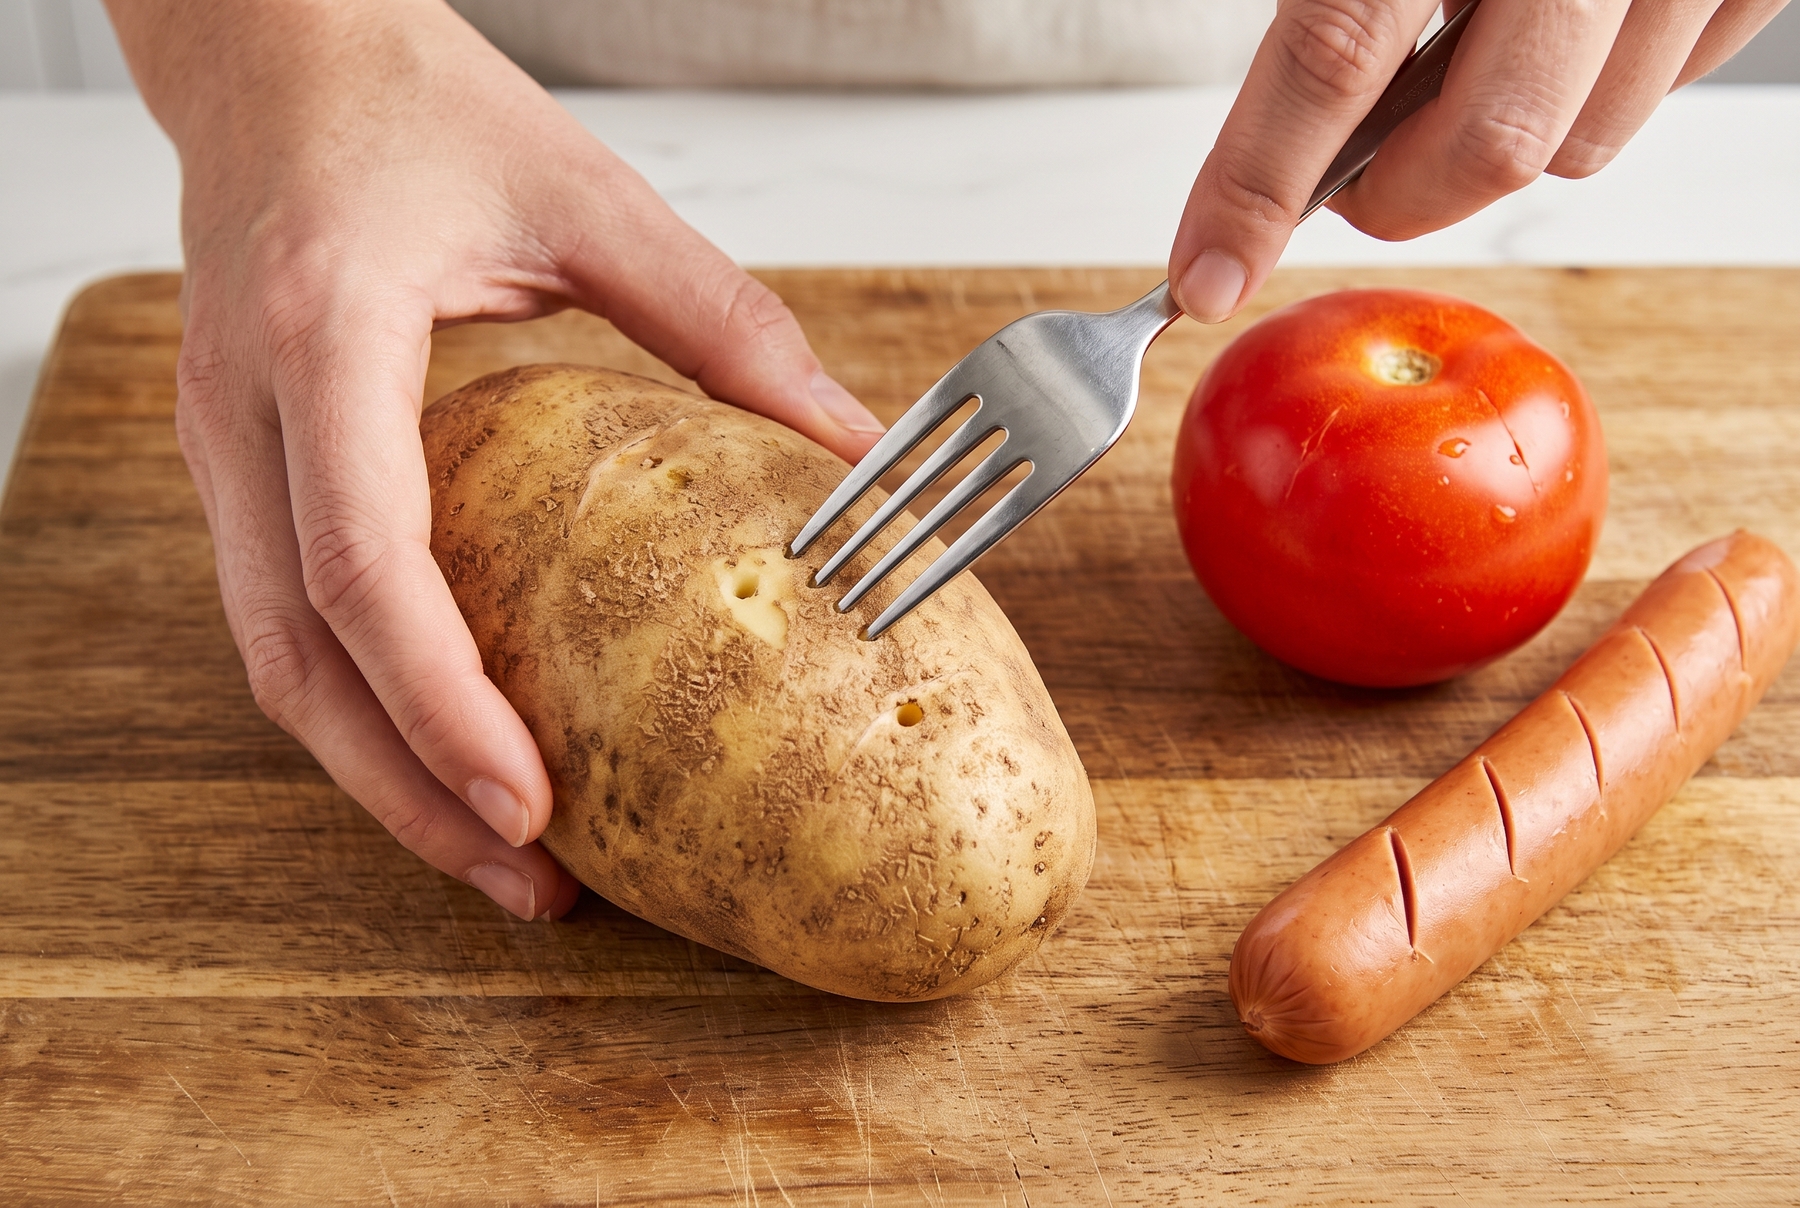
Piercing potatoes and scoring sausages prevents tight skins from bursting under steam pressure.
9. Reheat Prepared Dishes on Medium Power
Full power excels at boiling water and heating clear soups. For cooked meals, however, maximum power acts too aggressively: the exterior boils furiously while the interior stays cold, and proteins along the edges toughen and dry out.
Dialing the power back to 50–70% and extending the cooking time yields far better results. Chicken stays juicy, cheese melts smoothly instead of turning into a rubbery patch, and sauces resist separating. The improvement shows immediately, particularly with pasta and rice dishes.
Many users press “Start” on full power for years simply to avoid learning the control panel. Spending five minutes with the manual pays off in vastly better meals.
10. Avoid Superheating Liquids
A smooth mug filled with pure water lacks the tiny surface imperfections needed for bubbles to form. Under these conditions, liquid can superheat past its boiling point without actually bubbling. Dropping in a spoon or simply nudging the cup triggers instant, violent boiling that splashes scalding water everywhere.
Setting a shorter time than seems necessary and checking the temperature prevents accidents. Placing a wooden stir stick or a non-metallic spoon directly in the mug provides nucleation sites for steam bubbles, allowing the water to boil safely.
Milk presents a different challenge: it foams up in seconds and boils over the rim. Heating milk in short 30-second bursts, stirring between intervals, keeps it contained.
11. Keep the Interior Clean
Dried food splatters absorb microwave energy needlessly, scorching during subsequent cycles and releasing burnt odors that permeate fresh food. Thick, carbonized buildup on the walls can even char further and trigger sparking.
Steam offers the easiest cleaning method: heating a cup of water with a lemon slice on full power for three minutes, then leaving the door closed for ten minutes, softens stubborn grease. Wiping the interior with a damp cloth removes the loosened grime effortlessly.
The ceiling of the chamber demands regular attention, as upward splatters accumulate there unnoticed.
12. Keep Ventilation Vents Unobstructed
Exterior vents keep the magnetron cool. Pushing the appliance flush against a wall, wedging it tightly between a cabinet and the refrigerator, or draping a kitchen towel over the top traps hot air inside the casing.
Storing cereal boxes or resting a spare microwave plate on top of the unit shortens its lifespan. Leaving a clearance of several centimeters (2–3 inches) along the sides and top ensures proper airflow.
Checking the base matters, too: the small feet elevate the chassis off the countertop, forming an essential part of the cooling system.
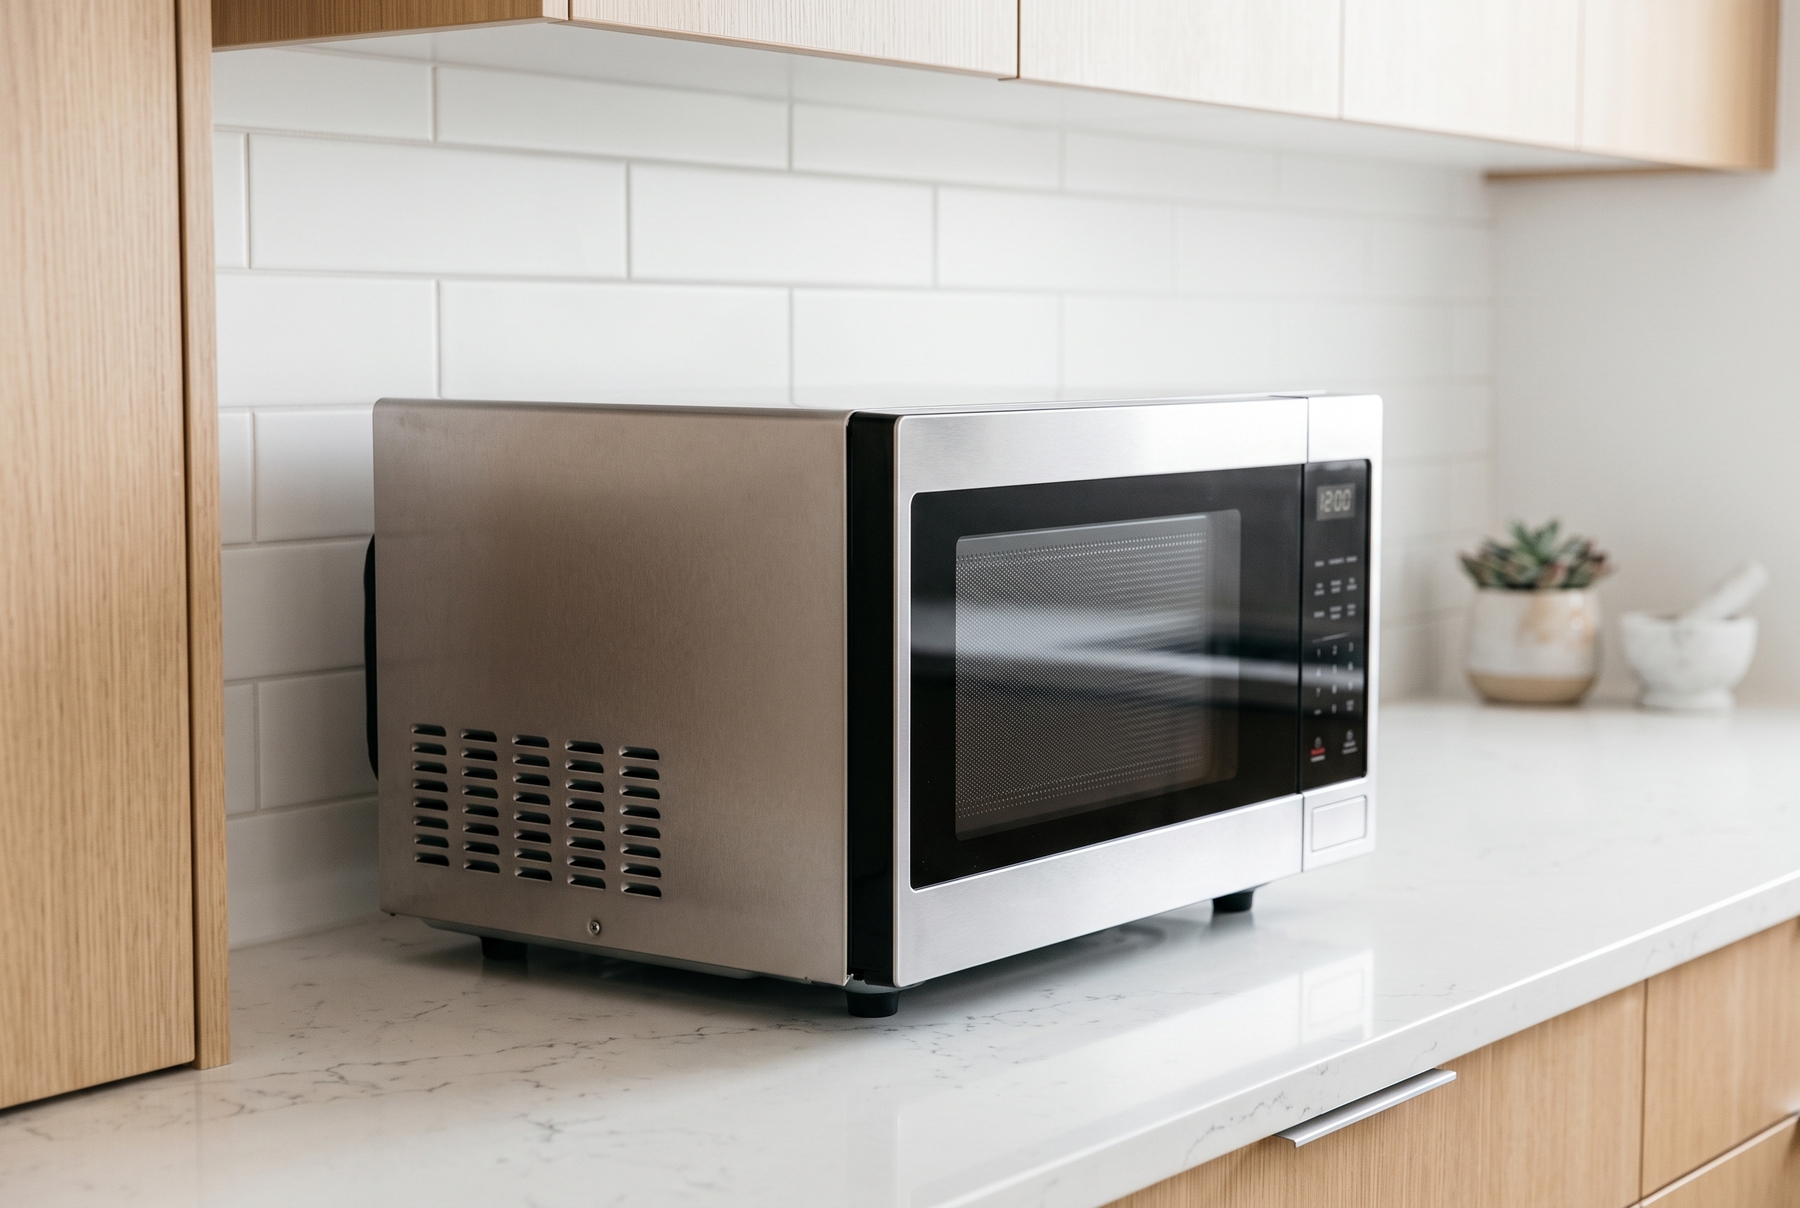
Clearance around the chassis and unobstructed air vents keep the magnetron cool.
13. Discard Cracked or Chipped Dishware
A hairline crack in glass or a chip in ceramic enamel acts as a stress concentrator. Under rapid, uneven heating, the crack expands, causing the bowl to shatter right inside the chamber—usually while full of hot soup.
Heavily scratched plastic containers that have turned cloudy and rough after a hundred dishwasher cycles also belong in the recycling bin. Degraded plastic absorbs more heat than new material and loses its structural integrity.
A cracked glass turntable requires immediate replacement. Propping it up with a saucer is not a viable fix, and running the oven without a turntable results in patchy, uneven heating.
14. Use the Dedicated Defrost Setting
The defrost cycle alternates short bursts of energy with resting pauses, allowing heat to conduct inward before the outer edges begin to cook.
Defrosting on full power produces a familiar culinary tragedy: white, cooked edges bordering a gray band of overdone meat, all surrounding an icy core. Meat subjected to this treatment dumps its juices into the skillet and refuses to brown properly.
Flipping a solid cut of meat halfway through the program, or breaking apart ground meat to remove thawed portions, ensures even defrosting. Once thawed, the food requires immediate cooking rather than sitting out at room temperature.
15. Ensure Dishes Rotate Freely
A large rectangular casserole dish often catches its corners against the interior walls, causing the turntable to shudder and stall. When the food stays stationary within the electromagnetic field, heating becomes severely lopsided.
Testing clearance takes a single second: place the dish inside and spin the turntable a full rotation by hand. If the corners catch, transfer the food to a smaller container.
Flatbed microwaves without turntables have their own specific size limitations, which the manufacturer outlines in the user manual.
16. Recognize What Microwaves Cannot Do
Microwaves excel at reheating moist dishes, steaming vegetables, cooking oatmeal, melting butter and chocolate, poaching fish under a cover, and finishing frozen convenience foods. For these tasks, the appliance outperforms a traditional stove in both speed and efficiency.
Developing a crisp crust, however, remains impossible. Crispy breading turns soggy within a minute, bread softens initially before hardening into a rock as it cools, and raw steak emerges gray and flaccid. Combination models equipped with a grill element or convection fan change the equation, though they rely on entirely different heating methods.
Moist foods thrive in the microwave, while anything requiring a crisp texture belongs in a conventional oven or a dry skillet.
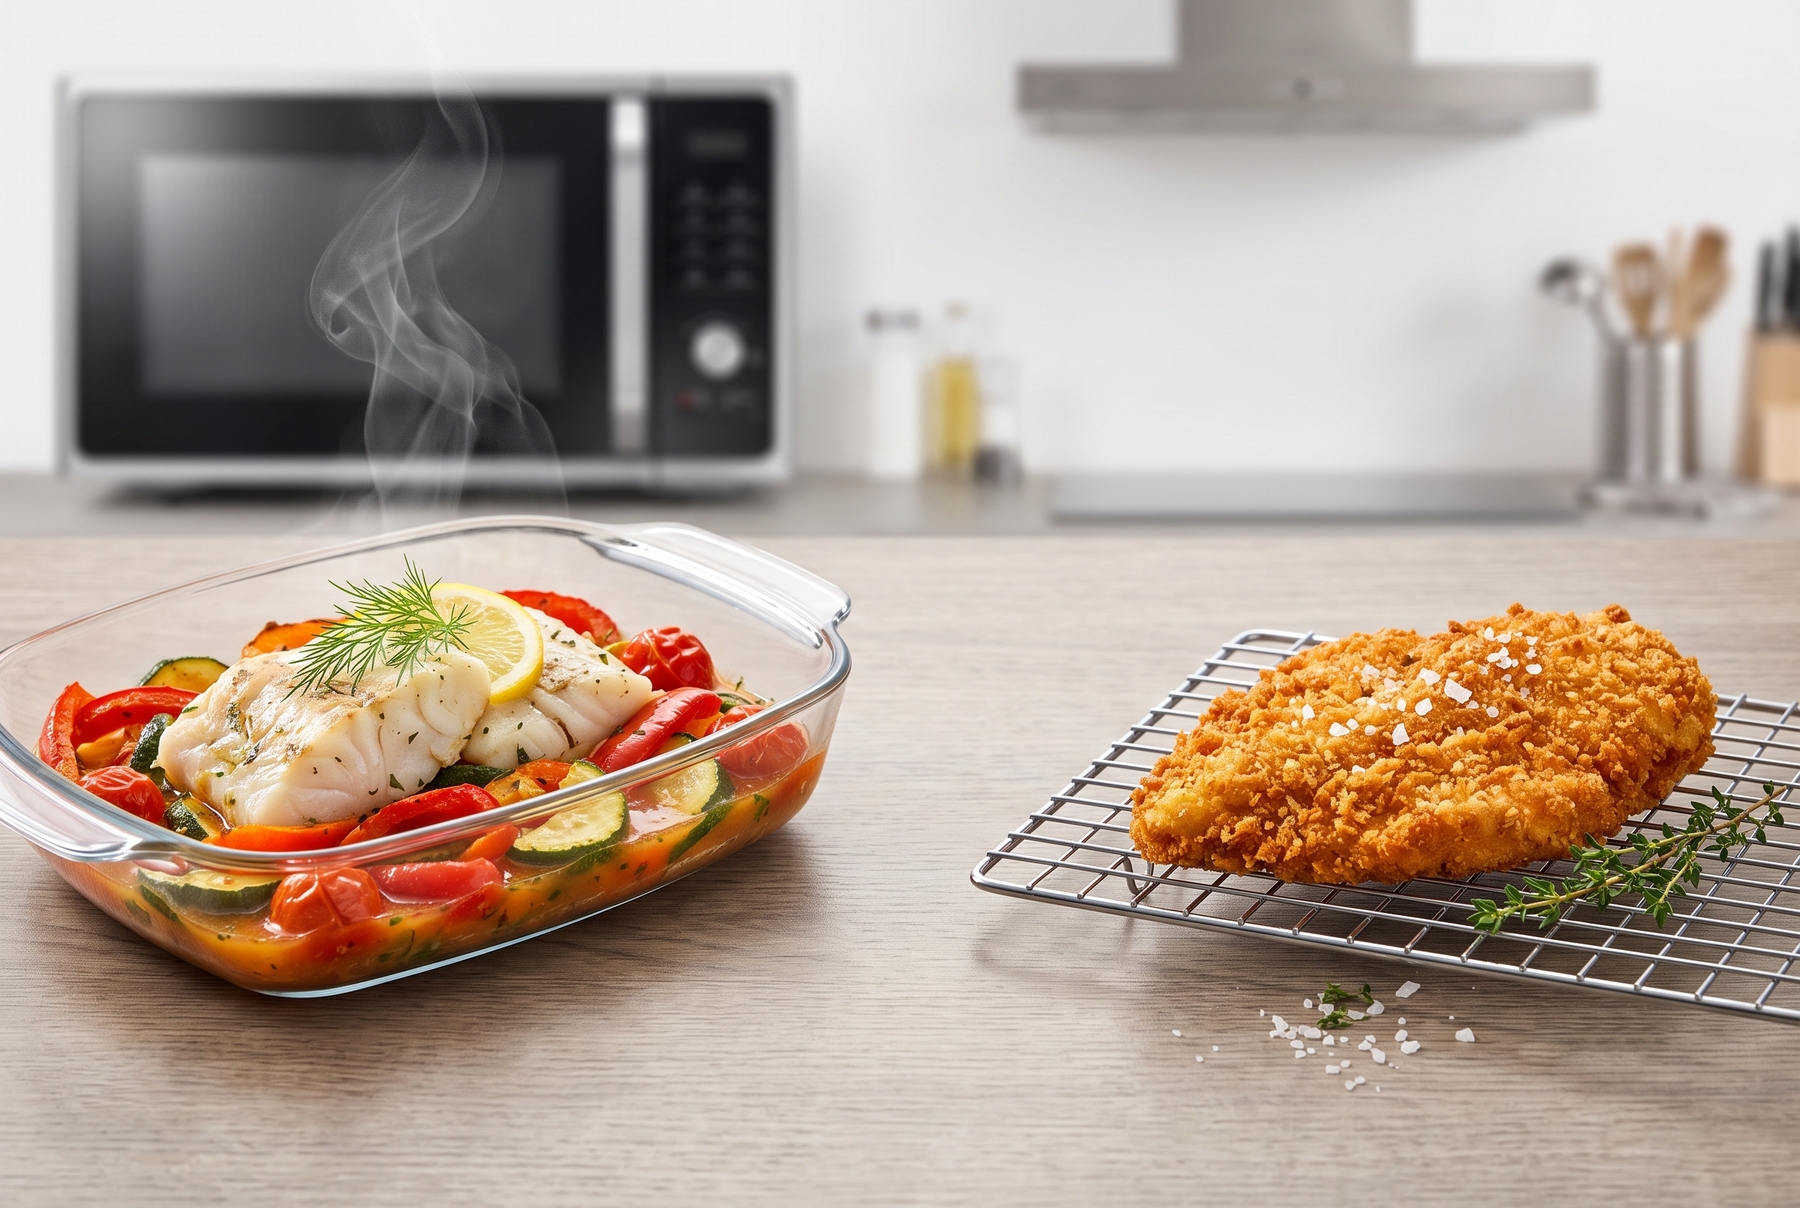
Microwaves excel at steaming and retaining moisture, whereas achieving a crispy crust requires an oven or skillet.
17. Use Aluminum Foil Only If the Manual Permits
Some microwave models allow small, smooth pieces of foil to shield thin fish tails or poultry wingtips from overcooking, while others ban metal entirely. The user manual for each specific model dictates the rules, leaving no room for a universal answer.
When the manufacturer permits foil, the piece must remain completely smooth without sharp creases or crinkled edges, sit at least two to three centimeters (about 1 inch) away from the interior walls, and never touch a metal rack.
When in doubt, skip the foil entirely. Takeout aluminum trays never belong in the microwave; always transfer the food to a glass or ceramic plate first.
18. Exercise Extra Caution With Baby Food
Because microwaves heat unevenly, a baby bottle or food jar easily develops scalding hot pockets even when the outside of the container feels barely warm to the touch. An infant can suffer burns from a portion that an adult assumes is safe.
Bottle manufacturers and pediatricians agree: warming formula and breast milk in a hot water bath remains the safest method. Furthermore, a bottle with the nipple attached never belongs in the microwave due to pressure buildup.
When heating purees in the microwave, use an open bowl, stir thoroughly, let it stand for a full minute, and always taste-test it yourself. Dropping a bit of liquid onto the inside of your wrist remains the most reliable temperature check.
19. Stop the Oven Immediately If Sparking Occurs
Crackling noises and blue flashes signal the need to abort the cycle immediately. Press “Stop,” open the door, and unplug the appliance if the issue persists.
Next, identify the culprit. Nine times out of ten, metal is to blame: a decorative plate rim, a teabag staple, a scrap of foil, or a forgotten spoon. If no metal is present, inspect the interior wall (usually on the right side). A small mica plate covers the waveguide channel, and accumulated grease splatters eventually cause it to burn through. Replacing a darkened or charred waveguide cover takes minutes and costs next to nothing.
An oven that sparks for no visible reason, or a door that fails to seal flush against the frame, requires a professional technician rather than DIY experiments.
20. Read the Manual for Your Specific Model
Microwaves vary far more than their boxy exteriors suggest. Maximum wattage ranges from 700 to 1200 watts in residential models, power regulation relies on either traditional pulsing or inverter technology, and rules regarding cookware, foil, and metal racks differ wildly.
Cooking times listed in recipes may run fifty percent longer or shorter in your kitchen. Calibrating your specific machine takes one simple test: bring 250 ml (1 cup) of tap water to a boil on full power. A high-wattage model takes about two minutes, while a lower-wattage unit needs over three. Knowing this baseline makes adjusting recipe times effortless.
Reading the manual takes fifteen minutes. After that, it can sit in a drawer for good.
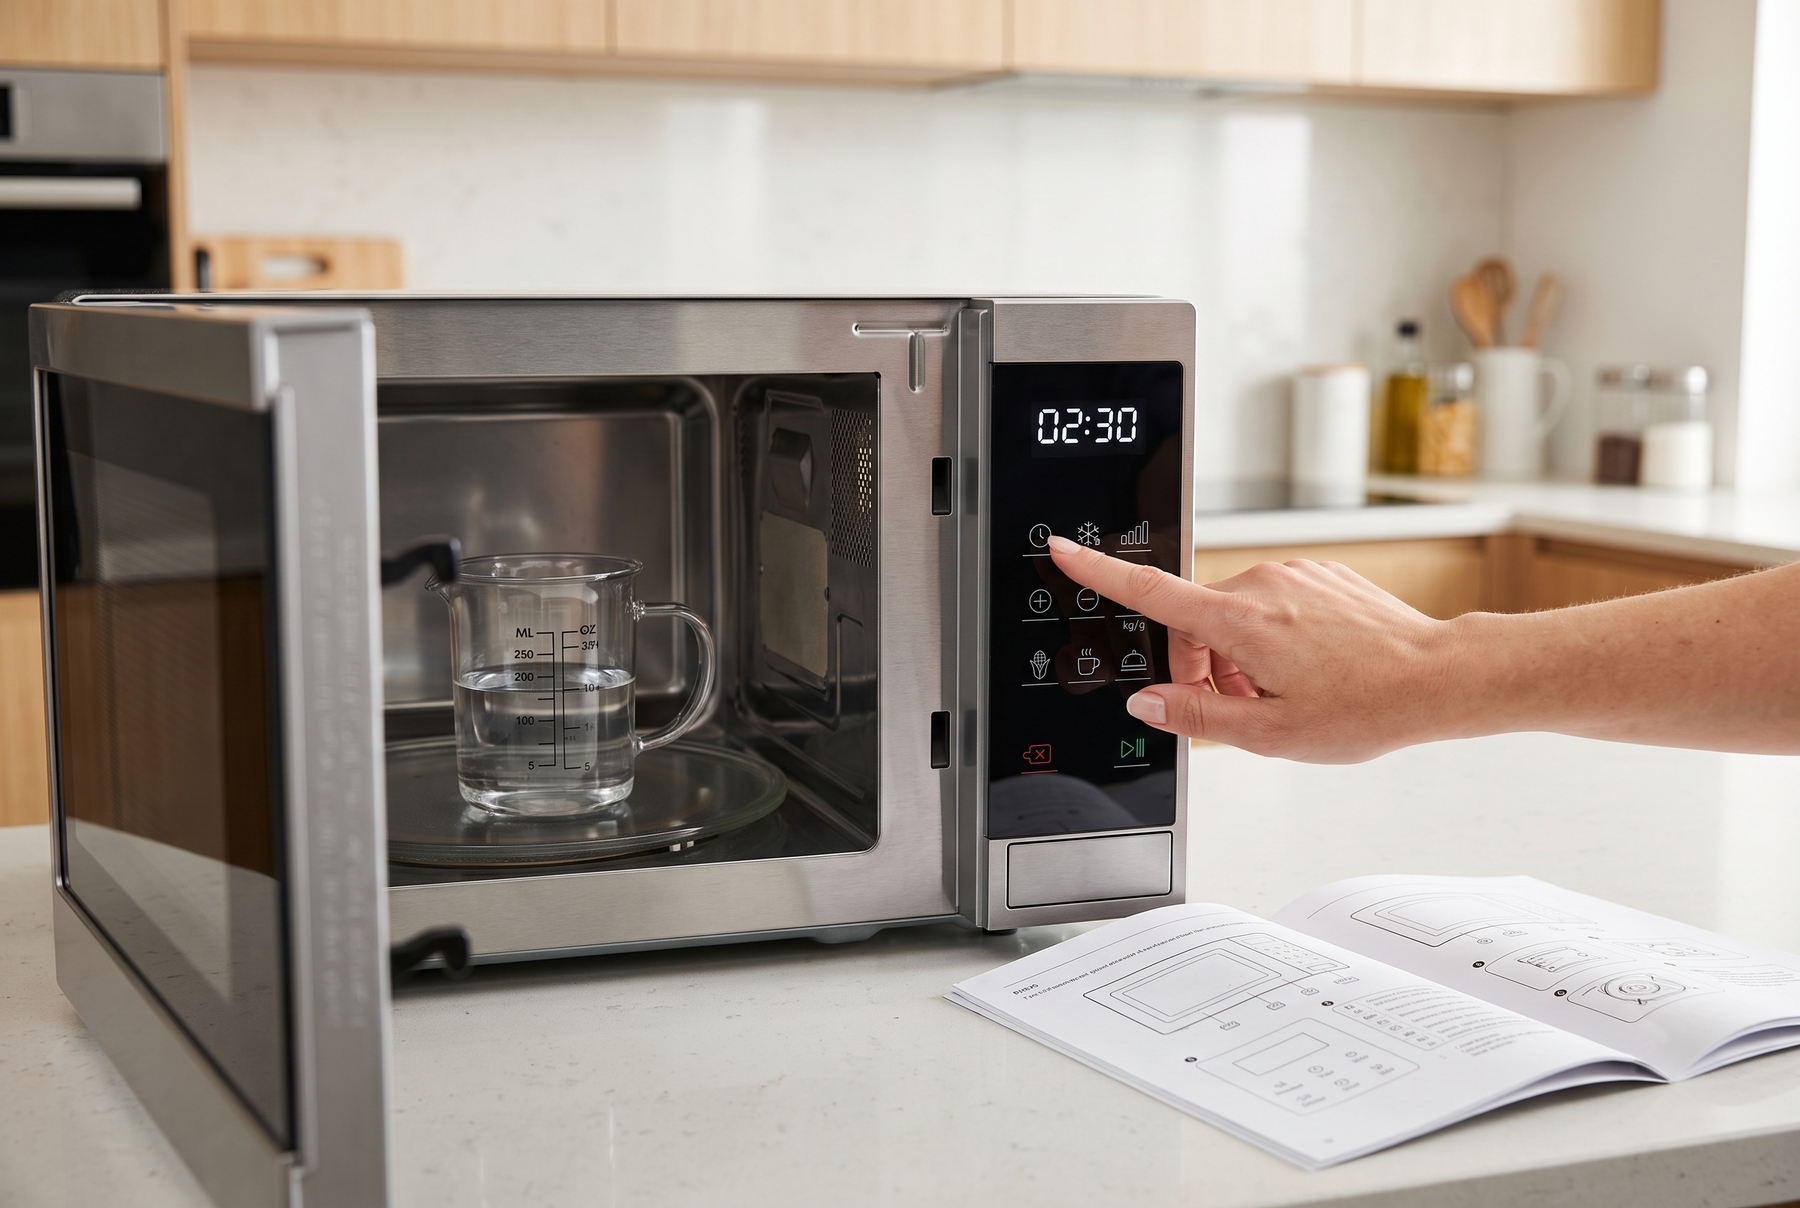
Running a test cycle with a cup of water reveals the oven's true wattage and helps calibrate heating times.
Three Myths That Refuse to Die
Microwaves make food radioactive. Microwaves share the same physical nature as radio waves and visible light: they are non-ionizing radiation. They cannot alter atomic nuclei or linger inside food. Once the magnetron shuts off, only thermal energy remains—just as light vanishes from a room the moment you flip the switch.
Microwaving destroys all nutrients. Heat degrades vitamins regardless of the cooking method; only temperature and duration matter. Because microwaves cook quickly and require minimal water, they preserve water-soluble vitamins just as well as boiling—and often better, since nutrients do not leach out into cooking water that gets poured down the drain. Broccoli steamed in a covered dish for four minutes retains just as many nutrients as broccoli boiled in a pot for twenty.
Microwaved food is inherently inferior. Proteins and fats react to the final temperature they reach, completely indifferent to the heat source. A skillet smoking with overheated oil treats food far more harshly than a microwave. The real health consideration with microwave heating comes down to cookware: swapping out old, scratched, uncertified plastics for glass or ceramic eliminates any risk of chemical leaching.
A Quick Reference Guide for the Fridge Door
Safe to Use:
- Heat-resistant glass, unadorned ceramics, porcelain, and labeled microwave-safe plastics;
- An inverted plate or a vented splatter guard to trap steam;
- Medium power (50–70%) instead of maximum output for reheating meals;
- The dedicated defrost cycle, flipping the food halfway through.
Strictly Off-Limits:
- Running the appliance completely empty;
- Metal utensils, gold-rimmed plates, and teabag staples;
- Whole eggs in shells, sealed jars, and airtight containers;
- Baby bottles with the nipple attached;
- Continuing a cycle when sparks appear inside.
Best Practices Every Time:
- Pierce tight skins on potatoes, sausages, and tomatoes;
- Stir dishes halfway through the heating cycle;
- Let food rest for one to two minutes after the timer chimes;
- Ensure the dish rotates freely on the turntable;
- Keep exterior ventilation vents completely clear.
Finally, wipe down the interior while it remains warm: fresh splatters come off with a damp cloth in seconds, whereas baked-on grease demands a lemon-steam treatment.
0 comments