
Kids will be absolutely thrilled, and adults won't deny themselves the pleasure of spreading this homemade chocolate peanut butter on a toasted slice of bread or a bun. Although many are used to calling peanuts nuts, from a botanical point of view, they are members of the legume family, which explains their high nutritional value and unique aroma when roasted. The process of turning hard kernels into a silky, viscous paste feels like real culinary magic, filling the kitchen with a deep, nutty fragrance. Homemade chocolate peanut butter simply cannot compete with store-bought brands—it always turns out brighter, more aromatic, and much more honest in its ingredients.
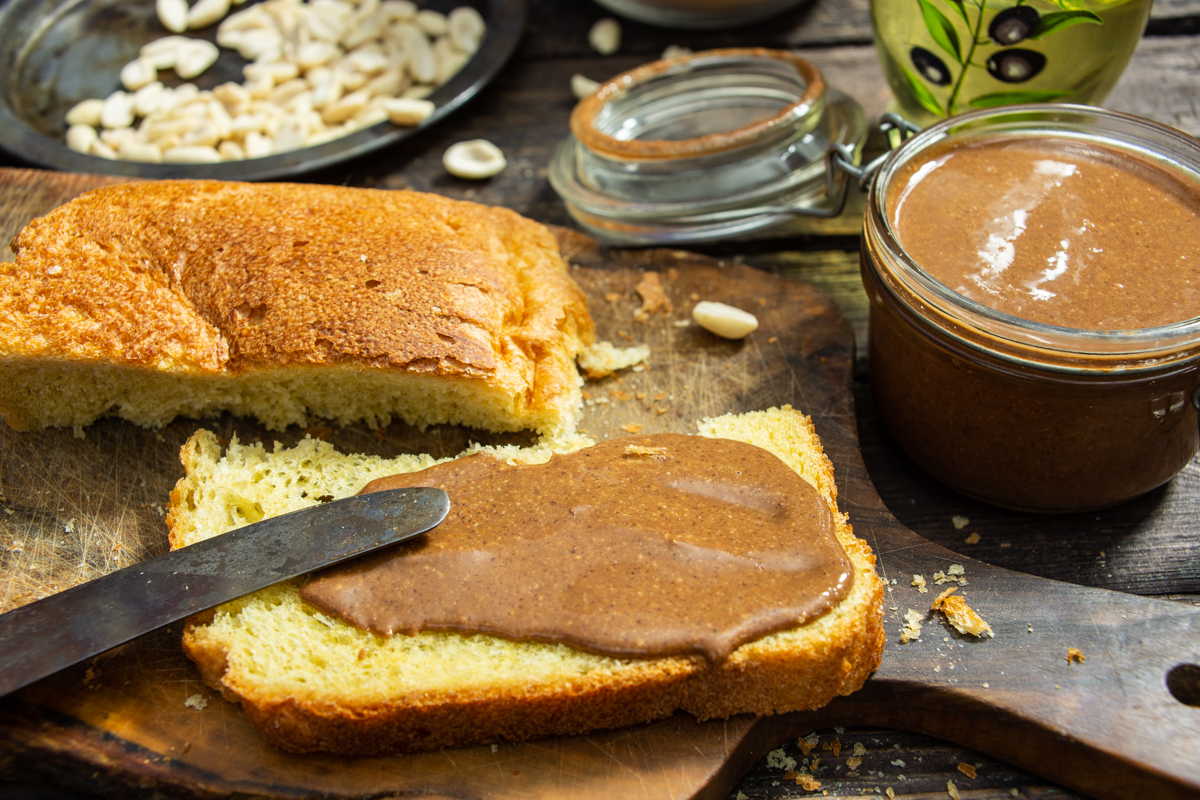
Homemade chocolate peanut butter turns out incredibly tender and aromatic. A perfect breakfast for the whole family!
Ingredients
- 250 g (8.8 oz) blanched peanuts
- 100 g (3.5 oz) milk chocolate
- 2 tablespoons cocoa powder
- 2 tablespoons vegetable oil
- sugar or honey to taste
- pinch of salt
How to Make Chocolate Peanut Butter
Spread blanched peanuts on a baking sheet in a single layer. Preheat the oven to 150°C (300°F). Place the baking sheet with peanuts on the middle rack of the preheated oven. Out of habit, many call peanuts nuts, but they are actually legumes. The kernels are hidden in a rough shell, usually a few per pod, covered with a thin pink skin. You can use unpeeled peanuts for this butter: shell them, place on a baking sheet, roast, and rub off the pink skins.
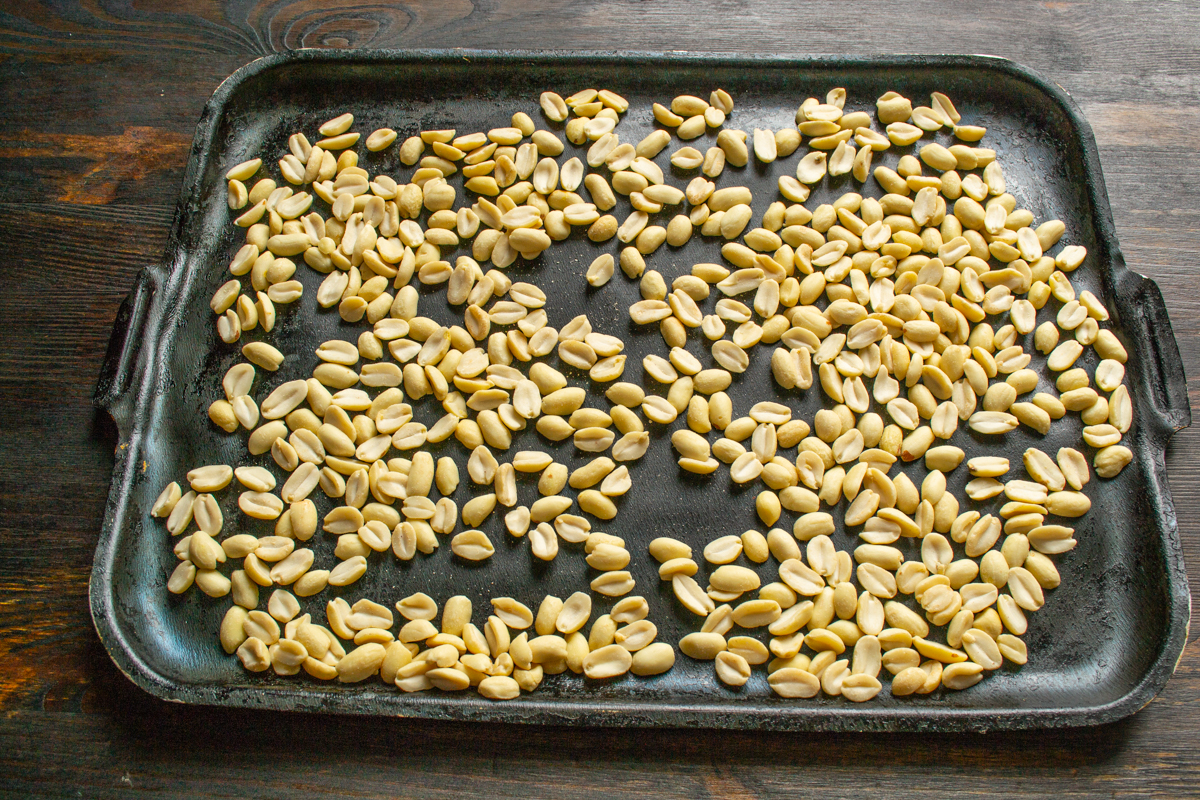
Spread the peeled nuts on a baking sheet. It is important to arrange them in a single layer for even roasting.
Stirring occasionally, roast the peanuts until they turn light golden. Keep a close eye on the process, as burnt peanuts will taste bitter! You can also roast the peanuts in a cast-iron skillet or a heavy-bottomed pan.
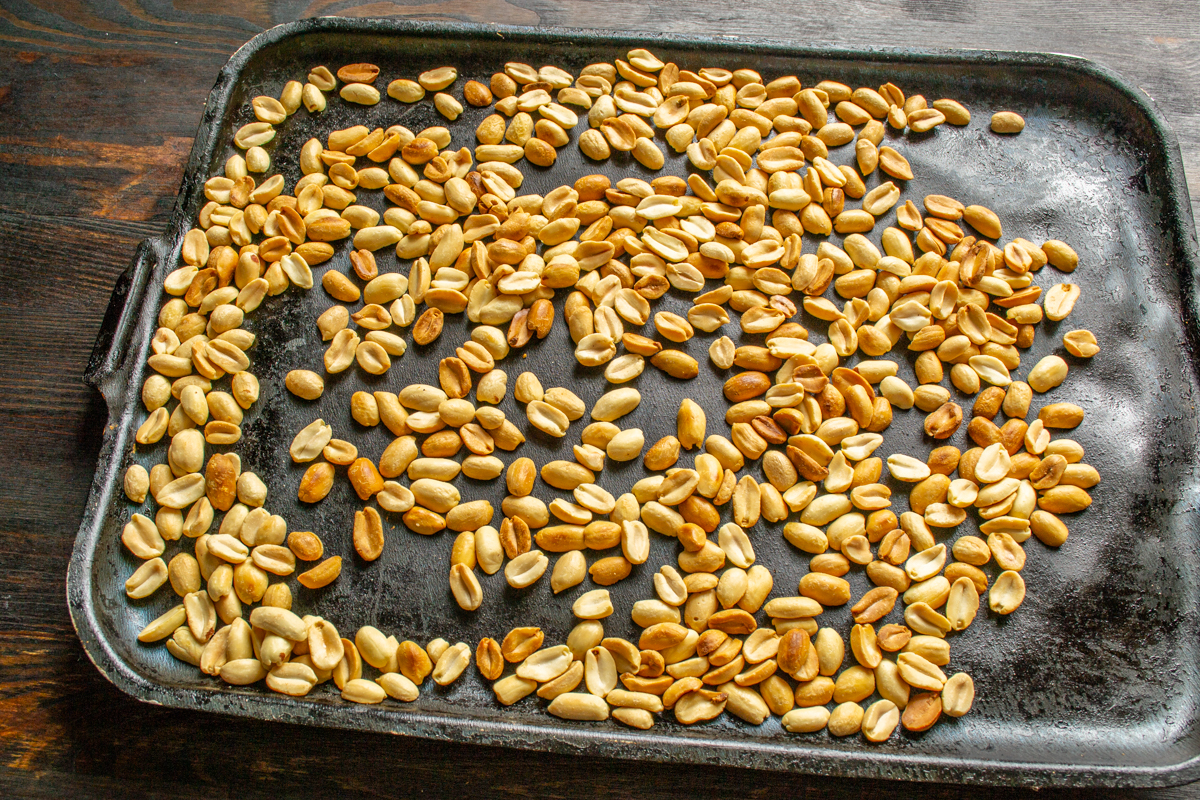
The main thing is not to overcook them! Peanuts should become light golden so the butter doesn't taste bitter.
Let the roasted nuts cool for a few minutes and transfer them to a blender or food processor bowl.
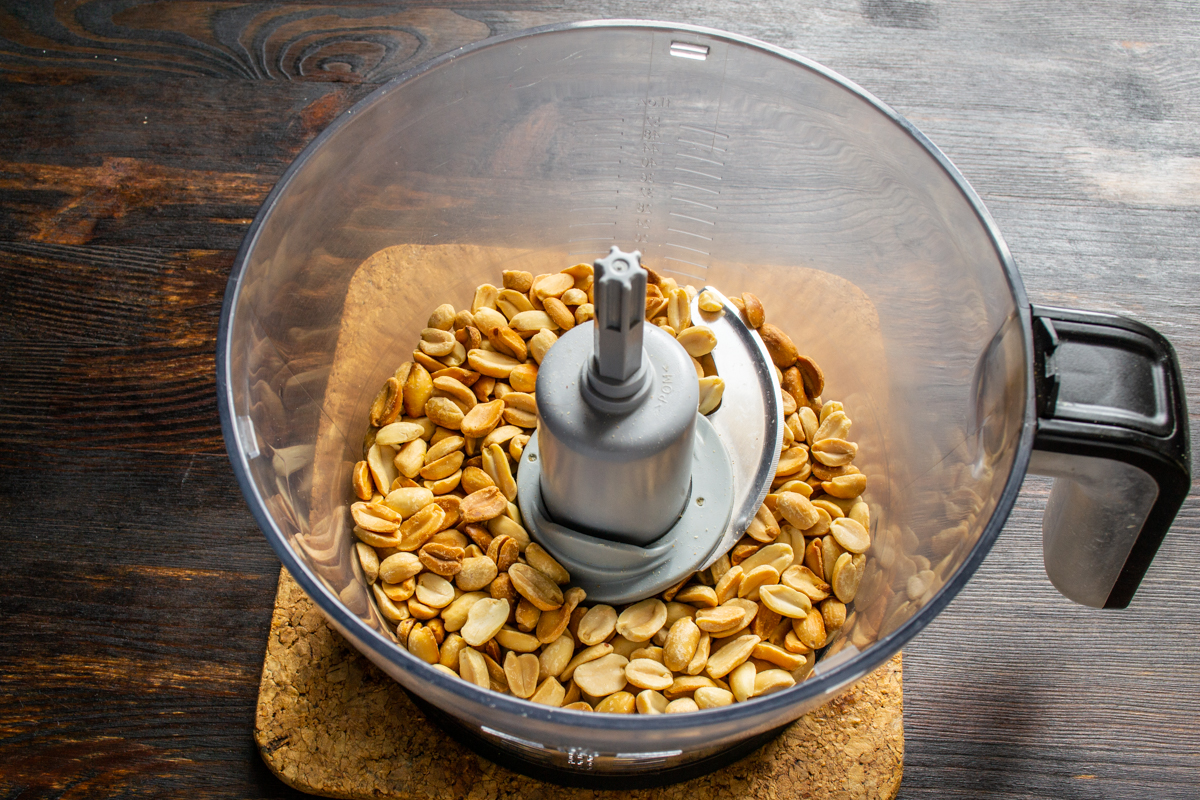
Let the nuts cool slightly and transfer them to a blender. Warm nuts release their oils better when ground.
Break the milk chocolate bar into small pieces and toss them into the bowl right after the nuts. Since the peanuts are warm, and even quite hot, you won’t need to melt the chocolate separately—it will melt on its own in a matter of minutes.
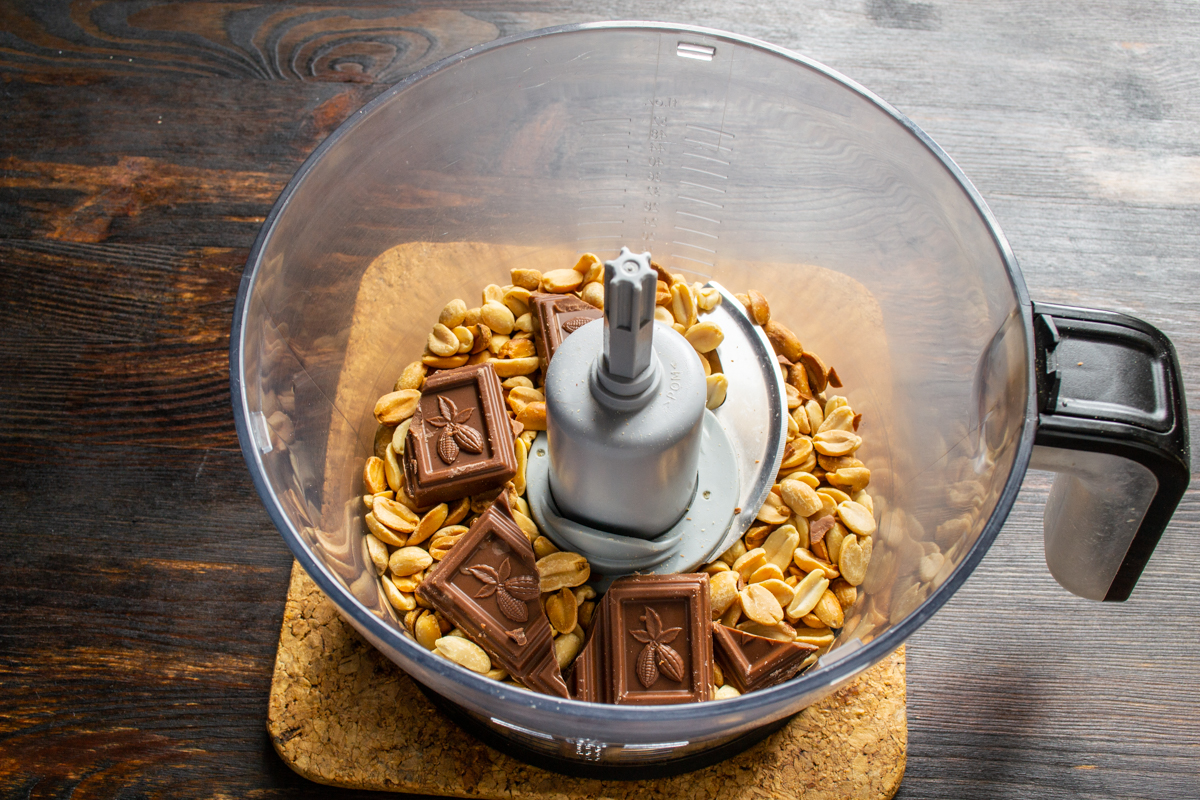
Break the chocolate bar directly over the warm nuts. The residual heat will make it melt on its own.
Once the chocolate softens, pour vegetable or olive oil into the bowl. Process the peanuts for a few minutes. When the mixture becomes clumpy and pieces of dough-like paste start rolling behind the blades, you can add the rest of the ingredients.
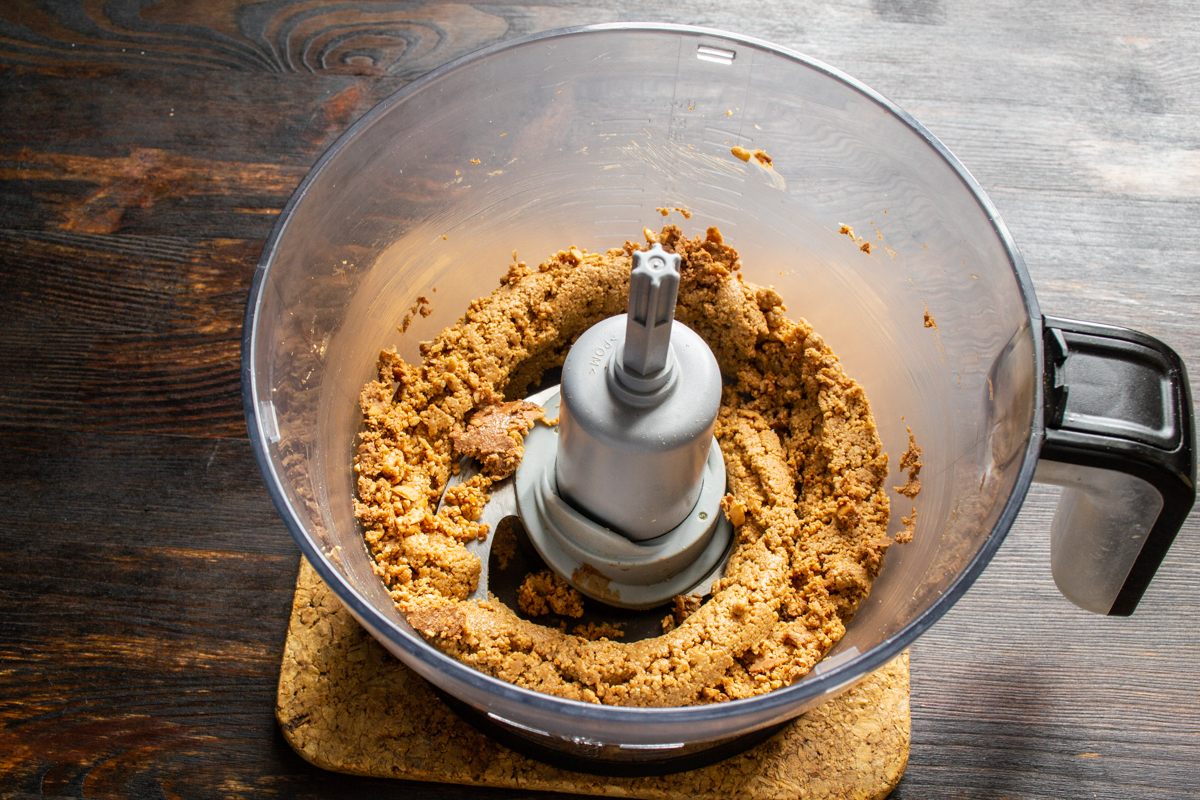
At this stage, the mixture will be thick and clumpy. This is an intermediate result before adding the rest of the ingredients.
Add granulated sugar or liquid honey. Sprinkle in a pinch of fine salt. Salt is absolutely necessary here, as it balances the sweet flavor of the butter.
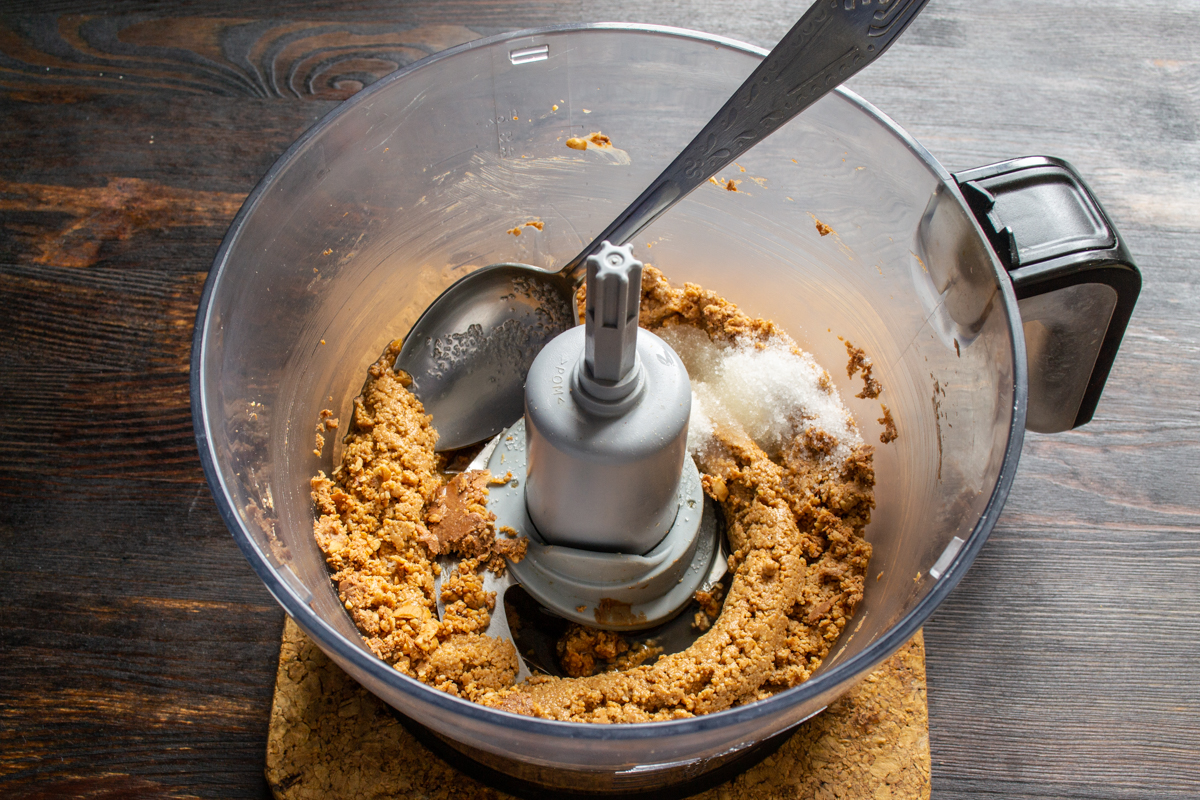
A pinch of salt is a mandatory element that balances the sweetness and enhances the chocolate flavor.
Add the cocoa powder. If you are preparing this spread for adults, you can add a tablespoon of chocolate liqueur, cognac, or whiskey at this stage.
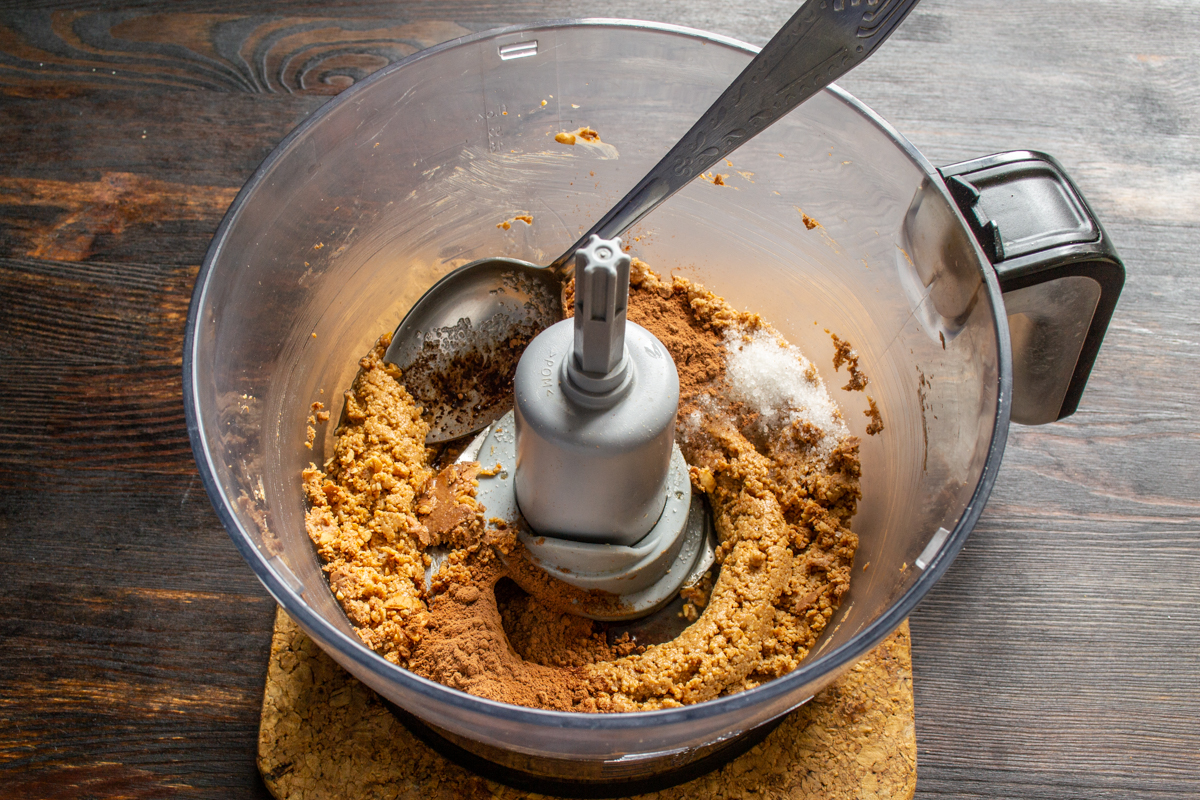
Cocoa will give the butter a richer color and a deep chocolate flavor.
Blend the ingredients for a few more minutes. If your blender lacks the power to achieve a creamy consistency, I recommend adding one more tablespoon of vegetable oil, removing the blade, and blending the paste with an immersion blender until perfectly smooth and creamy.
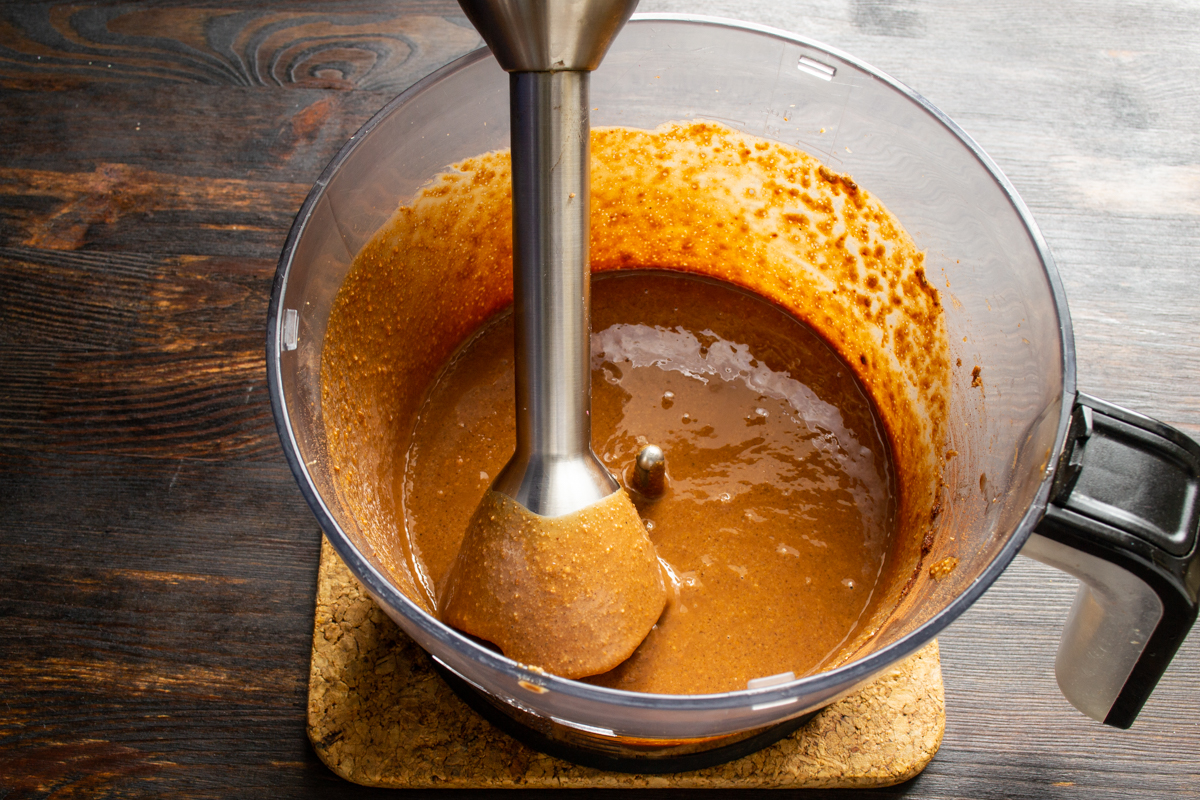
If a stand blender struggles, an immersion blender will help achieve that perfect silky texture.
Transfer the finished peanut butter into clean, dry jars. Once cooled, seal tightly with dry lids. At first, the butter might seem a bit runny to you, but that is exactly how it should be. The peanut butter will thicken in about 10 hours, developing a texture similar to chocolate butter.
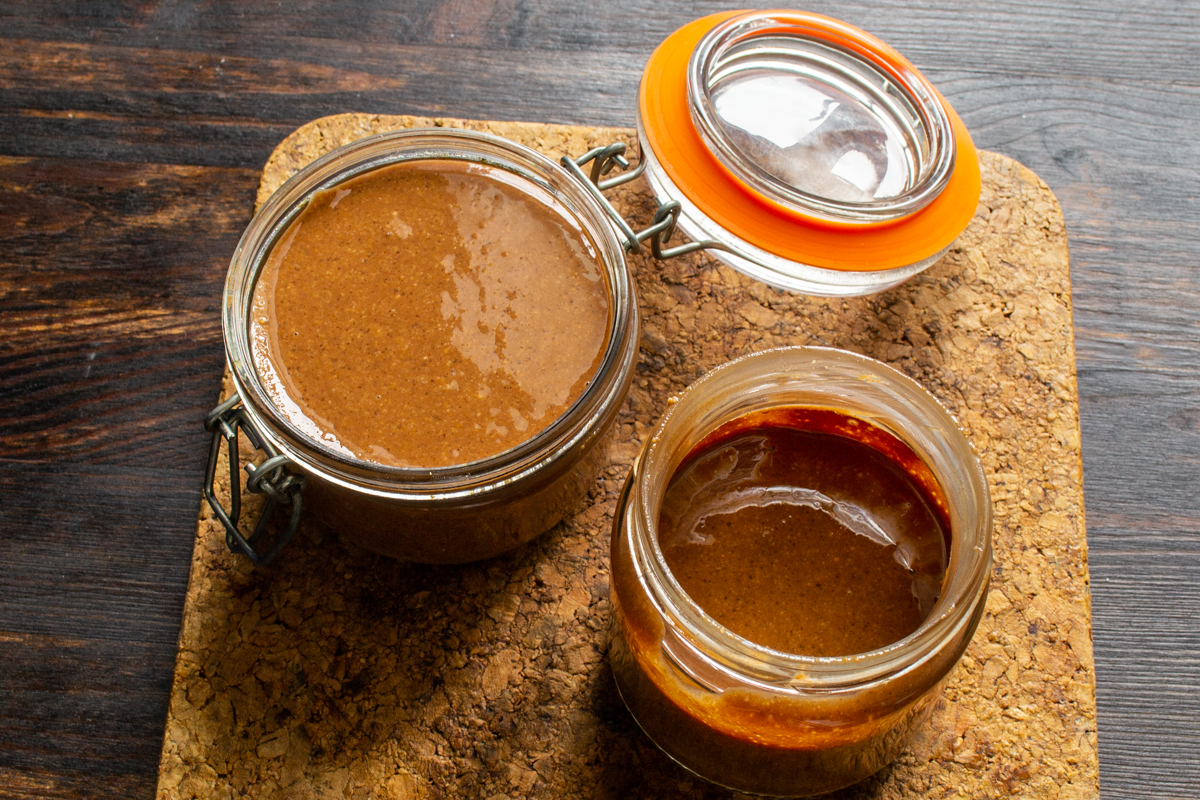
Pour the paste into jars. After 10 hours in a cool place, it will thicken noticeably.
In terms of flavor, homemade chocolate peanut butter significantly surpasses similar commercially produced products. You control the taste, quality, process, and consistency of the finished spread. You can play around with the flavors: substitute milk chocolate with dark chocolate, use different types of honey, vary the roasting level of the peanuts, or add vanilla extract. Try making the butter with cold-pressed olive oil; it will add a slightly piquant bitterness. Serve the finished chocolate peanut butter with crepes, syrniki (farmer cheese pancakes), or fresh fruit—it pairs exceptionally well with apple and banana slices. To keep the product fresh, store the jar in a cool, dry place or in the refrigerator if you prefer a firmer texture. If the butter gets too hard, just leave it at room temperature for 15 minutes before using to bring back its tender, spreadable consistency.
0 comments