
Making homemade candies from simple, accessible ingredients is incredibly easy. These chocolate chip peanut candies are a modern take on classic treats, where the rich flavor of roasted nuts takes center stage. The combination of lightly salted nuts and the deep sweetness of varenaya sgushenka (caramelized sweetened condensed milk) creates that beloved 'salted caramel' effect gourmets appreciate so much. For a beautiful presentation, I highly recommend picking up some mini paper liners sized to fit your candies. Assembling and plating homemade desserts is a fascinating process that is perfect for involving kids: it turns cooking into a fun game with the added bonus of licking spoons and getting chocolate all over their little hands.
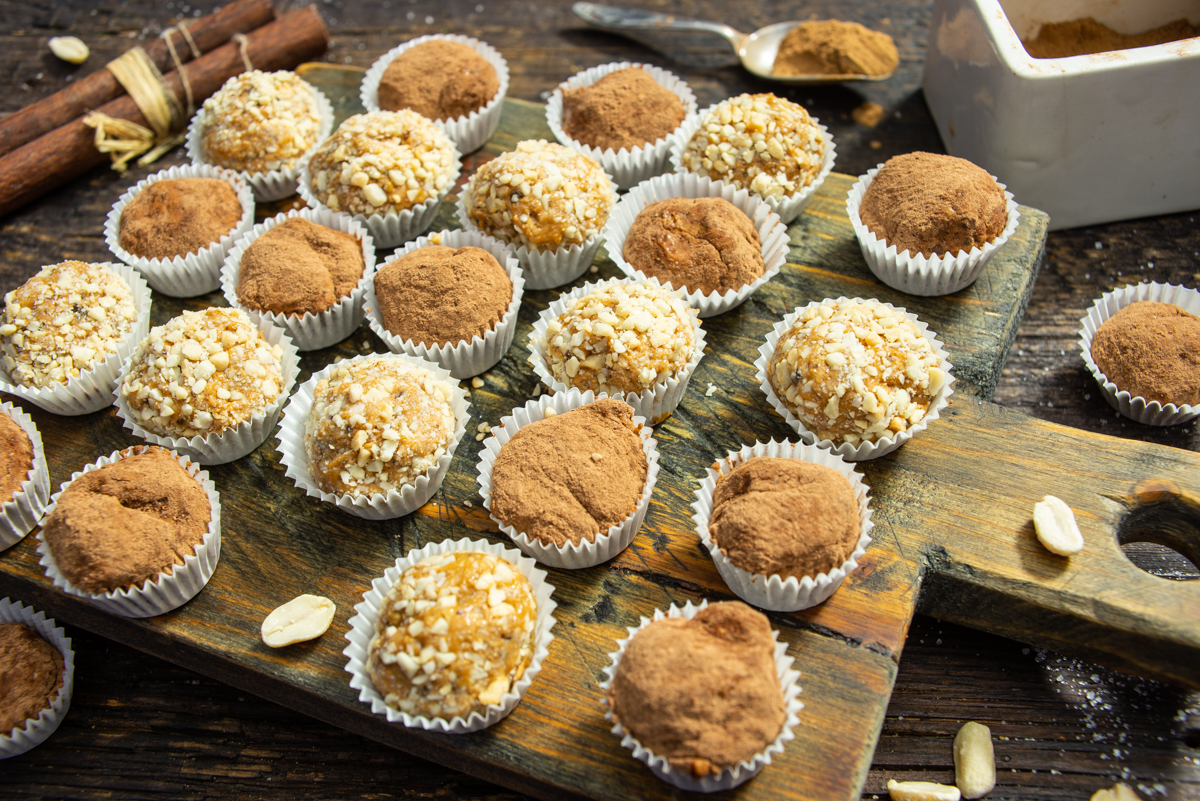
These delicate homemade candies combine the sweetness of caramel with the crunch of roasted peanuts.
Ingredients
- 250 g (8.8 oz) roasted salted peanuts
- 50 g (1.7 oz) butter
- 50 g (1.7 oz) powdered sugar
- 80 g (2.8 oz) varenaya sgushenka (caramelized sweetened condensed milk or dulce de leche)
- 100 g (3.5 oz) dark chocolate
- unsweetened cocoa powder
- liqueur or cognac, optional
Instructions
Pulse the roasted salted peanuts in a food processor until they form a very fine crumb. Set aside 50 g (1.7 oz) of the crushed peanuts for coating the candies later. You can use any peanuts, not necessarily salted. However, the combination of lightly salted nuts with caramel is a sweet dessert classic.
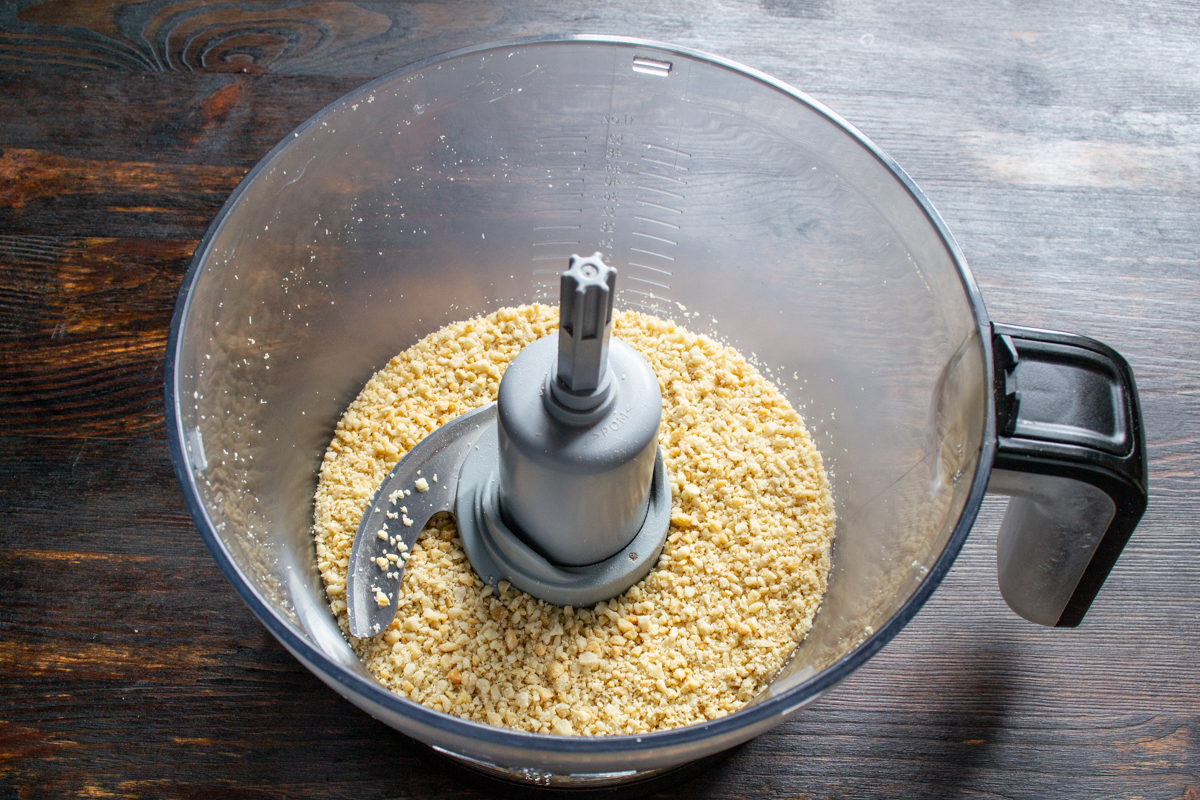
Process the peanuts into a fine crumb, reserving a portion for the final coating.
Add the butter to the ground peanuts. The butter should be slightly softened at room temperature, but not entirely soft; otherwise, the candies will take much longer to set.
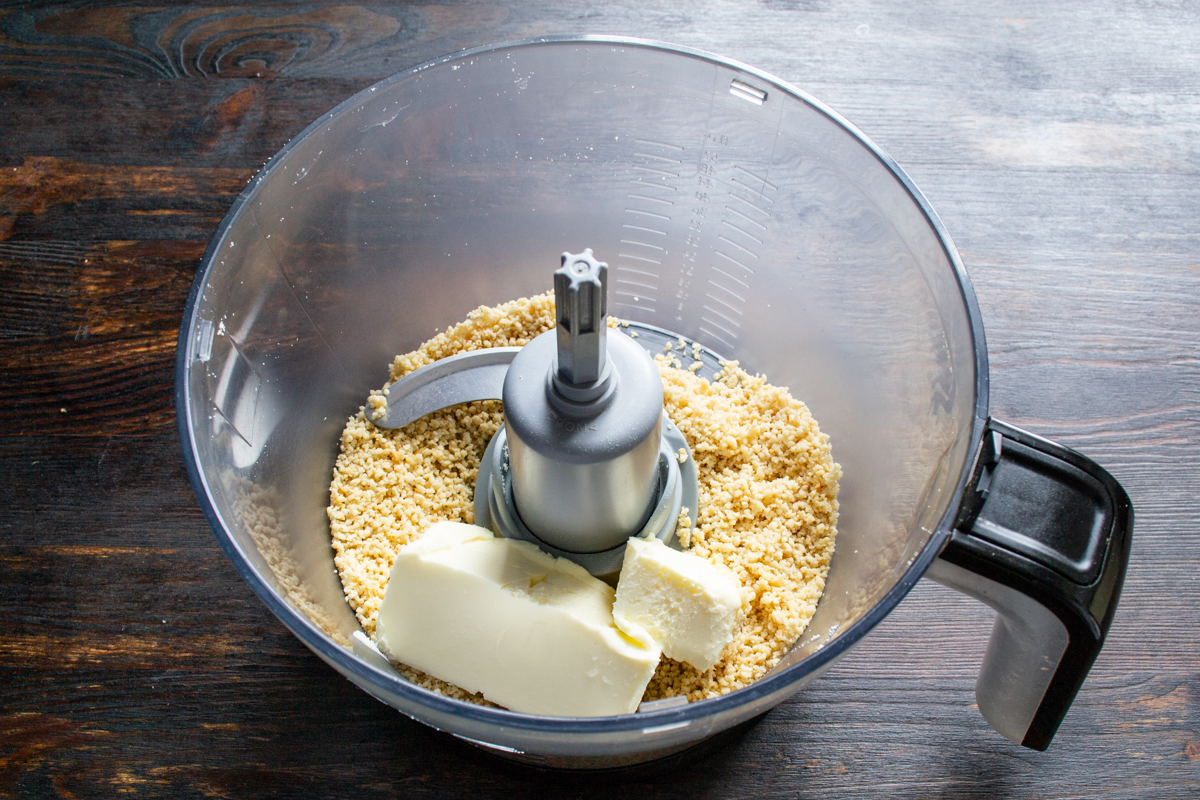
The butter should be slightly softened so the mixture becomes smooth but not too runny.
Pour the powdered sugar into the bowl.
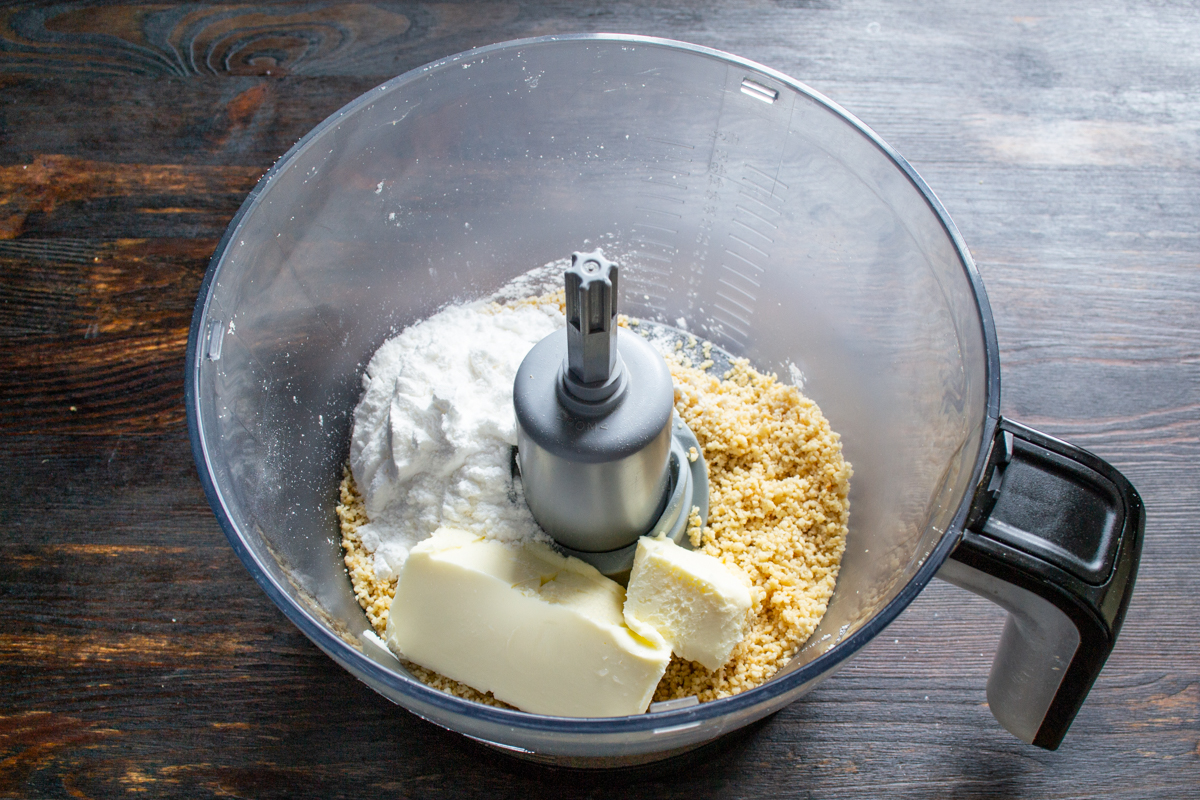
Powdered sugar adds the necessary sweetness and helps stabilize the texture.
Add the caramelized sweetened condensed milk (or dulce de leche). This ingredient varies in consistency. A runny caramelized milk will soften the candy mixture too much, requiring extra butter for the candies to hold their shape.
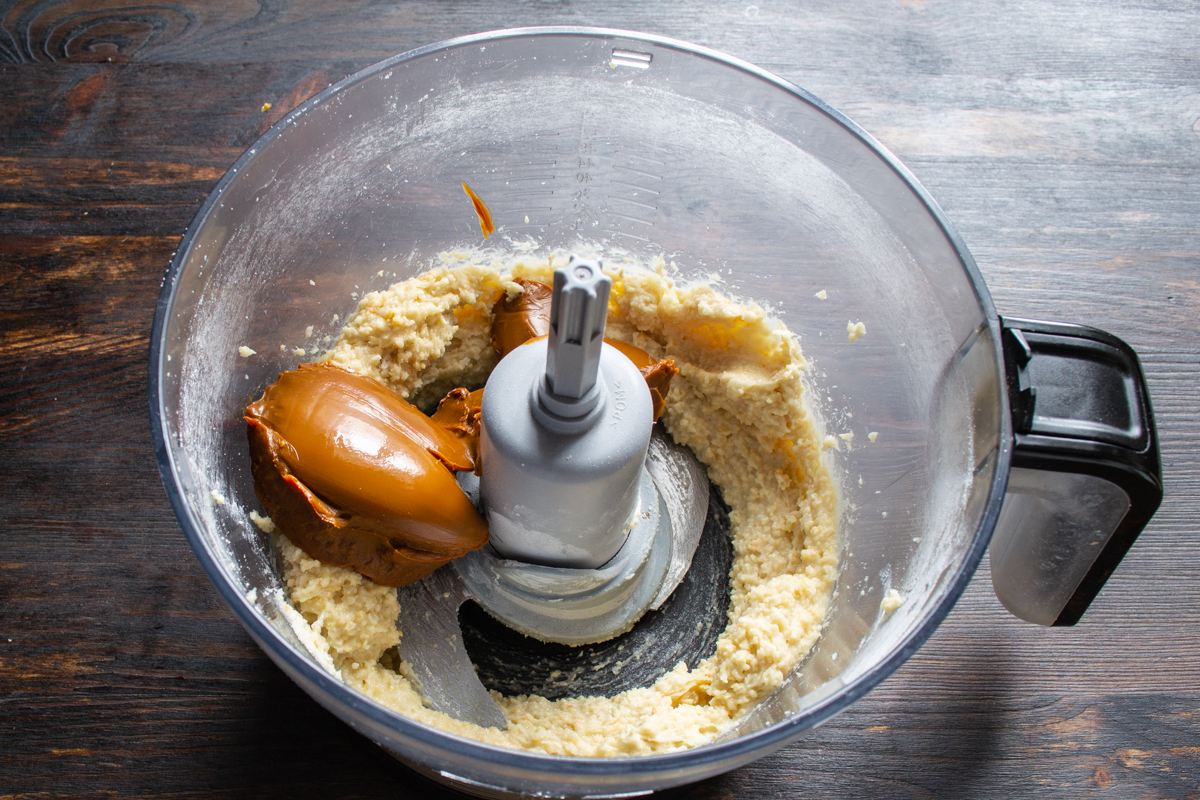
Choose a thick caramelized sweetened condensed milk so the candies hold their shape better once set.
Grate the dark chocolate bar on a coarse grater to get fairly large chocolate chips. You can also use good-quality chocolate chips or granulated chocolate for this recipe.
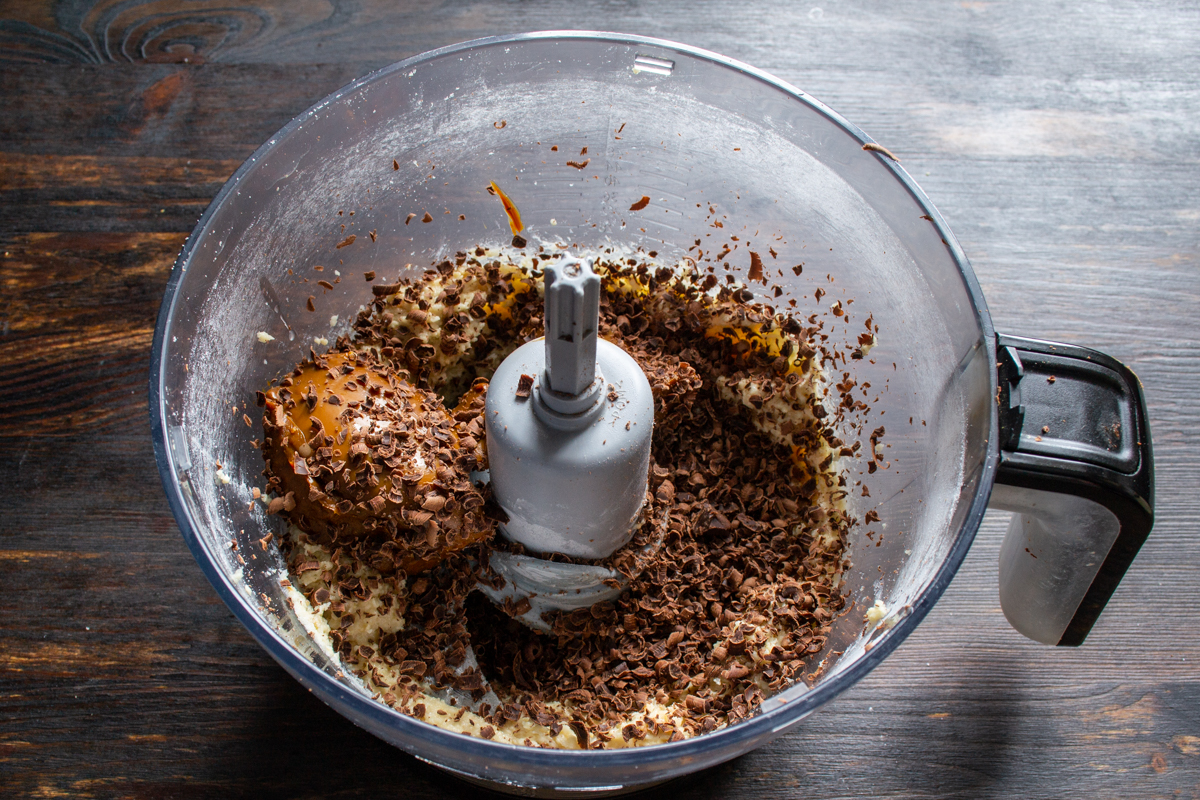
Dark chocolate provides a wonderful contrast to the sweet base, creating a deep flavor.
Blend the candy mixture in the food processor for a few minutes. If desired, add one tablespoon of chocolate liqueur or cognac. If making this dessert for children, substitute with a few drops of vanilla extract. Transfer the mixture to a bowl, press plastic wrap directly onto the surface, and place it in the freezer for 1 hour.
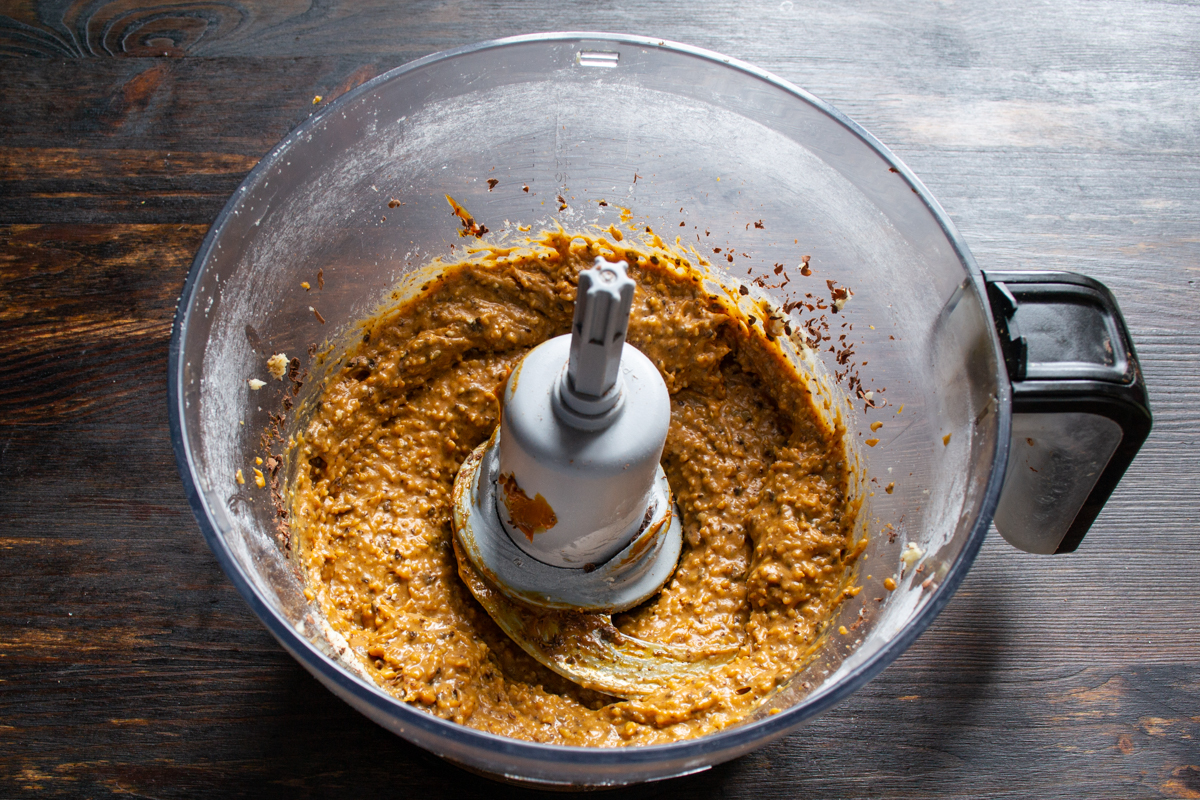
After blending thoroughly, chill the mixture in the freezer to make it easier to handle.
Scatter the reserved peanut crumbs onto a plate. Measure out the candy mixture with a teaspoon; you will need 13-15 g (about 0.5 oz) per candy. Drop the portions onto the crumbs, shape them into small balls, and roll to coat. Place the finished candies into small paper liners.
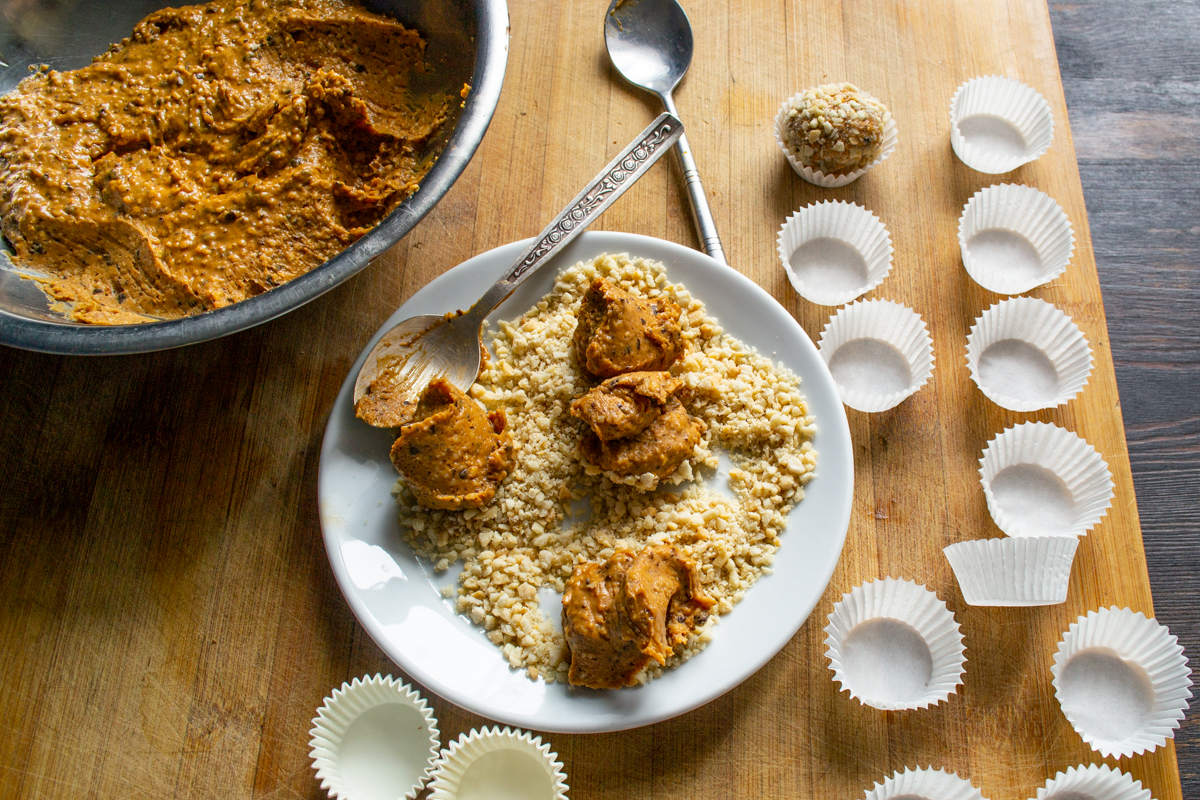
Form small balls weighing about 15 grams and roll them in the reserved peanut crumbs.
Coat about half of the candies in the peanut crumbs, and the remaining half in unsweetened cocoa powder. Simply place a teaspoon of the mixture into a small jar with cocoa, swirl it around, and roll it into a neat ball.
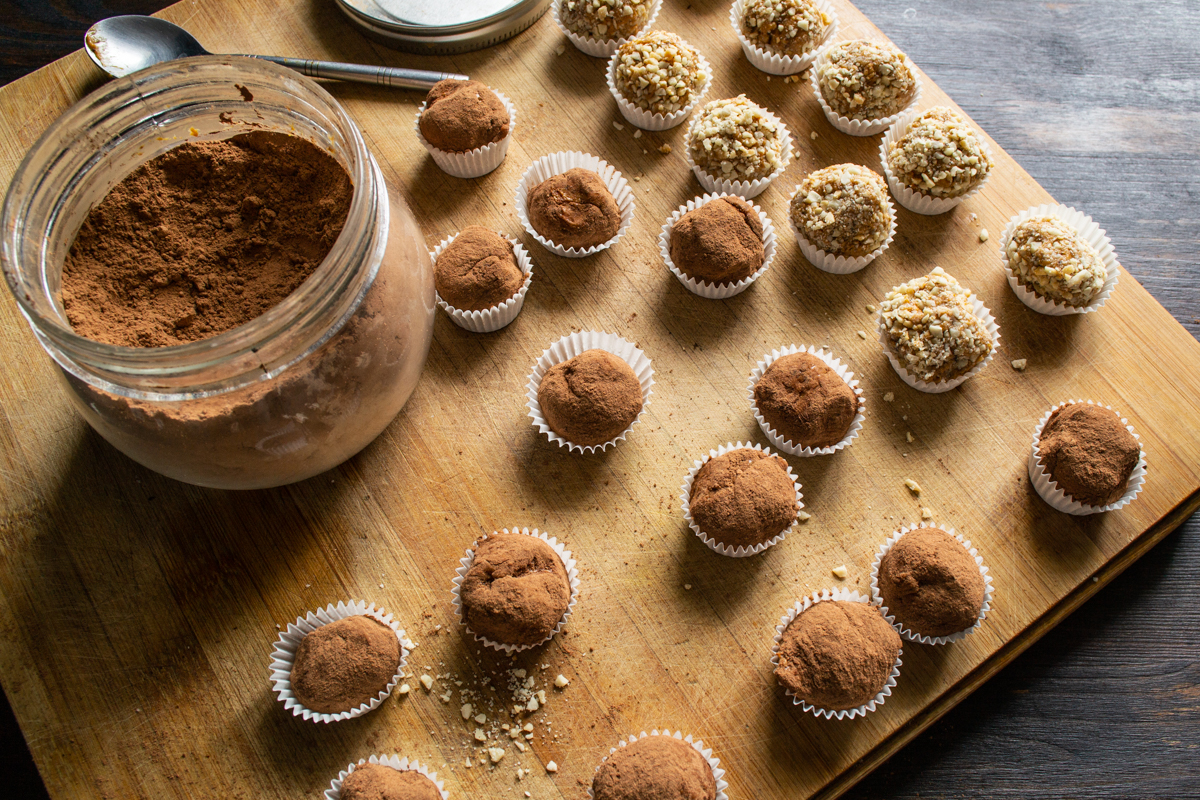
Use cocoa powder to create a contrasting look and a slight bitterness.
Transfer the finished candies to the freezer for a few hours. I prefer to freeze these treats because they taste best when thoroughly chilled. You can also leave them in the refrigerator if your fridge is set to a sufficiently low temperature.
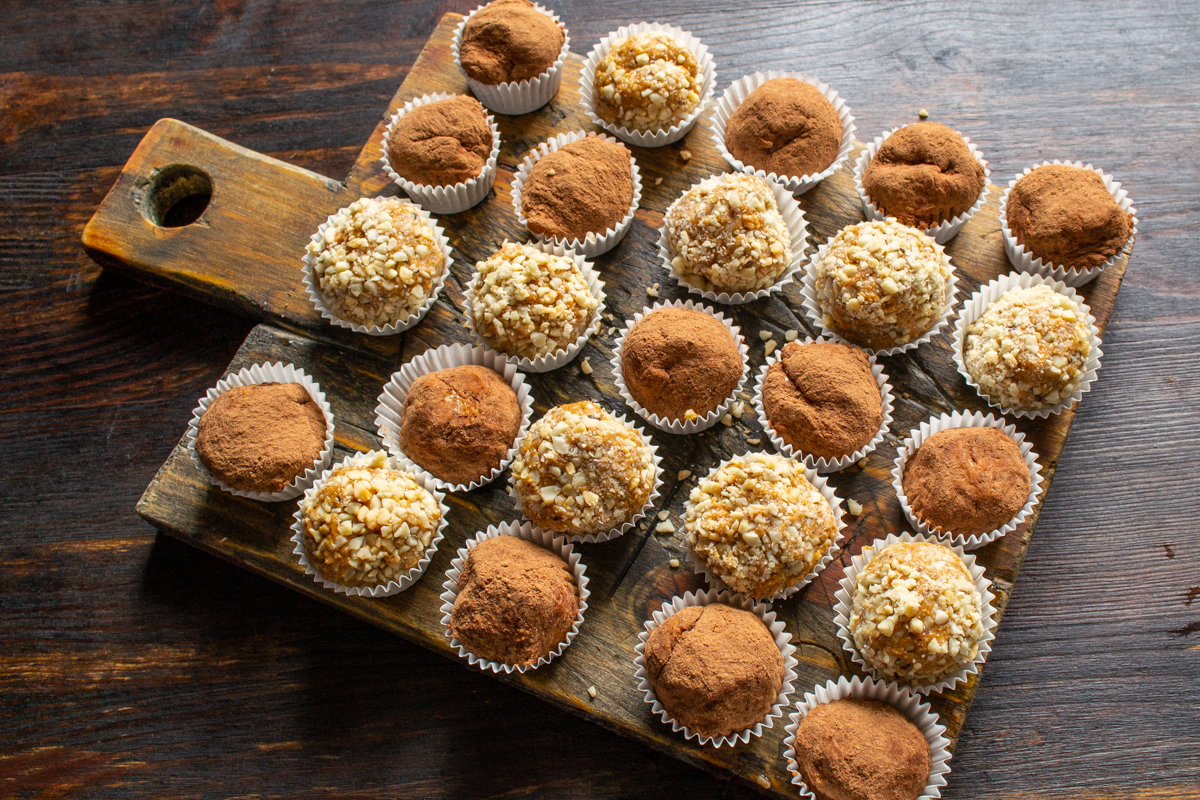
The final step is a long chilling process. Frozen candies develop the perfect texture.
These homemade chocolate chip peanut candies are incredibly delicious, but their secret lies in the right temperature control. To maintain that perfect density, keep the dessert in the freezer or the coldest part of your refrigerator. When thoroughly chilled, they have the texture of an expensive praline and literally melt in your mouth. If you want to experiment, try substituting the dark chocolate with white chocolate, or hide a whole hazelnut inside each candy for a wonderful crunch. This dessert makes an excellent homemade sweet treat for gifting. Arrange the candies in craft gift boxes, tie them with a bright satin ribbon, and you have a stylish present ready for any holiday. Beyond coating them in cocoa and nuts, you can use desiccated coconut or even crushed freeze-dried raspberries to add a vibrant color and a pleasant tartness. These little tricks will help turn a basic recipe into a true culinary masterpiece.
0 comments