
It is a familiar scene. Two spoons of powder go into a cup, followed by boiling water or freshly scalded milk, and then a quick stir. Dry lumps float on the surface, refusing to sink. The liquid beneath them is muddy, thin, and tastes of bitter dust. Taking a sip reveals tinted water with a faint cocoa flavor, rather than a rich, milk-based hot chocolate.
Now picture a cup from a proper coffee shop. The beverage there is dense, trailing slightly behind the spoon, leaving a thin, glossy film on the sides of the mug. It does not separate after sitting for a minute. The difference lies not just in using an expensive powder, though that plays a part, but in how that powder is handled.
Those surface lumps appear due to physics, not bad luck. Everything rests on three elements: the right powder, the temperature of the milk, and the order in which the ingredients are combined. We can break down exactly what to do with your hands and what to watch for with your eyes.
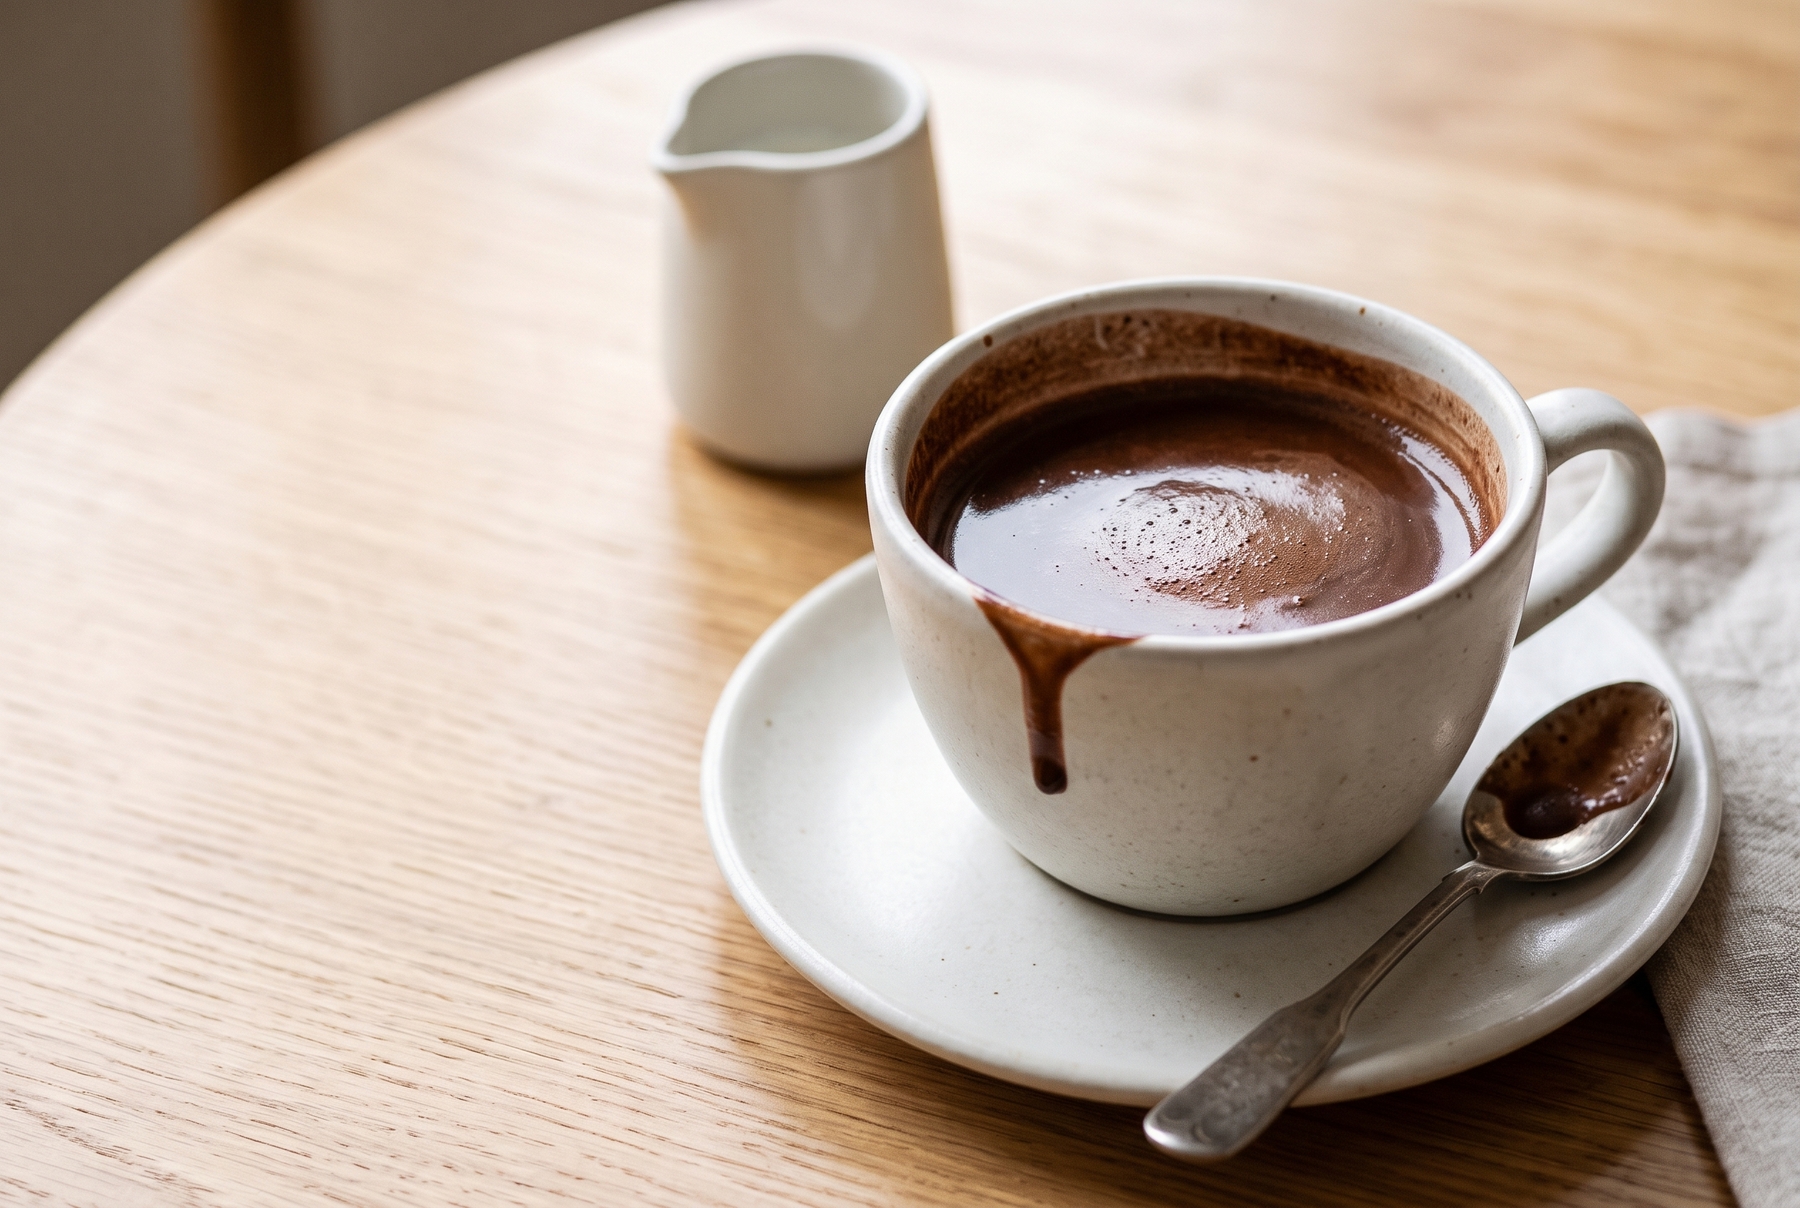
Perfectly brewed thick cocoa with a silky texture and light foam.
Table of Contents
How to Choose Cocoa Powder: Two Parameters That Decide Everything
The real work happens right at the store shelf. Two details on the label influence the final cup much more than one might think.
The first is alkalization. Packaging often labels this as “alkalized” or “Dutch-processed” cocoa. Treating the cocoa with an alkali neutralizes acidity, making the powder darker, smoother, and less sharp. The acidity drops, the flavor deepens and softens, and the color shifts to a deep brown with a reddish tint. This type of powder dissolves more easily in liquid and delivers a rounded chocolate flavor without a sharp, sour edge.
Natural, untreated powder is lighter, often with a reddish-orange hue, and carries a sharper, more acidic taste. It is not inferior, but it serves a different purpose. It works wonderfully in baking with baking soda, but in a hot cup, it often comes through with that distinct sour sharpness.
The second parameter is fat content. Checking the ingredient list for cocoa butter percentage is essential. Using cheap, defatted powder results in a watery beverage. A dense drink requires a higher fat content, aiming for 20% or more. A higher amount of cocoa butter in the powder creates a denser, more velvety body in the beverage because fat carries flavor and coats the tongue. Color offers a hint as well, as a pale, grayish powder almost always leads to disappointment.
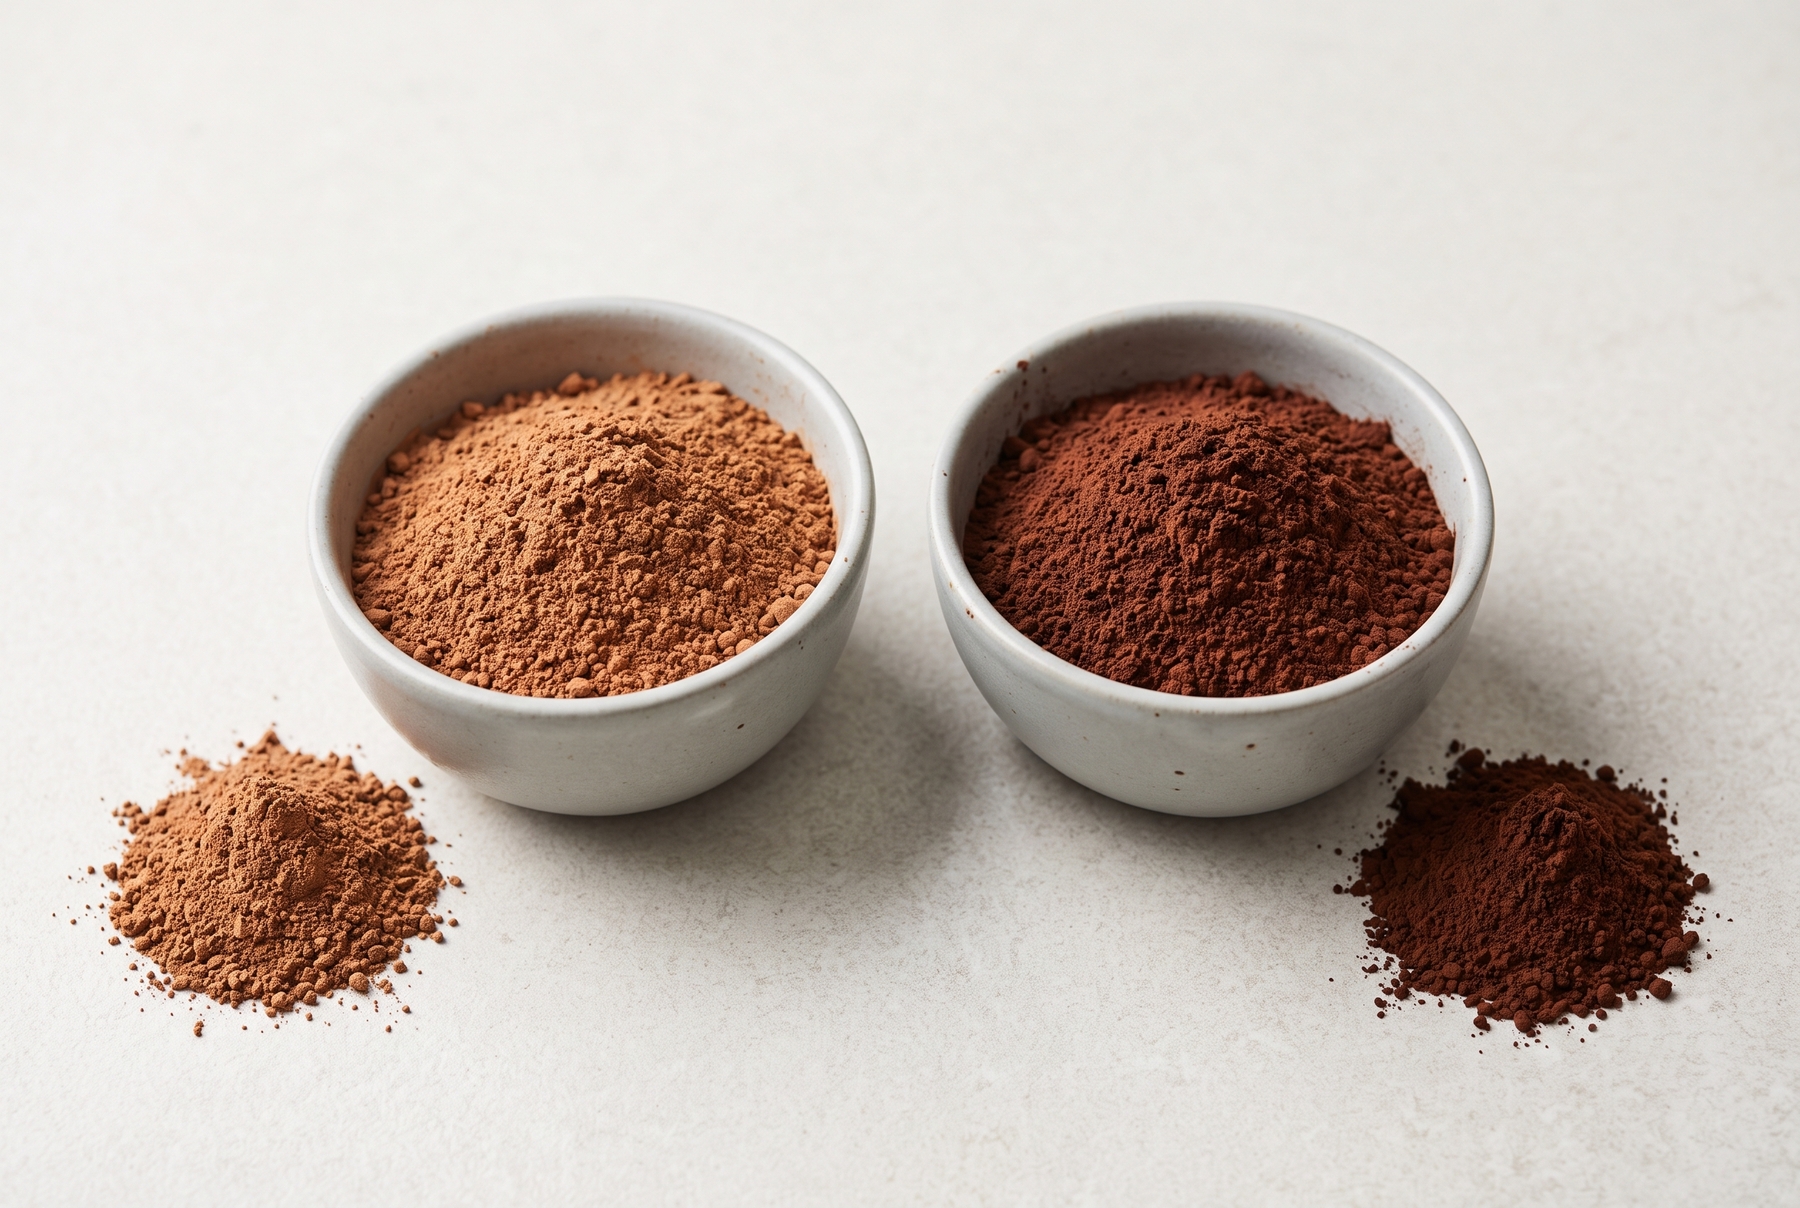
Dutch-processed powder (right) is noticeably darker and delivers a deeper chocolate flavor.
How to Prepare Lump-Free Cocoa: Making a Paste First
The most crucial culinary technique comes next. Dropping the powder directly into hot milk simply does not work. Cocoa particles contain fat and resist moisture, meaning that when they hit hot liquid, the outer layer hydrates and instantly clumps into a sphere. Dry powder remains trapped inside this sphere, entirely shielded from the water. This creates the exact lumps that end up being chased around with a spoon.
The solution is as old as restaurant kitchens themselves. The paste comes first, followed by the liquid.
A single cup of thick cocoa requires:
- 2 tbsp cocoa powder (Dutch-processed, minimum 20% fat content)
- 200 ml (6.8 fl oz) milk
- A pinch of salt
- Sugar to taste
- Optional: cinnamon, vanilla, or a pinch of chili powder
The powder goes into a dry cup. Adding a pinch of salt does not make the drink salty; instead, it suppresses bitterness and draws out the chocolate flavor, making this an unskippable step. Pouring in just a drop of warm (not hot) liquid, about a teaspoon, allows the mixture to be rubbed with a spoon into a thick paste. It should look like melted dark chocolate: shiny, viscous, and free of any dry grains. If it feels too stiff, adding another drop of liquid helps. At this stage, while the lumps are few and soft, breaking them all down is effortless.
Only when the paste becomes smooth and glossy is it time to think about the hot milk.
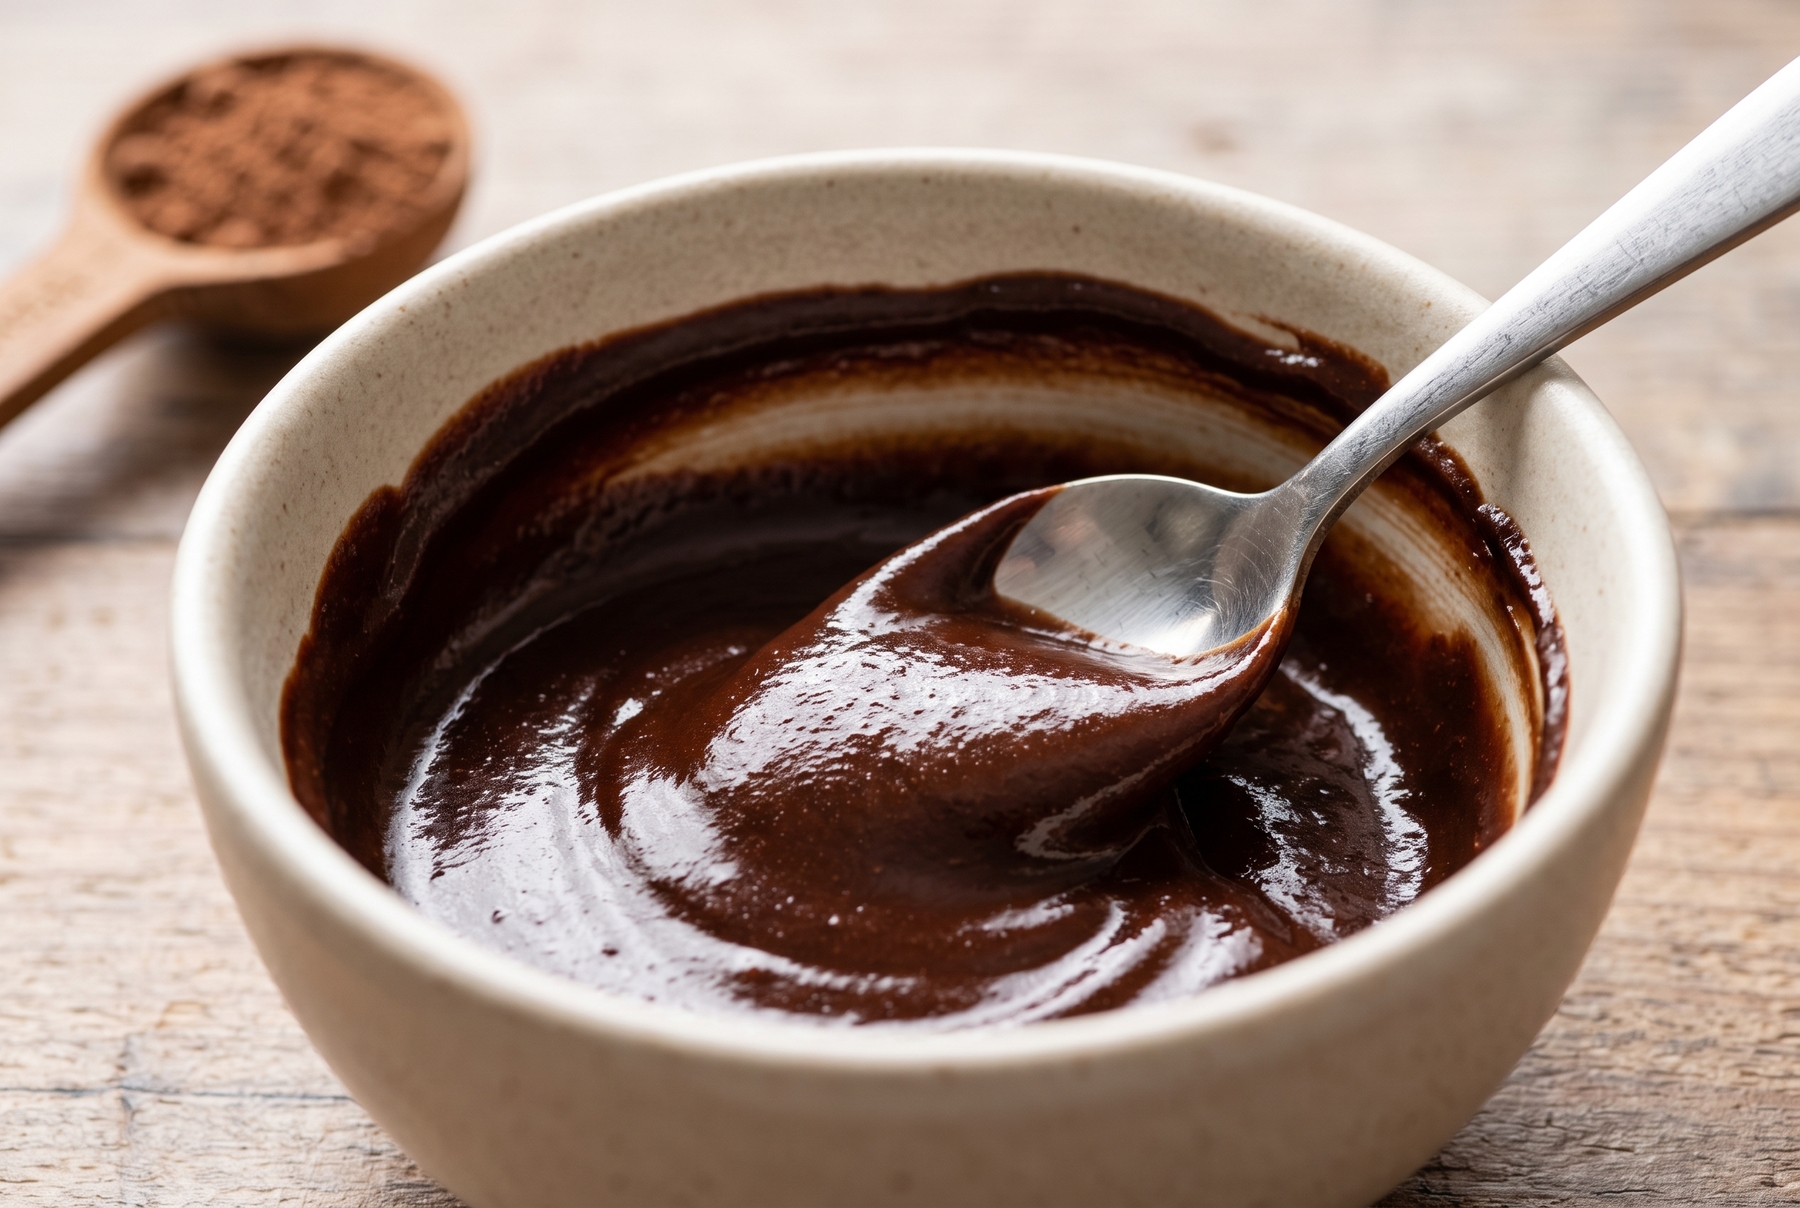
Rubbing the powder with warm water into a smooth paste prevents lumps from forming.
Why Milk for Cocoa Should Never Reach a Boil
The milk is often where cocoa loses its depth. It seems logical that hotter is better, but a rolling boil actually damages the milk.
High heat causes the proteins on the surface to coagulate, forming that infamous skin that many people despise. Overheating makes the milk sugars scorch against the bottom of the pan, giving the beverage a burnt, bitter undertone. Additionally, some of the water boils away, leaving the flavor entirely flat.
The goal is hot, but not boiling, milk. Relying on visual cues works better than setting a timer. Heating it over medium heat reveals a clear progression: first, light steam rises along the edge of the saucepan, followed by tiny, bead-like bubbles gathering near the walls. The surface shimmers slightly but does not bubble vigorously. This is the exact sweet spot (around 80 °C or 176 °F, for those who prefer numbers), where the milk provides creaminess without crossing into a boil. Once large bubbles erupt in the center and the milk starts climbing upward, it is too late, and the pan needs to come off the heat immediately.
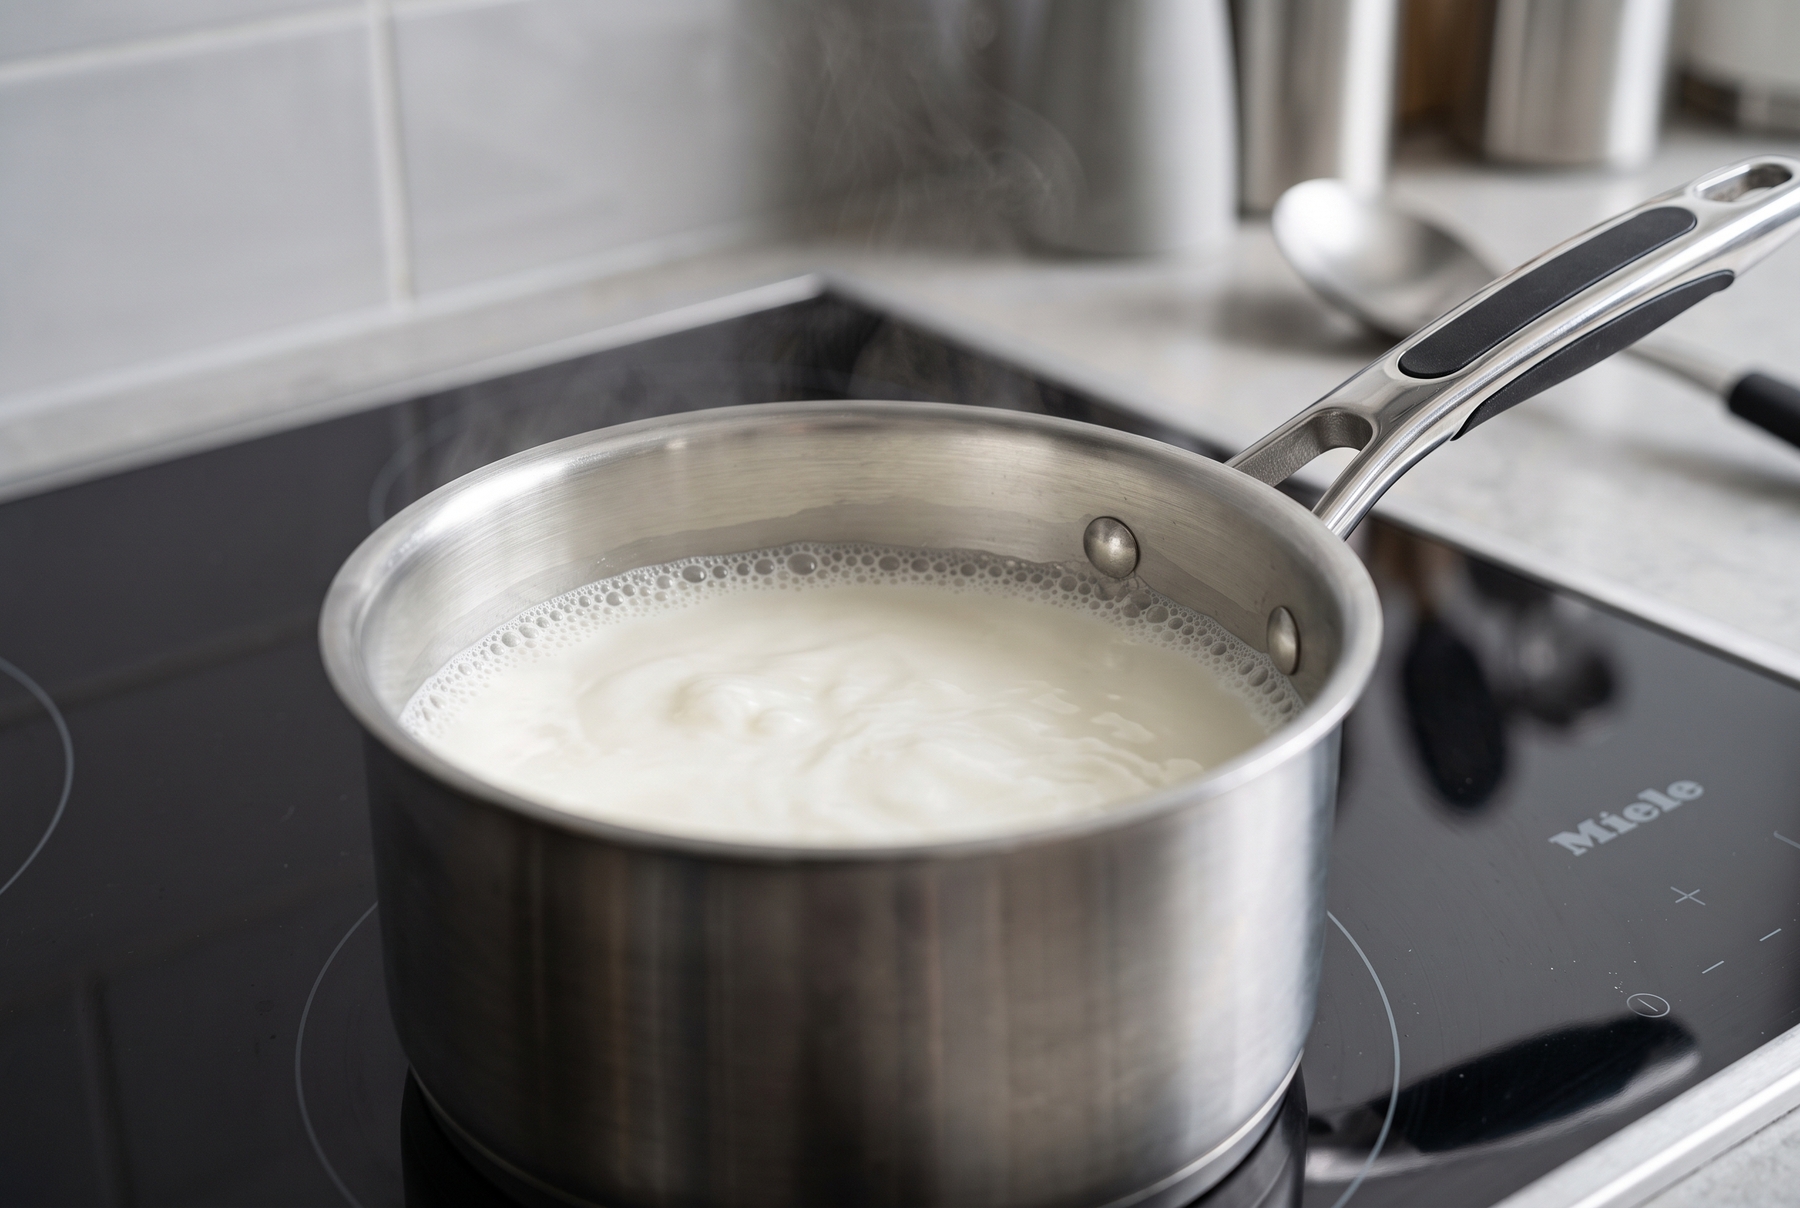
The milk must be heated until small bubbles appear along the edges, avoiding a rolling boil.
How to Mix Cocoa With Milk for a Seamless Texture
Pouring the hot milk into the chocolate paste in a thin stream while stirring constantly is the best approach. Doing the reverse by dumping the paste into the milk at once brings back the risk of clumping. The first couple of spoonfuls of milk will thin the paste into a fluid cream, and after that, the rest can be poured more boldly.
As for the foam, a single spoon rarely achieves true gloss. While a trusty French whisk does an excellent job of raising a froth, a simple, battery-operated handheld frother works perfectly at home. Submerging it into the cup and whisking for 15 to 20 seconds creates a fine, dense foam. Right before your eyes, the beverage thickens and becomes perfectly smooth, with a distinct surface shine.
Incorporating spices requires a gentle touch. Ground cinnamon or a pinch of chili should not be heated in the milk for long or toasted in a dry pan, as overheating easily turns them bitter. They belong in the finished, hot cup at the very end, joining the final whisking process. Vanilla follows the same rule, as its volatile aroma vanishes under prolonged heat.
A thin chocolate film remains on the walls, and tilting the cup reveals the cocoa sliding down slowly in a rich, viscous wave.
0 comments