
In my kitchen, an intern once scorched an entire pan of onions in 10 minutes. The task was simple: caramelize the onions. I warned him in advance that it was a slow process. But the dining room was packed to the gills, the guy got nervous, cranked up the burner, and ran off to a neighboring station. He returned to find black flakes forming around the edges of the onions, the smell of burning drifting through the kitchen, and an ashy aftertaste settling on the bottom of the pan. After an experience like that, you no longer argue: onions require time.
The internet still promises caramelized onions in 10 to 15 minutes. Do not believe it. A quarter of an hour over high heat yields, at best, browned onions with a raw center. At worst, you get what my intern produced.
Many home cooks face one of two disasters. Either the onions quietly stew in their own juices, remaining pale, watery, and pungent. Or they instantly turn black around the edges and become bitter, even though the inside has barely warmed through. The sweet spot lies in between: the onions darken slowly, soften, and begin to smell sweet.
Caramelizing onions is closer to reduction than to frying. You are not frying the onions; you are slowly drawing out their natural sugars without adding a single gram of anything foreign. For pennies, you get caramelized onions with a flavor that is usually coaxed out by broth, wine, or long braising. One kilogram (2.2 lbs) of onions, a little fat, and time.
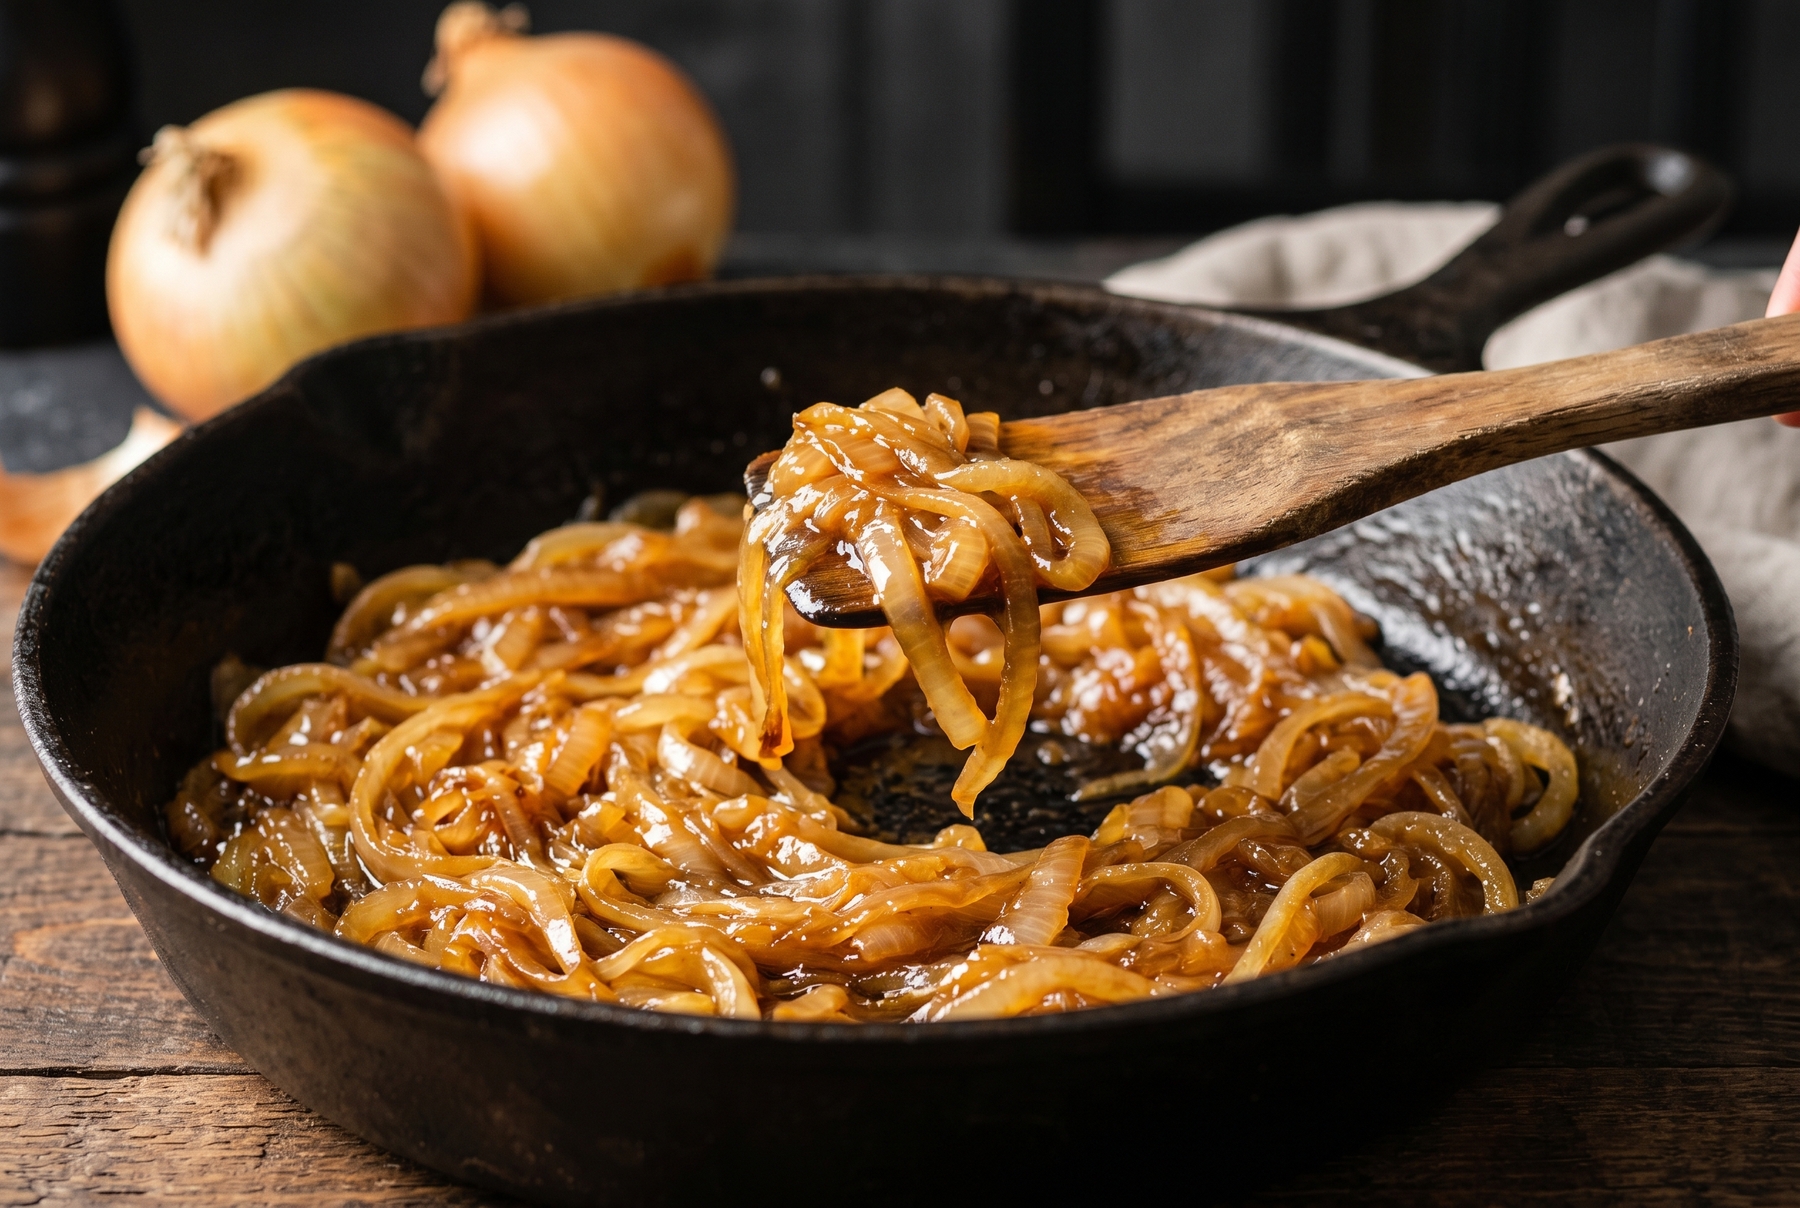
True “onion gold”: the result of slow simmering, during which sugars break down, creating a deep amber color and sweet taste.
Table of Contents
What Happens to Onions in the Pan
A raw onion consists of almost 90% water. Until this water evaporates, the temperature at the bottom of the pan will not rise above the boiling point, around 100 °C (212 °F). At this temperature, the onions boil in their own juices and will not begin to brown, no matter how long you wait. Therefore, for the first twenty minutes, we are not fighting for color, but simply patiently evaporating the moisture.
Next, two reactions kick in at once, and they are constantly confused. First: the Maillard reaction. The onion’s amino acids meet its own sugars, producing that roasted aroma with a meaty undertone and a brown color.
The second reaction: caramelization. With prolonged heating, the onion’s sugars break down on their own, yielding a honeyed sweetness. In a home pan, both processes overlap, and together they transform a pungent onion into a soft, sweet mass, almost like marmalade.
This is why granulated sugar does not save the day if you want to make caramelized onions rather than just sweeten and brown them. A pinch of sugar provides sweetness and quickly browns the onions, but the undercooked quality remains: inside, it is still the same sharp onion. The desired flavor comes from time: the onion’s own sugars break down, bringing forth those roasted, sweet, slightly bitter nuances.
Pan, Knife, and Fat: The Right Tools
A thin Teflon pan is unsuitable for caramelization. It has a thin bottom and heats unevenly in spots: it is already burning in the center while still boiling at the edges. Choose a vessel that retains and evenly distributes heat (cast iron, heavy-bottomed stainless steel, or copper). On a heavy pan, the onions darken more evenly. On a thin one, they can scorch in a spot within a minute.
Now for the knife. Onions are sliced in two ways, and for a nearly hour-long braise, the difference is significant. Slicing crosswise, into rings and half-rings, tears the fibers, causing the onions to turn into a puree more quickly. Slicing lengthwise (from root to stem, into wedges or petals) allows the pieces to hold their shape and not dissolve into mush. For caramelized onions, I almost always use the second method. This way, recognizable soft ribbons remain in the finished mass, rather than a uniform paste.
Fat is simpler. Butter provides flavor and a nutty hue, but it burns early, barely above 150 °C (300 °F). Vegetable oil is almost flavorless, but it easily withstands the temperature. Therefore, I use both: a tablespoon of vegetable oil (so the fat spreads more evenly across the bottom and the onions stick less) and a tablespoon of butter for flavor per couple of large onions.
The vegetable oil does not raise the butter’s smoke point: the milk proteins are still capable of burning. What saves them from burning is moderate heat, the moisture of the onions themselves, and the fact that you do not step away from the pan.
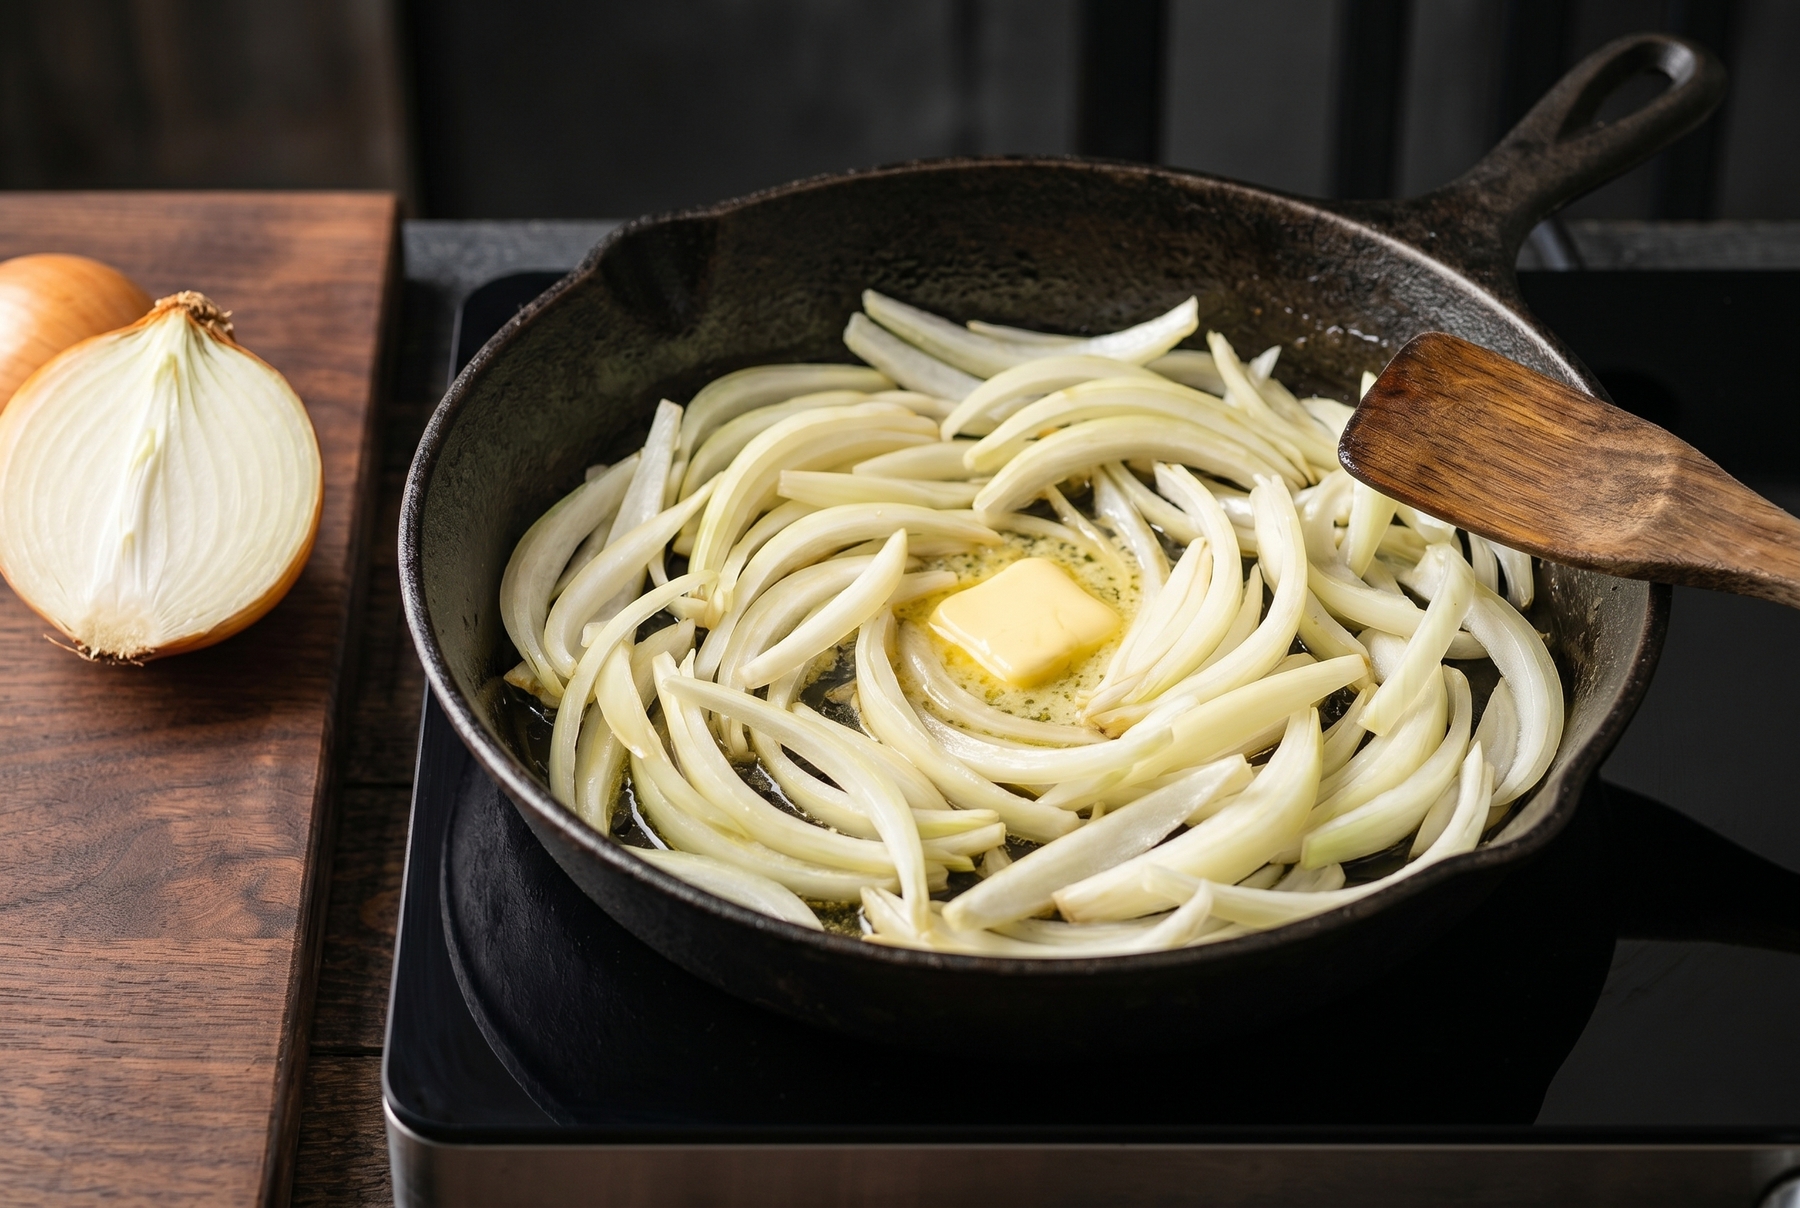
Slicing the onions lengthwise (into petals) and using a mixture of vegetable oil and butter ensures the right texture and rich aroma.
45 Minutes at the Stove: A Breakdown by Stages
The figure is unpleasant but honest. It takes 45 minutes, sometimes an hour, to go from sliced onions to dark amber: roughly how long it takes to caramelize onions without rushing. It will take less time only if you cheat (more on that below).
- 0–10 Minutes. Softening. Turn the heat to medium, warm the fat, toss in the onions, and immediately season with a pinch of salt. Salt draws the water out and speeds things up. The onions hiss, settle, lose their crunch, and become translucent, almost glass-like. There is no color yet. This is normal.
- 10–20 Minutes. First Gold. Reduce the heat to low. The moisture has decreased, and for the first time, a sweet scent, somewhat like baked apple, drifts through the kitchen. The edges of the slices begin to turn yellow. Stir once every couple of minutes, no more: the onions must have time to maintain contact with the bottom of the pan.
- 20–35 Minutes. Fond and Deglazing. This is where it gets interesting. The onions stick to the bottom and leave a brown crust (chefs call this the fond). It contains concentrated flavor, and burning it means losing half the result. The technique is simple: splash in a tablespoon of water or dry white wine and use a wooden spatula to scrape the crust back into the onions. It dissolves, imparts color and flavor, and the bottom is clean again. Repeat this every time the residue darkens. Over these 15 minutes, the onions will transition from yellow to a deep copper.
- 35–45 Minutes and Beyond. Amber. The onions have reduced in volume about fivefold, settling into a mound of moist mass the color of burnt caramel. The taste is a dense sweetness with a slight bitterness in the background. The texture is like soft marmalade: the slices are still discernible but separate under the spatula without resistance. You can stop here. If you want them darker and more bitter, cook for another 10 minutes, but keep a close eye: the line between deep flavor and burnt is very thin here.
Baking Soda, Temperature, and Rescue: Where Things Go Wrong
There is a quick trick: a pinch of baking soda per kilogram (2.2 lbs) of onions right at the beginning. Baking soda increases alkalinity, and in an alkaline environment, browning and the Maillard reaction proceed faster. It also softens the onion’s structure. The time is cut in half. The downside is clear: the mass easily turns into a puree, and if you add too much baking soda, a soapy taste with a metallic overtone appears. Therefore, use exactly a pinch, no more. It is a compromise on texture and flavor, not a full-fledged substitute for slow braising. I keep baking soda for cases when time is tight, not for everyday use.
People most often burn onions due to three mistakes. They crank the heat to high at the beginning (the onions turn black on the outside but remain raw on the inside). They forget to stir during the residue stage, turning the fond into charcoal. Or they skimp on the fat, causing the onions to stick to the dry bottom in clumps.
If the onions do start to burn, act quickly: you can only save burnt onions in the first few minutes. Remove the pan from the heat immediately, without waiting for the smell to spread through the kitchen. Add a drop of water or toss in an ice cube to knock down the heat. Pick out and discard anything blackened. The bitterness from burnt particles spreads throughout the entire batch, and stirring in the burnt bits is useless. It is better to sacrifice a spoonful than to ruin everything.
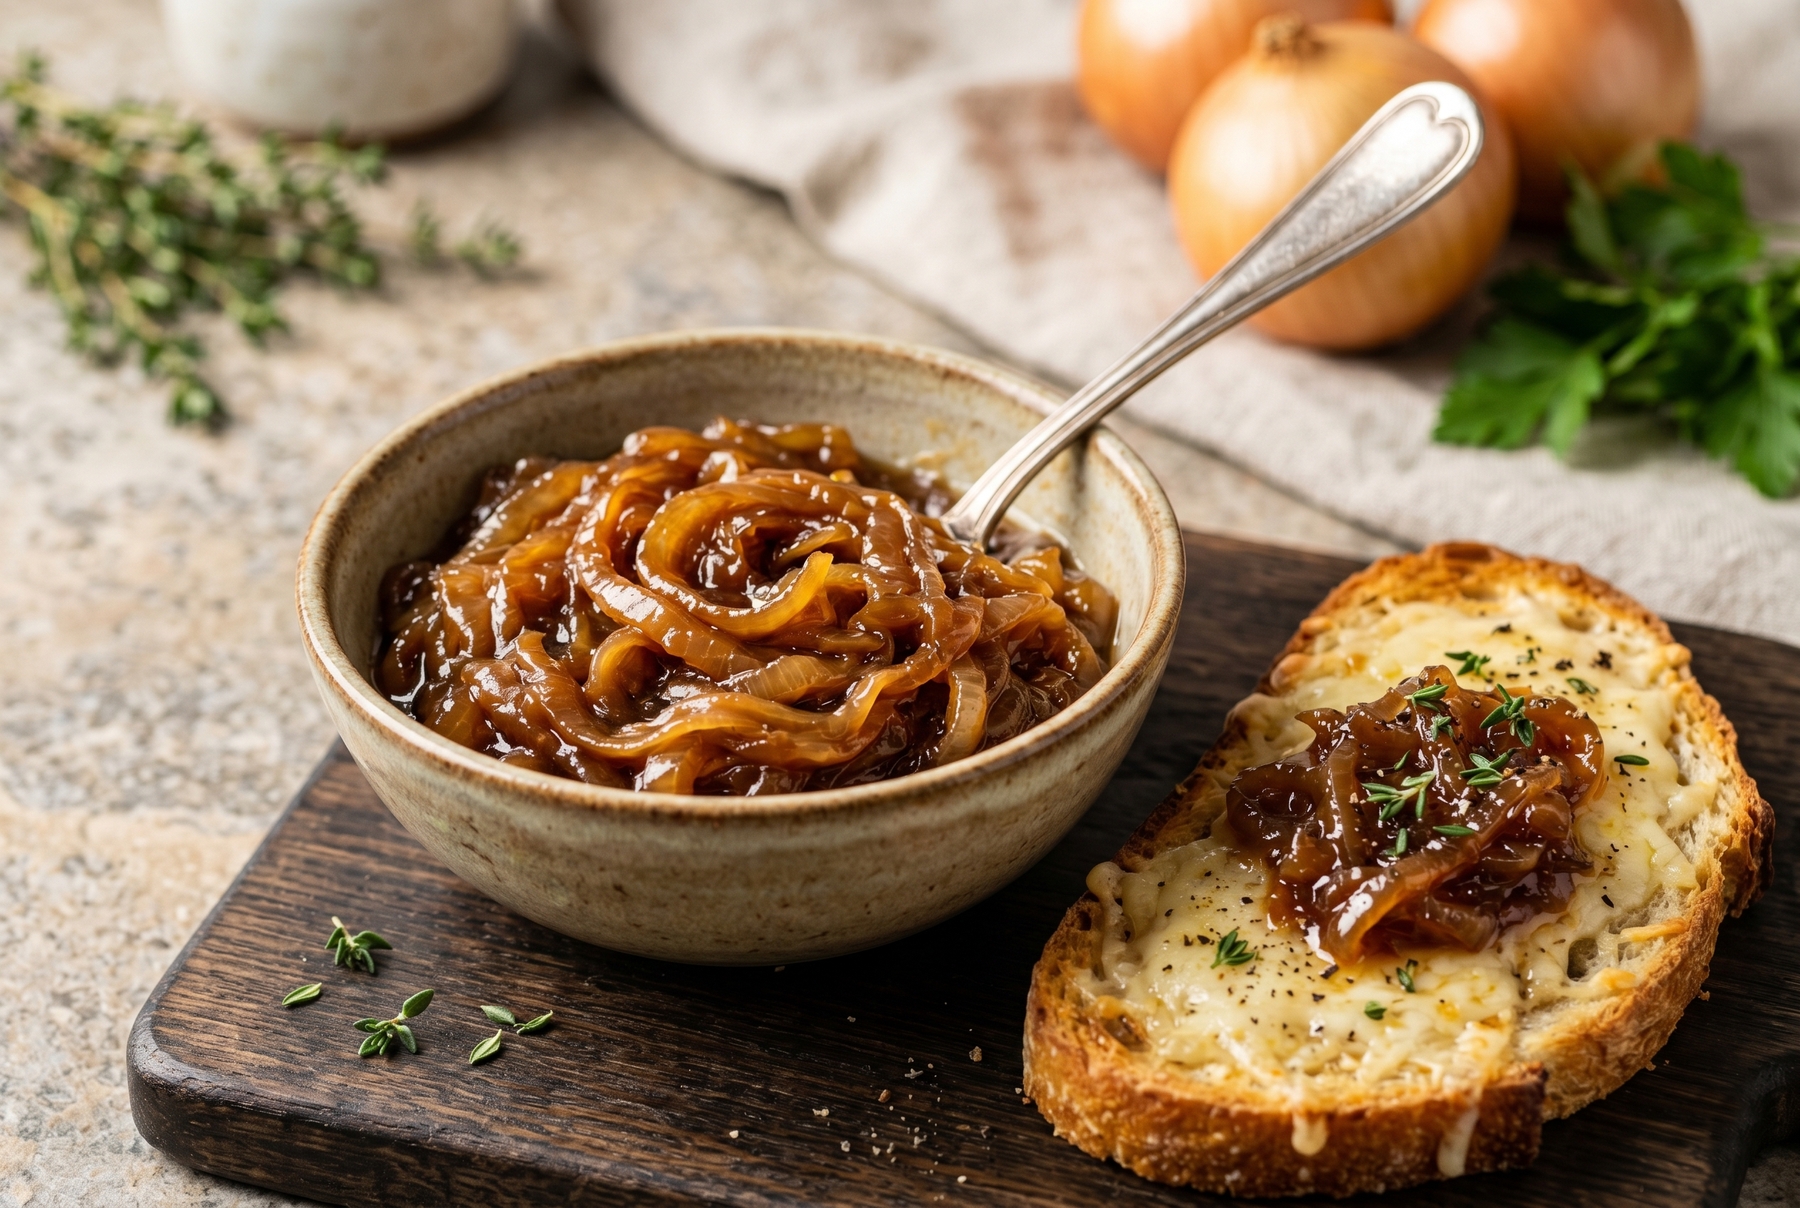
The finished onions can be used as a topping for bruschetta, added to soups, or stored in the refrigerator as a versatile flavor enhancer.
Where to Use Cooked Onions
The most obvious destination is French onion soup. Caramelized onions are submerged in strong broth, allowed to simmer together for about twenty minutes, and ladled into portioned crocks. Toasted bread and grated Gruyère are placed on top, then sent under the broiler until a golden crust forms. Without proper onions, you just end up with broth and bread. All that long work was for the base.
But limiting such a preparation to a single soup is wasteful. A spoonful of the onion mass transforms ordinary mashed potatoes beyond recognition, elevates a homemade burger to restaurant level, and anchors a simple pasta, a morning omelet, or a savory open tart (quiche). It is a foundational preparation. It works everywhere a deep, slightly sweet flavor is appropriate.
Therefore, there is no point in fussing over a single onion for 45 minutes. If you are going to stand at the stove for an hour, make a kilogram (2.2 lbs) right away. Quickly cool the cooked onions and transfer them to a clean container: in the refrigerator at 4 °C (39 °F) or below, they last three to four days. If you need them longer, the freezer saves the day. Portion the cooled mass into ice cube trays, freeze, and transfer the cubes to a bag. One such cube melts in exactly a minute in a hot pan.
0 comments