
Wet-cured salo (traditional Slavic cured pork fat) with mustard seeds in a jar is more than just an appetizer; it is a true symbol of home hospitality, deeply rooted in centuries of Slavic culinary tradition. This recipe utilizes a wet-curing method, widely regarded as one of the most reliable techniques. The brine penetrates every single piece evenly, turning even the thickest layers of fat remarkably tender. The mustard seeds play a pivotal role here, offering not only visual appeal but also a delightful textural contrast that bursts with subtle piquancy in every bite. The aroma of bay leaf and peppercorns infuses the product with noble notes, elevating standard pork belly into an exquisite delicacy that will take pride of place on your table year-round.
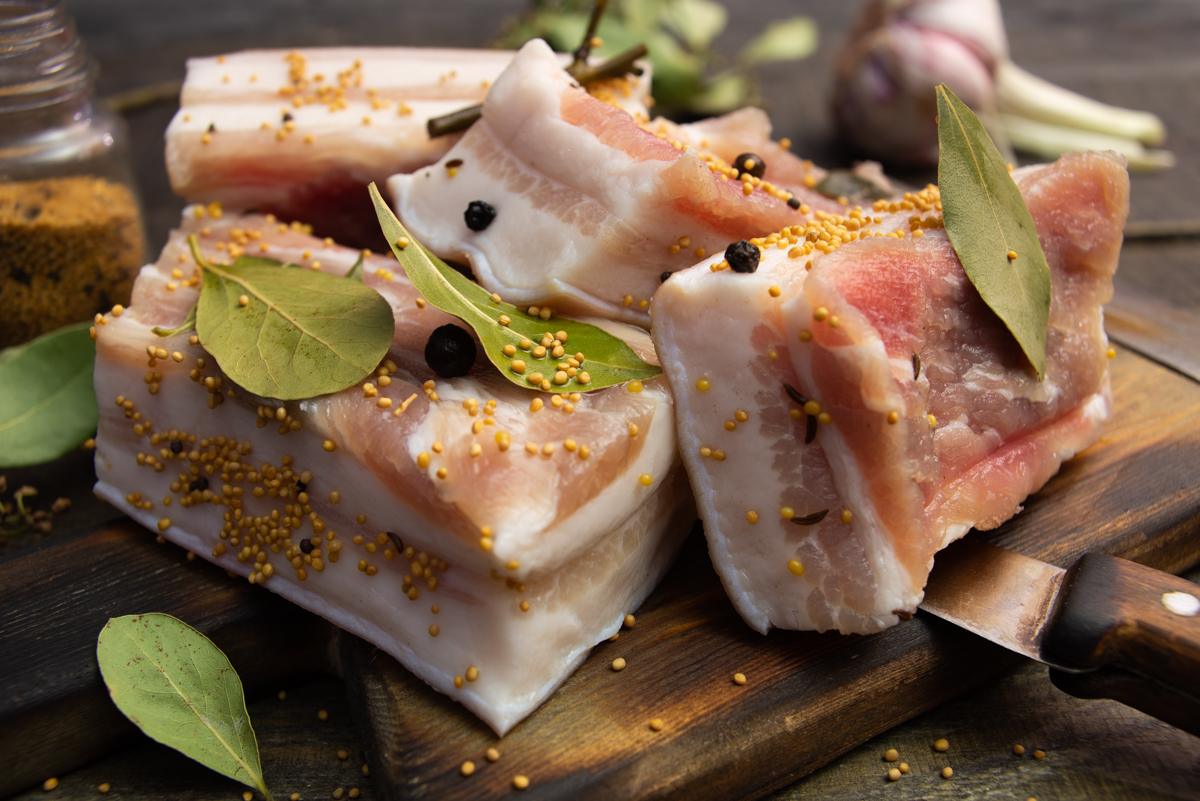
Homemade salo cured in a mustard brine turns out incredibly tender and aromatic.
Ingredients for one 1-liter (1-quart) jar
- 500-600 g (1.1-1.3 lbs) salo (pork fatback or belly) with a thin layer of meat and skin on
- 350 ml (1.5 cups) water
- 65 g (2.3 oz) coarse salt
- 25 g (0.9 oz) sugar
- A few bay leaves and bay twigs
- 1 tsp black peppercorns
- 1 tsp allspice berries
- 2 tbsp mustard seeds
How to Make Wet-Cured Salo with Mustard Seeds in a Jar
Choosing the right salo (pork fatback or belly) is the absolute key to success. Look for a thick cut with a fat layer of at least 2 centimeters (0.8 inches). I personally love salo with streaks of meat, so I often cure pork belly. Trim away any membranes, scrape the skin clean with a knife, and rinse thoroughly under cold water.
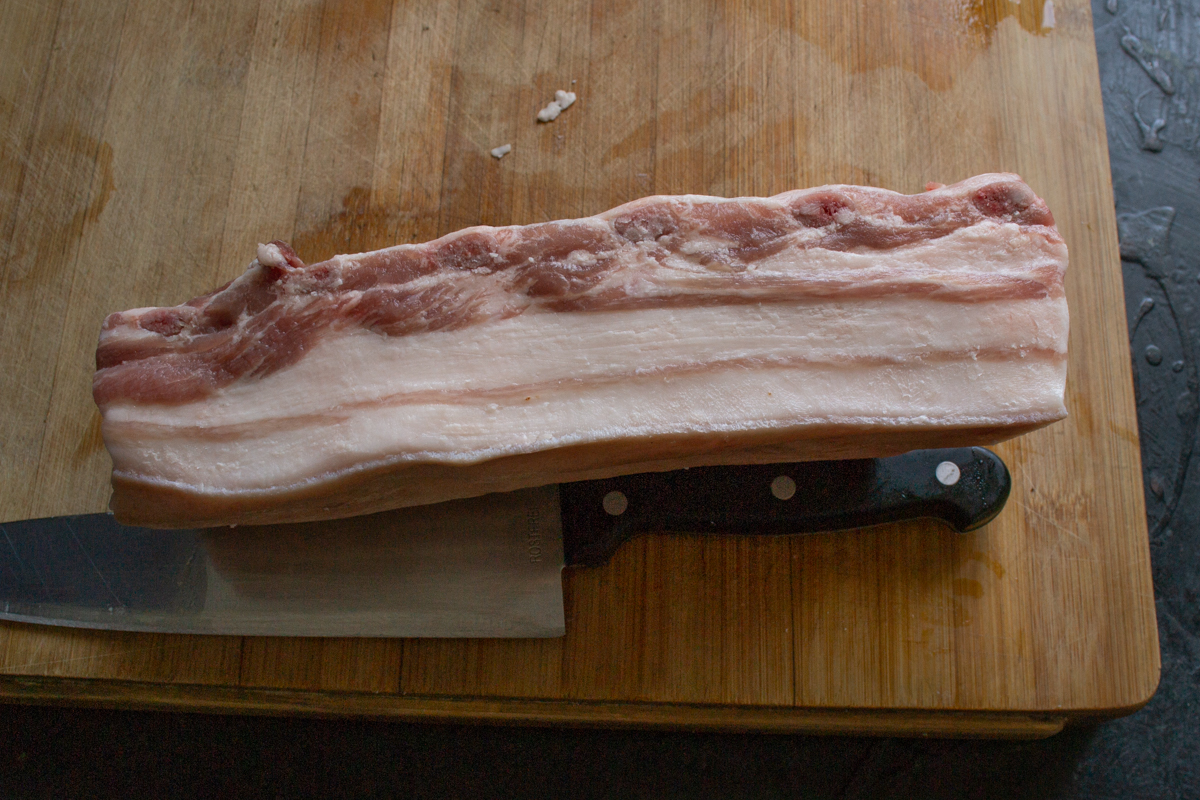
For the best flavor, choose a thick cut of salo with streaks of meat.
Cut the salo into manageable pieces. I find it best to slice it into strips slightly shorter than the height of your jar and about 5-6 centimeters (2-2.4 inches) wide. This is the optimal size for small-batch home curing.
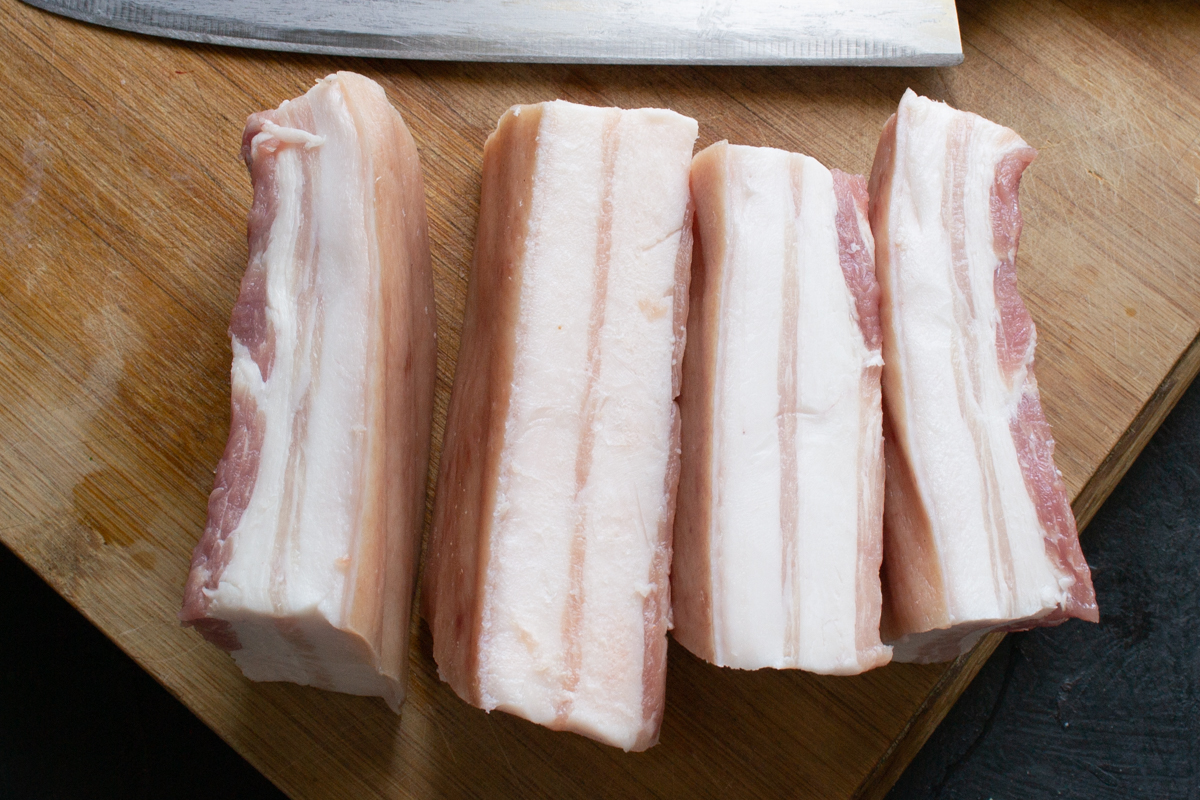
Slice the salo into manageable blocks that easily fit through the neck of your jar.
Pack the prepared salo into a clean, dry jar. A wide-mouth jar makes the curing process much easier.
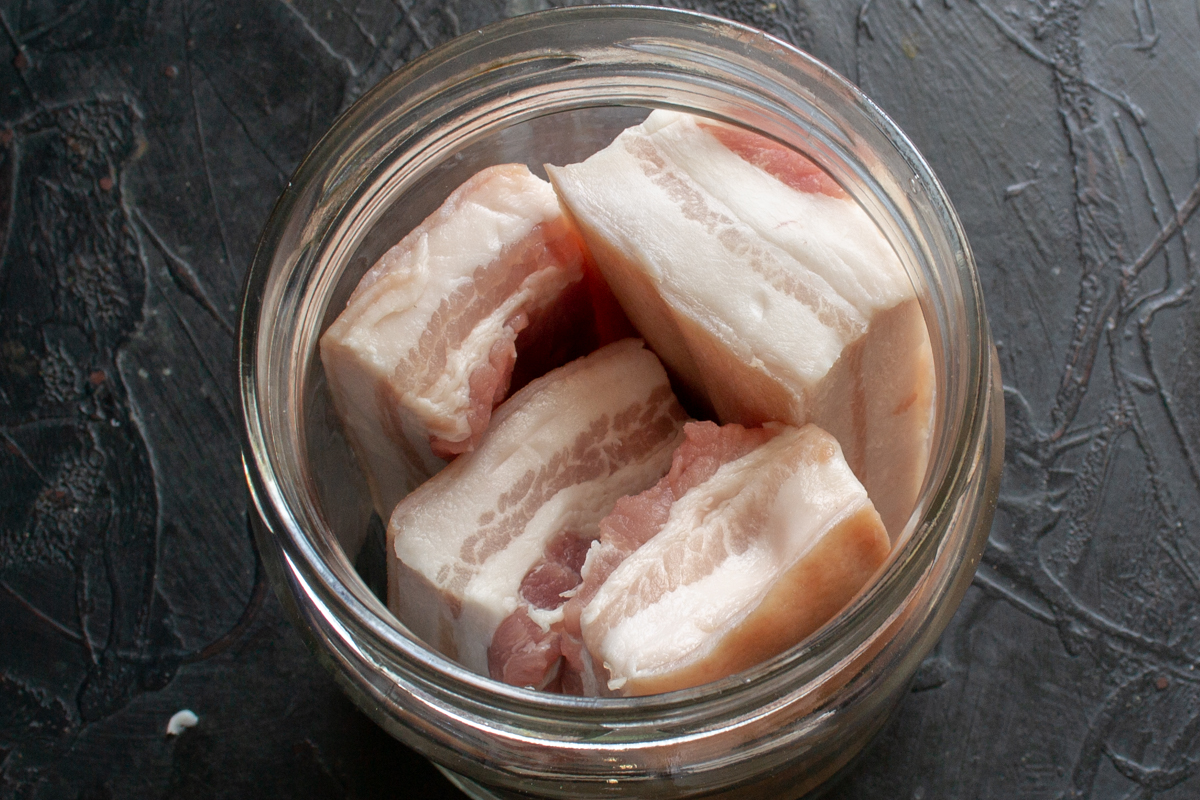
Use a clean, dry jar, preferably with a wide mouth for easy packing.
Pour the water into a saucepan. Add the bay leaves and, if you have them, snap in some bay twigs, as they carry wonderful aromatics. Toss in the black and allspice peppercorns, along with 1 teaspoon of mustard seeds. Bring the seasoned water to a rolling boil and let it simmer for about 5 minutes to fully extract the flavors from the spices.
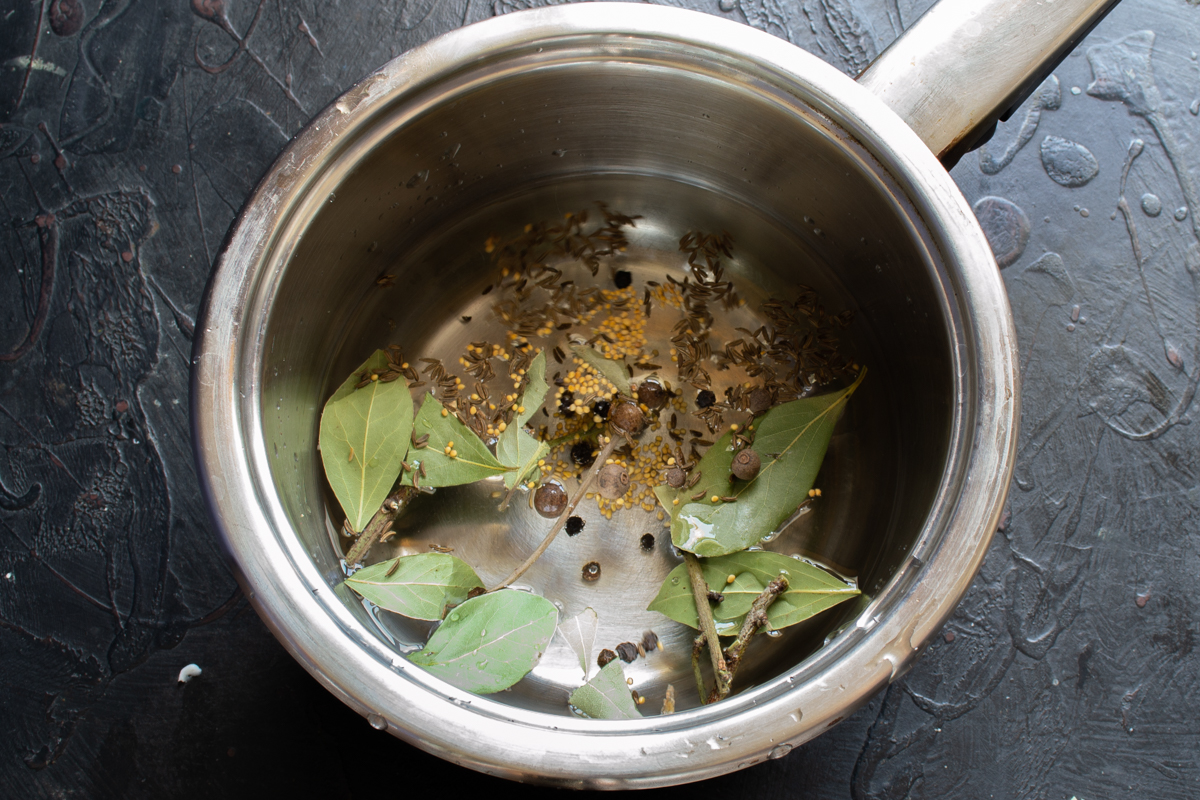
Simmer the spices for a few minutes to fully release their aromatics into the water.
Remove the saucepan from the heat and stir in the salt and sugar. You can add a pinch more salt if you prefer, but I find this ratio perfect for a 1-liter (1-quart) jar. A standard rule of thumb is 90-100 grams of salt per 1 kilogram (2.2 lbs) of salo. Whisk the brine thoroughly until the salt and sugar completely dissolve. Let the brine cool entirely to room temperature.
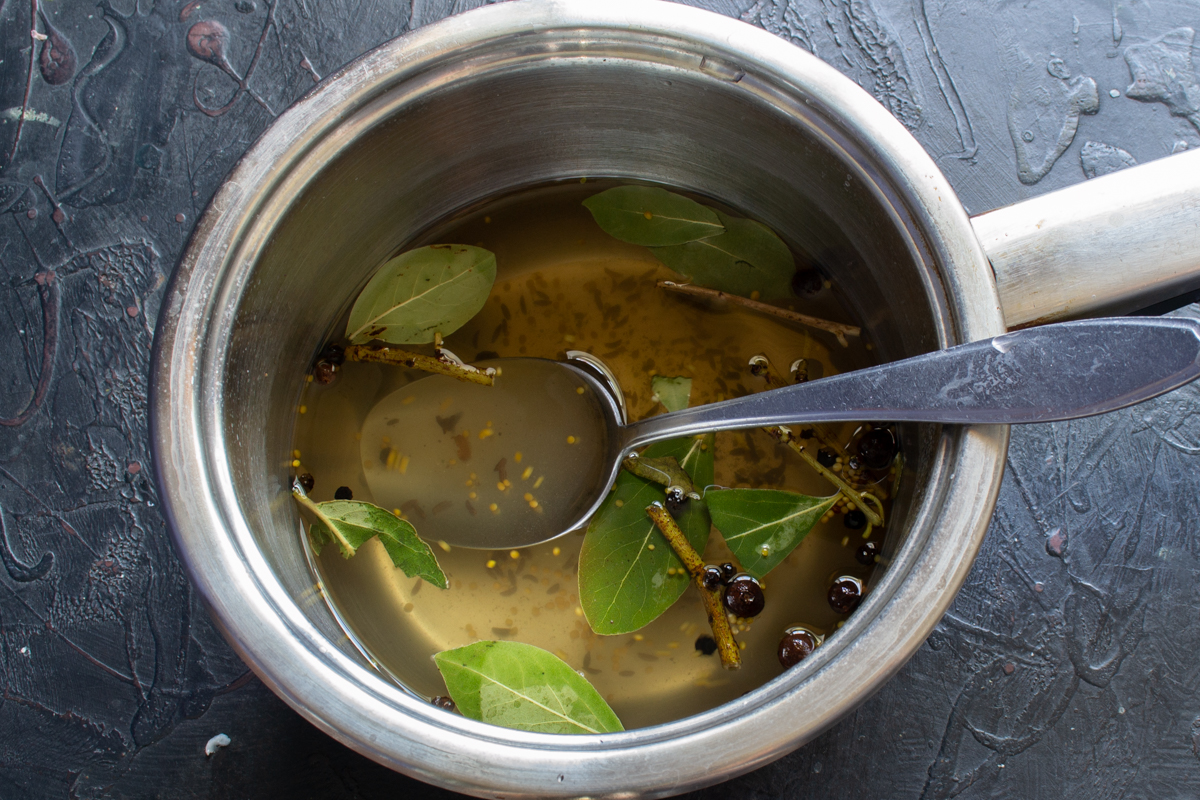
After boiling, add the salt and sugar, stir thoroughly, and let the brine cool to room temperature.
Pour the cooled brine into the jar, ensuring the salo is completely submerged. Seal the jar tightly with a screw-on lid. Leave it at room temperature for two days, then transfer it to the bottom shelf of your refrigerator for another four days. The total curing time should be about a week.
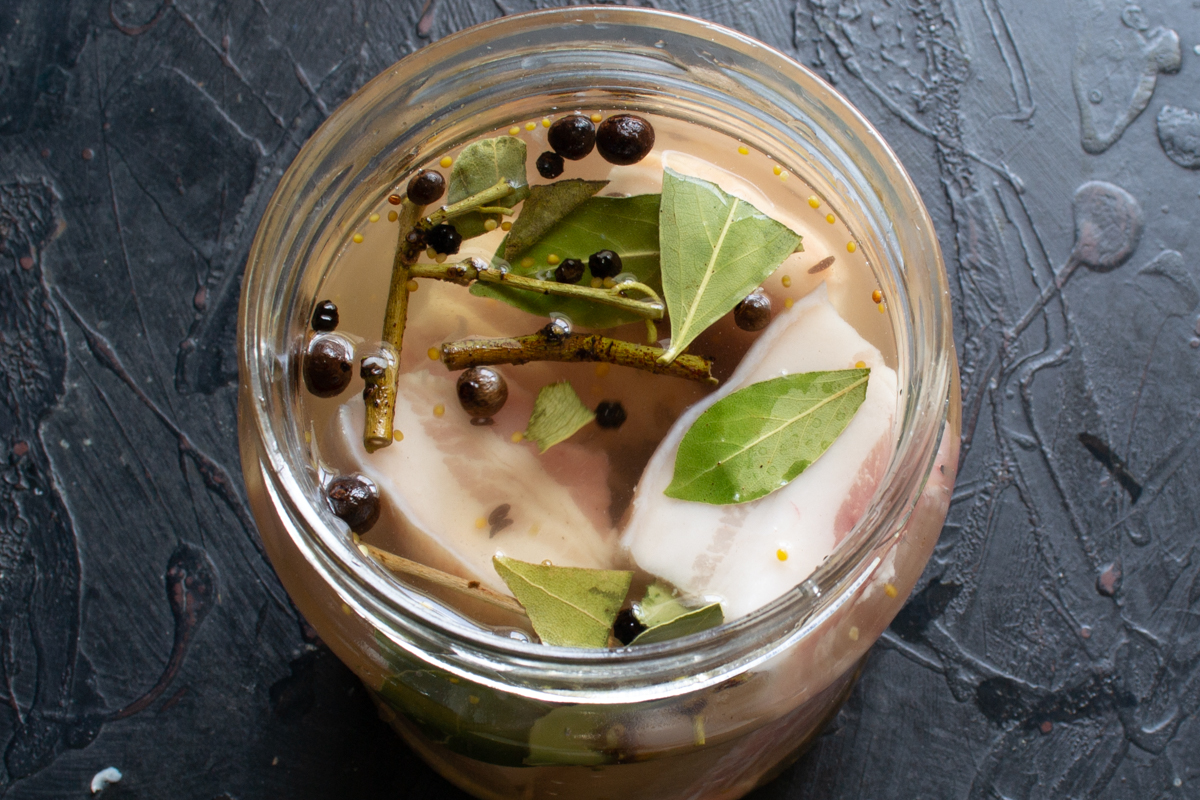
Ensure the cold brine completely covers the pieces of salo for an even cure.
After a week, remove the salo from the brine and pat it completely dry with paper towels.
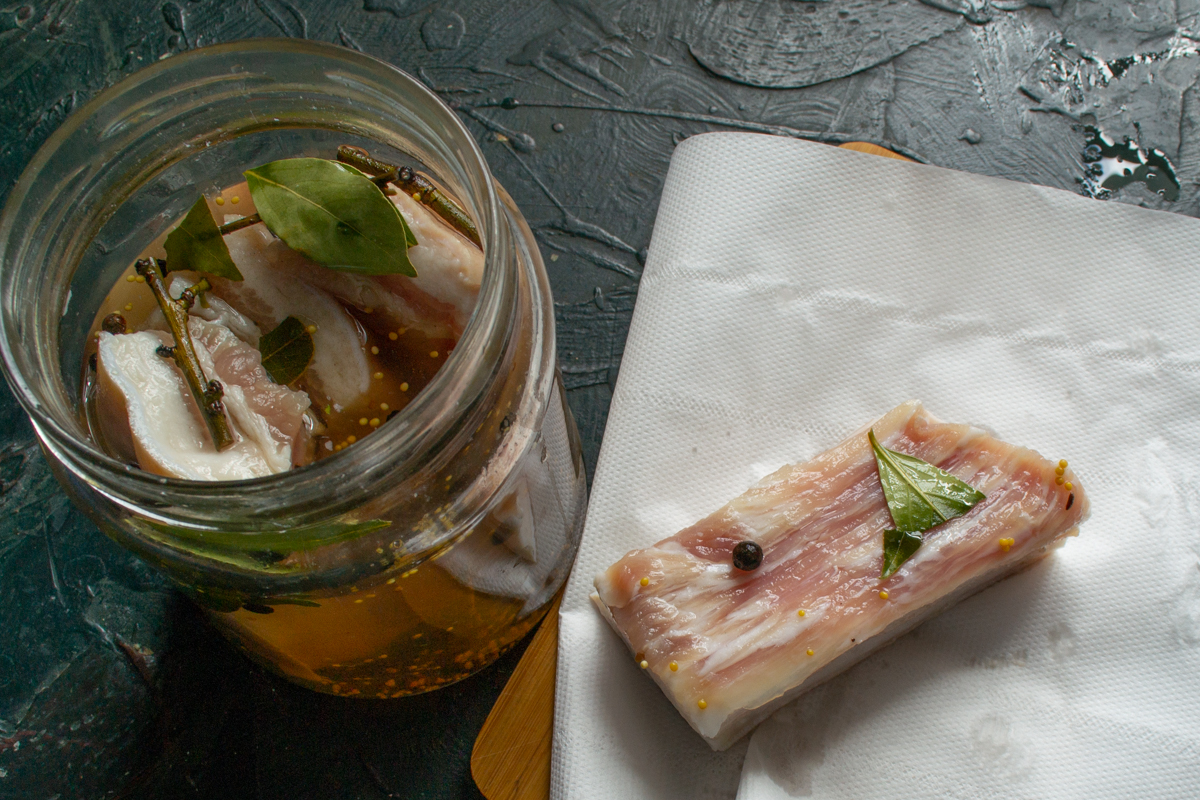
After a week in the brine, the salo must be thoroughly patted dry before further processing.
Coat the dried salo generously with the remaining mustard seeds. Wrap it tightly in cheesecloth and refrigerate for 2-3 days. Finally, wrap it snugly in plastic wrap and transfer to the freezer. While it is technically ready to eat now, I highly recommend letting it freeze-cure for a few weeks to allow the flavor and texture to improve dramatically.
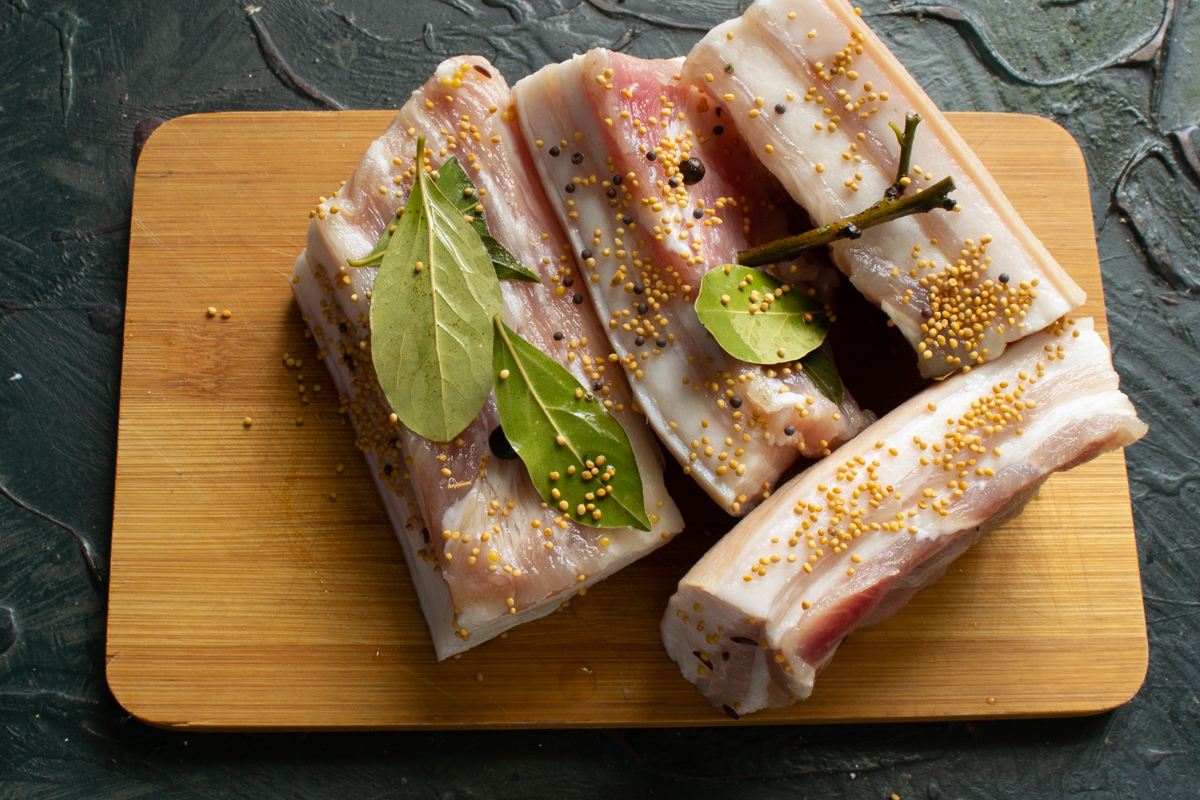
Coat the dried salo with mustard seeds and let it freeze-cure in the freezer for the perfect texture.
For the best experience, serve the wet-cured salo straight from the freezer, slicing it into thin, nearly translucent ribbons that curl beautifully on the plate. The perfect pairing is a slice of fresh Borodinsky bread (traditional dark rye), rubbed with a clove of raw garlic, and a few sprigs of green onion. If you really want to impress your guests, offer a dab of homemade horseradish or a tiny drop of liquid honey alongside it; this combination beautifully highlights the spice of the mustard seeds and the rich tenderness of the fat. For long-term storage, always wrap the thoroughly dried pieces tightly in plastic wrap or parchment paper before putting them in the freezer. This prevents them from absorbing any unwanted odors and keeps the texture of your cured salo pristine for several months. Remember one little secret: the longer the product rests in the cold after curing, the more mature and balanced its flavor becomes, so patience will absolutely reward you with the best possible result.
0 comments