
Homemade bread made from a dry sourdough starter is a kind of culinary magic that anyone can master. Unlike store-bought loaves, this bread boasts a complex, multifaceted flavor profile with a gentle tang and a unique aroma that fills the entire house during the proofing stage. The secret lies in patience: we give the wild yeast time to wake up and slowly develop the gluten, while using tvorozhnaya syvorotka (whey leftover from making farmers cheese) to achieve an exceptionally soft crumb. The golden, lightly flour-dusted crust that crackles appetizingly as it cools turns an ordinary loaf into a true symbol of home and comfort.
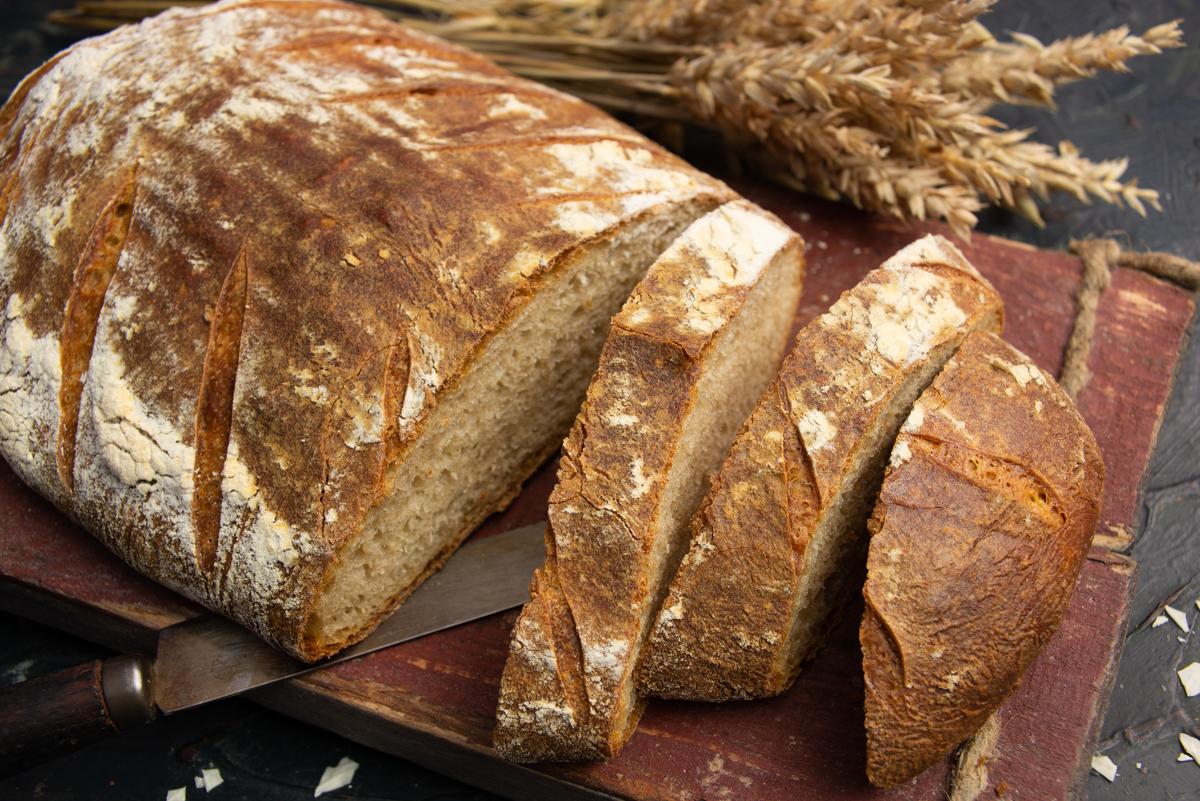
Look at the magnificent open crumb you get with dry sourdough starter bread! The perfect result of long patience.
Ingredients
- 1 tbsp dry sourdough starter
- 200 g (7 oz) first-grade wheat flour (bread flour equivalent)
- 150 g (5.3 oz) second-grade wheat flour (light whole wheat equivalent)
- 40 g (1.4 oz) rye flour
- 60 ml (2 fl oz) water
- 250 ml (8.5 fl oz) tvorozhnaya syvorotka (farmers cheese whey)
- 1 tsp salt
- 1 tbsp olive oil
- A pinch of active dry yeast on the tip of a teaspoon (optional)
How to Make Dry Sourdough Starter Bread
Reviving a dry sourdough starter is easiest in a jar. Pour a tablespoon of the dry starter into a small glass jar.
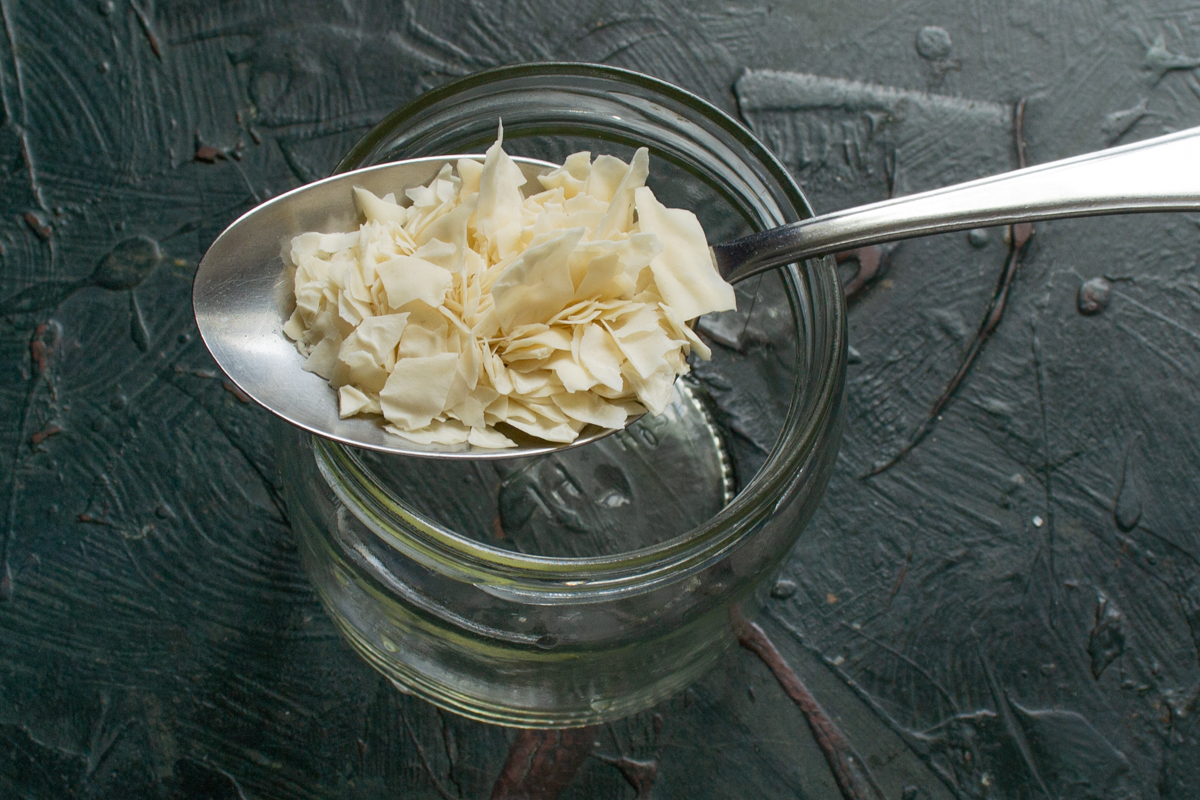
We begin the process by reviving the dry starter. You will need just one tablespoon of the dry flakes.
Add 20 g (0.7 oz) of room-temperature water and mix. Let it sit for about 1 hour so the dried flakes can soften completely. Then, stir the starter with a spoon until it reaches the consistency of sour cream; there should be no dry lumps remaining.
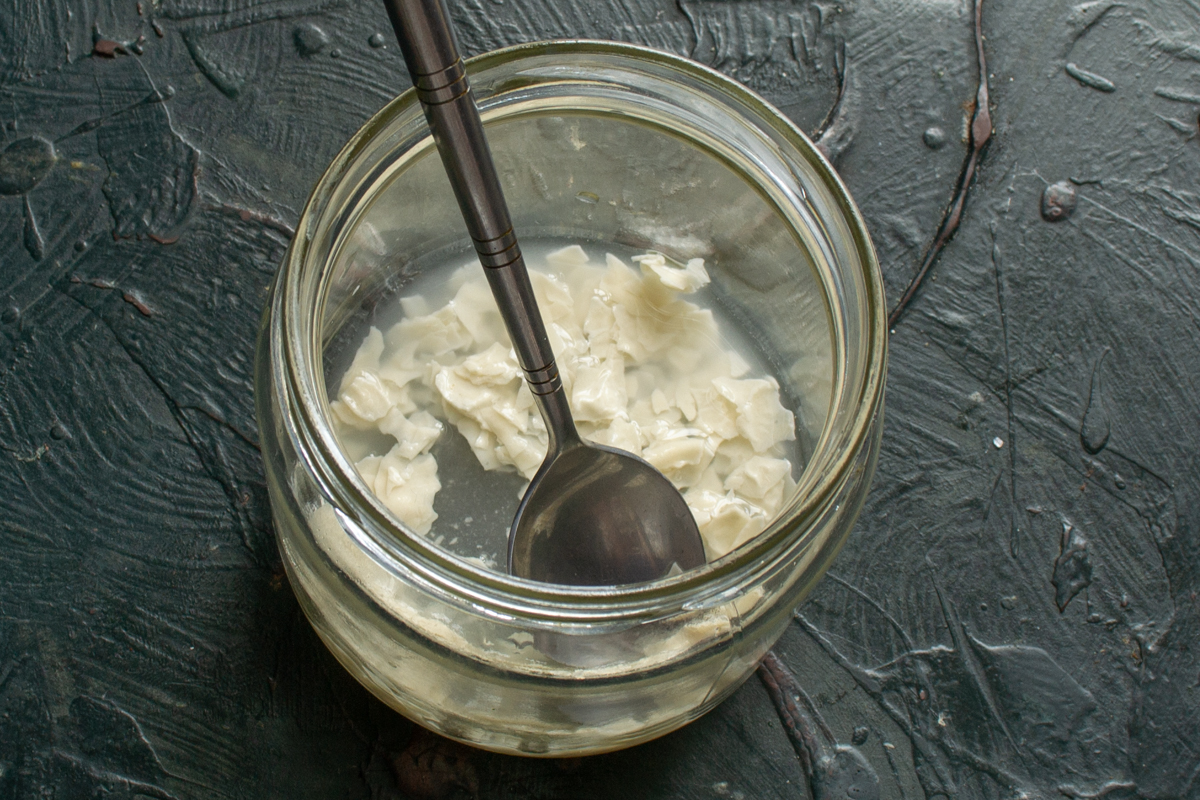
Let the dry starter particles soak completely in water until the consistency resembles thick sour cream.
To the softened starter, add 40 g (1.4 oz) of rye flour and 40 g (1.4 oz) of slightly warm water (about 30°C/86°F). Mix well, cover the jar, and leave it in a warm place for several hours. Once the starter wakes up, begins to bubble, multiplies in volume, and develops a delicious, slightly tangy aroma, it is ready to use. This can take anywhere from 3 to 6 hours, or sometimes longer.
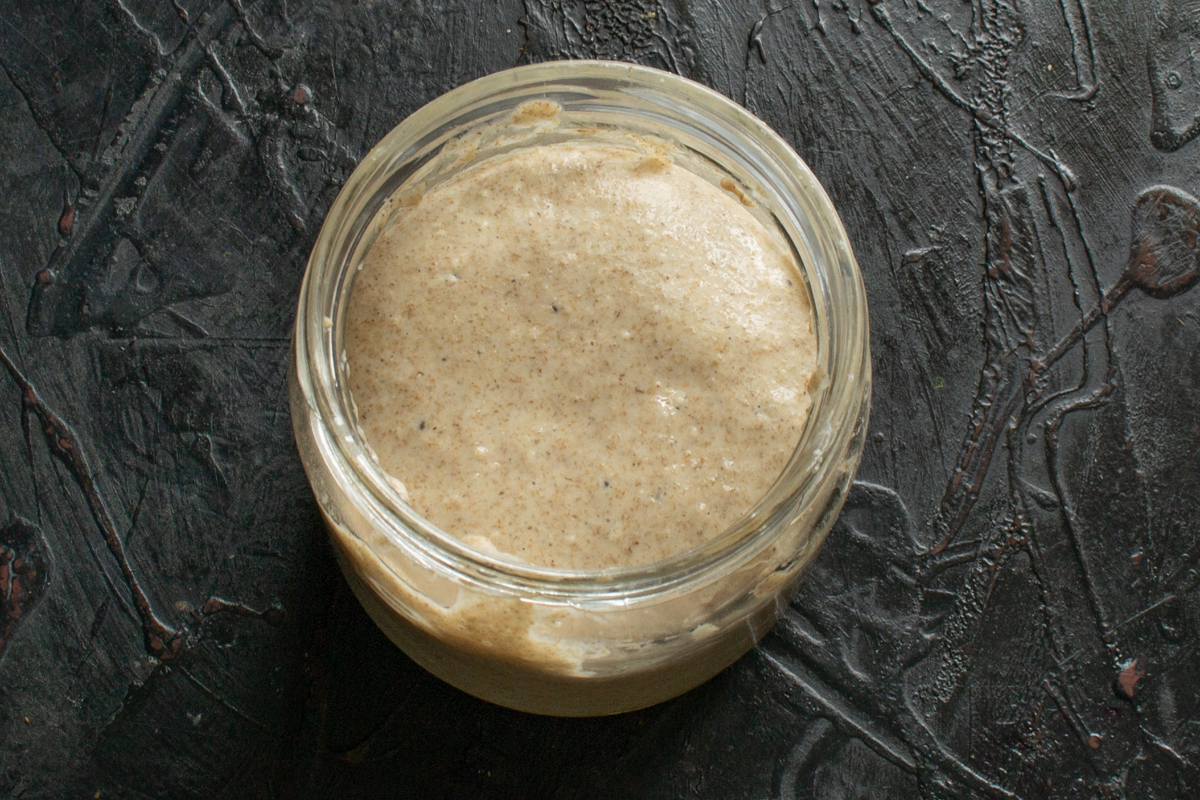
When the starter is bubbling and has multiplied in volume, it is completely ready to be used in the dough.
In a stand mixer bowl, combine the dry ingredients: first-grade and second-grade wheat flour (bread and whole wheat flour equivalents), salt, and, if desired, a pinch of active dry yeast (just the tip of a teaspoon, no more than a quarter teaspoon).
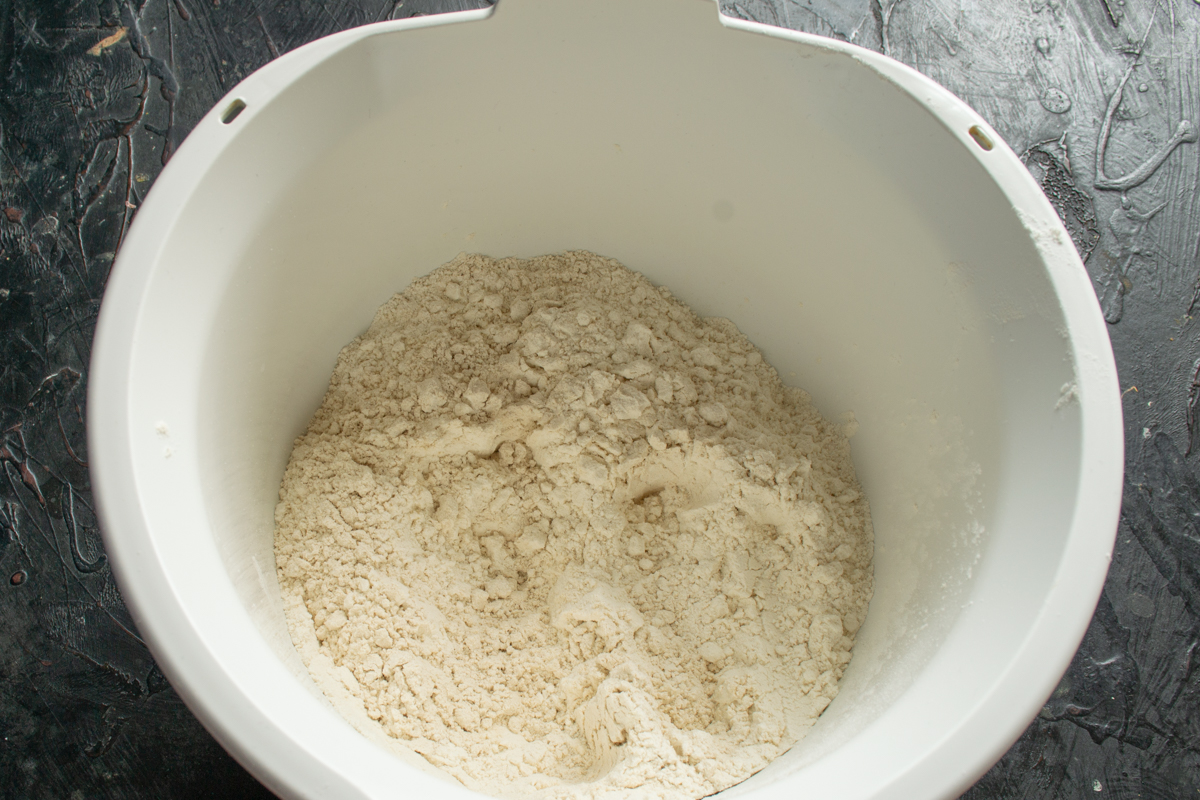
Mix the first and second-grade wheat flours. This combination gives the bread a special rustic flavor.
Pour in the whey (leftover from making farmer’s cheese) and olive oil.
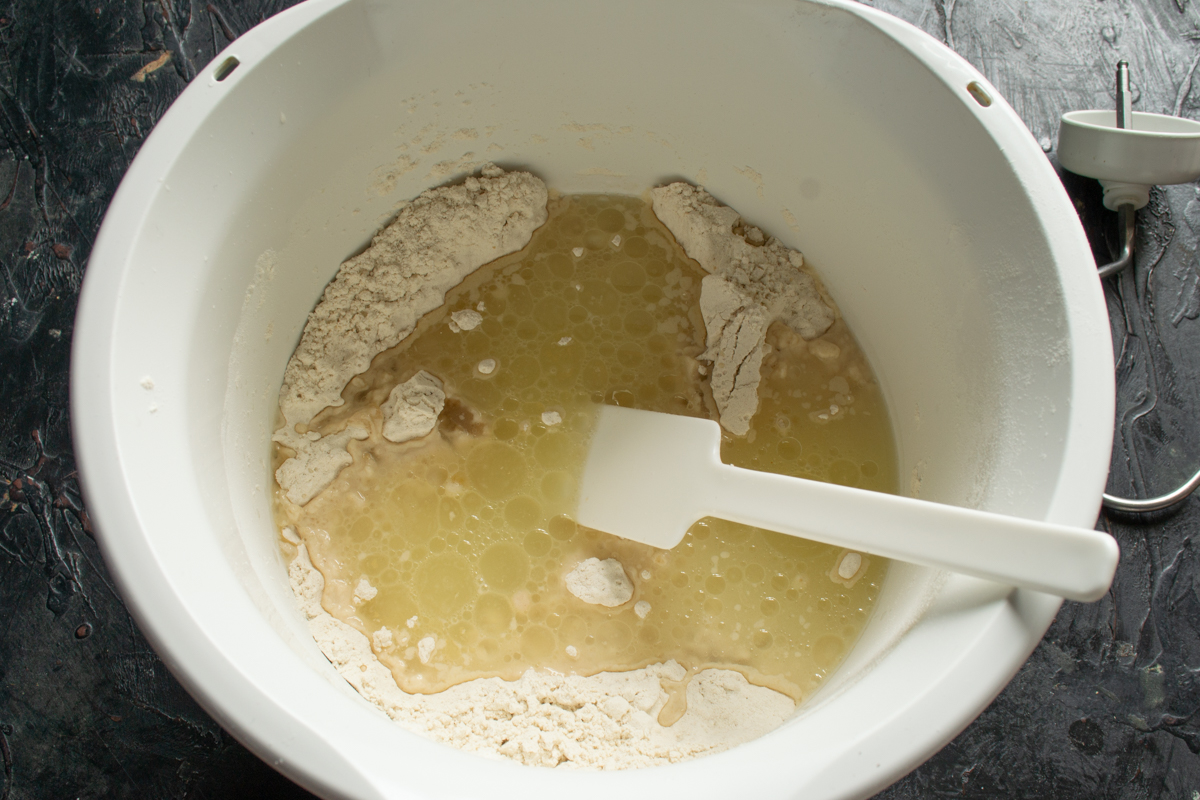
Farmer’s cheese whey adds tenderness to the bread crumb, while olive oil makes the crust more elastic.
Mix the flour with the whey, then add the active sourdough starter.
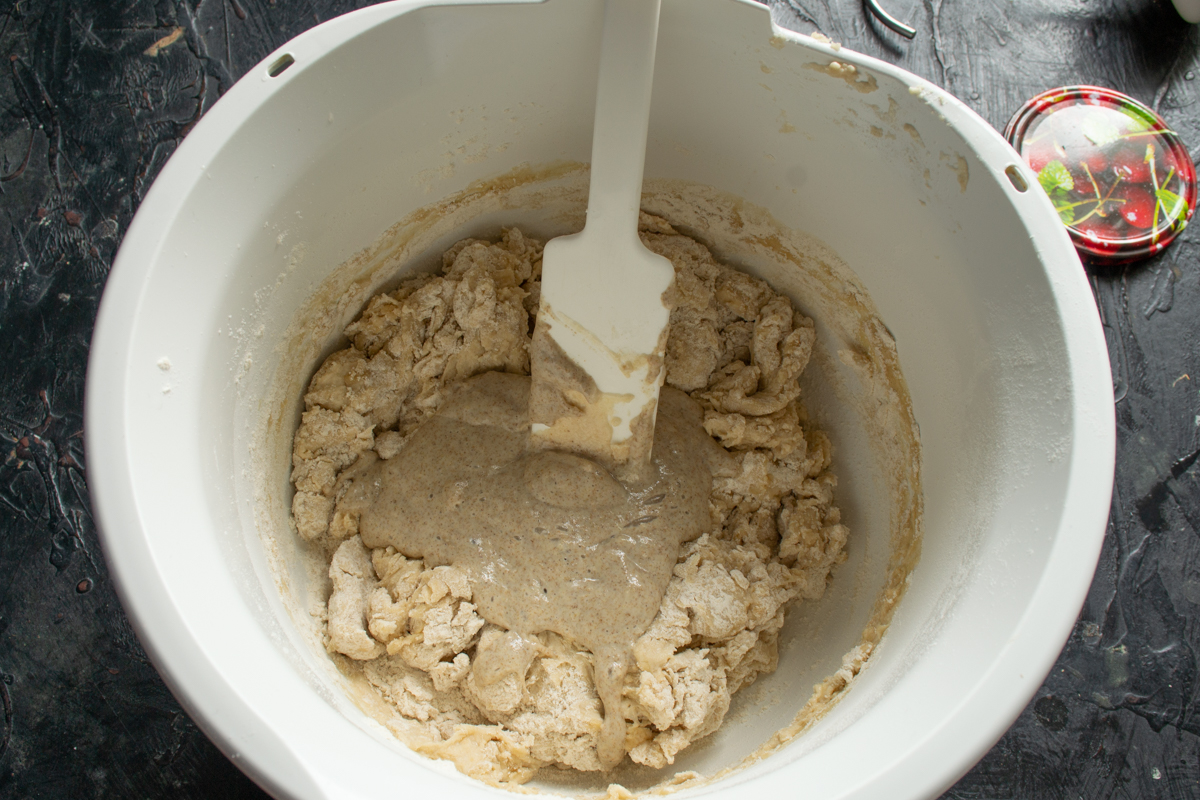
Combine the prepared flour base with our newly awakened, active sourdough starter.
Using a dough hook attachment, knead the dough for 2-3 minutes, then let it rest for 10 minutes.
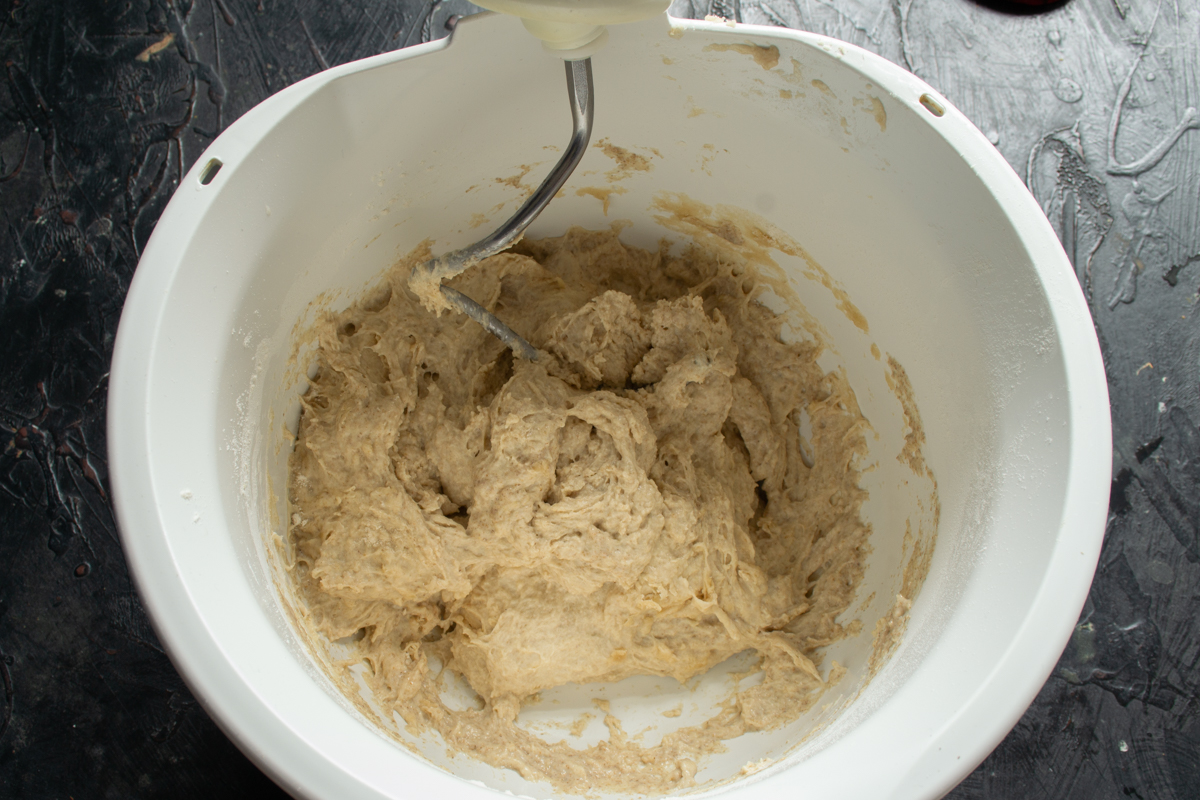
Begin kneading on low speed. At this stage, the ingredients simply need to come together into a shaggy mass.
Continue kneading the dough on the lowest speed for 15 minutes. Watch closely toward the end of the mixing time: you will see the gluten develop as the dough pulls away cleanly from the sides of the bowl.
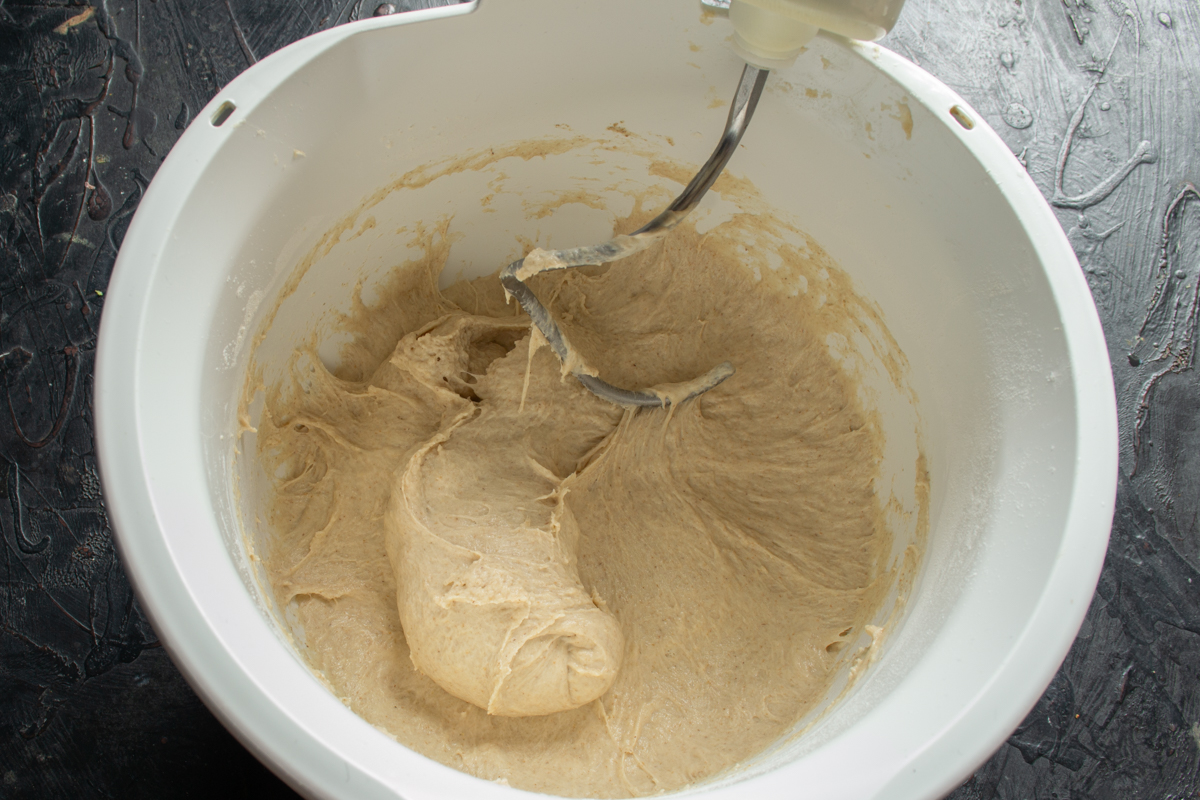
After extensive kneading, the dough becomes smooth and begins to pull away from the sides of the bowl on its own.
Grease a bowl with vegetable oil and transfer the well-kneaded dough into it.
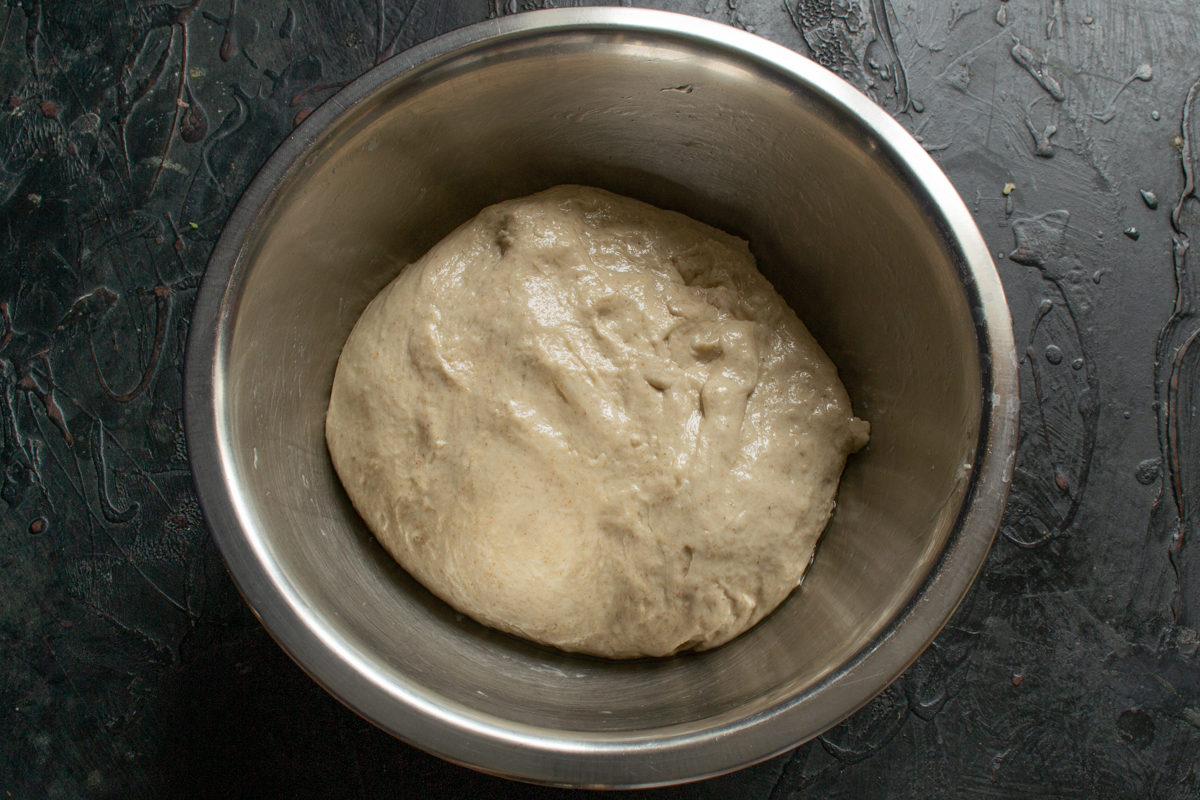
Transfer the kneaded dough into an oiled bowl for the long fermentation process.
Cover the bowl with plastic wrap. Leave the dough in a warm place to bulk ferment for 6-7 hours.
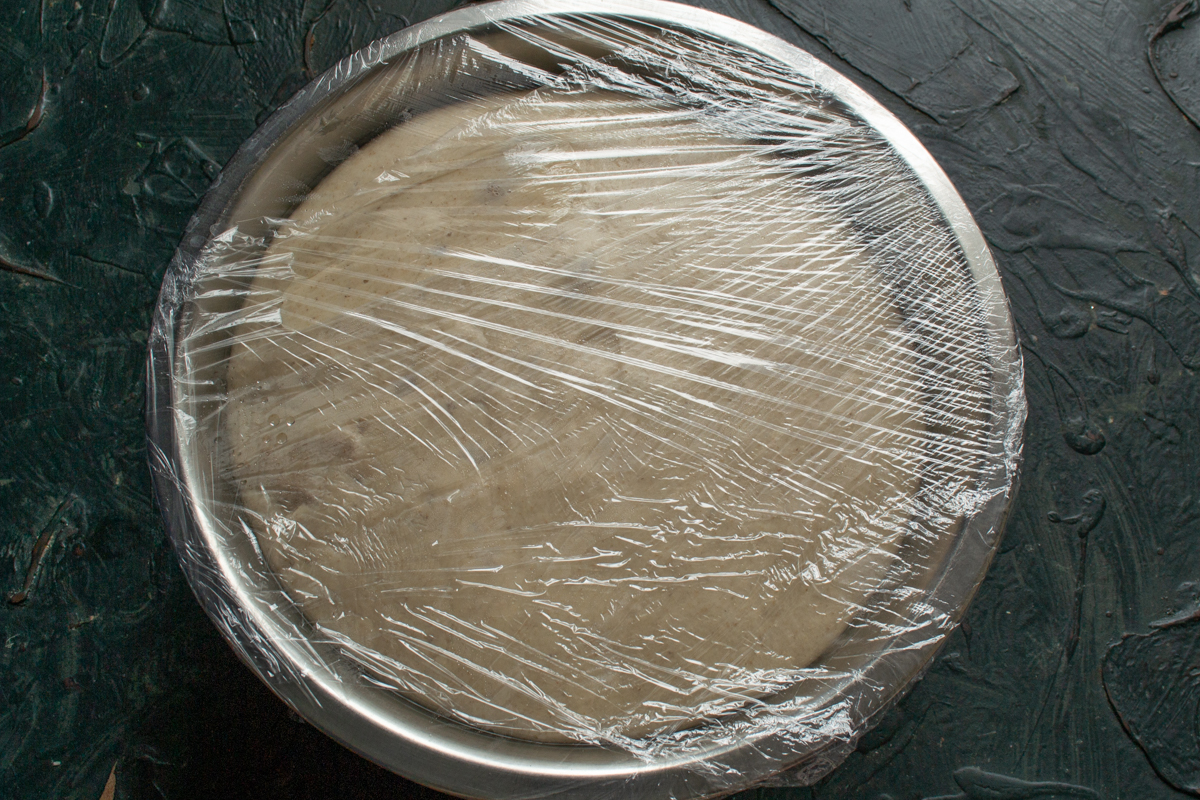
Be sure to cover with plastic wrap so the dough's surface does not dry out during the multi-hour rise.
Sourdough dough rises slowly, but eventually, it will become just as light and airy as regular yeast dough.
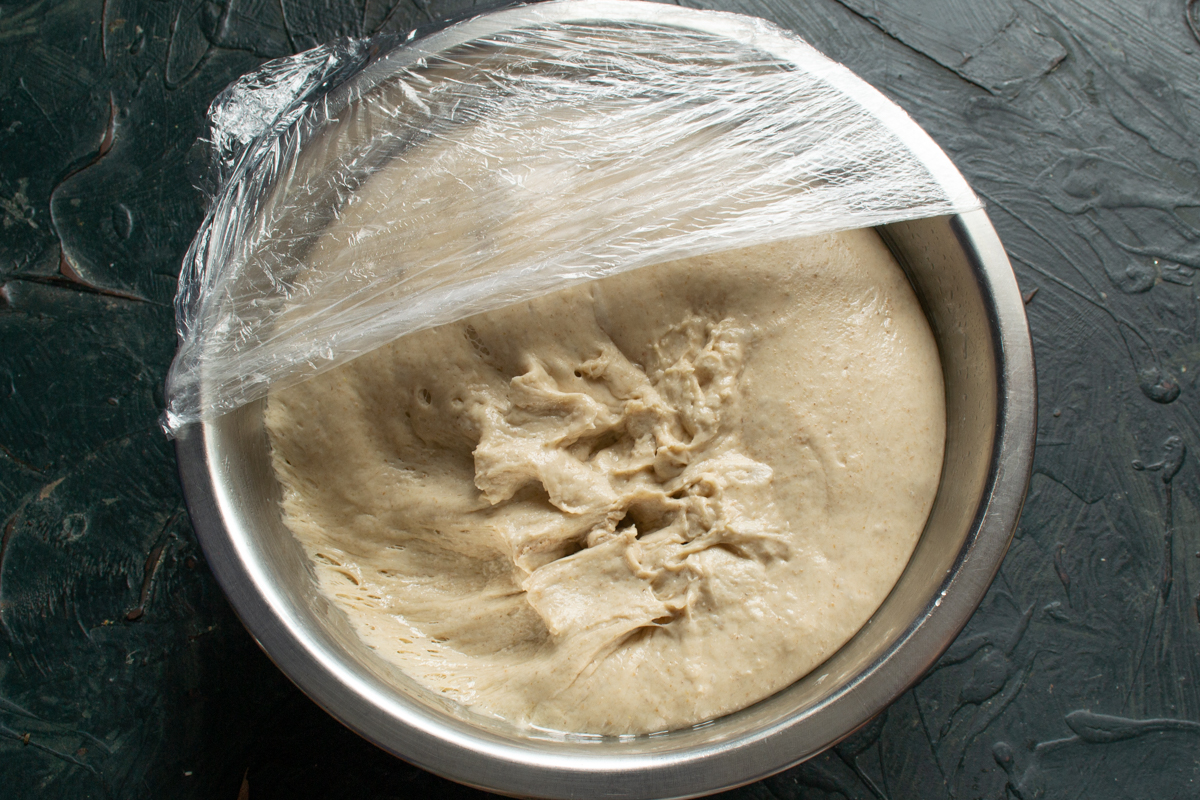
After 6-7 hours in a warm place, the sourdough becomes just as fluffy and airy as regular yeast dough.
Prepare a rattan proofing basket (banneton) by lining it with a piece of dense linen cloth heavily dusted with flour. Gently punch down the risen dough, shape it into a loaf, and place it seam-side up into the lined basket.
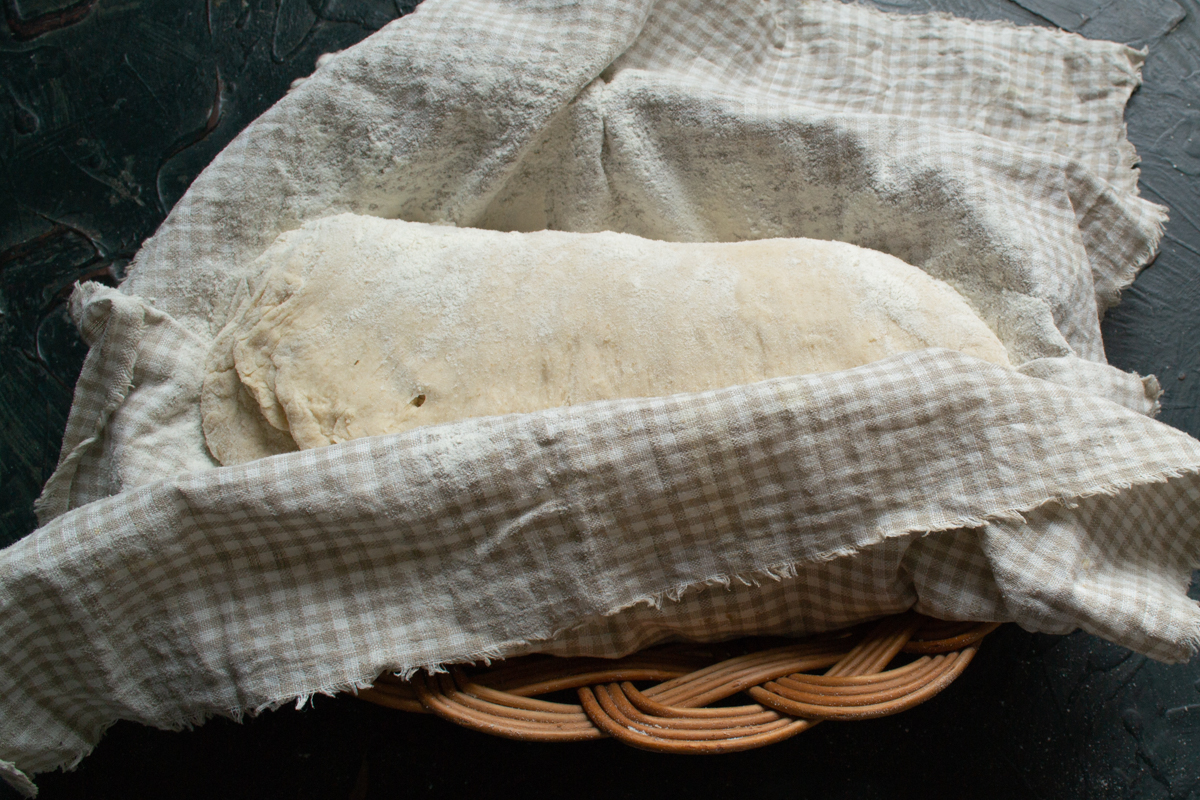
Gently shape the loaf and place it seam-side up into the basket on a heavily floured cloth.
Fold the edges of the cloth over the dough and place the loaf in the refrigerator for 10-12 hours. The bread will undergo a slow cold retard, significantly increasing in volume once again.
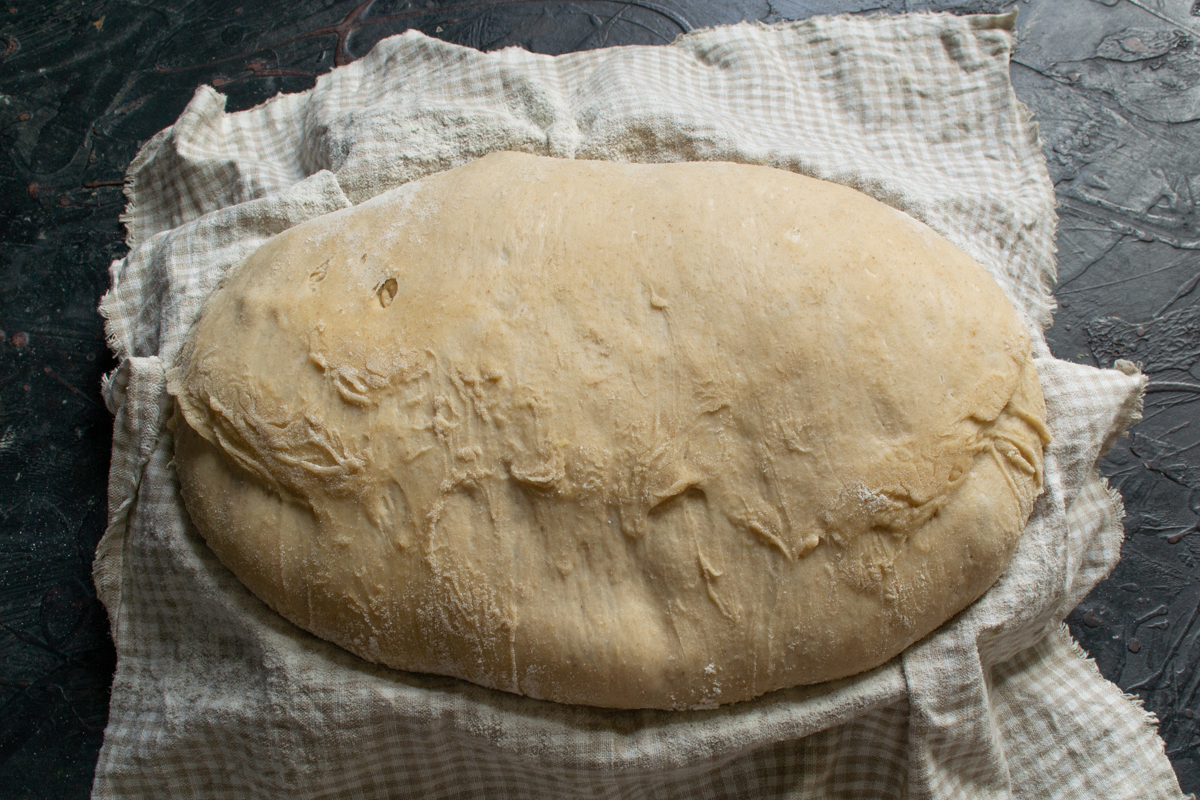
A long proof in the refrigerator allows the dough to strengthen and develop a much deeper flavor.
Turn the proofed loaf out of the basket onto a piece of parchment paper.
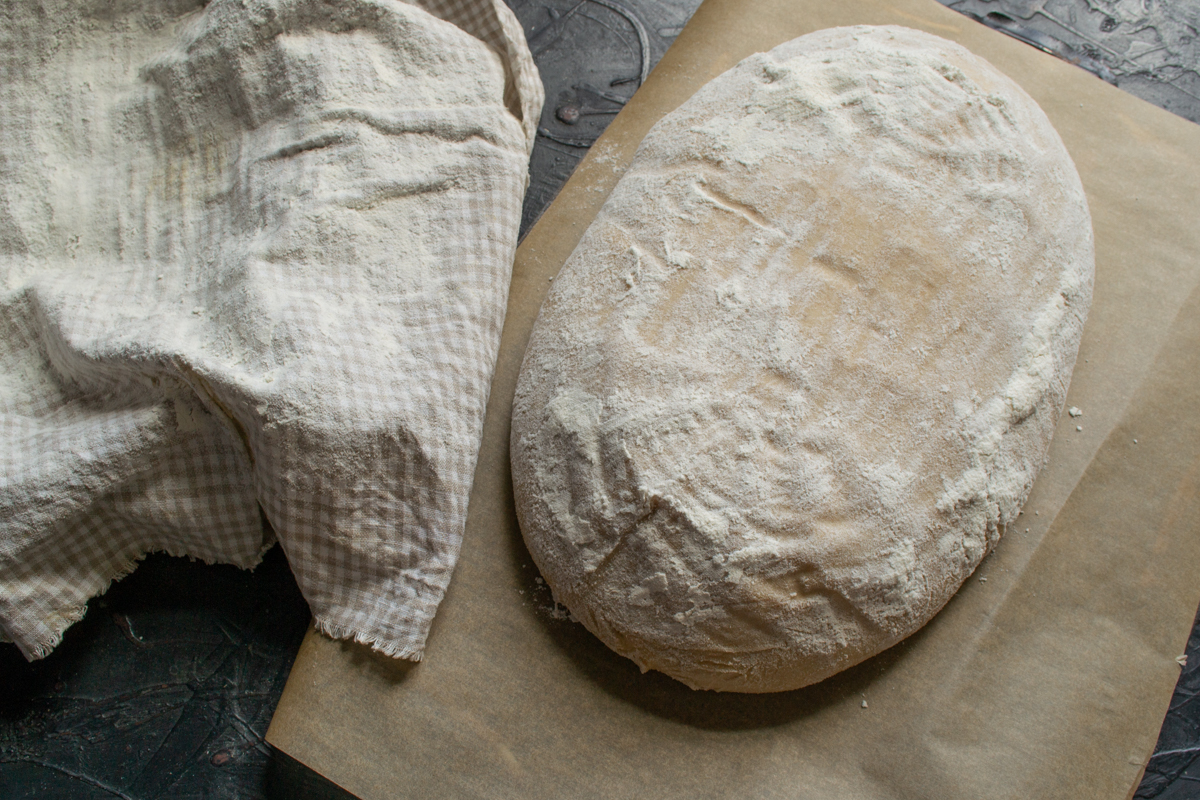
Turn the proofed loaf out of the basket onto parchment paper. The bread is now ready to be scored.
Score the dough with diagonal cuts along the sides.
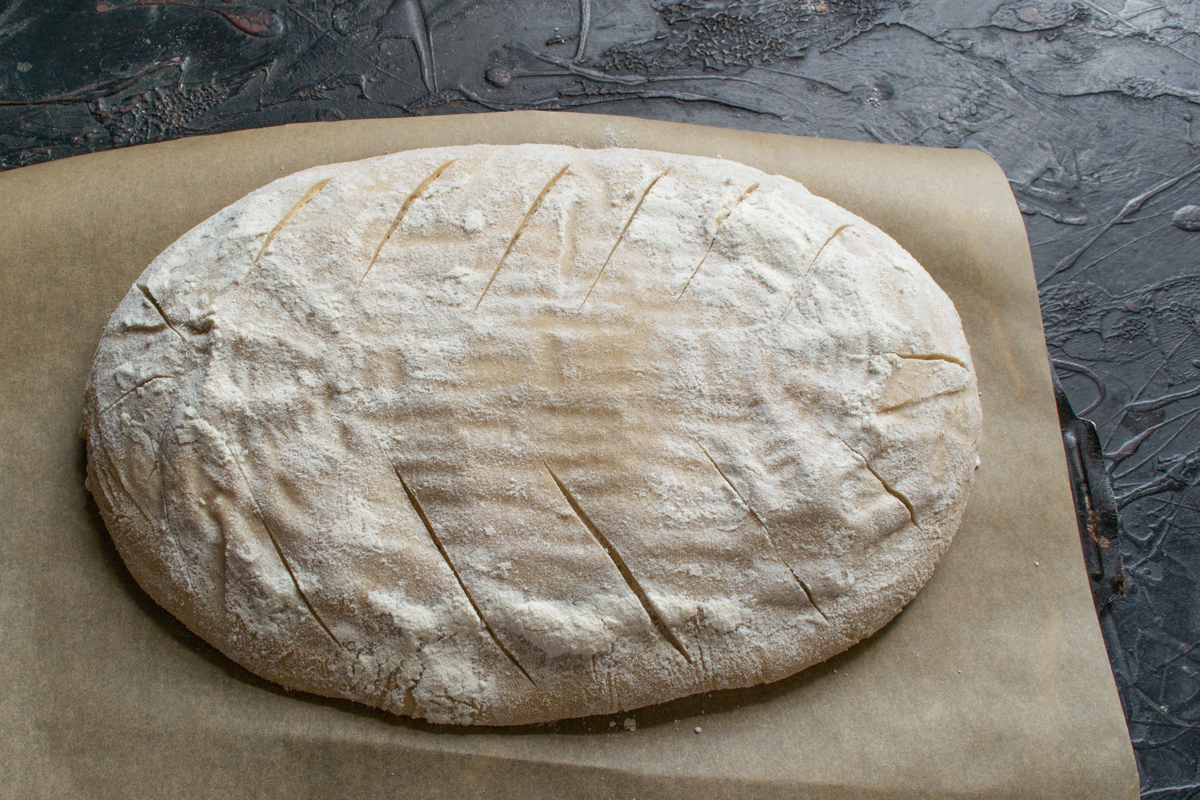
Make diagonal scores with a sharp blade—this helps the bread open up properly in the oven.
Preheat your oven to 220°C (430°F). Place a tray of boiling water on the bottom rack of the oven. Slide the bread into the hot oven and quickly spray the oven walls with cold water from a spray bottle to create steam. Bake for 45-50 minutes.
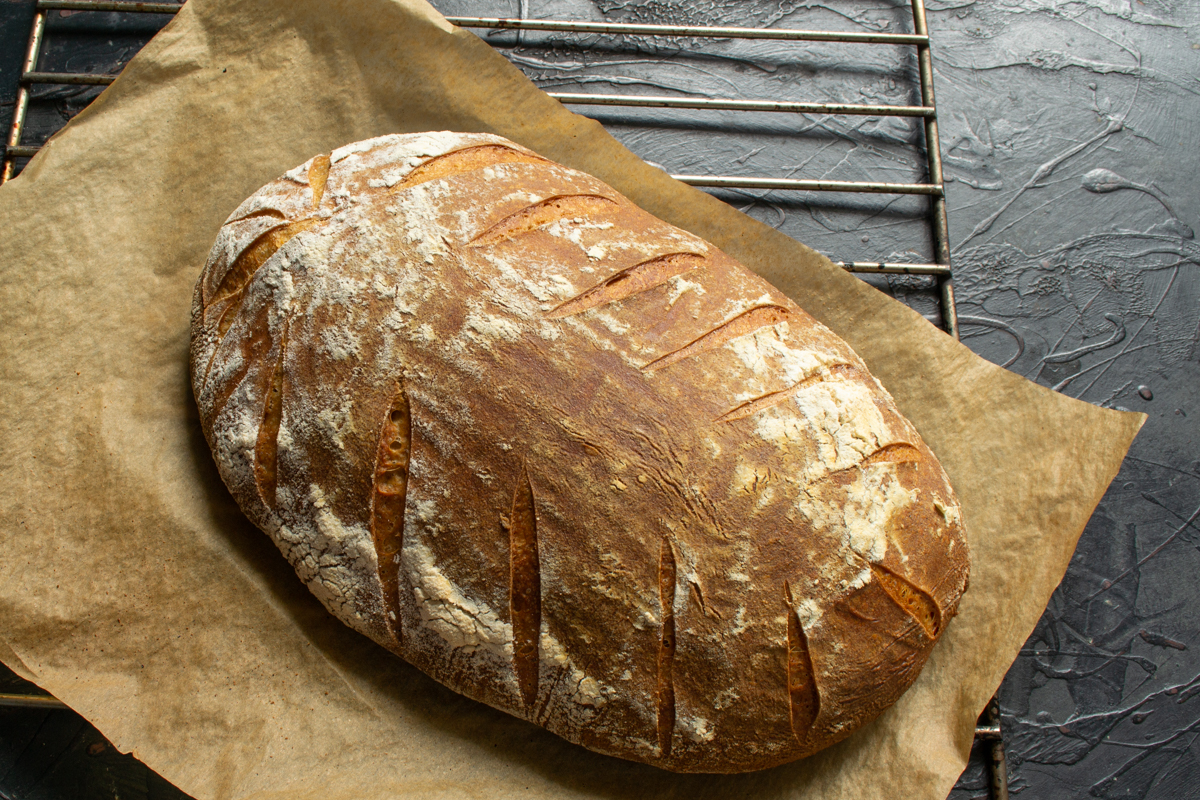
Bake with steam until a golden-brown crust forms. The baked bread should sound hollow when tapped on the bottom.
To ensure your dry sourdough starter bread turns out perfect every time, pay close attention to your temperature control. If you have a gas oven, it is highly recommended to use a baking stone or an unglazed ceramic tile on the rack—this mimics a hearth oven, distributes the heat evenly, and protects the bottom of your loaf from scorching. Do not forget the steam during the first few minutes of baking: this moisture allows the score marks to open beautifully, forming that signature ridge. It is best to cool your baked sourdough bread on a wire rack so air can circulate on all sides, keeping the crust crisp. Serve it still slightly warm with salted butter, or use it for hearty sandwiches the next day. This type of bread stays fresh much longer than commercial yeast bread, remaining delicious and fragrant for several days if wrapped in a linen towel or a paper bag.
0 comments