
The memory remains vivid: a tall, frosted metal cup. The foam was dense, almost creamy. A syrupy aftertaste—sweet, fruity, slightly candy-like—lingered long after the first sip. The grocery store counter, the clinking of a spoon against metal, and the feeling that for 15 kopecks (Soviet cents) one could buy a whole glass of pure cold.
Making a milkshake at home seems straightforward when gathering milk, ice cream, and a blender for the simplest recipe. Yet, the result is often a sweet, milky liquid dotted with melting lumps. Occasionally, a watery foam appears, only to dissipate within a minute, leaving one wondering what went wrong.
There is no secret ingredient here. Crafting a milkshake with dense foam relies on four crucial elements. The classic Soviet milkshake was built on temperature, fat content, air, and syrup. Missing one element turns the milkshake into a mere beverage; missing two reduces it to sweet milk.
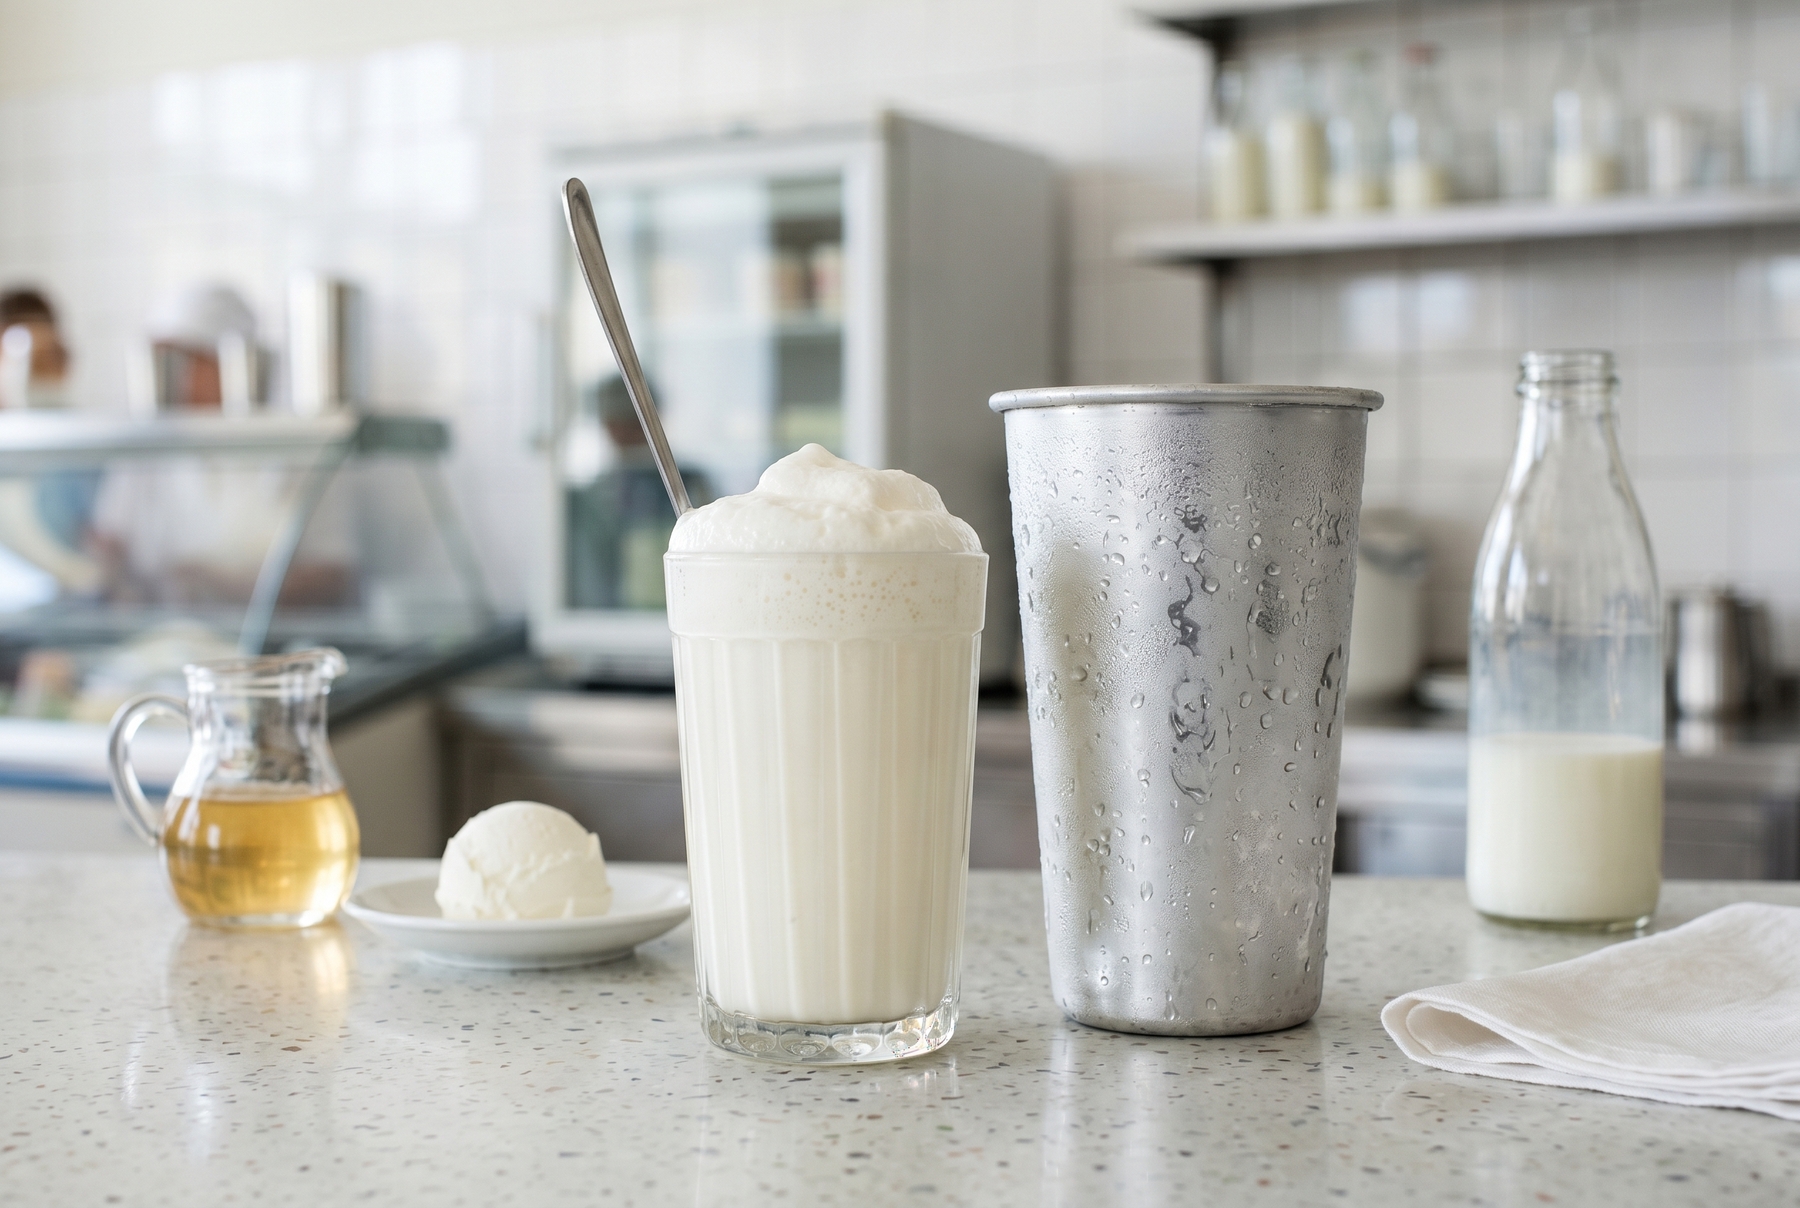
The unforgettable taste of childhood: a classic milkshake with thick foam, served in a tall glass.
Table of Contents
- Why Milk and Ice Cream Are Not Enough
- Temperature: Where It All Begins
- Air: Where the Volume Comes From
- The Soviet Milkshake: Milk, Plombir, and Syrup
- Plombir: Why It Is the Ultimate Choice
- Milk: Fat Content and Temperature Outweigh the Brand
- Fruit Syrup: Why Apple and Pear Are No Accident
- Homemade Apple or Pear Syrup
- When to Use Store-Bought Syrup
- The Basic Blender Milkshake Recipe
- Why Homemade Milkshakes Fall Short
- Classic Flavor Directions
- Fresh Fruit vs. Syrup
- Fusion: The Base with a Single Accent
- Equipment for the Perfect Shake
- The Cheat Sheet: Winning Flavor Combinations
- Customizing the Perfect Shake
- Can It Be Made in Advance?
- Chocolate Sauce and Other Prep Work
Why Milk and Ice Cream Are Not Enough
A milkshake with ice cream functions as a cold, whipped emulsion. This scientific fact determines the foam, the density, and how well the shake holds up in the glass.
As cold milk and ice cream meet the blender’s blades, the mixture becomes aerated. The milk proteins and the fat from the ice cream prevent the air bubbles from bursting immediately. The mass lightens in color and rises significantly in the pitcher. It was the whipping process, rather than a generous portion size, that provided the impressive volume.
Syrup serves a greater purpose than mere flavor. It actively influences the texture, as sugar binds water and helps sustain the foam. This ensures that the whipped shake feels substantial rather than just like ice-cold milk, despite sharing the same temperature.
Heat causes the foam to collapse first. Proteins and fats can only hold onto the bubbles while the mixture remains cold. Once it warms up, the air escapes, leaving behind sweet milk instead of dense foam.
Temperature: Where It All Begins
The milk must be exceptionally cold. Pouring it straight from the refrigerator at a maximum of 4–6°C (39–43°F) is essential. Warm milk simply will not whip properly.
The ice cream should be firm, but not rock-hard. Taking plombir (a rich, Soviet-style ice cream made with heavy cream and whole milk) straight from the freezer to the blender results in stubborn lumps that refuse to blend into a smooth mass. Allowing it to rest for 5–7 minutes at room temperature lets the surface soften slightly while the center remains dense. A simple test is that a spoon should enter with some resistance, rather than sinking right in.
Chilling the blender pitcher and the serving glasses provides an excellent advantage. Just 10–15 minutes in the freezer is sufficient. Following this chilling step allows the milkshake to hold its foam slightly longer.
Before starting the blender, the ingredients remain distinct in the pitcher: milk takes up a third to a half of the space, topped with dense chunks of ice cream. The pitcher is cold, its walls frosted with condensation.
Air: Where the Volume Comes From
The classic Soviet glass appeared full not merely because of the serving size. A properly whipped mixture occupies one and a half to two times more volume than the milk and ice cream did prior to blending.
As the blender gains speed, the blades pull air down along with the mixture, beating it into the mass. The fat from the ice cream coats the air bubbles, preventing them from collapsing immediately. Using ice cream with minimal butterfat or vegetable fat substitutes causes the shake to foam initially, but it quickly deflates.
The process is complete when the mass lightens in color, rises in the pitcher, and the sound of the blender evens out—the heavy sloshing stops as the mixture moves smoothly. A dense cap of foam gathers at the top, thick enough to hold its shape on a spoon.
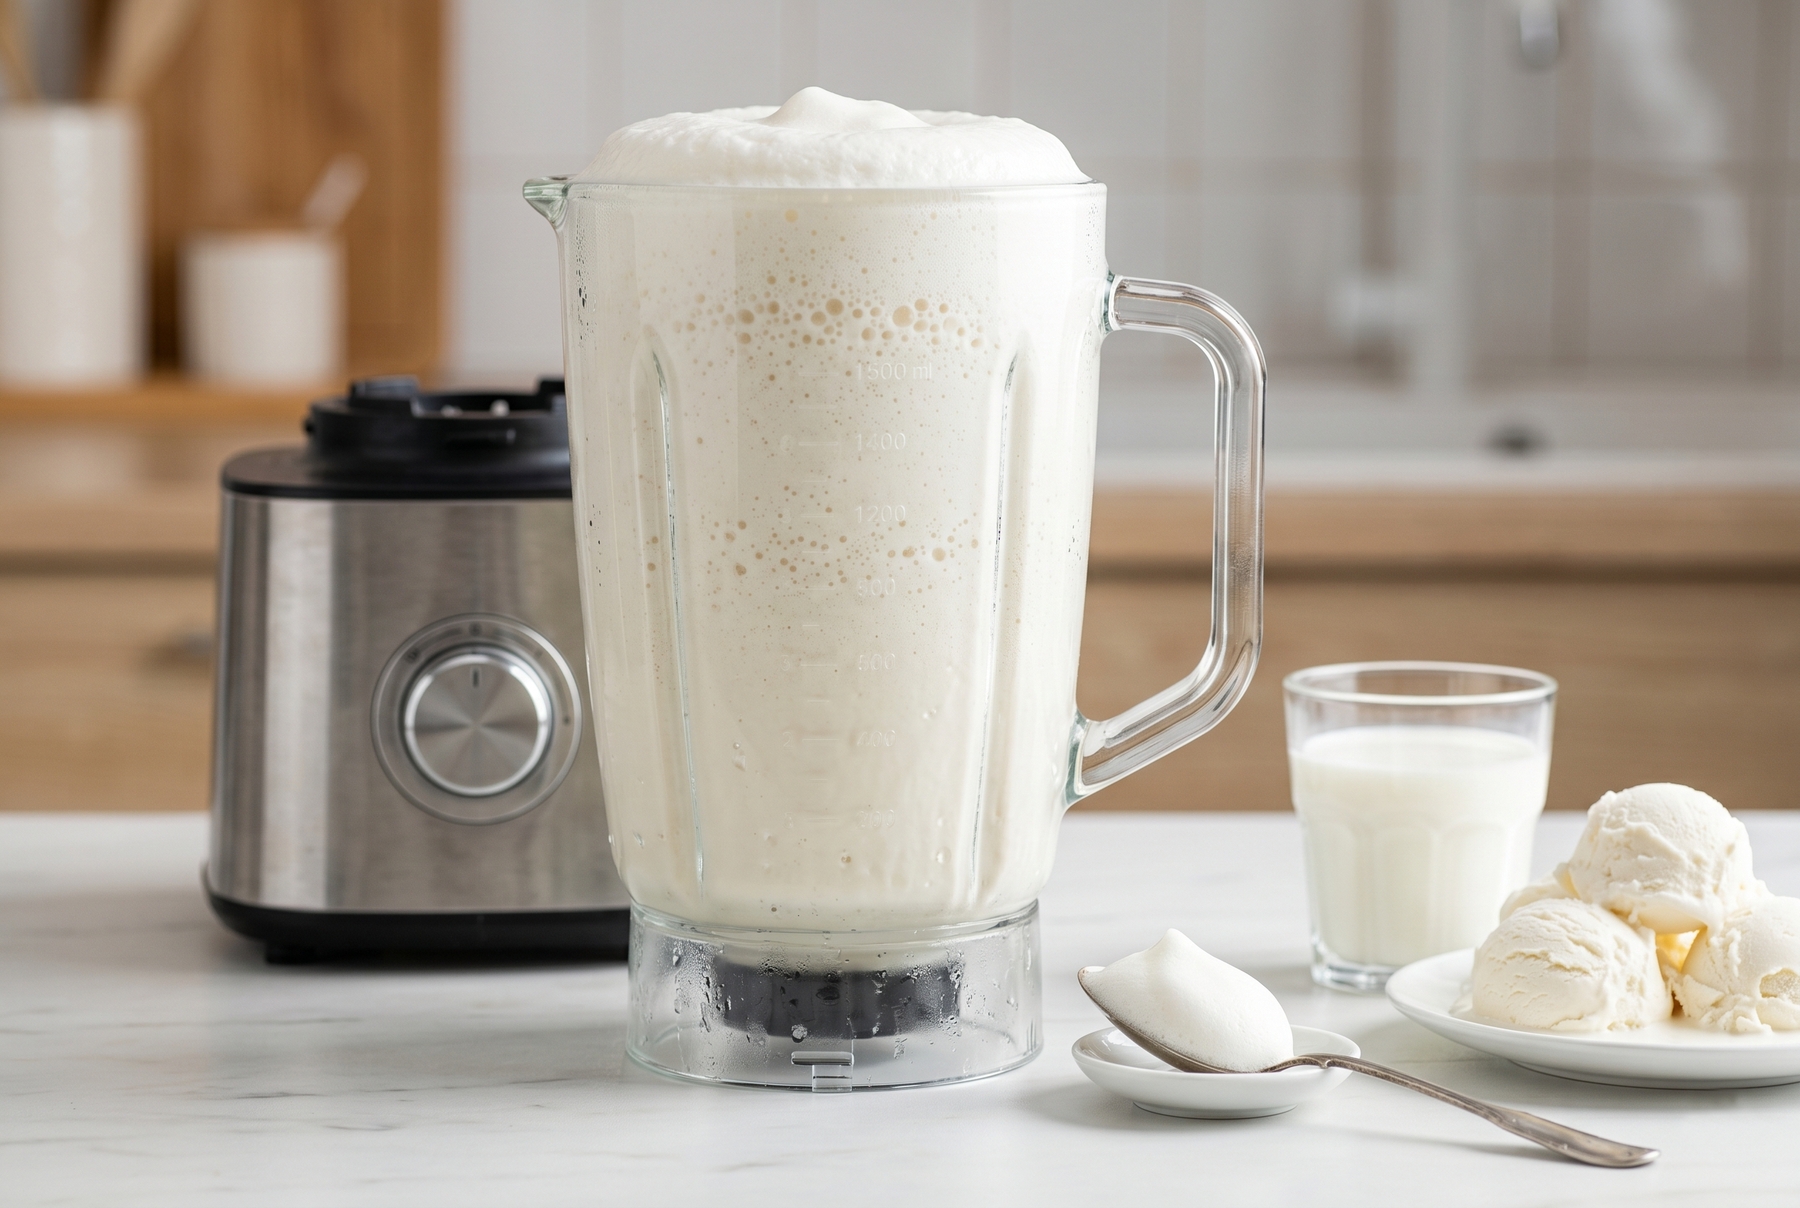
Whipping the dairy base at maximum speed forces air into the emulsion, significantly increasing its overall volume.
The Soviet Milkshake: Milk, Plombir, and Syrup
The classic Soviet milkshake consisted of three core components: milk, ice cream, and syrup. Pasteurized milk with 2.5–3.2% fat was standard. The ice cream of choice was plombir, renowned for its high butterfat and real cream content. The syrup was typically fruit-based, with apple or pear being the most common, while raspberry or cherry made rarer appearances.
I omit the exact Soviet proportions here, as they varied by year, region, and specific vendor. What circulates online as the official GOST (state standard) is often of questionable origin. For home cooking, an easily repeatable ratio is far more valuable.
Formulas for the Home Kitchen:
The Grocery Store Style, inspired by Soviet catering standards, featuring moderate sweetness:
- 200 g (7 oz) of milk,
- 50 g (1.7 oz) of plombir ice cream,
- 50 g (1.7 oz) of syrup,
- 60 seconds at a very high speed.
Scaling this to a standard household glass requires about 130–135 ml (4.5 oz) of well-chilled milk, 30–35 g (1.2 oz) of ice cream, and 30–35 g (1.2 oz) of syrup. It is important to realize that the iconic grocery store effect did not stem from a massive amount of ice cream, but rather from ice-cold milk, syrup, and extremely powerful blending.
Light and Creamy (The Base): 200 ml (6.7 oz) of milk, 80–100 g (2.8–3.5 oz) of ice cream, and 2–3 tablespoons of syrup.
Thick Dessert Style: 150 ml (5 oz) of milk, 150–180 g (5.3–6.3 oz) of ice cream, and 2 tablespoons of syrup.
From this point, adjusting the quantities of milk, plombir, and syrup to personal taste is highly encouraged.
Plombir: Why It Is the Ultimate Choice
Using plombir yields a thicker milkshake that holds its foam exceptionally well. The fat content of true plombir sits at no less than 15% butterfat. This high fat content ensures superior foam stability.
Examining the ingredients in the store pays off; the best options feature cream and milk prominently, without milk fat substitutes or vegetable oils in the top lines. High-quality plombir offers a slight resistance when pressed through the packaging—it feels firm, not watery. As it softens, it takes on a creamy texture. If it melts rapidly and becomes grainy, it likely contains too much water.
Tasting the ice cream before blending reveals its true character; a rich dairy flavor should be evident from the first spoonful. If the ice cream tastes watery or merely sweet without a creamy profile, the resulting milkshake will fall flat.
Milk: Fat Content and Temperature Outweigh the Brand
Whole milk with 3.2–3.5% fat performs beautifully. Using 2.5% milk creates a lighter shake where the foam settles faster, but it remains a proper milkshake rather than just sweet milk. Skim milk fails to hold foam effectively, leading to a watery result.
Ultra-pasteurized boxed milk works perfectly as long as it is thoroughly chilled and tastes good on its own. It produces the exact same foam quality as standard pasteurized milk. While high-fat, farm-fresh milk sounds enticing, it often proves too heavy for homemade shakes (hitting 4–5% fat or more). This results in a dense beverage resembling drinking cream rather than the classic grocery store treat.
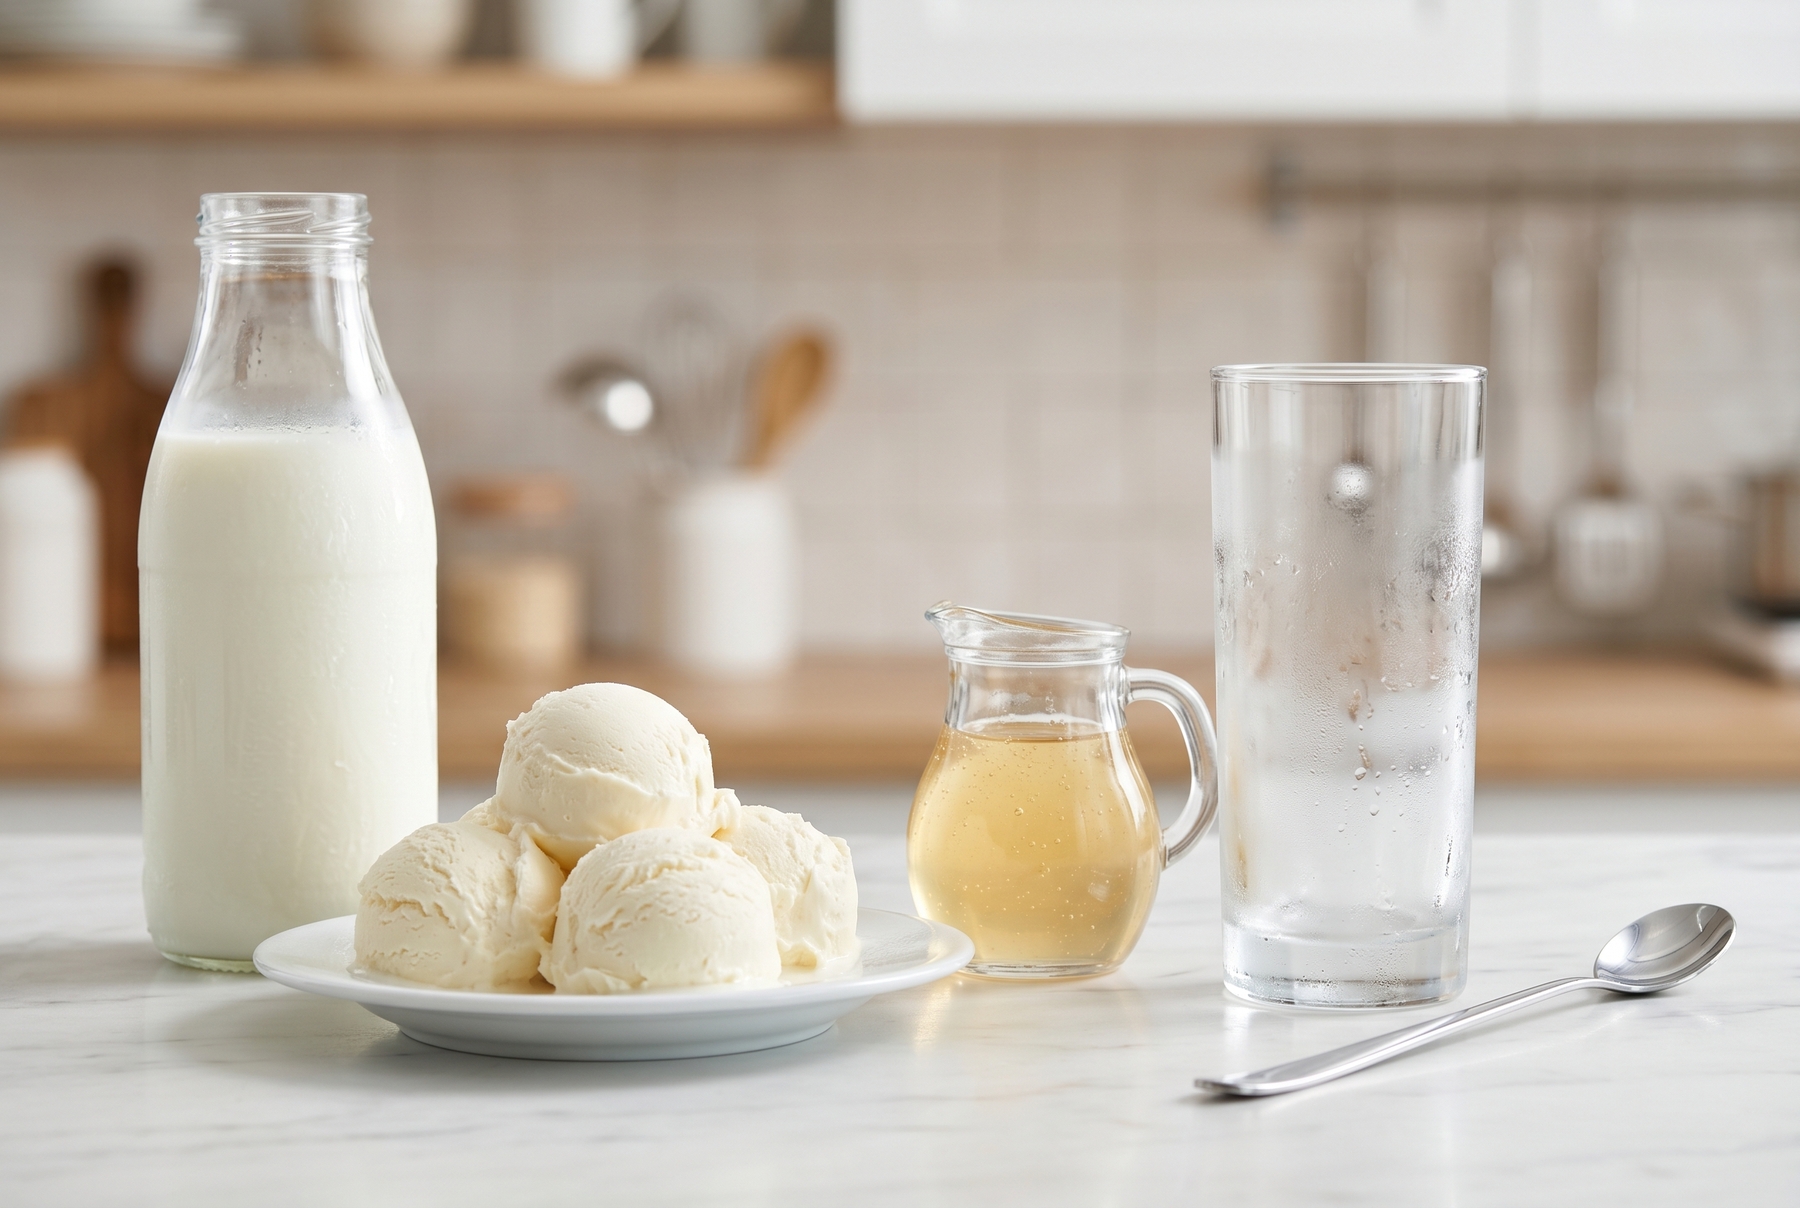
Achieving the perfect texture requires ice-cold milk and high-quality ice cream that has softened slightly around the edges.
Fruit Syrup: Why Apple and Pear Are No Accident
Apple and pear syrups impart a mild, fruity sweetness without the sharp acidity or astringency of berries. They never compete with the rich, creamy profile of the plombir. Instead, they leave a gentle fruity trace that is hard to isolate but leaves the overall flavor feeling empty if omitted.
While orchard fruit syrup delivers that recognizable Soviet nostalgia, cherry or raspberry variants operate differently. They overpower the dairy base more aggressively, resulting in a brighter, sharper taste with a pronounced berry acidity.
Berry syrups, such as raspberry, cherry, or blackcurrant, render the milkshake sharper and distinctively fruit-forward.
Quince, peach, and apricot function similarly to apple and pear, offering soft sweetness and a calming fruity aroma where acidity takes a back seat.
Homemade Apple or Pear Syrup
Utilizing 100% apple or pear juice (avoiding nectars with additives) or purée provides the best foundation. Combining 200 ml (6.7 oz) of juice with 150–180 g (5.3–6.3 oz) of sugar works perfectly. Heating the mixture over medium heat while stirring ensures the sugar dissolves completely. Reducing the heat to low and simmering for 7–10 minutes allows the syrup to thicken slightly and develop a glossy sheen. Straining the syrup guarantees an ultra-smooth texture if desired. Cooling it completely before use is non-negotiable.
Making the syrup slightly sweeter than one might think necessary is a smart move, as the cold milk noticeably dulls the sweetness. The finished syrup will boast a stronger aroma than the final milkshake, as the dairy naturally subdues the fragrance.
Introducing hot or even warm syrup to the mix is a critical error. It warms the blend and causes the foam to collapse.
When to Use Store-Bought Syrup
Commercial syrup serves as a fine alternative, provided it lacks a harsh, artificial aroma. An unnaturally vibrant color and an aggressive taste are warning signs, as the dairy base will not mask harsh flavors. Pouring a new commercial syrup sparingly at first allows for proper taste-testing.
The Basic Blender Milkshake Recipe
Ingredients:
- Whole milk (3.2%) — 200 ml (6.7 oz), exceptionally cold
- Plombir ice cream — 80–100 g (2.8–3.5 oz), slightly softened at the edges
- Fruit syrup (apple or pear) — 2–3 tablespoons
- Optional: A drop of vanilla extract or a few crystals of flaky sea salt
Technique:
Placing the glasses in the freezer ahead of time is a highly recommended step. Chilling the blender pitcher, if possible, also elevates the final result.
Pouring the milk into the pitcher comes first. Incorporating the syrup and stirring it into the milk establishes the base. Layering the chunks of ice cream on top prepares the mixture for blending.
Blending should be brief and vigorous. Running a stand blender on high speed for 30–45 seconds allows the milkshake to incorporate air and build foam. The mass will lighten and rise, forming a thick cap of foam. Avoiding over-blending is crucial, as those extra seconds generate friction and warm the mixture.
Pouring the shake immediately into a frosted glass ensures the best experience. Enjoying it while the foam stands tall is paramount.
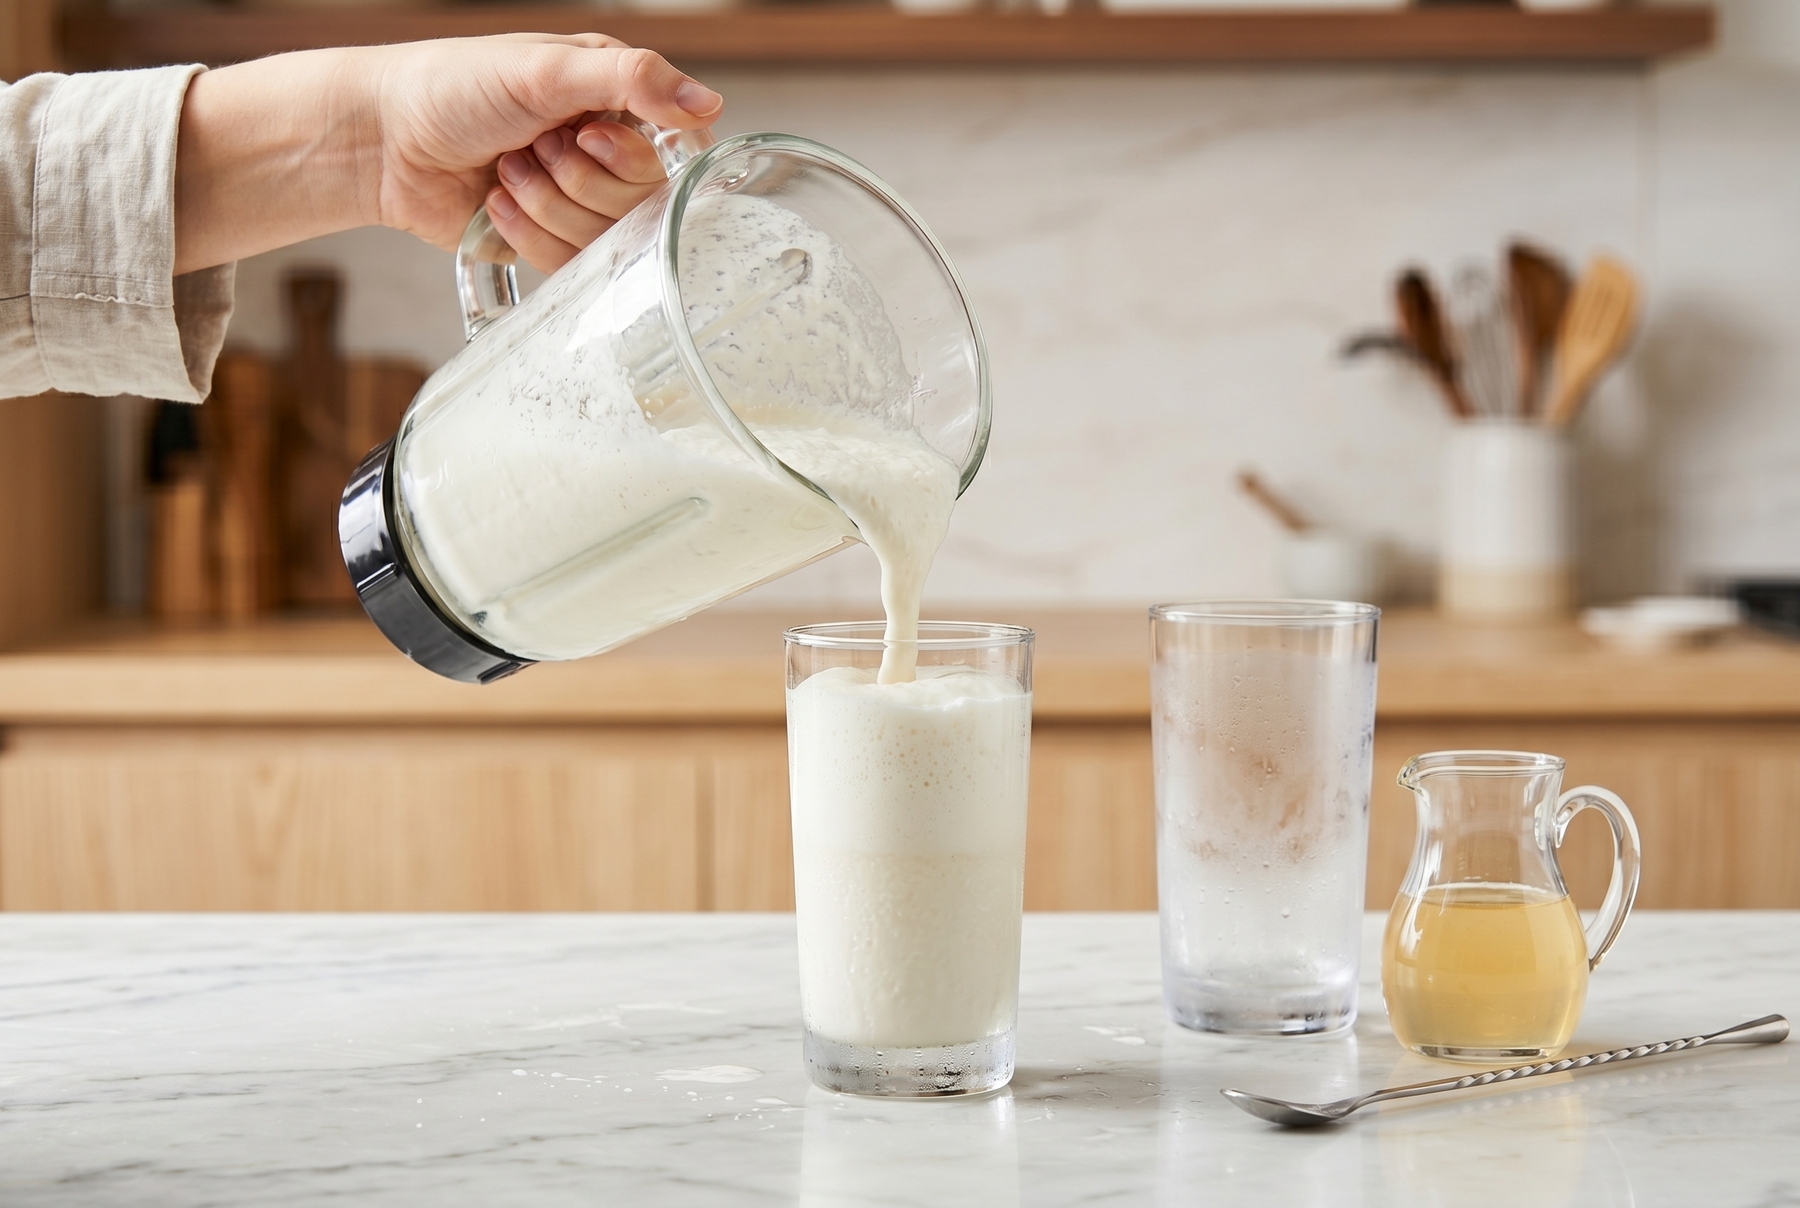
Pouring the blended shake into a frosted glass immediately preserves the delicate, aerated foam structure.
Why Homemade Milkshakes Fall Short
Warm Ingredients. This is the most frequent culprit. Using pantry-stored milk or letting the ice cream sit on the counter for 20 minutes means the shake is too warm before it even hits the blades. Under these conditions, the foam will never form.
Excessive Syrup. Too much syrup easily renders the shake cloyingly sweet and thins out the texture. Starting with a conservative dose yields better control. While cold temperatures do mute flavors, the sugar remains fully present; if a frosty shake feels overly sweet, a slightly melted one will be overpowering.
Weak or Prolonged Blending. Gentle blending merely mixes the components without aerating them properly. Conversely, extended blending heats the mixture through mechanical friction. A brisk 30–45 seconds on maximum power is entirely sufficient.
Inadequate Ice Cream. Ice crystals forming upon melting, a watery texture, off-flavors, or a total lack of dairy richness in the ice cream itself will all transfer directly to the milkshake. Vegetable fat-based ice cream yields a flimsy foam that collapses within a minute or two.
Classic Flavor Directions
Orchard Fruits. Apple and pear serve as the smoothest, most traditional base. Peach, apricot, and mango offer richer alternatives with vibrant aromas. Processing fresh fruits into a silky purée without coarse fibers is highly recommended, as fibrous textures alter the drink and introduce a pulpy mouthfeel that some find unpleasant.
Berries. This category poses the greatest challenge. Seeds, skins, and high acidity can quickly make the flavor profile resemble kefir or yogurt. Puréeing the berries and passing them through a fine-mesh sieve removes the troublesome seeds and skins. Dosing tart berries like blackcurrant or sour cherry carefully and pairing them with high-quality vanilla plombir is crucial, as the vanilla smooths out the sharp acidic edges.
Chocolate. Utilizing chocolate syrup, melted and cooled dark chocolate, or swapping part of the plombir for chocolate ice cream all work beautifully. Tossing dry cocoa powder straight into the blender is a mistake; it refuses to dissolve in cold milk and leaves a dusty, somewhat bitter aftertaste. Crafting a quick sauce from cocoa powder, a splash of hot water, and sugar is a far better approach. Whisking it until smooth and chilling it prior to blending guarantees success. Dark chocolate imparts a sophisticated bitterness with less sweetness, whereas milk chocolate ensures a milder, sweeter profile.
Coffee. Pouring hot espresso directly into a freezing dairy base is strictly forbidden, as it warms the mixture and destroys the foam potential. Employing a cold-brew concentrate or room-temperature espresso is essential. Instant coffee offers a vastly different flavor profile—sharper and less complex. The caffeine content remains intact, making this a decidedly adult iteration.
Fresh Fruit vs. Syrup
Fresh fruits contribute a vibrant aroma and a lively tartness, but they also introduce excess water, fibrous pulp, and raw acidity into the blender. Consequently, the texture shifts, and the foam degrades much faster.
Relying on syrup guarantees a more predictable outcome, featuring a balanced flavor and a flawlessly smooth texture. Syrups and fresh fruits ultimately serve entirely different culinary purposes.
Adding a banana turns the shake incredibly thick and creamy. However, it possesses an aggressive profile that easily transforms any mixed flavor into an overwhelmingly banana-centric one. While perfect for a dedicated banana shake, introducing it to a mango-lime combination will see the banana swiftly eclipse the delicate mango notes.
Preserves and jams function well in shakes, provided they are not excessively thick and lack large chunks of fruit. The runny syrup salvaged from a jar of cherry, apple, or raspberry preserves outperforms a dense jam. Tasting it prior to blending is vital; an overly tart or heavy jam benefits from being thinned out and chilled before joining the dairy.
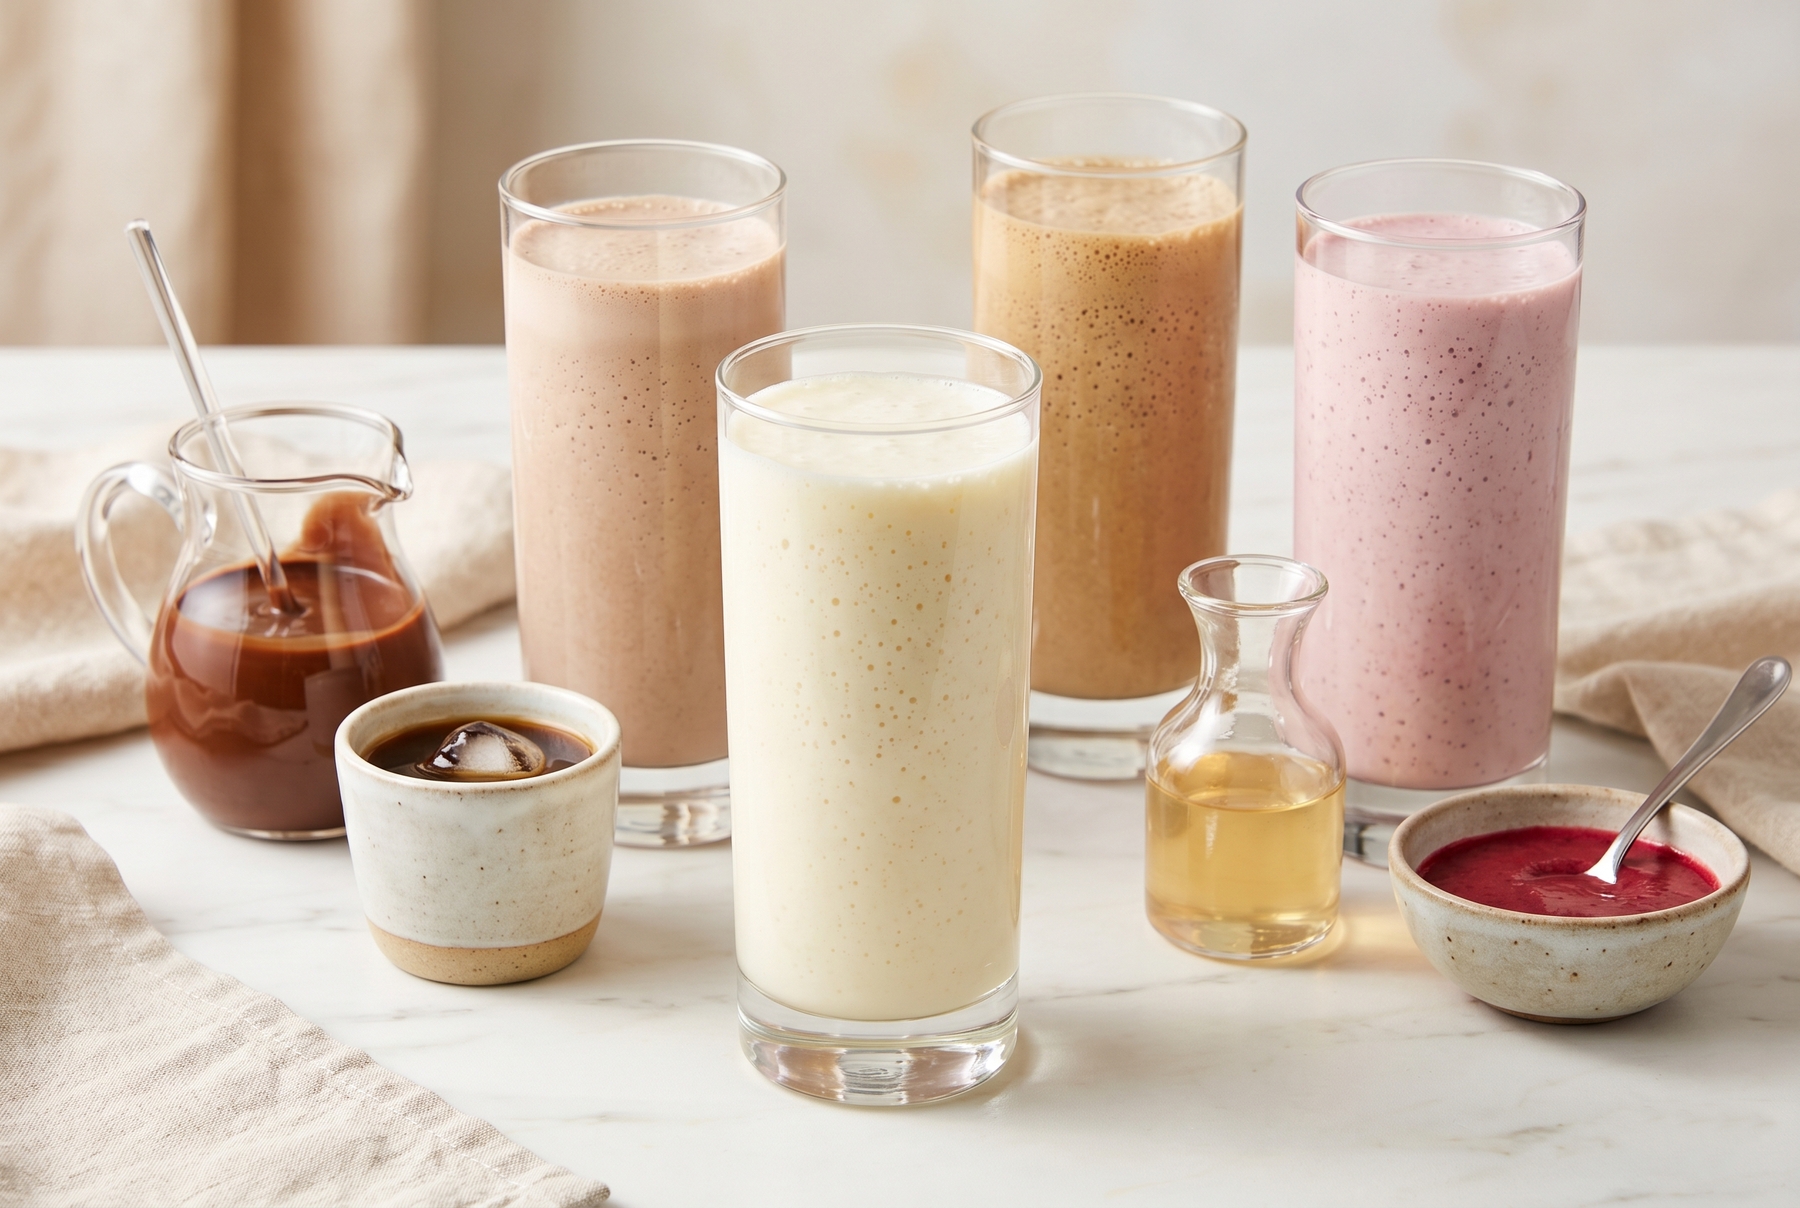
A solid base recipe serves as the foundation for endless flavor combinations, from timeless classics to modern fusion.
Fusion: The Base with a Single Accent
Building a fusion milkshake requires focusing on a single, powerful flavor pairing. The fundamental formula includes a dairy base, a sweetening component, a dominant flavor accent, and a distinct aromatic finish like citrus zest, spices, or fresh herbs.
- Pear and cardamom.
- Apple and cinnamon.
- Coffee and halva (tahini introduces a nutty density that complements the coffee profile perfectly).
- Chocolate and orange zest.
- Raspberry and basil.
- Mango and lime.
A tiny pinch of flaky sea salt magnifies the syrup’s sweetness and draws out the rich dairy notes. Three or four large salt crystals are entirely sufficient. Spices like cardamom, cinnamon, or a real vanilla pod provide a warmer, more aromatic bouquet, but a heavy hand ruins the balance. Starting with a microscopic pinch per 300 ml (10 oz) of shake is the wisest approach.
Adding citrus zest directly to the serving glass at the very end is the professional method. When thrown into the blender, the aggressive blades strip away the essential oils’ fresh aroma and risk introducing an unwelcome bitterness.
Dessert-Inspired Concepts:
Apple Sharlotka: Plombir ice cream, apple syrup, a pinch of cinnamon, and a hint of vanilla extract to mimic the classic Russian apple sponge cake.
Poire Belle Hélène: Pear syrup, dark chocolate sauce, and plombir. Serving it crowned with fine dark chocolate shavings completes the homage to the French dessert.
Coffee Tiramisu: Cold, strong espresso, plombir, and a dusting of cocoa powder on top. Adding a spoonful of mascarpone to the blender alongside the ice cream elevates the richness to decadent heights.
Berry Cheesecake: Raspberry syrup or purée paired with premium vanilla plombir. Introducing a teaspoon of soft cream cheese to the blend seals the flavor profile.
Overcomplicating a fusion shake with too many accents is a common pitfall. The very first sip should clearly announce the contents of the glass, whether it is pear with cardamom, coffee with tahini, or raspberry with basil.
Equipment for the Perfect Shake
The Stand Blender represents the ultimate convenience, delivering superb foam and a flawless texture. Filling the pitcher no more than two-thirds full is essential, as the mixture expands dramatically. Starting the motor on a medium setting and escalating to maximum speed after five seconds yields the best results.
The Immersion Blender functions as a viable alternative when paired with a tall, narrow vessel. The resulting foam will be slightly less pronounced. Tilting the container slightly and positioning the blender head so the blades catch the surface air improves aeration. Expect some splattering; utilizing a tall mixing jar or a deep pot is mandatory.
A Cocktail Shaker or Mason Jar frankly creates a chilled milk beverage, not a true foam-topped milkshake. Assuming the ice cream is soft and the syrup incorporates easily, the result is a perfectly acceptable cold drink. However, generating proper foam through shaking is simply impossible.
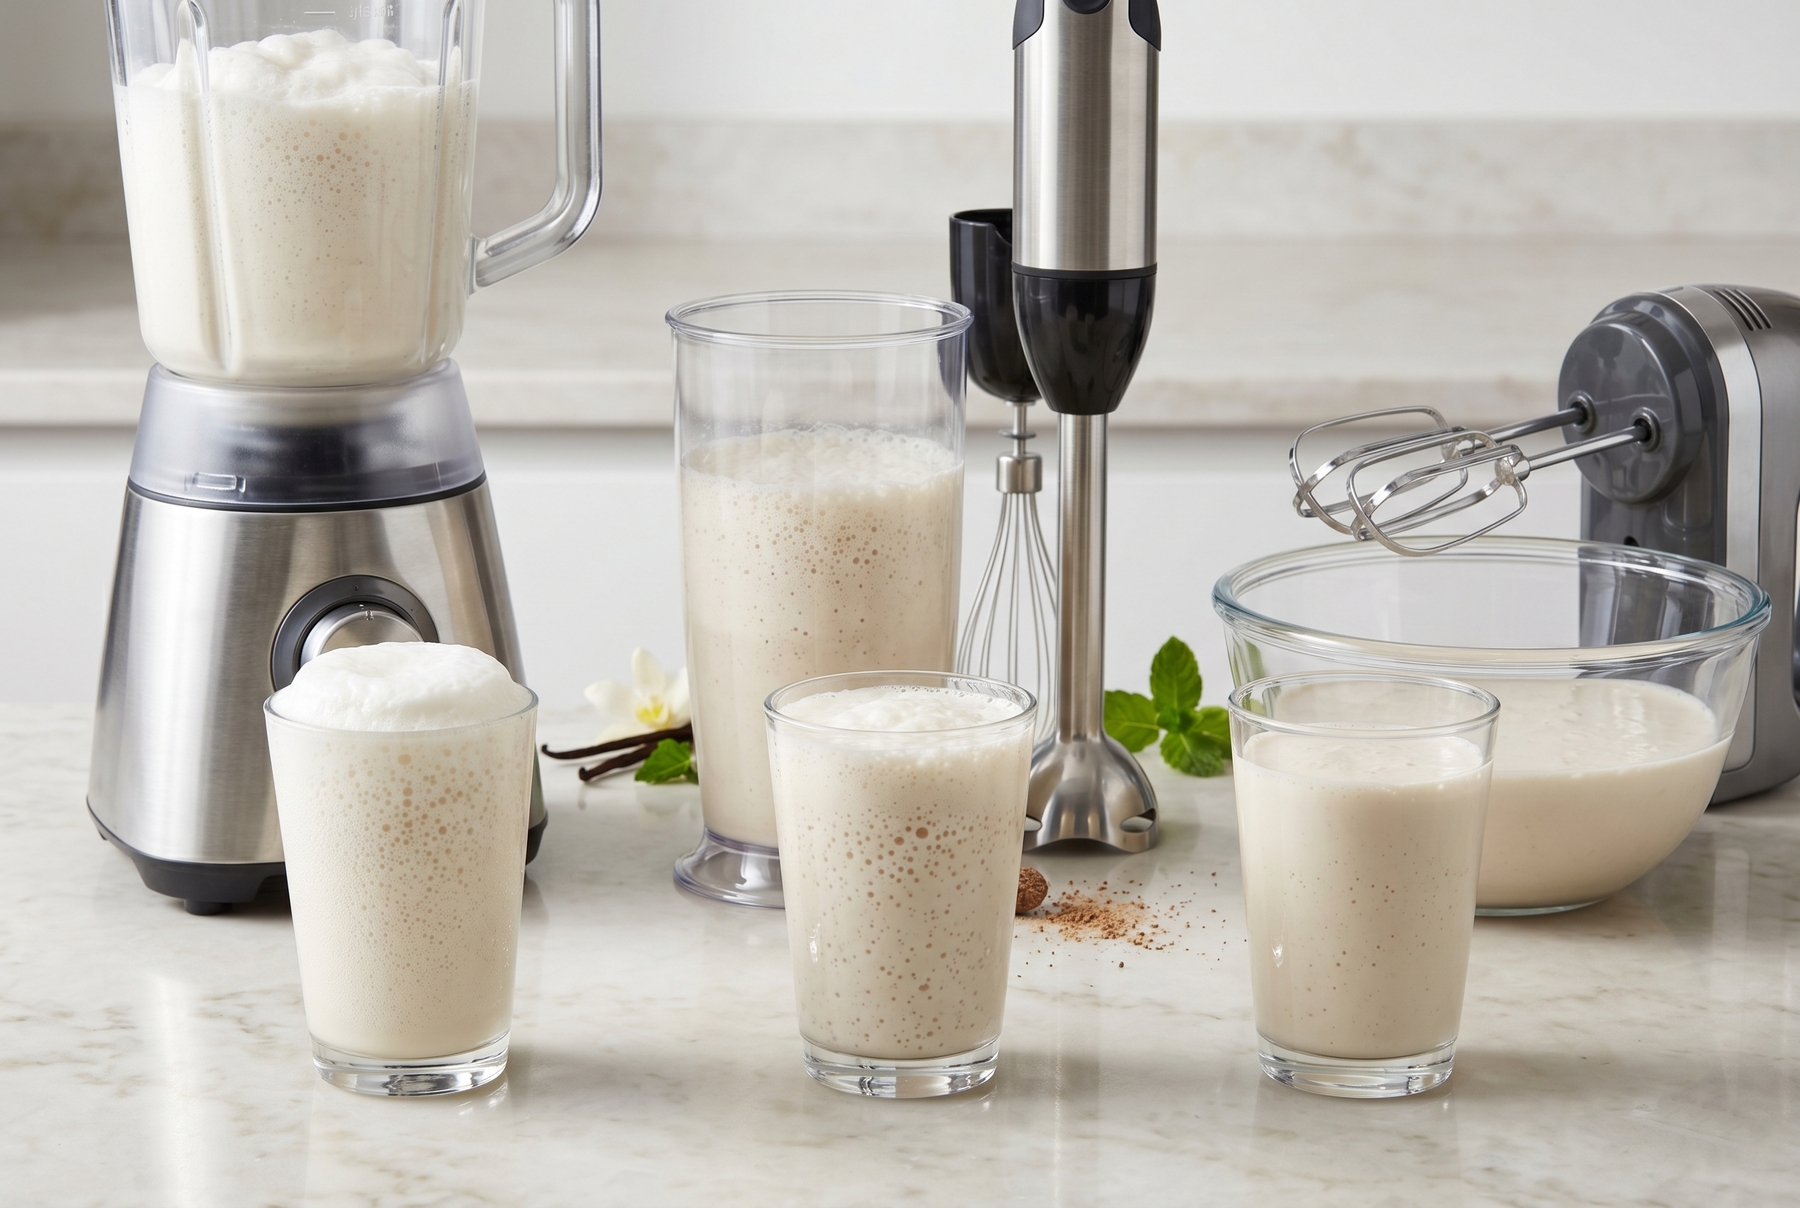
Choosing the right tool dictates the texture: a high-powered stand blender produces the most stable, voluminous foam.
The Cheat Sheet: Winning Flavor Combinations
Nostalgic Profiles:
- Apple Syrup: Calm, smooth, and authentic to the Soviet era. The sweetness is understated.
- Pear Syrup: Slightly more delicate than apple, boasting a refined aroma. Excellent for those who find apple too basic.
- Vanilla: Pure, creamy indulgence. A study in minimalism, though a heavy pour of extract quickly ruins the balance.
- Light Preserve Syrup: Varies by the jar, but generally imparts a warm, rustic, and slightly unpredictable charm. This unpredictability is precisely its appeal.
Dessert Profiles:
- Chocolate + Coffee: A bittersweet, mature shake that retains fantastic foam structure. It demands restraint with added sugar.
- Chocolate + Cherry: The berry tartness slices right through the chocolate’s richness. Adding too much cherry, however, obliterates the dairy backdrop entirely.
- Pear + Chocolate: An elegant pairing. The delicate pear survives the chocolate assault only if the chocolate sauce is applied with a light hand.
- Apple + Cinnamon: Essentially a liquid apple pie. The cinnamon must be limited to a mere pinch to avoid overwhelming the milk.
- Strawberry + Vanilla: The undisputed classic. Strained strawberry purée meets vanilla bean. Peak-season fresh strawberries outshine commercial syrups effortlessly.
Modern Profiles:
- Mango + Lime: Tropical and vibrant. The lime should be restricted to fresh zest or a few drops of juice.
- Raspberry + Basil: An unexpectedly brilliant synergy. The basil should be bruised and added at the very end or directly into the serving glass.
- Coffee + Tahini: Dense, sophisticated, with a subtle Middle Eastern flair. Perhaps not suited for a beginner’s first attempt.
- Pear + Cardamom: Nuanced and highly aromatic. Half a crushed pod or a dusting of ground cardamom is all it takes.
- Blackcurrant + Vanilla + Sea Salt: Blackcurrant acts aggressively in dairy; the salt and vanilla effectively tame its sharp edges. Puréeing and straining the berries is non-negotiable.
Customizing the Perfect Shake
For a Thicker Shake: Increasing the ice cream ratio and ensuring all ingredients are fiercely cold is the solution. Reducing runny syrups in favor of thicker fruit purées also helps. While bananas or mangoes add excellent body, they fundamentally alter the flavor profile.
For a Lighter Shake: Upping the milk ratio while dialing back the ice cream and sweetness creates a lighter beverage. Be warned, though: excessively lightening the formula strips away that signature dessert density, leaving behind a pleasant milky drink that no longer quite qualifies as a true milkshake.
For a Bolder Flavor: Mindlessly dumping in more syrup is the wrong approach. Introducing a sharp accent—a pinch of sea salt, fresh zest, a warm spice, cold-brew concentrate instead of drip coffee, or a hyper-concentrated berry purée—is the professional method. True vibrancy is achieved through flavor concentration, not sheer volume.
For Maximum Foam: Verifying the freezing temperature of all ingredients (the most frequent point of failure) is critical. Checking the butterfat percentage of the ice cream and the RPM of the blender follows closely. Foam is simply trapped air. A warm mixture cannot hold air, and a low-fat base lacks the structural integrity to trap it in the first place.
Can It Be Made in Advance?
Absolutely not. A milkshake is a strict à-la-minute creation. Within 5–10 minutes, the spectacular foam begins to collapse. By the 15–20 minute mark, the emulsion separates into distinct layers of milk and melting ice cream. Storing it in the refrigerator overnight yields a depressing, sweet milk puddle topped with an icy crust.
Preparation, however, can be managed meticulously in advance. Crafting and chilling the syrups, pre-portioning the ice cream into individual freezer containers, frosting the serving glasses, and pushing the milk to the coldest corner of the refrigerator are all excellent strategies. Armed with this prep, assembling a show-stopping shake when guests arrive takes a mere three minutes.
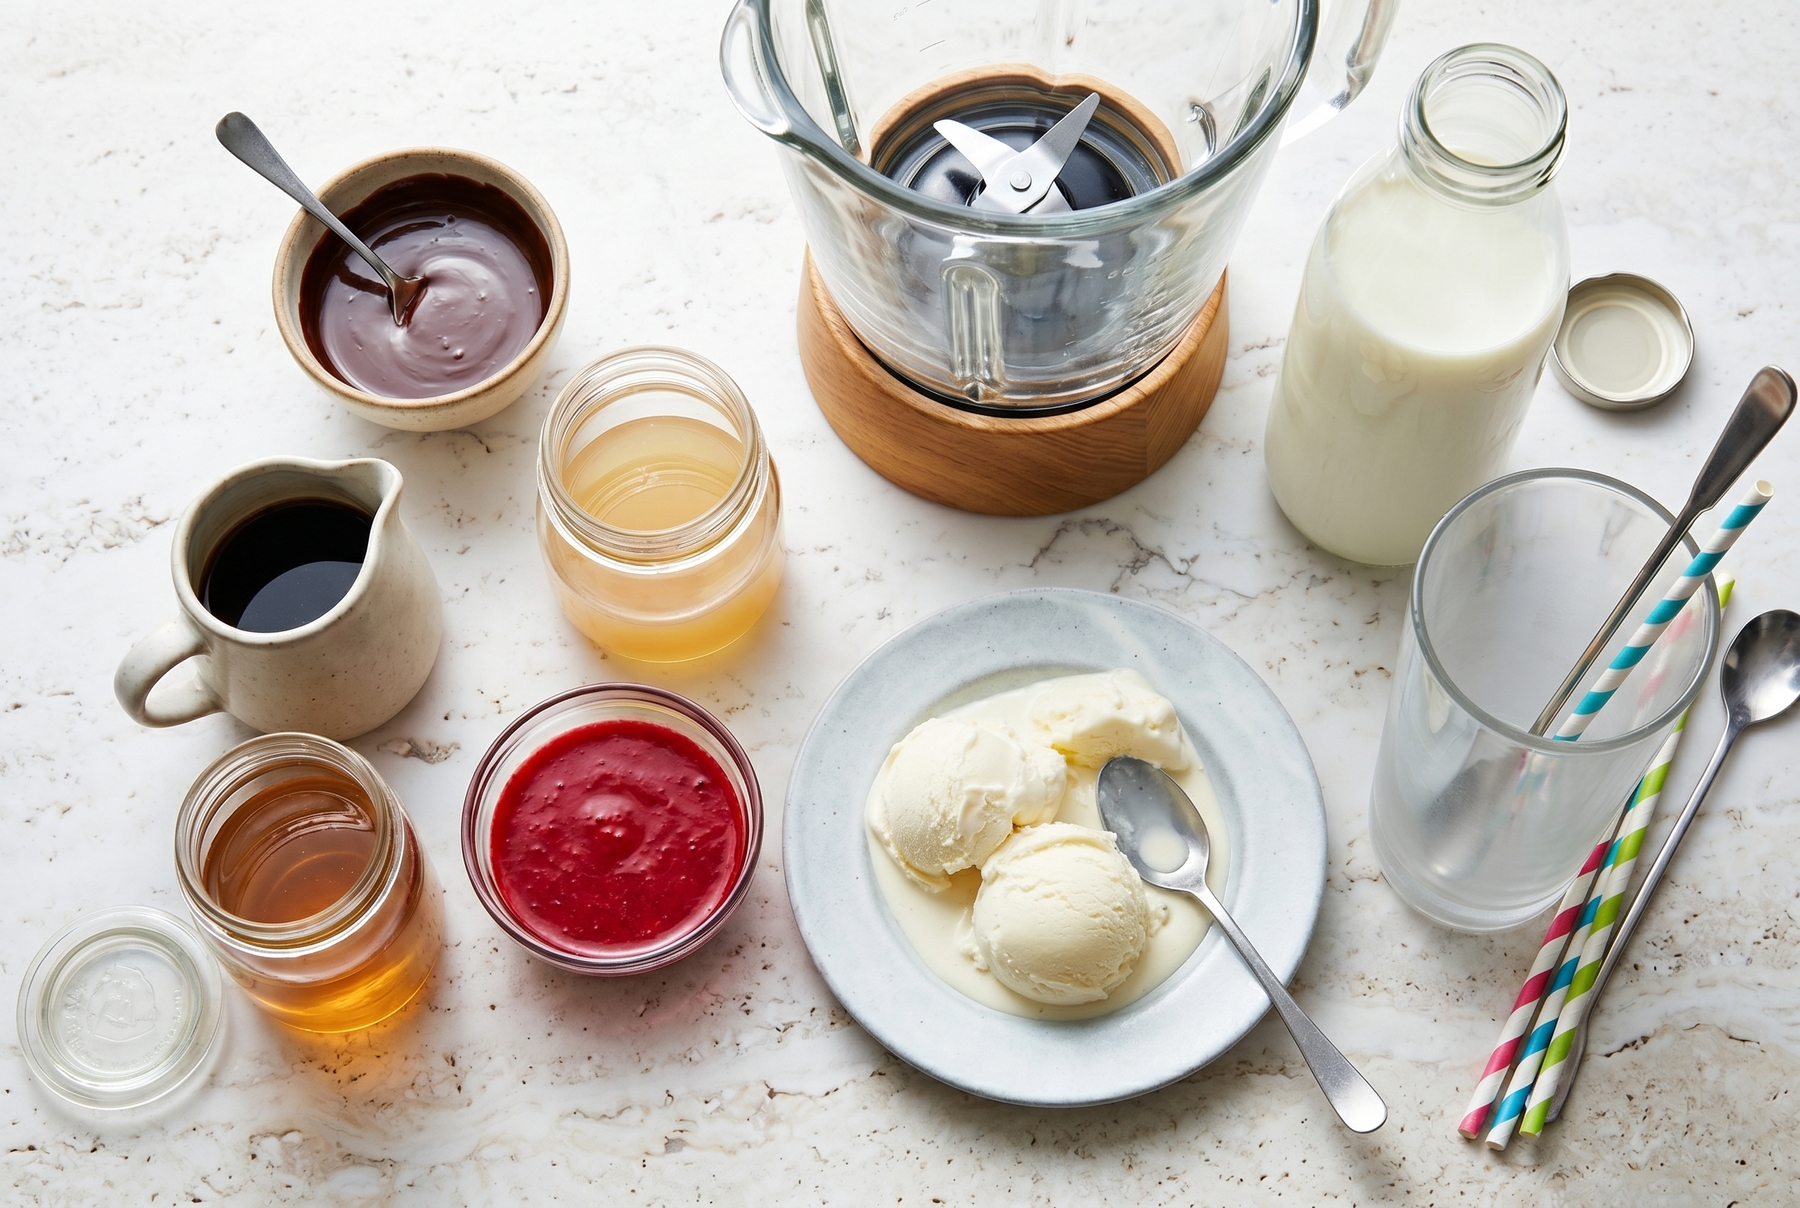
Meticulously chilling and preparing ingredients in advance guarantees a beautifully thick and frosty milkshake.
Chocolate Sauce and Other Prep Work
Homemade Chocolate Sauce: Combining 50 g (1.7 oz) of premium dark chocolate with 30 ml (1 oz) of hot heavy cream and a teaspoon of sugar creates a superior syrup. Melting the mixture, stirring it until glossy, and chilling it thoroughly prepares it for the blender. It survives beautifully in the refrigerator for several days and must be used cold.
Cold-Brew Concentrate: Submerging 30–40 g (1–1.4 oz) of coarse ground coffee in 150 ml (5 oz) of cold water and letting it steep in the refrigerator for 12 hours yields a potent elixir. Straining the grounds leaves a highly concentrated, shelf-stable extract that demands no further chilling before hitting the dairy.
Seedless Berry Purée: Blending fresh or thawed frozen berries into a pulp and forcing them through a fine-mesh sieve removes the unpleasant grit. Stirring in sugar to taste (typically 2–3 tablespoons per 200 ml / 6.7 oz of purée) and chilling the mixture completes the process.
The legendary Soviet milkshake relied on physics, not a highly classified recipe. The formula remains brilliantly simple: aggressive cold, whole milk, genuine high-fat ice cream, a touch of fruit syrup, and violent aeration. From this sturdy foundation, the paths diverge into apple-pear nostalgia, decadent chocolate desserts, mature coffee iterations, and bold cardamom-mango fusions. The possibilities are vast, but one truth remains absolute: the foam waits for no one.
0 comments